


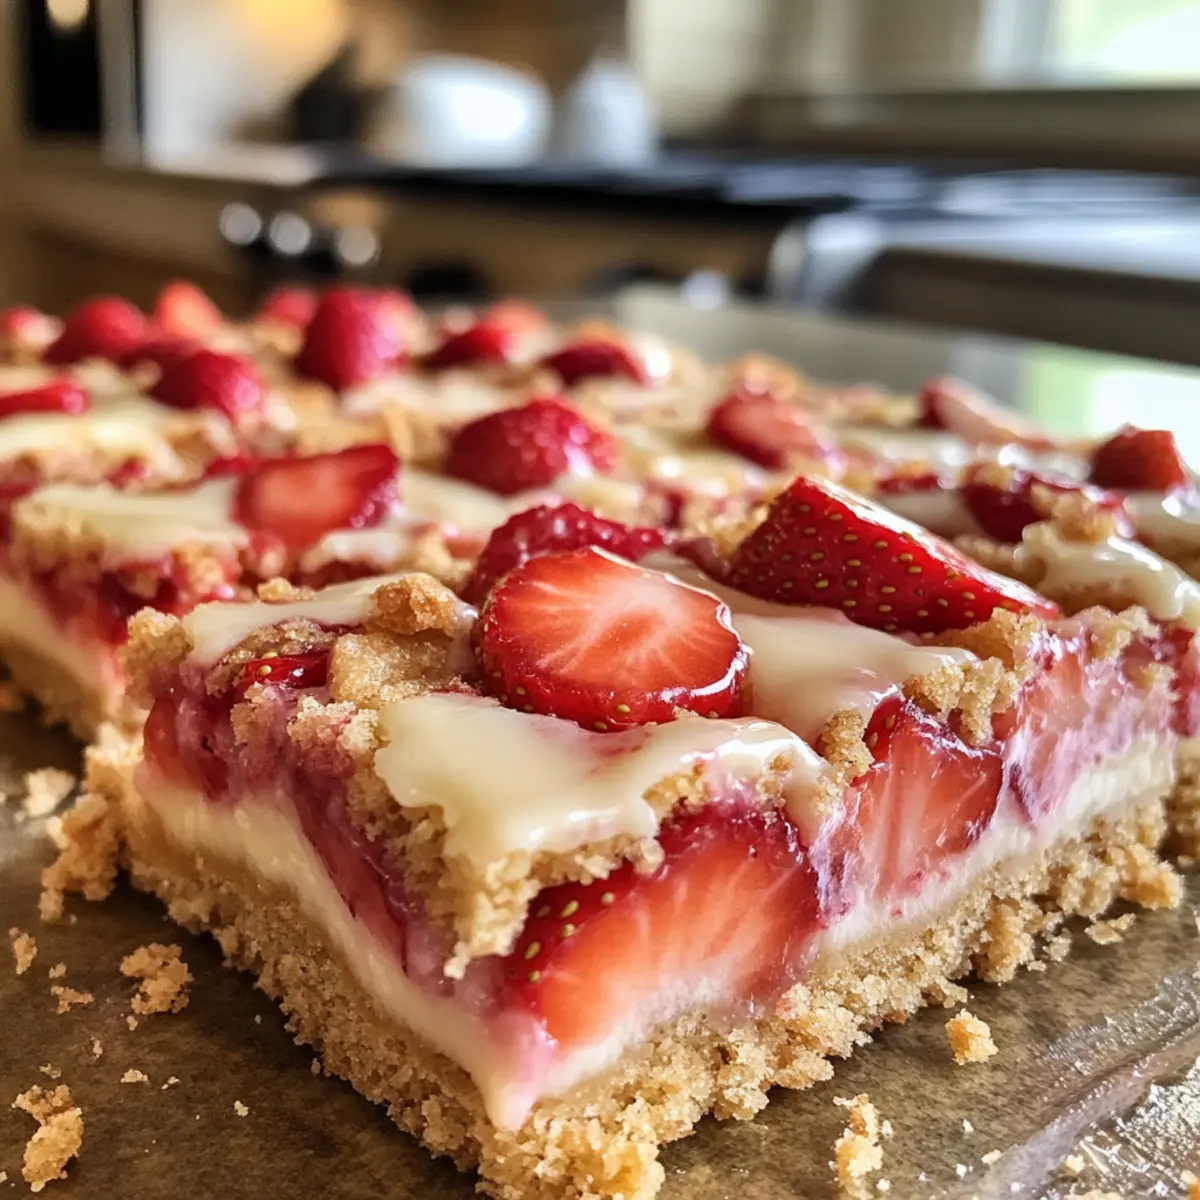
As I opened the door to my kitchen that warm afternoon, the sun streamed in, bringing with it a tantalizing aroma of sweet strawberries and buttery crust. Today, I’m bringing you my go-to summer treat—Strawberry Shortcake Bars. These delightful dessert bars are perfect for anyone seeking a homemade alternative to heavy fast food, providing a bright burst of flavor with each bite. Not only are they a breeze to prepare, but they also serve as the perfect centerpiece for potlucks and picnics alike. With their creamy vanilla glaze and juicy strawberry filling, these bars promise to satisfy your cravings without the fuss. Ready to brighten up your dessert table? Let’s dive into the recipe and make some sunny memories!
Why are these Strawberry Shortcake Bars irresistible?
**Delightful *flavors* come alive with each bite, as the juicy strawberries pair perfectly with the buttery crumb crust and sweet vanilla glaze. **Effortless *to make*, these bars require minimal effort, perfect for busy weekdays or last-minute gatherings. **Versatile options allow you to swap out strawberries for other berries, making it easy to cater to different tastes. Plus, these bars are a crowd-pleaser, certain to impress anyone at your next picnic or potluck. Treat yourself to this summer favorite, and for more delicious desserts, check out our collection of easy summer recipes.
Strawberry Shortcake Bar Ingredients
Get ready to whip up something truly special with these Strawberry Shortcake Bars!
-
For the Crust
-
All-purpose flour – Provides structure to the crust and filling; substitute with gluten-free flour for a gluten-free version.
-
Granulated sugar – Adds sweetness to both the crust and filling; reduce for a lighter taste.
-
Light brown sugar – Offers a hint of caramel flavor in the crust; can be replaced with more granulated sugar.
-
Salted butter – Infuses richness; feel free to use unsalted butter for a controlled salt level.
-
Pure vanilla extract – Enhances the aroma and flavor; imitation vanilla is a possible substitute, though the flavor may vary.
-
For the Filling
-
Chopped fresh strawberries – The star of this dessert, bringing in sweetness and summer freshness; frozen strawberries are an option when thawed and drained.
-
For the Glaze
-
Powdered sugar – Provides sweetness and a smooth texture for the glaze.
-
Whipping cream – Adds creaminess and richness to the glaze; a non-dairy alternative works nicely too for a lighter touch.
Dive into these delightful ingredients, and let’s create some mouthwatering Strawberry Shortcake Bars for your next gathering or cozy night in!
Step‑by‑Step Instructions for Strawberry Shortcake Bars
Step 1: Preheat the Oven and Prepare Your Pan
Begin by preheating your oven to 350°F (175°C). While it warms up, line an 8×8-inch baking pan with parchment paper, allowing some overhang for easy removal later. This preparation ensures that your Strawberry Shortcake Bars bake evenly and come out effortlessly, leaving nothing behind.
Step 2: Mix the Crust Ingredients
In a spacious mixing bowl, whisk together the all-purpose flour, granulated sugar, brown sugar, and optional salt until well combined. Next, pour in the melted salted butter and pure vanilla extract, mixing until the mixture resembles coarse crumbs. This buttery crumble will form the delectable base for your bars.
Step 3: Form the Crust in the Pan
Press about two-thirds of the crumb mixture firmly into the bottom of the prepared pan, creating an even layer to form the crust. Bake this crust in the preheated oven for 15-20 minutes or until it turns lightly golden and fragrant. Keep an eye on it to avoid over-baking, ensuring a perfect base for your Strawberry Shortcake Bars.
Step 4: Prepare the Strawberry Filling
As the crust bakes, wash and chop your fresh strawberries. In a separate bowl, toss the chopped strawberries with a sprinkle of granulated sugar and a bit of flour to coat them lightly. This mixture will create a sweet, juicy filling that complements the crust beautifully and keeps the bars from getting too soggy.
Step 5: Assemble the Strawberry Shortcake Bars
Once the crust has finished baking, remove it from the oven and evenly distribute the strawberry filling over the hot crust. Then, crumble the remaining crumb mixture on top of the strawberries. This step adds that extra buttery texture, creating a delicious layering effect throughout your Strawberry Shortcake Bars.
Step 6: Bake the Assembled Bars
Return the pan to the oven and bake for an additional 30-35 minutes. Watch for bubbling around the edges as the filling cooks, which indicates the bars are ready. The top will also turn golden brown, giving you a hearty, crisp contrast against the juicy strawberry filling.
Step 7: Cool Before Glazing
Once baked, allow the Strawberry Shortcake Bars to cool completely in the pan on a wire rack. For tidier slices, consider refrigerating for about 30 minutes. This step allows the filling to set, making it easier to cut neat squares without mess.
Step 8: Make the Glaze
In a medium bowl, combine the powdered sugar, whipping cream, and a dash of vanilla extract. Whisk until the mixture is smooth and creamy—this will be your luscious glaze. The sweetness will beautifully complement the strawberry filling and crumbly crust, adding an irresistible touch to your dessert.
Step 9: Drizzle and Serve
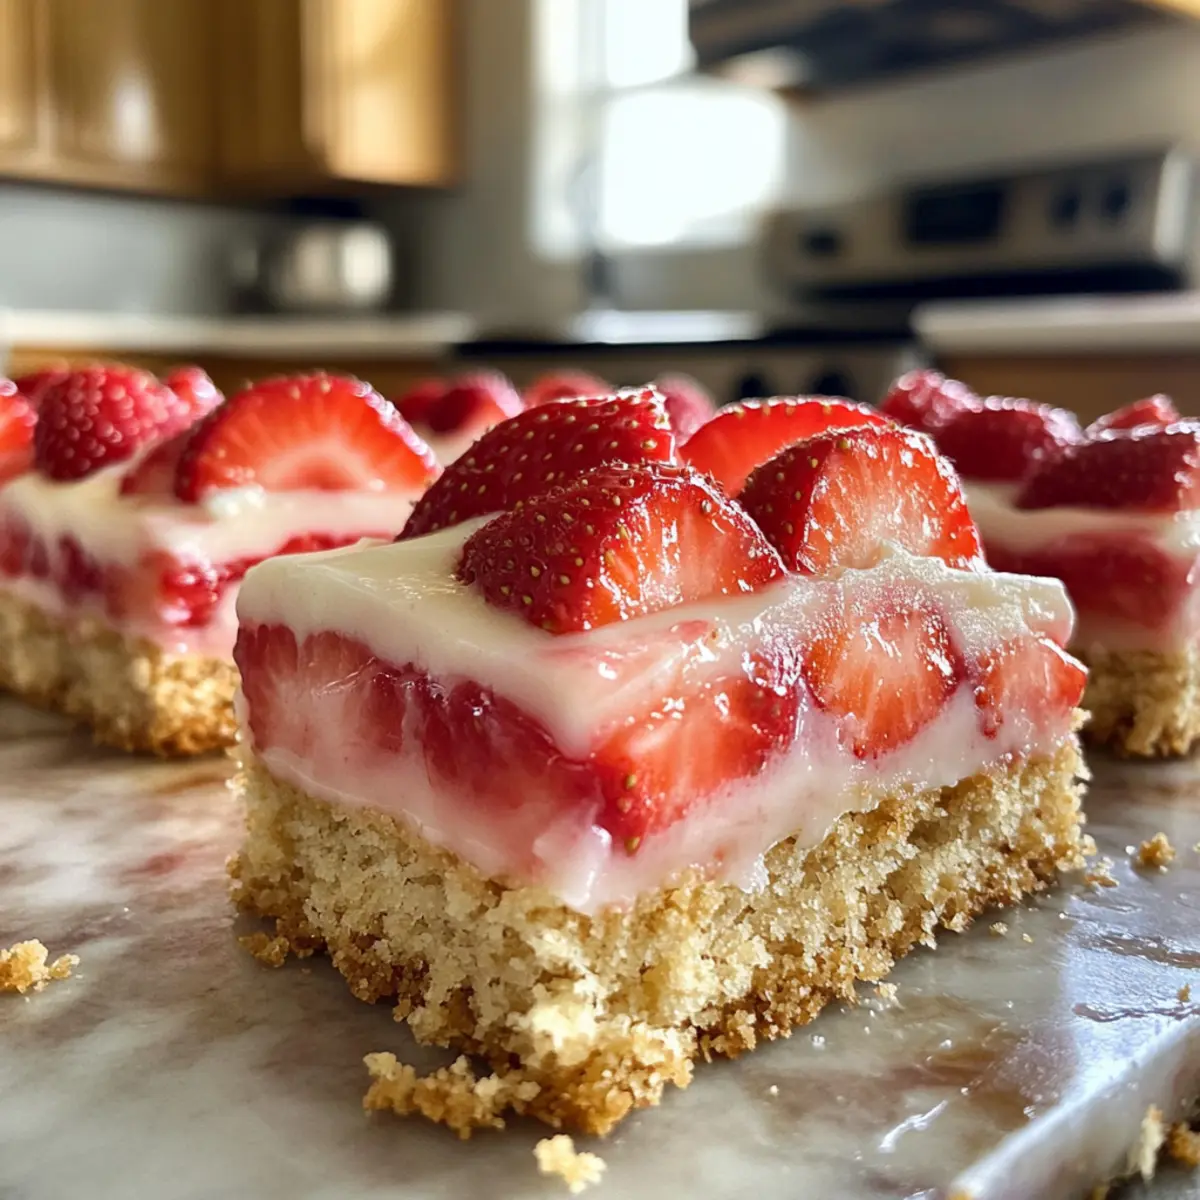
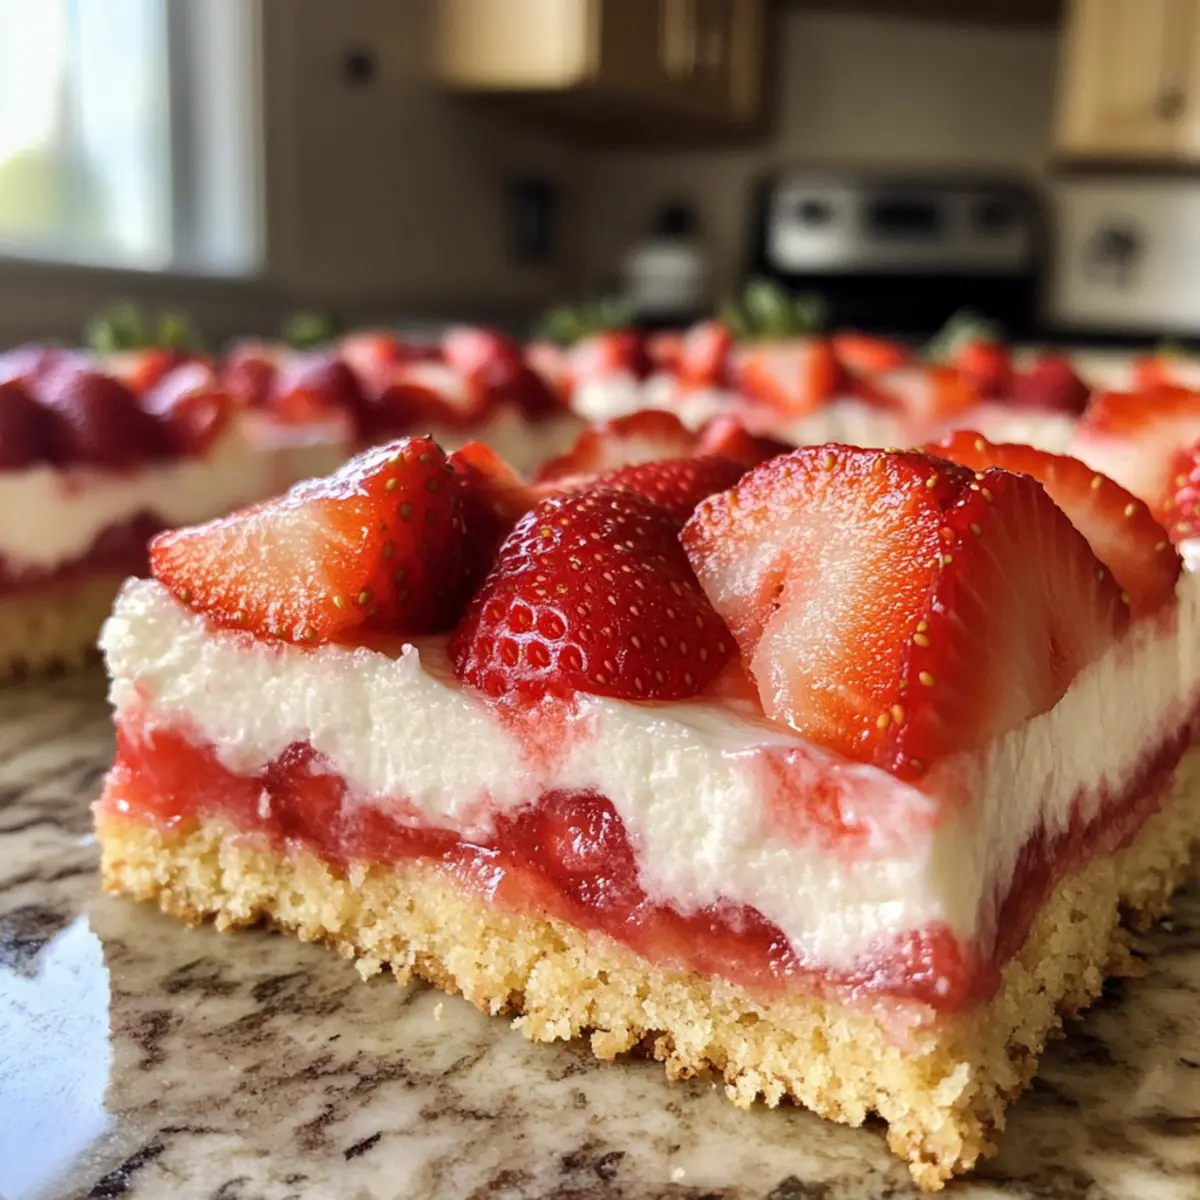
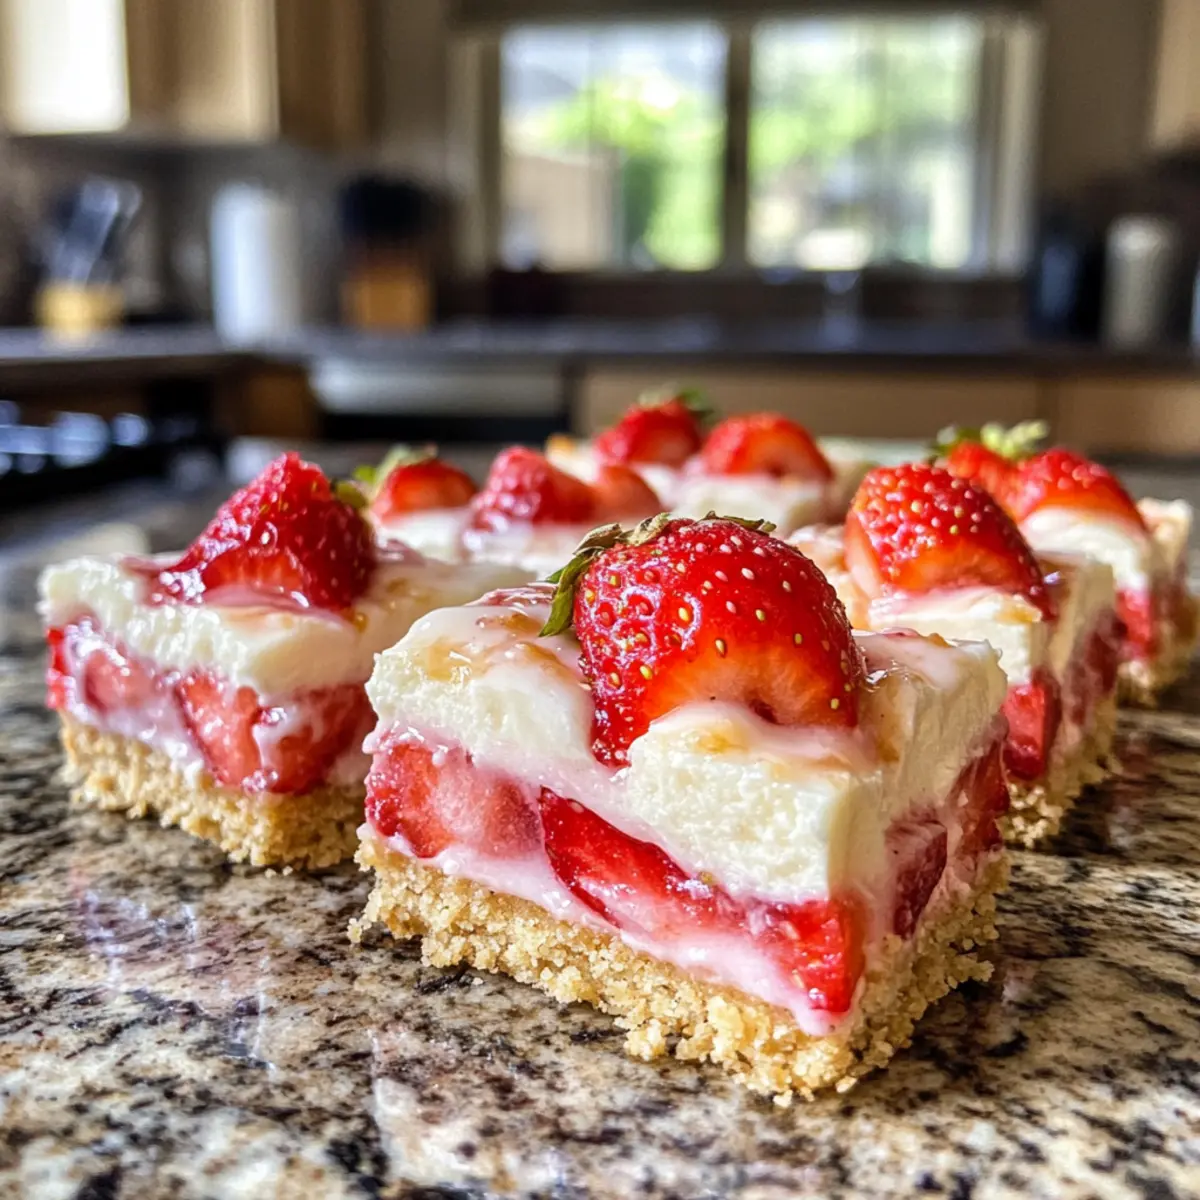
Once cooled, drizzle the glaze generously over the top of the bars. Cut your delightful Strawberry Shortcake Bars into 12 squares, using the parchment paper for easy lifting. Serve them chilled or at room temperature to let their flavors shine, and enjoy the bright tastes of summer.
Variations & Substitutions for Strawberry Shortcake Bars
Customize your Strawberry Shortcake Bars to suit your taste and dietary needs with these delightful twists!
-
Berry Swap: Replace strawberries with raspberries or blueberries for a fresh twist. Each berry brings a unique flavor that amplifies the summer vibe.
-
Citrus Burst: Add lemon zest to the filling for a zesty kick. The bright citrus lifts the sweetness, making each bite refreshing and exciting.
-
Gluten-Free: Use gluten-free flour in place of all-purpose flour for a gluten-free alternative. Enjoy the same delicious taste without any worries!
-
Dairy-Free: Switch the heavy cream in the glaze for coconut milk or almond milk. You’ll still achieve a creamy finish while keeping it plant-based.
-
Flavor Infusion: Stir in a teaspoon of almond extract with the vanilla for a nutty undertone. It’s a subtle twist that can make a big difference.
-
Chilled Delight: For a cooler version, freeze the bars before serving. They transform into a frosty treat perfect for hot summer days!
-
Nutty Crunch: Mix in some chopped nuts like almonds or pecans into the crust for added texture. It brings a lovely crunch that contrasts well with the soft filling.
-
Spiced Up: Add a sprinkle of cinnamon or nutmeg to the crumb mixture for a warm, spicy flavor combination. This twist can elevate the dessert to cozy heights.
Experimenting with these variations can spark joy in your kitchen, and if you’re looking for more inspiration, check out our collection of easy summer recipes. Enjoy the freedom to create!
Expert Tips for Strawberry Shortcake Bars
- Strawberry Selection: Use ripe but firm strawberries for optimal flavor and texture; overripe berries can lead to mushy bars.
- Cooling Time: Allow bars to cool completely before glazing and cutting; this ensures clean, beautiful slices that showcase your hard work.
- Leftover Storage: Store any leftovers in an airtight container in the refrigerator for up to 3 days; this helps maintain the best texture of the Strawberry Shortcake Bars.
- Baking Time Caution: Keep an eye on the baking times; ovens can vary, and you want the top to be golden without burning the crust.
- Recipe Scaling: Easily adjust the recipe—halve it for a smaller batch or double it for a larger gathering.
Storage Tips for Strawberry Shortcake Bars
-
Fridge: Store your Strawberry Shortcake Bars in an airtight container in the refrigerator for up to 3 days. This keeps them fresh and maintains the delightful texture.
-
Freezer: While freezing isn’t recommended due to texture changes, if necessary, wrap individual bars tightly in plastic wrap and then foil for up to a month.
-
Reheating: If you prefer them warm, gently reheat in the microwave for 10-15 seconds, but be cautious not to overheat, as this can alter the texture of the bars.
-
Serving Temperature: Enjoy the bars cold or at room temperature for the best flavor experience.
What to Serve with Strawberry Shortcake Bars
Brighten your dessert table with these heavenly bars and their perfect pairings that will leave everyone craving more.
- Whipped Cream: A dollop of freshly whipped cream adds a rich, creamy texture that complements the fruity sweetness beautifully.
- Fresh Berries: A mix of blueberries or raspberries brings out the summery vibes and adds an extra burst of freshness. Serve them alongside the bars for a delightful contrast.
- Lemonade: A refreshing glass of homemade lemonade perfectly balances the sweetness of the bars, making it a delightful summer treat.
- Ice Cream Sandwiches: For a fun twist, serve these bars as part of an ice cream sandwich with creamy vanilla or strawberry ice cream—two textures that dance joyfully together!
- Mint Sprigs: Garnish with fresh mint leaves for a pop of color and a hint of coolness that elevates the summer experience.
- Fruit Salad: A light fruit salad with seasonal fruits adds bright, juicy flavors that pair excellently with the shortcake bars and keeps it refreshing.
- Sparkling Wine: A bubbly glass of sparkling wine or rosé brings a festive touch to gatherings, enhancing the joyful essence of your strawberry dessert.
- Dark Chocolate Drizzle: A drizzle of melted dark chocolate creates a rich contrast that takes these bars to a whole new level of indulgence—paradise on a plate!
Make Ahead Options
These Strawberry Shortcake Bars are perfect for meal prep, allowing you to enjoy a delicious dessert with minimal last-minute effort! You can prepare the crust and the filling up to 24 hours in advance—simply keep the crust and strawberry mixture covered in the refrigerator to maintain freshness. When you’re ready to enjoy, just assemble the bars by layering the filling over the pre-baked crust, crumble the remaining crust on top, and bake. This way, you’ll have delicious, perfectly baked Strawberry Shortcake Bars ready in no time, all while eliminating the stress of cooking on busy days! Don’t forget to glaze them right before serving for that extra touch of sweetness!
Strawberry Shortcake Bars Recipe FAQs
What type of strawberries should I use?
Absolutely! For the best flavor and texture, choose ripe but firm strawberries. Overripe berries can make your bars mushy and less enjoyable, so keep an eye out for those that are bright red with a sweet aroma!
How should I store leftover Strawberry Shortcake Bars?
Store your Strawberry Shortcake Bars in an airtight container in the refrigerator for up to 3 days. This will keep them fresh and maintain their delightful texture. It’s always a good idea to let them cool completely before sealing them up to prevent condensation.
Can I freeze Strawberry Shortcake Bars?
While freezing isn’t recommended due to potential texture changes, you can still do it if necessary. Wrap individual bars tightly in plastic wrap, then in foil. They can be stored in the freezer for up to a month. When you’re ready to enjoy, thaw them in the refrigerator overnight for the best results.
What if my bars crumble when cutting?
No worries! If your bars are crumbling, it might be due to insufficient cooling before slicing or they were overbaked. To get cleaner cuts, ensure you let them cool completely in the pan. Refrigerating them for about 30 minutes before cutting can also help set the filling and achieve neat slices.
Are there any dietary considerations when making these bars?
Yes, if you’re making these Strawberry Shortcake Bars for someone with dietary restrictions, there are a few alternatives. You can substitute all-purpose flour with a gluten-free mix, and use non-dairy whipping cream for the glaze if needed. Always check for allergies with fresh strawberries as well!
Can I make these bars ahead of time?
Very! You can prepare the bars a day in advance and store them in the refrigerator, covered. The flavors will deepen overnight, making for an even more delightful treat! Just remember to glaze them right before serving for that fresh, appealing look.
Strawberry Shortcake Bars That Will Brighten Your Summer
Ingredients
Equipment
Method
- Preheat your oven to 350°F (175°C) and line an 8×8-inch baking pan with parchment paper.
- In a mixing bowl, whisk together flour, granulated sugar, brown sugar, and salt. Add melted butter and vanilla, mixing until like coarse crumbs.
- Press two-thirds of the mixture into the bottom of the pan and bake for 15-20 minutes until golden.
- Prepare strawberries by washing and chopping them, then toss with sugar and a sprinkle of flour.
- After the crust bakes, distribute the strawberry filling over it and crumble the remaining mixture on top.
- Return the pan to the oven and bake an additional 30-35 minutes until bubbling.
- Cool completely in the pan on a wire rack, refrigerating for about 30 minutes for tidy slices.
- In a bowl, combine powdered sugar, whipping cream, and vanilla extract, whisking until smooth for the glaze.
- Drizzle the glaze over the cooled bars, cut into squares, and serve.