


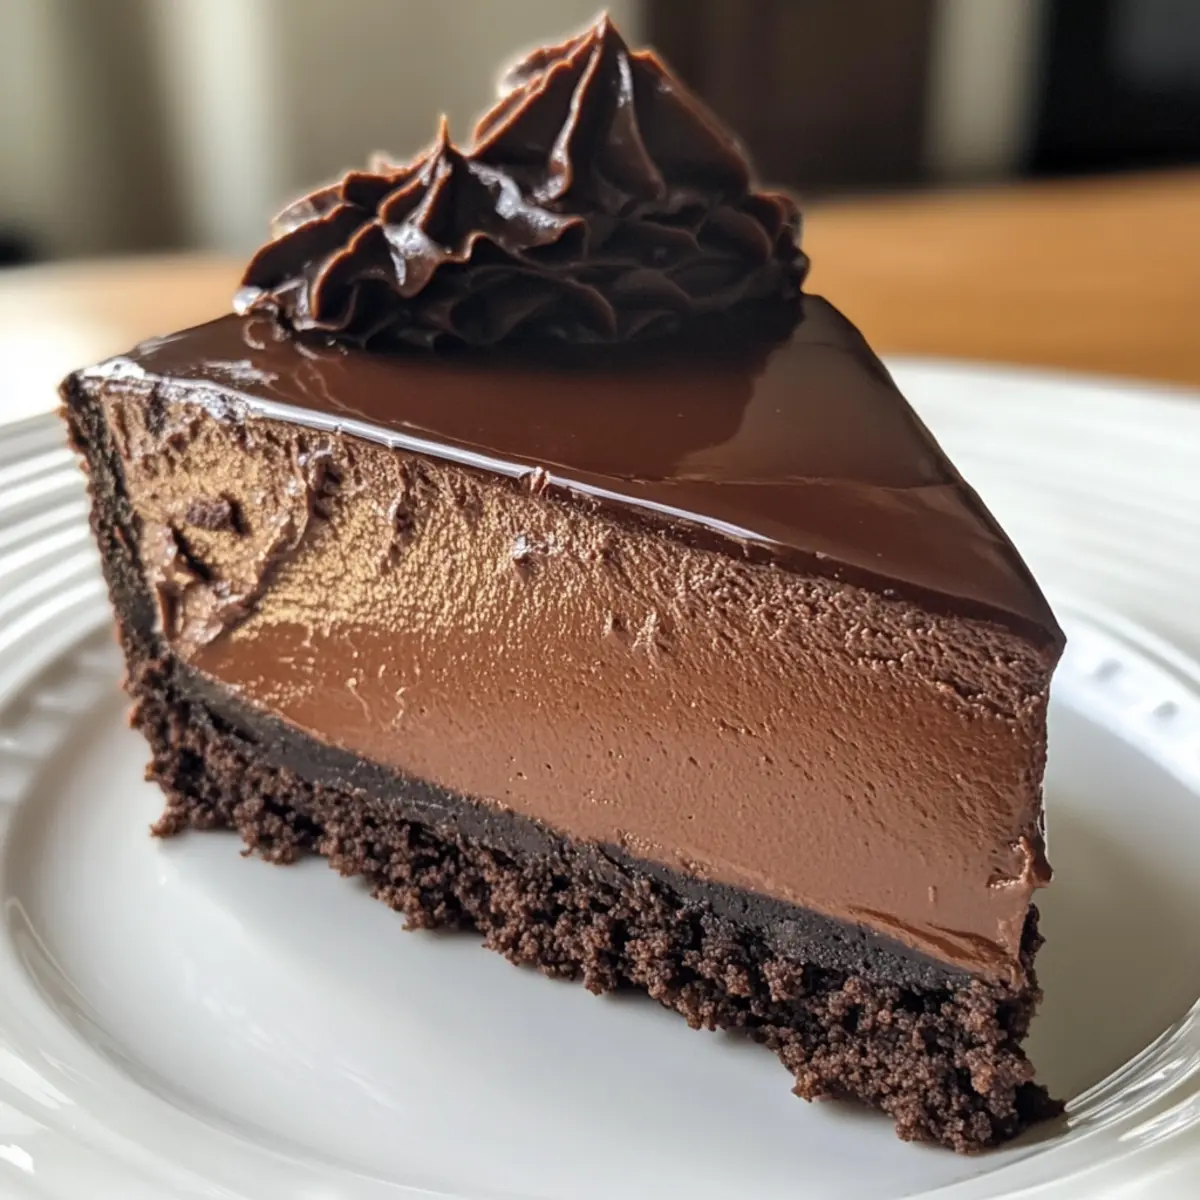
As I stood in my kitchen, the rich aroma of melting chocolate enveloped me like a warm hug. That’s when I decided it was time to create something truly special: the Ultimate Chocolate Cheesecake. This dessert isn’t just for indulgent celebrations; it doubles as a freezer-friendly delight, allowing you to whip up a batch and stash it away for those spontaneous gatherings or quiet nights at home. With its velvety filling and glossy ganache topping, this cheesecake is bound to impress even the most discerning chocolate lovers. Plus, it offers gluten-free and dairy-free variations to cater to every palate. Are you ready to dive into this creamy creation and discover how to make it your own?
Why is this cheesecake a must-try?
Crowd-Pleaser: This Ultimate Chocolate Cheesecake is destined to be the star of any gathering, guaranteed to leave guests raving long after the last bite.
Freezer-Friendly: Prepare ahead and easily freeze individual slices – perfect for those unexpected cravings or last-minute guests!
Adaptable Options: With gluten-free and dairy-free variations, you can cater this treat to fit diverse dietary needs without sacrificing flavor.
Irresistible Texture: The creamy filling and silky ganache create an indulgent experience that feels luxurious yet achievable for home cooks.
Effortless Elegance: Impress family and friends without hours in the kitchen—this recipe is a manageable process that yields stunning results.
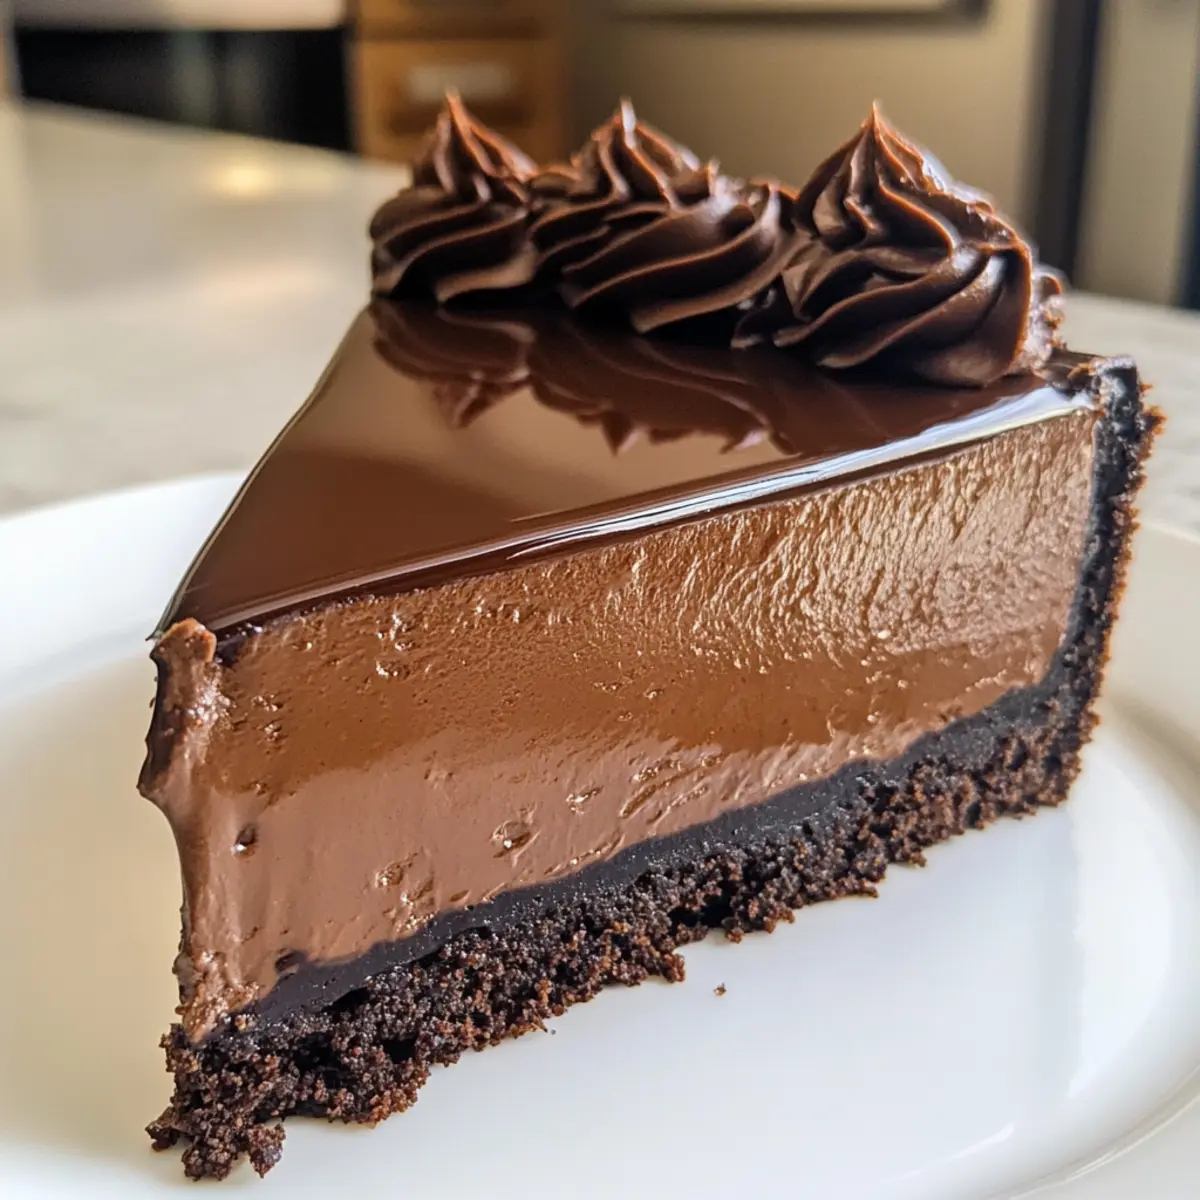
Serve with flair: Pair it with fresh berries or a dollop of whipped cream for an added touch of elegance whenever you’re ready to share your delicious creation!
Ultimate Chocolate Cheesecake Ingredients
• Don’t forget to grab these key ingredients for the best chocolate cheesecake experience!
For the Crust:
- Chocolate Wafer Crumbs – perfect base for a rich chocolate flavor; you can switch to graham cracker crumbs for a fun twist.
- Unsalted Butter – binds the crust beautifully; try coconut oil for a dairy-free alternative.
For the Filling:
- Bittersweet Chocolate – the star of the filling; chop coarsely for easier melting. Semi-sweet works well for a sweeter taste.
- Full-Fat Cream Cheese – ensures that creamy, delightful texture; avoid low-fat for the best results.
- Granulated Sugar – sweetens the filling; stick to this for a balanced flavor.
- Light Brown Sugar – adds depth and moisture; dark brown sugar can enhance the flavor further.
- Unsweetened Cocoa Powder – intensifies the chocolate taste; consider using Dutch cocoa for a richer flavor.
- Large Eggs & Egg Yolks – provide structure; if needed, flaxseed can substitute but may change the texture.
- Heavy Cream – brings creaminess to the filling; non-dairy cream is a suitable option.
- Vanilla Extract – enhances the overall flavor; no need for substitutes here!
For the Ganache:
- Semi-Sweet Chocolate – creates a decadent topping; dark chocolate can amplify that rich flavor.
- Heavy Cream (for Ganache) – adds smooth texture; opt for non-dairy cream if desired.
- Unsalted Butter (for Ganache) – contributes to the richness; can be skipped for dairy-free options.
Step‑by‑Step Instructions for Ultimate Chocolate Cheesecake
Step 1: Prepare Oven and Pan
Preheat your oven to 325°F (163°C) while you prepare your springform pan. Grease a 9-inch springform pan with butter and wrap it tightly in aluminum foil; this prevents moisture from seeping in during baking. Set the pan aside as you move on to the crust preparation.
Step 2: Make the Crust
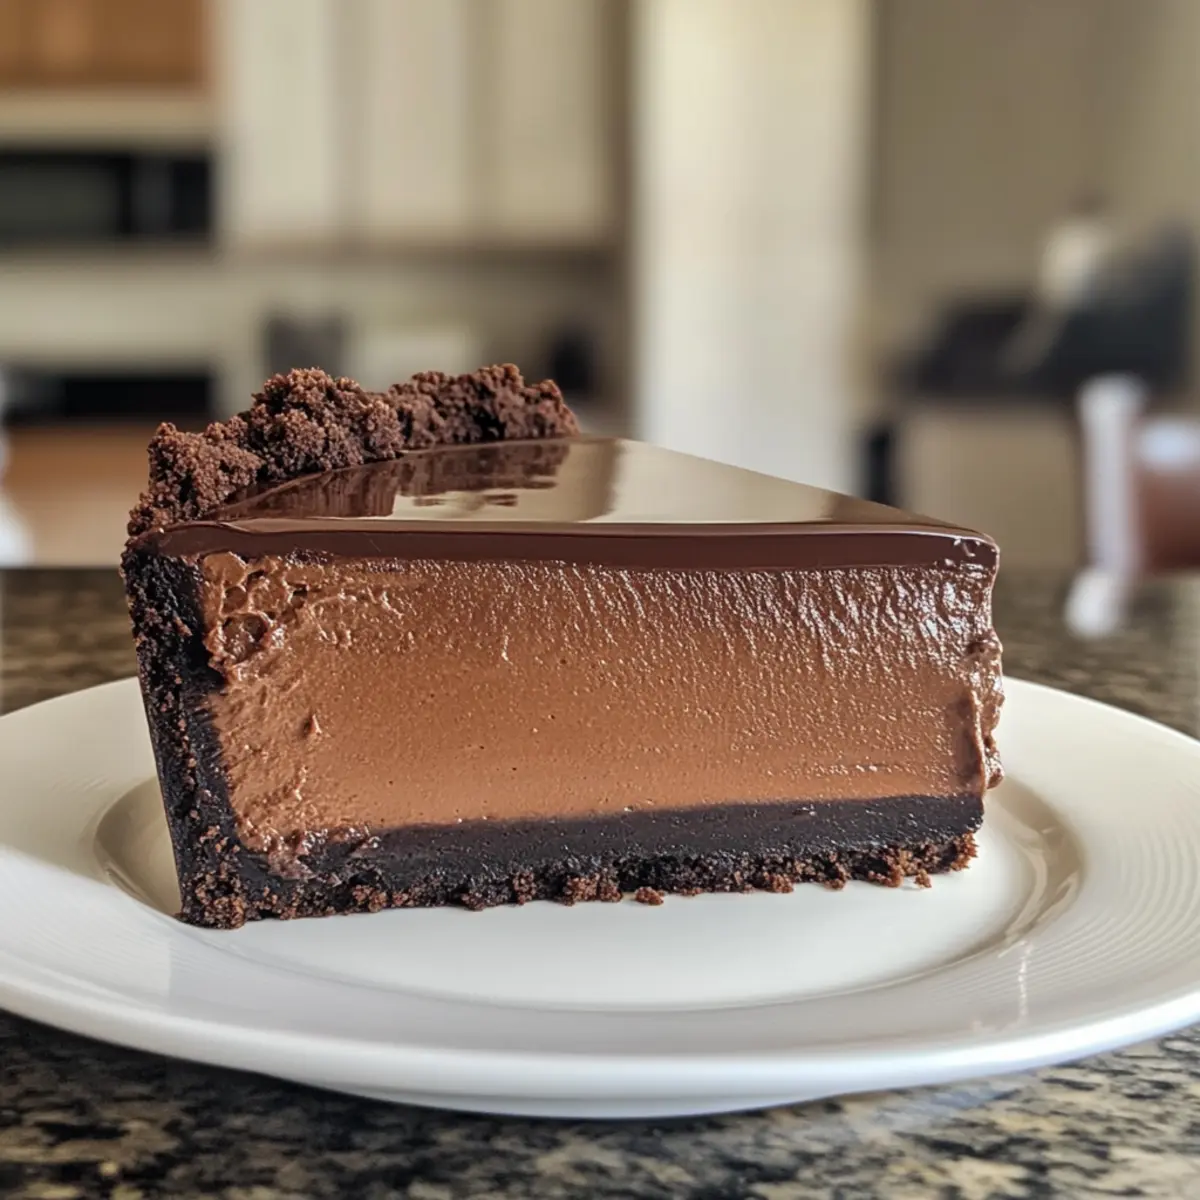
In a mixing bowl, combine the chocolate wafer crumbs and melted unsalted butter until well-blended. Press this mixture firmly into the bottom of the prepared springform pan, ensuring an even layer. Bake the crust for 10 minutes, then remove it from the oven and allow it to cool completely before adding the filling.
Step 3: Melt Chocolate
Using a double boiler, melt the bittersweet chocolate over simmering water, stirring occasionally until smooth. Once melted, remove the bowl from heat and set it aside to cool slightly. This step ensures a perfect texture when you blend the chocolate into your cheesecake filling.
Step 4: Blend Filling
In a food processor, add the full-fat cream cheese and blend until creamy and smooth. Gradually mix in the granulated sugar, light brown sugar, and unsweetened cocoa powder, combining them thoroughly. The resulting mixture should be fluffy, making the base for your Ultimate Chocolate Cheesecake.
Step 5: Add Eggs and Cream
With the processor running, gently add the large eggs and heavy cream, blending just until fully combined. Be cautious not to overmix, as this can lead to cracks during baking. The mixture should look rich and velvety, perfect for the luxurious filling of your cheesecake.
Step 6: Mix in Chocolate and Vanilla
Fold the slightly cooled melted chocolate and vanilla extract into the cream cheese batter. This creates a harmonious blend of flavors and ensures an even distribution throughout the filling. Once incorporated, pour this luscious mixture over the cooled crust in the springform pan.
Step 7: Set Up Water Bath
To create a gentle baking environment, place the springform pan inside a larger baking dish. Pour hot water into the outer pan until it reaches about 1 inch high. This water bath helps the cheesecake bake evenly, giving you that perfect creamy texture for the Ultimate Chocolate Cheesecake.
Step 8: Bake
Bake the cheesecake in the preheated oven for 1 hour and 10 minutes. The edges should be set, while the center will remain slightly jiggly; this is normal. Once baked, carefully remove the cheesecake from the water bath and allow it to cool on a wire rack for about an hour.
Step 9: Chill Cheesecake
Once cooled, cover the cheesecake and refrigerate it for at least 6 hours or overnight for the best texture. Chilling allows the flavors to meld beautifully and ensures a firm consistency. This is a crucial step in achieving that rich, creamy quality the Ultimate Chocolate Cheesecake is known for.
Step 10: Make Ganache
In a small saucepan, simmer the heavy cream over low heat until steaming but not boiling. Pour the hot cream over chopped semi-sweet chocolate in a mixing bowl and whisk until smooth. If desired, add butter to this mixture for extra richness, allowing it to cool slightly before topping the cheesecake.
Step 11: Top Cheesecake
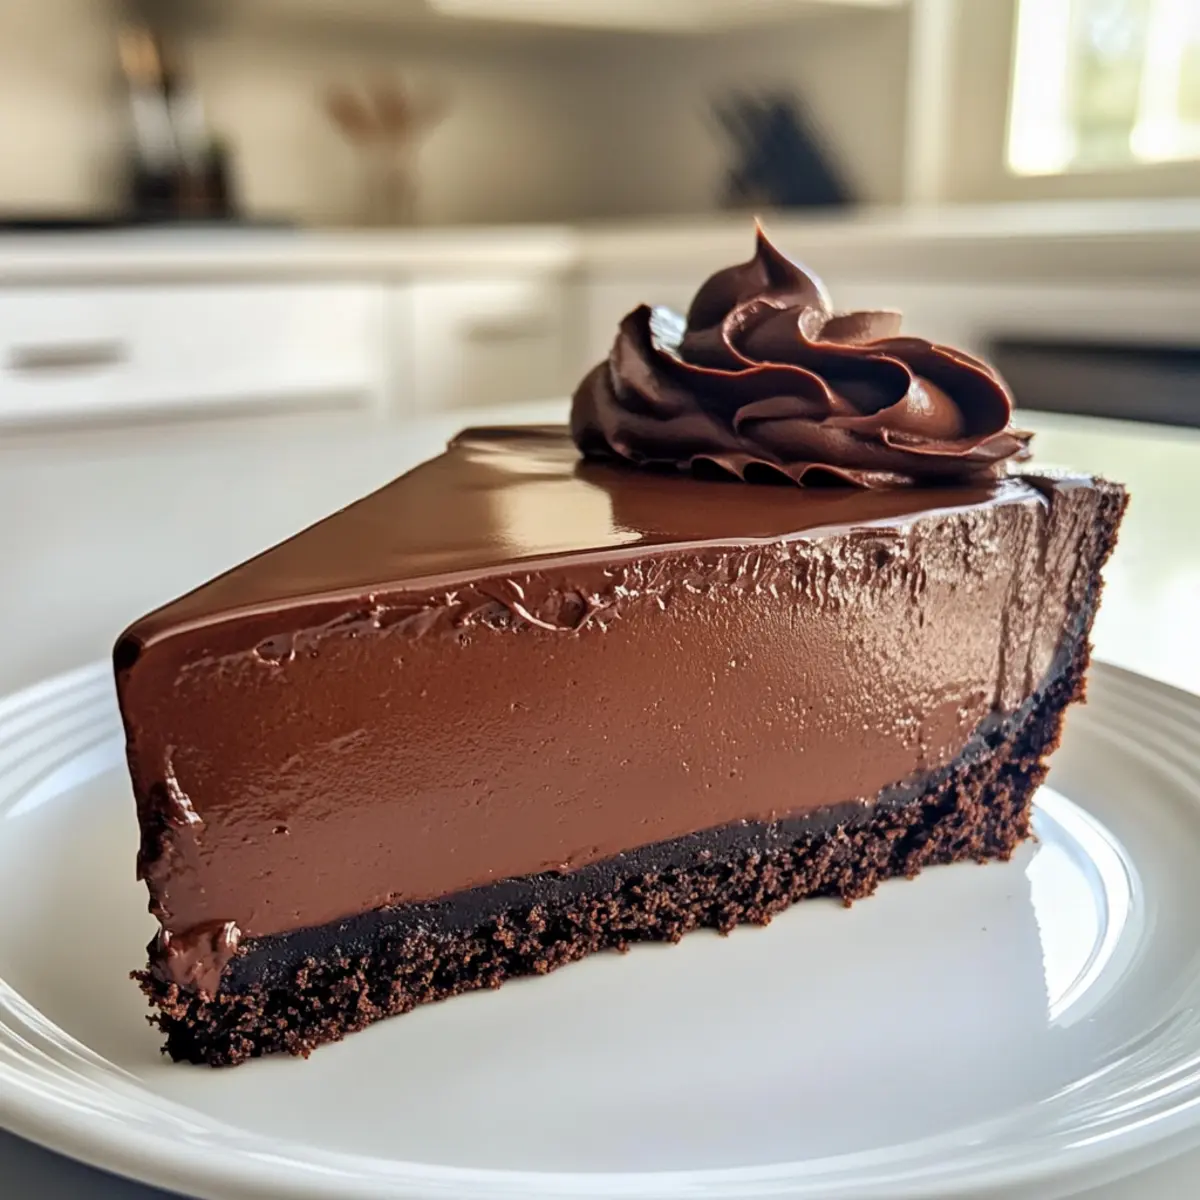
Once your cheesecake has chilled and set, carefully pour the prepared ganache over the top, spreading it evenly. Allow the ganache to set for at least 1 hour before serving, creating a glossy finish that beautifully complements the rich layers of the Ultimate Chocolate Cheesecake.
Ultimate Chocolate Cheesecake Variations
Feel free to get creative and make this chocolate cheesecake your own! Let your culinary imagination run wild as you explore delightful twists and substitute ingredients.
-
Dairy-Free: Substitute full-fat cream cheese and heavy cream with non-dairy alternatives such as coconut cream for a deliciously creamy texture. Enjoy the same rich flavor without the dairy!
-
Gluten-Free: Use gluten-free chocolate wafer crumbs or ground almonds for the crust. This way, everyone can indulge in your heavenly dessert without worry.
-
Flavor Boost: Add espresso powder or flavored extracts like orange or mint to enhance the chocolate flavor. A little boost transforms the taste into something extraordinary!
-
Frozen Treat: Freeze individual slices for a refreshing ice cream alternative during hot summer days. This gives you a moment of bliss whenever that sweet craving hits!
-
Nutty Crust: Replace chocolate wafer crumbs with crushed nuts or nut-based cookies to add a delightful crunch and nutty flavor. This twist elevates the dessert’s texture beautifully.
-
Caramel Drizzle: Drizzle homemade or store-bought caramel over the ganache for an extra layer of sweetness that perfectly complements the rich chocolatey goodness.
-
Zesty Twist: Incorporate citrus zest, like orange or lemon, into the filling for a refreshing twist that brightens each decadent bite with citrusy happiness.
-
Chunky Chewy: Fold in chocolate chips or toffee bits into the cheesecake filling for delightful bursts of flavor and texture. This variation is perfect for those who crave a little chewiness in their dessert.
Feel inspired? Each variation offers a unique experience, ensuring that this Ultimate Chocolate Cheesecake remains a favorite in your home for years to come! If you’re curious about more alternatives, check out our tips on how to serve with this recipe for even more ideas to impress your guests!
What to Serve with Ultimate Chocolate Cheesecake
Indulging in a slice of Ultimate Chocolate Cheesecake is an experience unto itself, but pairing it with the right accompaniments can elevate the moment to pure bliss.
- Fresh Berries: Juicy strawberries or raspberries add a burst of tartness that beautifully contrasts the rich chocolate.
- Whipped Cream: A dollop of light and fluffy whipped cream enhances the creamy texture and adds a delightful touch of sweetness.
- Vanilla Ice Cream: Creamy vanilla ice cream creates a delightful temperature contrast, melting smoothly against the cheesecake’s richness.
- Espresso: A shot of espresso can awaken the palate, balancing the cheesecake’s sweetness with its bold flavor.
- Chocolate Shavings: Sprinkle chocolate shavings on top for an elegant touch, amplifying the chocolate experience in a visually stunning way.
- Mint Leaves: Bright green mint leaves not only look great but their refreshing taste can cleanse the palate between bites.
- Caramel Sauce: Drizzle warm caramel sauce over the cheesecake for a decadent twist that adds both sweetness and a hint of saltiness.
- Hazelnut Praline: A sprinkle of crushed hazelnut praline brings a satisfying crunch and a nutty flavor enhancement to each creamy bite.
- Red Wine: A glass of fruity red wine complements the chocolate without overwhelming the flavors, creating a sophisticated pairing.
Expert Tips for Ultimate Chocolate Cheesecake
-
Prevent Cracks: Allow the cheesecake to cool gradually with the oven door ajar. This helps maintain its creamy texture and prevents unsightly cracks.
-
Perfect Slicing: Use a warm, clean knife to slice the cheesecake. This will create neat edges and showcase the beautiful layers of chocolatey goodness.
-
Water Bath Importance: Don’t skip the water bath step! It ensures even baking and contributes to the smooth, creamy texture of your Ultimate Chocolate Cheesecake.
-
Substitutions Matter: If using lower-fat cream cheese, be aware that it may affect the cheesecake’s texture. Full-fat options yield the best results!
-
Freezing Tips: To enjoy later, freeze individual slices wrapped in plastic. This makes it easy to pull out a slice for a sweet craving while preserving the cheesecake’s integrity.
How to Store and Freeze Ultimate Chocolate Cheesecake
-
Fridge: Store the cheesecake in an airtight container in the fridge for up to 5 days. Make sure to cover it tightly to maintain its creamy texture and flavor.
-
Freezer: Wrap individual slices of cheesecake tightly in plastic wrap and then in aluminum foil. It can be frozen for up to 2 months. This makes for delicious, easy-to-reheat treats!
-
Thawing: To enjoy frozen slices, transfer them from the freezer to the refrigerator and let them thaw overnight. This keeps the cheesecake’s rich flavor intact.
-
Reheating: If desired, you can warm a slice in the microwave for about 15-20 seconds for a cozy, melt-in-your-mouth experience when you’re craving that Ultimate Chocolate Cheesecake.
Make Ahead Options
These Ultimate Chocolate Cheesecake is perfect for meal prep enthusiasts! You can prepare the crust and filling up to 24 hours in advance. Simply make the crust, cool it completely, and store it tightly wrapped in plastic wrap in the fridge. For the filling, blend all ingredients, pour it over the crust, and cover the pan with foil before refrigerating. This allows the flavors to meld beautifully without compromising quality. On the day of serving, just bake the cheesecake as directed and chill for at least 6 hours (or overnight, for optimal texture) before topping it with ganache. You’ll have a stunning dessert ready with minimal last-minute effort!
Ultimate Chocolate Cheesecake Recipe FAQs
How do I choose the right chocolate for my cheesecake?
Absolutely! When selecting chocolate, go for bittersweet chocolate for a rich flavor profile. It’s best to chop it coarsely before melting—this encourages even melting and prevents overheating. If you prefer a sweeter taste, semi-sweet chocolate is a great alternative that’ll still make your cheesecake heavenly.
How should I store my cheesecake to keep it fresh?
To keep your Ultimate Chocolate Cheesecake fresh, store it in an airtight container in the fridge for up to 5 days. Ensure it’s tightly covered to prevent it from absorbing other odors and flavors in the fridge, keeping that creamy texture intact.
Can I freeze leftover cheesecake?
Absolutely! Wrap each slice tightly in plastic wrap and then in aluminum foil to prevent freezer burn. You can freeze them for up to 2 months. When you’re ready to enjoy them, simply transfer the slices to the refrigerator to thaw overnight.
My cheesecake cracked while baking; what went wrong?
Cracking can happen for a few reasons! To avoid this: first, ensure you’re using a water bath during baking; it helps regulate temperature and provides moisture. Second, allow your cheesecake to cool gradually by leaving the oven door ajar once baking is complete. Lastly, don’t overmix your batter as it can introduce too much air.
Are there any allergy considerations for this cheesecake?
For those with dietary restrictions, there are several alternatives available! You can make this cheesecake dairy-free by using non-dairy cream cheese and heavy cream, like coconut cream. If gluten is a concern, choose gluten-free chocolate wafer crumbs for the crust or use ground almonds for a delightful twist.
How do I prevent my cheesecake from sticking to the pan?
To prevent sticking, I recommend greasing your springform pan generously with butter and also wrapping the outside tightly in aluminum foil. This creates an extra layer of protection from moisture while baking and makes it easier to remove your Ultimate Chocolate Cheesecake once it’s set!
Ultimate Chocolate Cheesecake: Rich, Creamy Bliss Awaits
Ingredients
Equipment
Method
- Preheat your oven to 325°F (163°C) and prepare your springform pan by greasing it and wrapping it in aluminum foil.
- In a mixing bowl, combine the chocolate wafer crumbs and melted unsalted butter until well-blended. Press it into the bottom of the springform pan. Bake for 10 minutes and cool completely.
- Melt the bittersweet chocolate using a double boiler over simmering water. Stir until smooth and set aside to cool slightly.
- Blend the full-fat cream cheese in a food processor until creamy. Gradually add granulated sugar, light brown sugar, and unsweetened cocoa powder until fluffy.
- With the processor running, add the large eggs and heavy cream. Blend until fully combined, being careful not to overmix.
- Fold in the melted chocolate and vanilla extract into the cream cheese mixture, then pour over the cooled crust.
- Place the springform pan in a larger baking dish and add hot water to create a water bath. Bake for 1 hour and 10 minutes until edges are set.
- Remove cheesecake from the water bath and let it cool on a wire rack for about an hour.
- Cover and refrigerate the cheesecake for at least 6 hours or overnight.
- Simmer heavy cream until steaming, pour over chopped semi-sweet chocolate, and whisk until smooth for the ganache.
- Pour the ganache over the chilled cheesecake and allow to set for 1 hour before serving.