


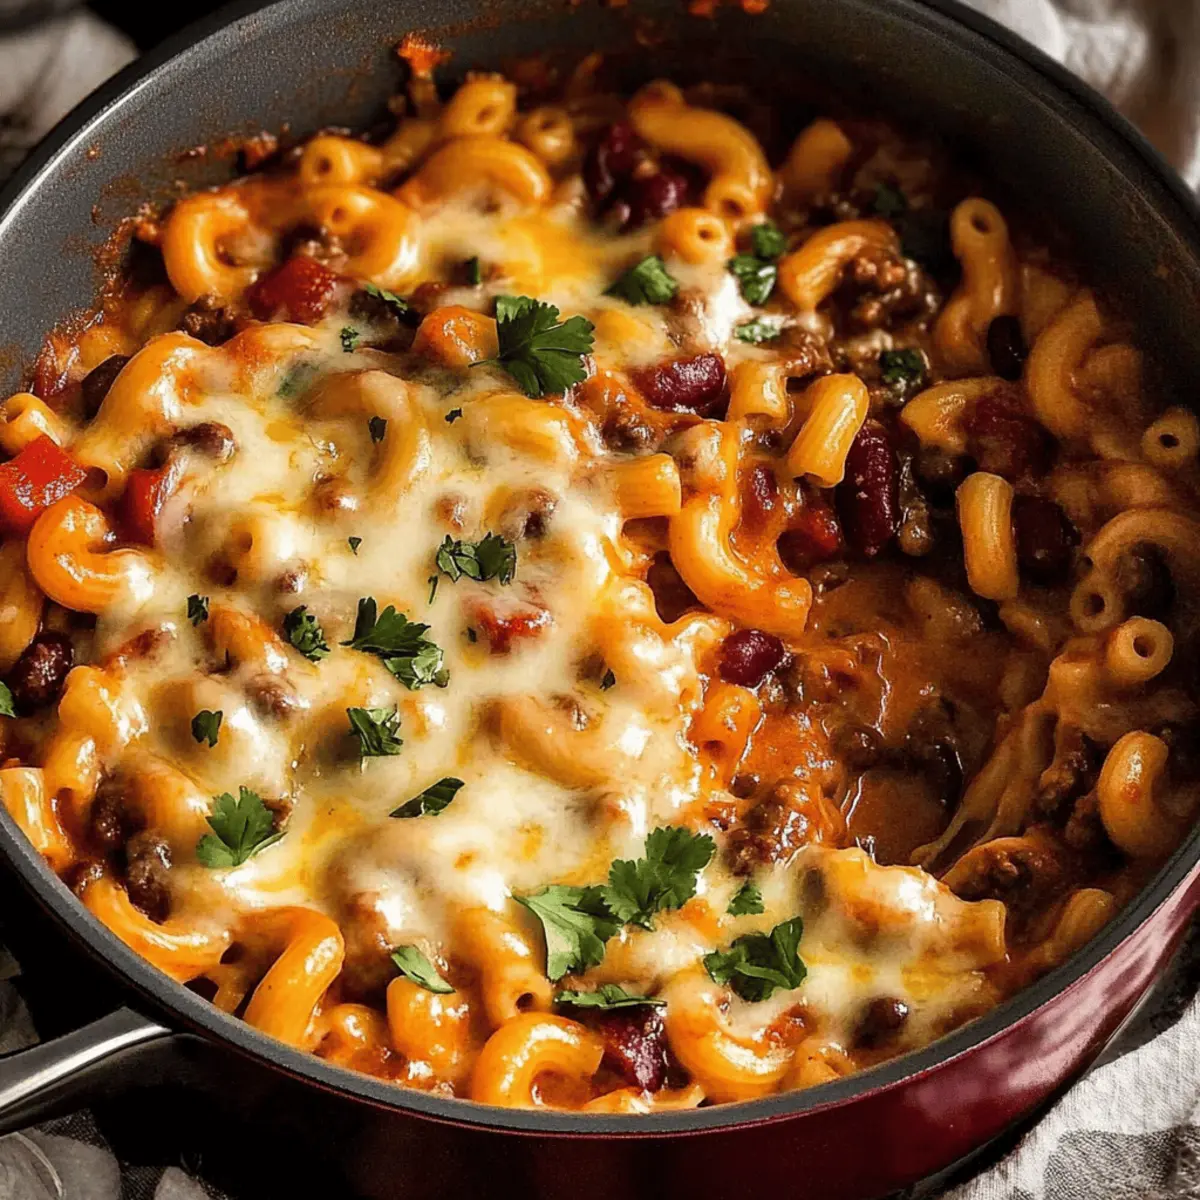
As the aroma of sizzling garlic and onions fills the kitchen, I’m reminded of those cozy evenings spent with loved ones, sharing laughter and delicious meals. Enter the star of our dinner today: One-Pot Chili Mac and Cheese, a delightful fusion of creamy goodness and satisfying chili flavors. This recipe not only delivers a rich, hearty dinner in under 30 minutes but also simplifies cleanup, making it a weeknight hero for busy cooks. Whether you’re looking to impress family or just treat yourself to some comforting food, this is your go-to dish! Curious about how to whip up this mouthwatering meal? Let’s dive into the delicious details!
Why is Chili Mac a Must-Try?
Quick and Easy: This one-pot meal offers a hassle-free cooking experience, perfect for busy weeknights.
Comfort in Every Bite: The creamy cheese blends seamlessly with the spicy chili, creating a dish that feels like a warm hug.
Versatility: Customize your Chili Mac with different proteins or cheeses, ensuring a new twist every time!
Crowd-Pleaser: Whether you’re serving family or friends, this dish is guaranteed to satisfy and impress. Need more quick recipes? Check out Sweet Chili Chicken for another flavor-packed option!
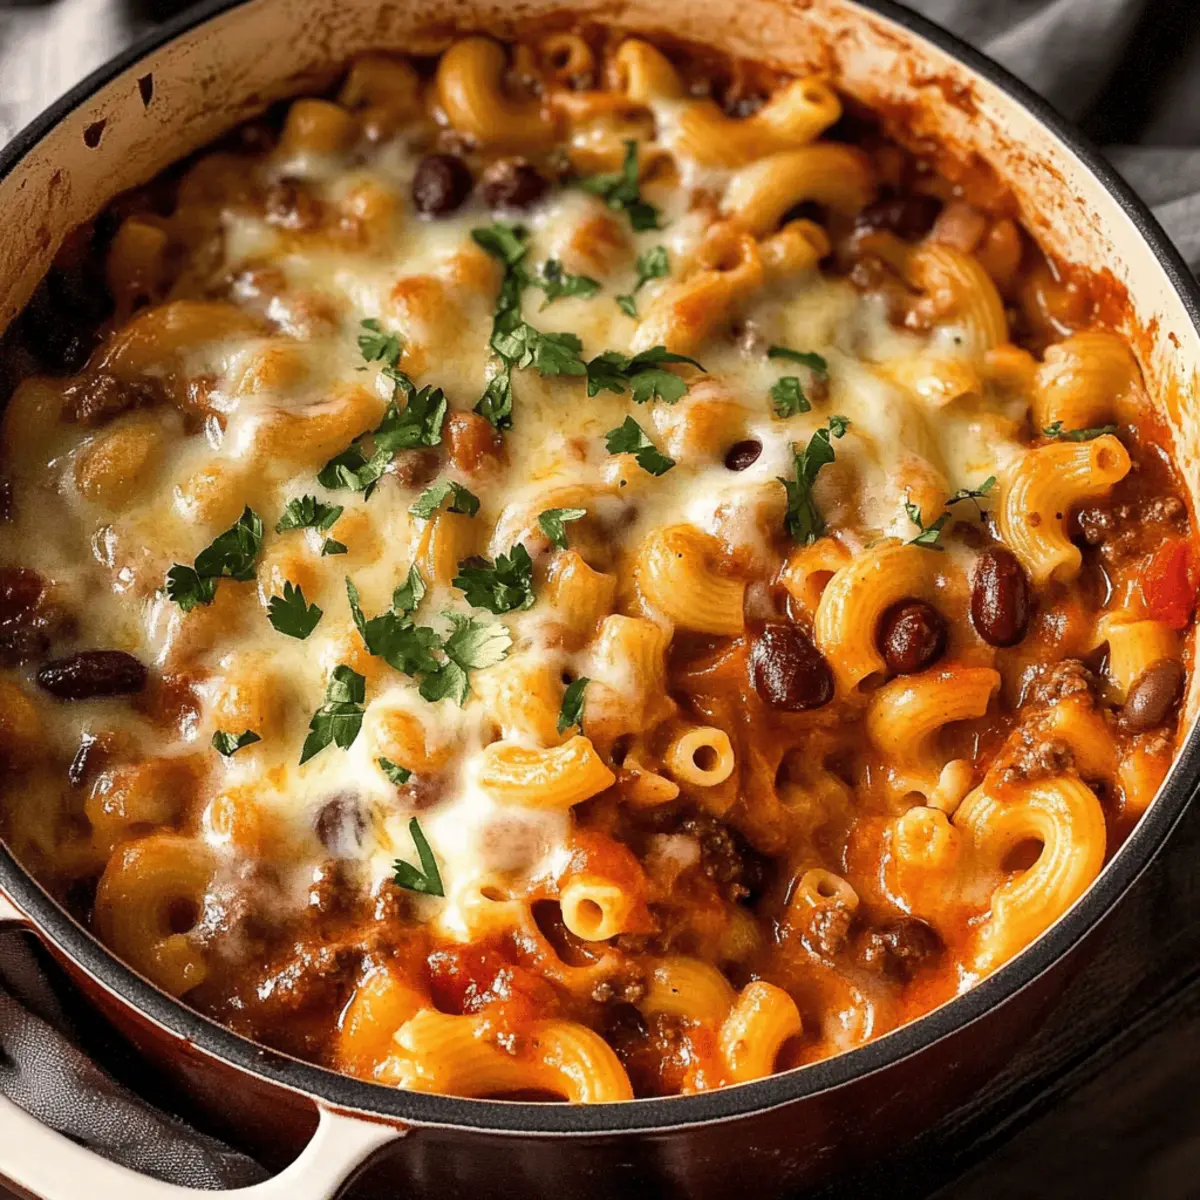
Hearty and Filling: With a perfect blend of pasta, beans, and beef, this meal is both nourishing and satisfying!
Chili Mac Ingredients
• Discover how easy it is to create your own comforting Chili Mac with these ingredients!
For the Base
- Olive Oil – A rich base for sautéing your aromatics.
- Garlic (2 cloves, minced) – Adds a delightful aromatic flavor that enhances the dish.
- Onion (1, finely chopped) – Brings sweetness and adds depth to the flavor profile.
- Red Capsicum/Bell Pepper (1, chopped) – Contributes natural sweetness and vibrant color.
For the Protein
- Ground Beef (500g / 1 lb, lean) – The main protein that imparts richness and flavor; feel free to swap with ground turkey or chicken!
- Red Kidney Beans (420g / 14 oz, drained) – Adds texture and protein, and can be substituted with other beans if desired.
For the Sauce
- Crushed Canned Tomato (800g / 28 oz) – Forms the base of your chili sauce with moisture and a nice tang.
- Beef Broth (2 ½ cups / 625 ml) – Elevates the flavors; chicken broth also works well as a substitute.
For the Pasta
- Elbow Macaroni Pasta (250g / 8 oz, uncooked) – The primary carbohydrate to bring it all together; use other pasta shapes for variety!
For the Cheese
- Shredded Cheese (2 cups / 200g, e.g., cheddar, Monterey Jack) – Melts beautifully into the dish, enhancing creaminess and flavor.
For the Spices
- Cayenne Pepper (½ tsp) – Adds a kick; adjust to control heat level for your taste.
- Paprika Powder (2 tsp) – Imparts color and depth of flavor to the dish.
- Cumin Powder (2 tsp) – Guarantees that earthy flavor characteristic of classic chili.
- Onion Powder (1 ½ tsp) – Boosts the onion flavor; you can swap it with garlic powder if preferred.
- Dried Oregano (1 tsp) – Adds an herbal touch that lifts the entire dish.
- Black Pepper (½ tsp) – Delivers a warmth that brings all the flavors together.
- Salt (1 ¼ tsp) – Enhances all the flavors in your Chili Mac.
For Garnish
- Coriander/Cilantro (¼ cup, finely chopped, for garnish) – Adds a fresh touch; optional depending on preference.
Now you’re ready to create the ultimate Chili Mac! This dish isn’t just a meal; it’s a comforting experience waiting to brighten your dinner table.
Step‑by‑Step Instructions for Chili Mac
Step 1: Sauté the Aromatics
Heat 2 tablespoons of olive oil in a large pot over medium-high heat. Once the oil shimmers, add 2 minced garlic cloves and 1 finely chopped onion. Sauté for about 1 minute until fragrant and the onion starts to become translucent, stirring occasionally to prevent burning. This will create a flavorful base for your Chili Mac.
Step 2: Add Bell Pepper
Next, stir in 1 chopped red bell pepper and cook for about 2 minutes. You want the bell pepper to soften a bit and add a pop of color to your dish. Continue to stir, ensuring the vegetables caramelize slightly; this enhances their sweetness, contributing to the overall flavor of the Chili Mac.
Step 3: Brown the Ground Beef
Add 500g of lean ground beef to the pot, breaking it apart with a spatula. Cook for about 5–7 minutes, stirring occasionally, until the beef is browned and cooked through. You’ll know it’s ready when there’s no pink remaining, and the meat has begun to develop a nice depth of flavor that complements the sautéed vegetables.
Step 4: Incorporate the Sauce Ingredients
Stir in 800g of crushed canned tomatoes, 420g of drained red kidney beans, and 2 ½ cups of beef broth. Then, add 250g of uncooked elbow macaroni and your spices: ½ teaspoon cayenne pepper, 2 teaspoons paprika, 2 teaspoons cumin, 1 ½ teaspoons onion powder, 1 teaspoon dried oregano, ½ teaspoon black pepper, and 1 ¼ teaspoons salt. Mix well to combine all ingredients.
Step 5: Simmer the Chili Mac
Bring the mixture to a gentle simmer; cover the pot and reduce the heat to medium-low. Allow it to cook for about 12 minutes, stirring occasionally to prevent sticking. Your Chili Mac is done once the macaroni is al dente, absorbing the rich flavors of the chili sauce.
Step 6: Mix in the Cheese
After the macaroni is perfectly cooked, turn off the heat and stir in 1 cup of shredded cheese until melted and creamy. Taste the mixture and adjust seasoning as necessary. This step adds a luxurious creaminess to your Chili Mac, making it even more comforting.
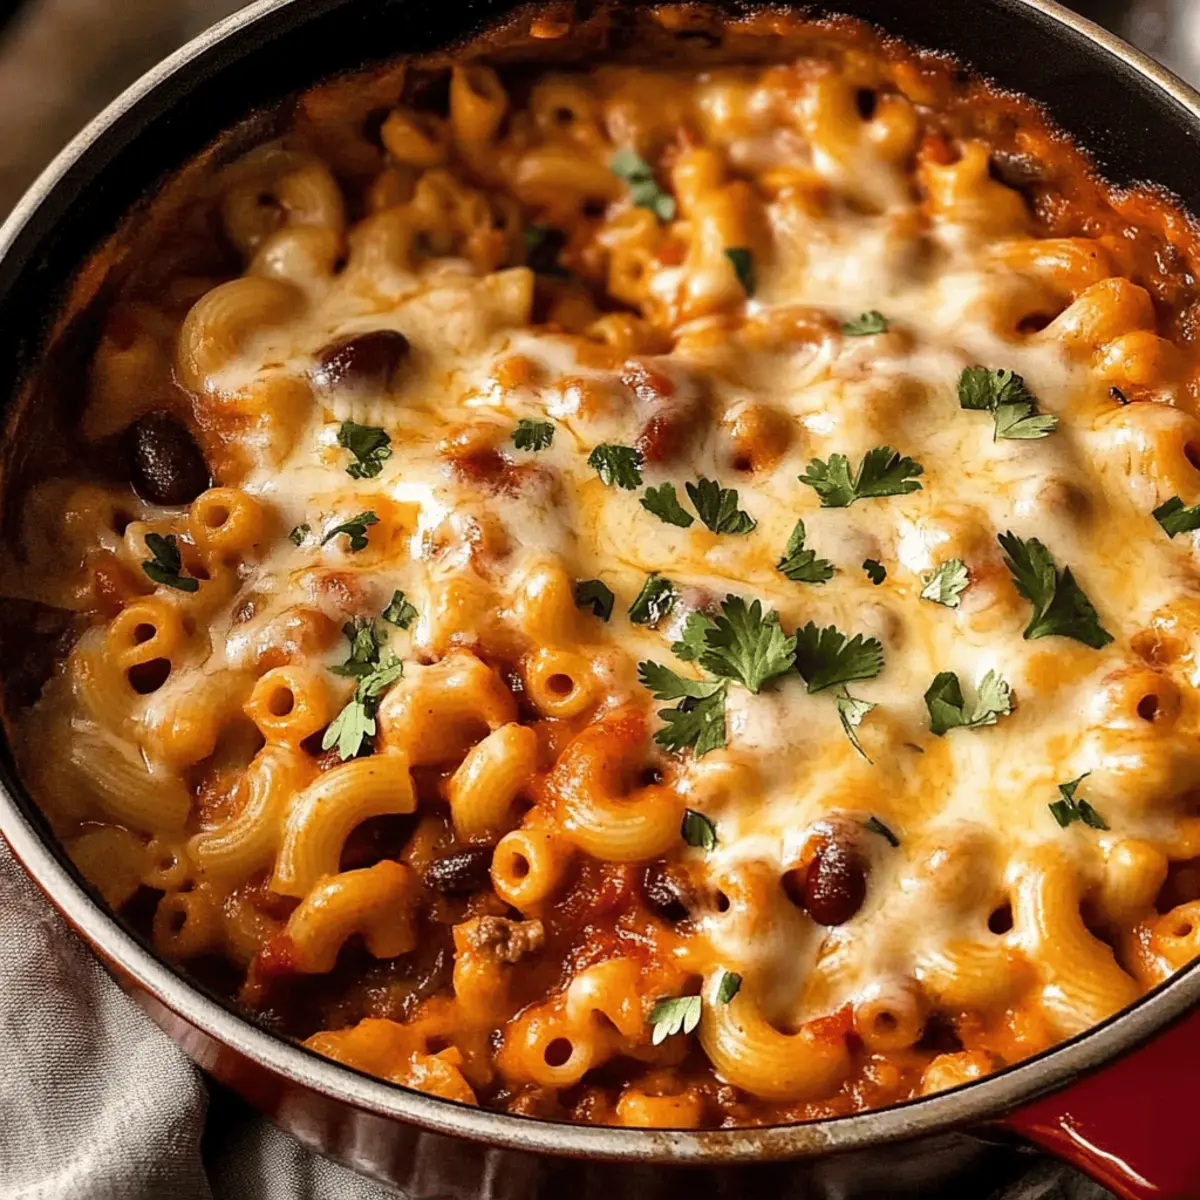
Step 7: Top with More Cheese
Sprinkle the remaining cup of shredded cheese over the top of the Chili Mac. Cover the pot with a lid to allow the residual heat to melt the cheese perfectly. In about 2-3 minutes, uncover to reveal a bubbling, cheesy topping that will beckon everyone to the table for a comforting meal.
How to Store and Freeze Chili Mac
Fridge: Store leftover Chili Mac in airtight containers for up to 3 days. Make sure to let it cool completely before sealing to maintain freshness.
Freezer: For long-term storage, freeze the Chili Mac in portioned airtight containers for up to 3 months. Ensure it has enough sauce to keep it from drying out during freezing.
Reheating: Thaw in the fridge overnight before reheating. Microwave individual portions until heated through, or reheat on the stovetop over low heat, adding a splash of broth for added moisture if needed.
Enjoy Again: Reheated Chili Mac can taste just as delicious, making it an easy comfort food option for another busy night!
Chili Mac Variations & Substitutions
Explore the joy of personalizing your Chili Mac with these delightful variations that will tantalize your taste buds!
-
Protein Swap: Try using ground turkey or chicken for a lighter version. Plant-based crumbles also make for an excellent choice if you’re looking for a vegetarian meal.
-
Cheese Change: Experiment with different cheeses like pepper jack for a spicy kick or a creamy gouda for a rich flavor twist. Each cheese brings its unique identity to the dish.
-
Veggie Boost: Add in some corn, zucchini, or diced carrots to amp up the nutritional value. Incorporating veggies not only enhances the flavor but also makes your meal colorful and appetizing.
-
Pasta Variation: Swap out elbow macaroni for whole wheat pasta or gluten-free options to fit your dietary needs. The shape won’t matter; it’s all about that delicious chili goodness!
-
Heat Adjustment: For those who love heat, add some diced jalapeños or a splash of hot sauce. If you prefer milder flavors, reduce the cayenne pepper or substitute it with smoked paprika.
-
Creamy Addition: Stir in a dollop of sour cream or Greek yogurt just before serving for an extra creamy bite. This adds a delightful tang that contrasts beautifully with the chili flavors.
-
Casserole Style: If you’re feeling adventurous, transfer your Chili Mac to a baking dish, top it with crushed tortilla chips and extra cheese, and bake until bubbly and golden brown for a comforting casserole twist.
Ready for another quick recipe? Check out One Pan Chili for more delicious inspiration!
Expert Tips for Chili Mac
Perfect Pasta: Avoid overcooking the macaroni by stirring occasionally and checking for al dente before turning off the heat.
Spice Control: If you prefer a milder flavor, reduce the cayenne pepper or replace it with paprika for warmth without the heat.
Freezing Tips: To maintain texture, ensure there’s enough sauce before freezing leftovers; they can be frozen for up to 3 months.
Protein Flexibility: Feel free to swap out ground beef for ground turkey, chicken, or a plant-based protein to suit your dietary preferences.
Garnish Delight: Enhancing the dish with fresh cilantro or a dollop of sour cream adds freshness and layers of flavor to your Chili Mac.
What to Serve with Chili Mac and Cheese
As you savor the savory blend of flavors in this comforting dish, it’s time to consider the perfect accompaniments that will elevate your meal experience.
- Crisp Green Salad: A fresh salad with mixed greens, tomatoes, and cucumbers balances the richness of the Chili Mac, providing a refreshing crunch. Top it with a light vinaigrette for added zest!
- Garlic Breadsticks: Soft and buttery breadsticks filled with garlic and herbs pair wonderfully, allowing you to enjoy every bit of the cheesy sauce left on your plate.
- Roasted Vegetables: Seasoned asparagus or broccoli brings a contrasting texture and flavor, adding a healthy touch to your meal.
- Sour Cream & Avocado: A dollop of sour cream and slices of creamy avocado on top of your Chili Mac adds richness and a luscious creaminess that complements the flavors beautifully.
- Cornbread Muffins: Sweet cornbread muffins provide a delightful balance to the spicy chili flavors. Their fluffiness is perfect for soaking up the delicious sauce!
- Iced Tea or Lemonade: A tall glass of sweetened iced tea or homemade lemonade serves as a refreshing drink option that cools down the heat from the dish, making for a delightful dining experience.
Make Ahead Options
These Chili Mac and Cheese are perfect for busy home cooks looking to save time! You can prepare the base of the meal—sautéing the garlic, onion, and bell pepper, and browning the beef—up to 3 days in advance. Store these components in an airtight container in the refrigerator. On the day you plan to serve, simply reheat the mixture in a pot, then add the crushed tomatoes, beans, broth, and macaroni, cooking for about 12 minutes until al dente. Mix in the cheese just before serving for that creamy, comforting finish that keeps your Chili Mac just as delicious as if you made it fresh!
Chili Mac and Cheese Recipe FAQs
How do I select the best ingredients for my Chili Mac?
Absolutely! For the best flavors, choose ripe tomatoes that are vibrant in color and feel slightly firm. When selecting bell peppers, go for ones that have a glossy skin with no dark spots. Ground beef should be lean and bright red; avoid any packages that look grey or have an off smell. If you prefer alternative proteins like turkey or plant-based alternatives, ensure they are fresh for optimal taste.
What’s the best way to store leftover Chili Mac and for how long?
You can store leftover Chili Mac in an airtight container in the fridge for up to 3 days. Allow it to cool completely before placing it in the fridge to maintain freshness. For optimal storage, label the container with the date so you know how long it has been there!
Can I freeze Chili Mac, and how do I do it properly?
Very much so! To freeze your Chili Mac, ensure it’s saucy to maintain moisture. Let it cool completely before portioning into airtight containers. Label with the date, and you can store it for up to 3 months. When ready to enjoy again, thaw in the fridge overnight and reheat gently on the stovetop, adding a splash of beef broth or water to restore its creamy texture.
What should I do if my Chili Mac turns out too watery or dry?
If your Chili Mac is too watery, you can simmer it uncovered on the stove for an additional few minutes to reduce the liquid. Stir occasionally to prevent it from sticking. For a dry mixture, add a splash of broth or a bit more cheese and stir well until you achieve the desired creaminess. Don’t be discouraged—every home chef encounters these hiccups, and they teach us how to improve our craft!
Are there any dietary considerations I should be aware of when making Chili Mac?
Absolutely! If anyone in your family has soy allergies, be sure to use only fresh ingredients and check the labels on any canned items. If cooking for pets, simply avoid adding any cheese or salt to their portions since dairy can upset their stomachs. This recipe also offers the flexibility of using gluten-free pasta or swapping ground beef with turkey or plant-based protein as dietary needs change.
What can I serve alongside my Chili Mac for a complete meal?
To create a well-rounded meal, serve your Chili Mac with a simple green salad dressed lightly with olive oil and lemon. You might also add a side of cornbread or garlic bread for that perfect comforting experience. A fresh dollop of sour cream on top of the Chili Mac can provide a contrasting coolness that balances the spicy flavors. Enjoy!
Creamy Chili Mac: Your New Go-To Comfort Food Delight
Ingredients
Equipment
Method
- Heat 2 tablespoons of olive oil in a large pot over medium-high heat. Add 2 minced garlic cloves and 1 finely chopped onion. Sauté until fragrant.
- Stir in 1 chopped red bell pepper and cook for about 2 minutes until softened.
- Add 500g of lean ground beef, cook until browned and cooked through, about 5-7 minutes.
- Stir in 800g of crushed canned tomatoes, 420g of drained red kidney beans, and 2 ½ cups of beef broth. Add 250g of elbow macaroni and spices. Mix well.
- Bring to a gentle simmer; cover and cook for 12 minutes, stirring occasionally until macaroni is al dente.
- Turn off the heat and stir in 1 cup of shredded cheese until melted and creamy.
- Sprinkle the remaining cup of cheese over the top. Cover for 2-3 minutes to melt cheese perfectly.