


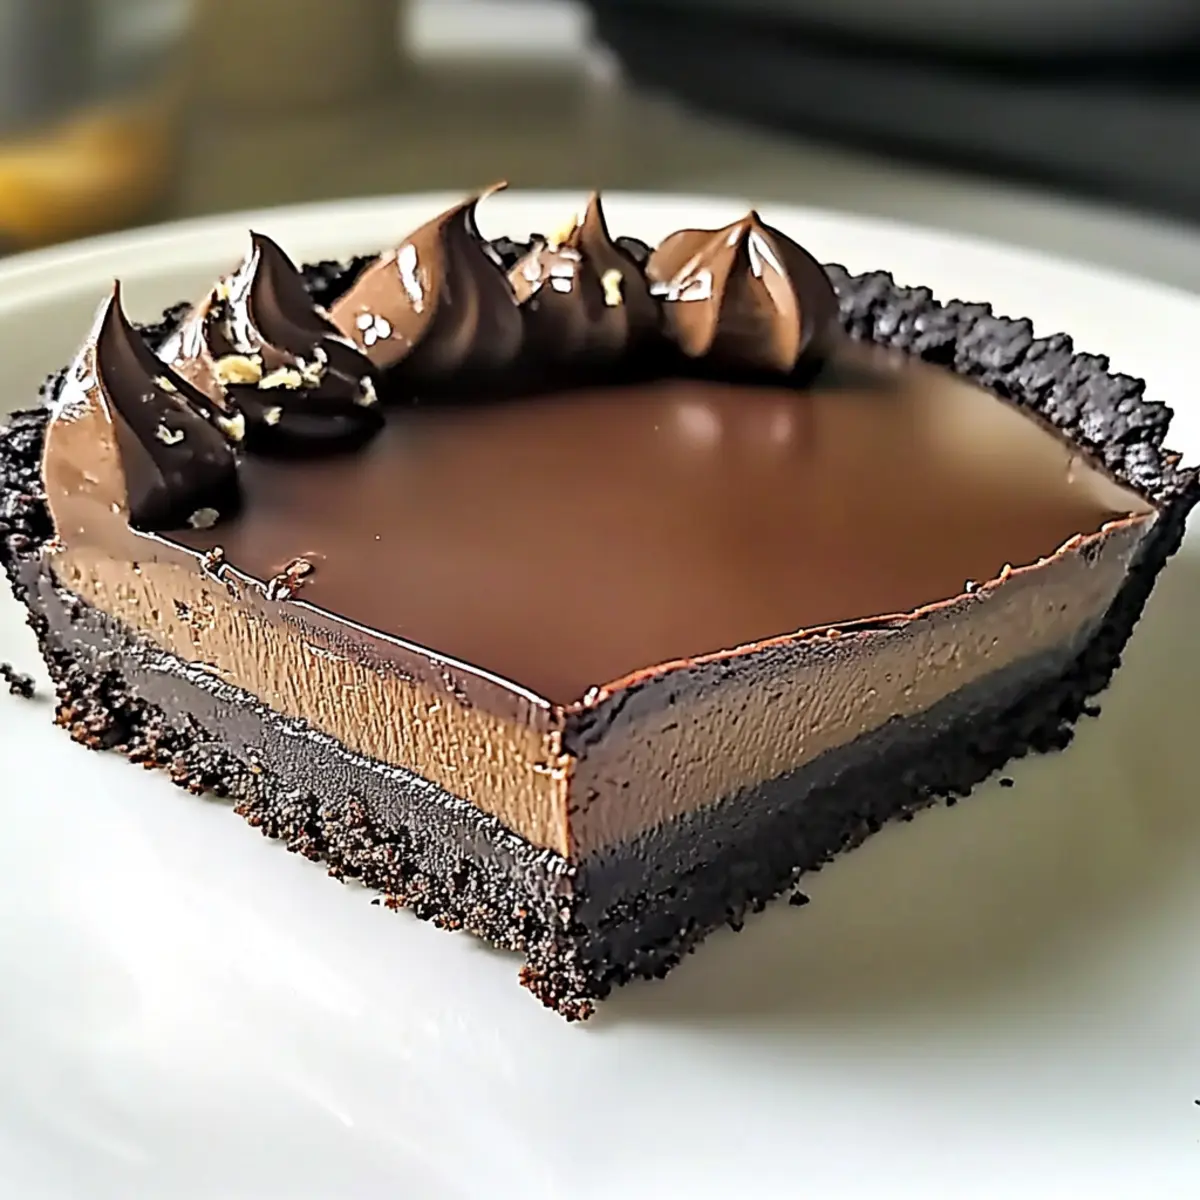
As I stood in my kitchen surrounded by a whirlwind of dessert ideas, a simple realization struck me—sometimes the best treats come with the least effort. Enter my No Bake Chocolate Tart—an easy dessert that turns chocolate cravings into smiles without even breaking a sweat. This luscious tart features a crunchy Oreo crust and a decadent filling that whispers sweet nothings to your taste buds. With just five ingredients and no baking required, it’s the perfect answer for those spontaneous get-togethers or cozy movie nights at home. Plus, it’s a crowd-pleaser that can easily be made gluten-free or dairy-free, catering to all your guests’ needs. Ready to impress without the stress? Let’s make some chocolate magic!
Why is this tart a must-try?
Simplicity: With only five ingredients, you can whip up this dreamy dessert in no time. Versatility: It easily adapts to various dietary needs—simply swap the heavy cream for coconut cream for a dairy-free option! Crowd-Pleaser: This tart’s rich, chocolatey goodness is guaranteed to impress friends and family alike. Texture Contrast: The combination of a crunchy Oreo crust and silky filling creates a delightful experience. If you’re craving more easy dessert ideas, check out my other no-bake recipes for sweet inspirations!
No Bake Chocolate Tart Ingredients
• Get ready to dive into a fantastic dessert!
-
Oreo Cookie Crumbs:
Adds sweetness and structure to the crust.
Substitution: Can use graham cracker crumbs for a different flavor. -
Unsalted Butter (6 tablespoons):
Binds the cookie crumbs together, helping form a solid crust.
Substitution: Use coconut oil for a dairy-free version. -
Heavy Whipping Cream (1 cup):
Provides creaminess to the chocolate filling.
Substitution: Coconut cream for a dairy-free alternative. -
Bittersweet Chocolate (2 cups, chopped):
Main flavor component for the filling, adds richness.
Note: Choose chocolate with at least 60% cocoa for the best flavor. -
Unsalted Butter (1/4 cup, cut into small pieces):
Enhances the creaminess of the filling.
Ensure it is unsalted to maintain flavor balance.
Step‑by‑Step Instructions for No Bake Chocolate Tart
Step 1: Prepare the Crust
In a medium bowl, combine the Oreo cookie crumbs with 6 tablespoons of melted unsalted butter. Stir until the mixture resembles wet sand, ensuring all crumbs are coated. Press this mixture firmly into the bottom and up the sides of a 9-inch tart pan, creating an even layer. Chill the crust in the refrigerator for at least 30 minutes or until firm.
Step 2: Make the Filling
In a saucepan, heat 1 cup of heavy whipping cream over medium heat until it begins to simmer, but do not let it boil. Remove from heat and immediately stir in 2 cups of chopped bittersweet chocolate and 1/4 cup of unsalted butter cut into small pieces. Stir until the mixture is completely smooth and glossy, ensuring that all chocolate is melted and combined.
Step 3: Assemble the Tart
Once the crust is firm, take it out of the refrigerator. Pour the smooth chocolate filling into the cooled Oreo crust, using a spatula to smooth the top evenly. Cover the tart with plastic wrap and refrigerate for at least 4 hours, allowing it to set until firm.
Step 4: Serve and Garnish
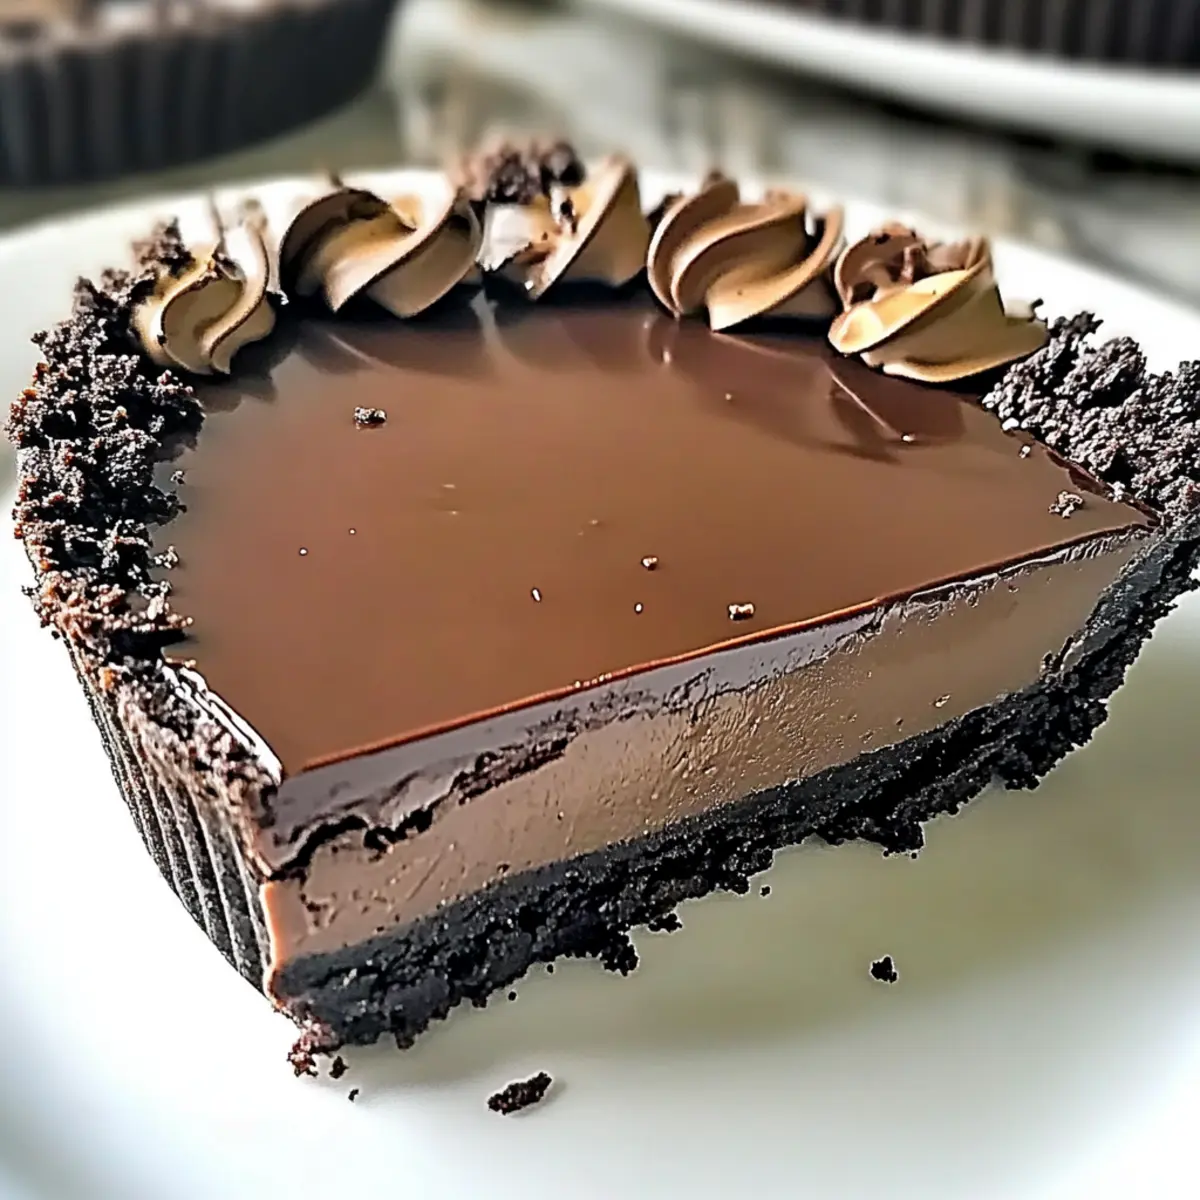
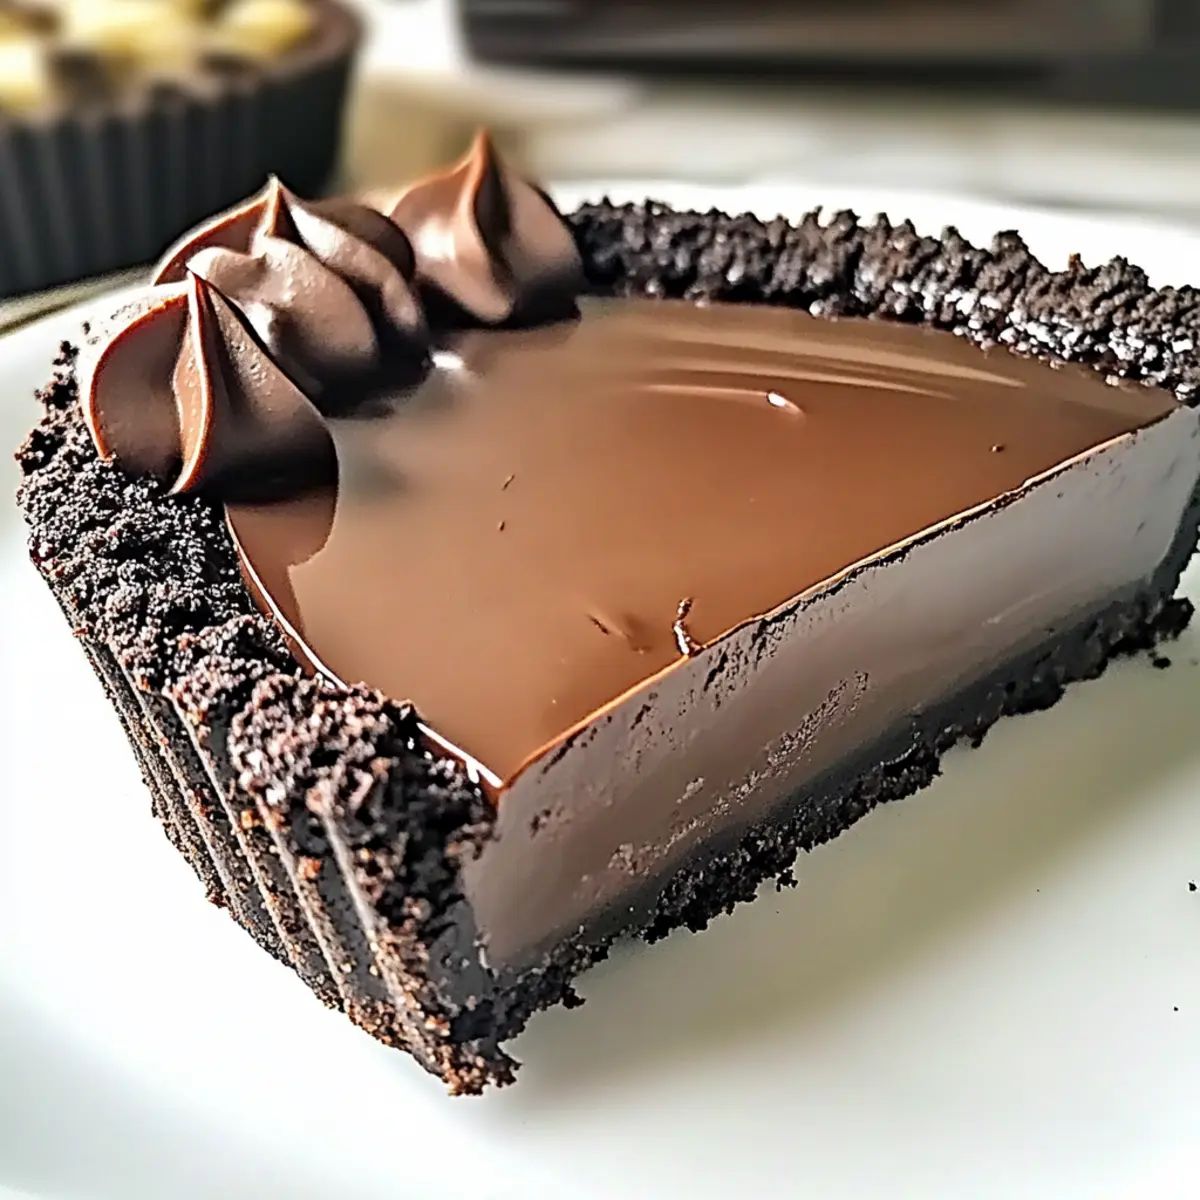
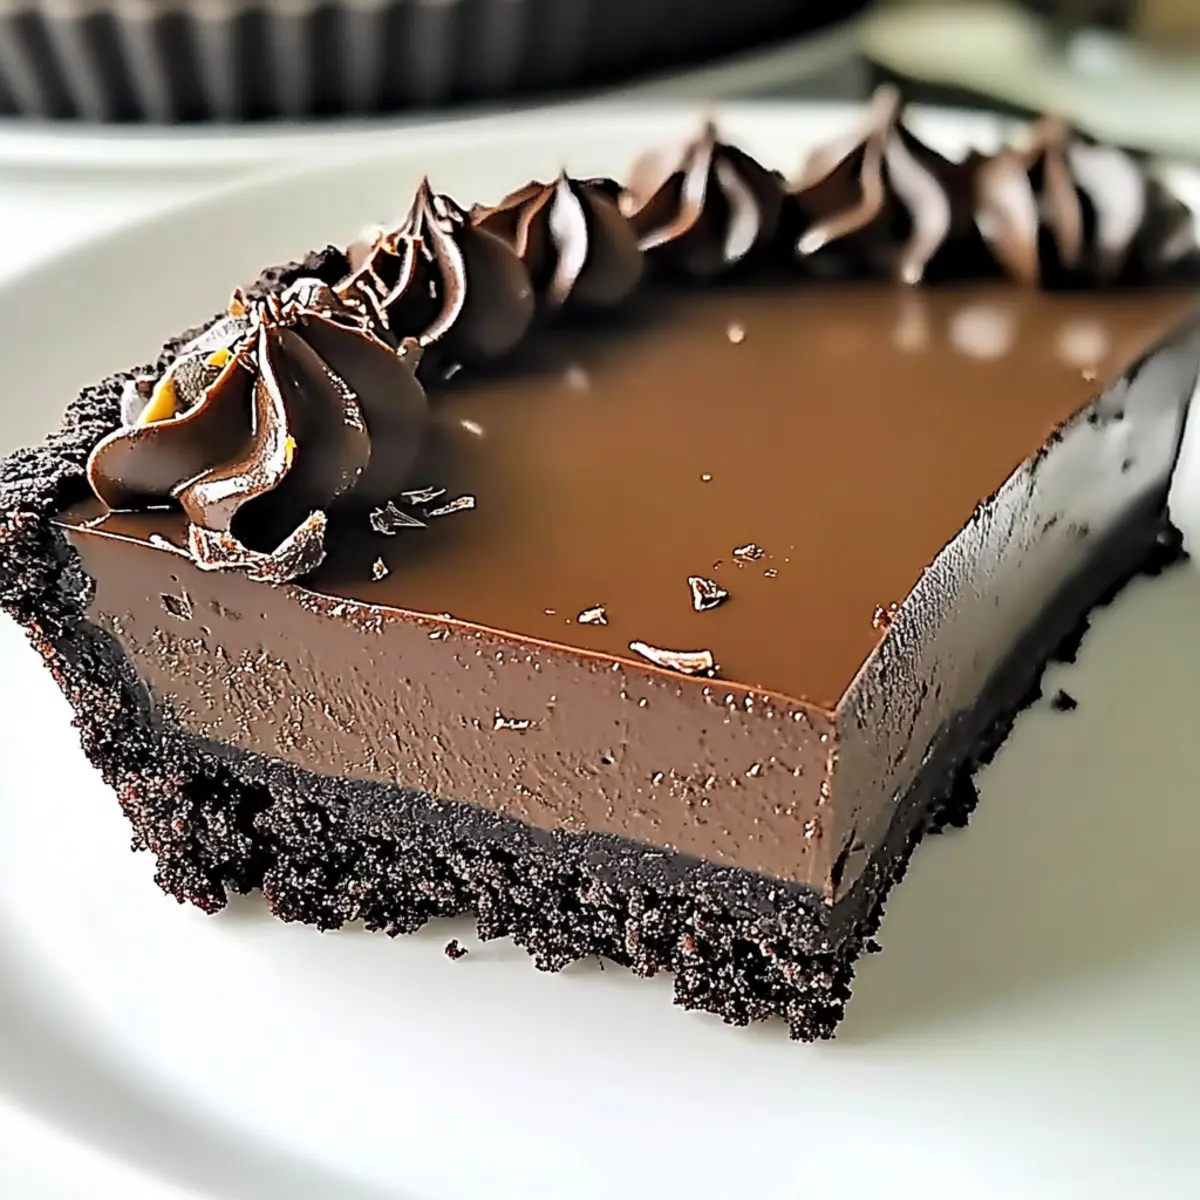
After the tart has chilled and set, gently remove it from the tart pan. You can garnish with chocolate curls, fresh berries, or a light dusting of powdered sugar for an elegant touch. Slice into wedges and serve the decadent No Bake Chocolate Tart chilled for a delicious, effortless dessert experience.
Expert Tips for No Bake Chocolate Tart
- Chill Time Matters: Allow the tart to chill for at least 4 hours to achieve that perfect firm texture and enhance flavors.
- Use Quality Chocolate: Choose bittersweet chocolate with at least 60% cocoa for a richer taste that elevates your no bake dessert.
- Press Firmly: Ensure you press the crust firmly into the tart pan; this prevents crumbling and keeps your slices intact.
- Sharp Knife Trick: For clean slices, warm your knife by dipping it in hot water before cutting the tart.
- Customize with Flavor: Consider infusing your chocolate filling with espresso or vanilla extract for a delightful twist on this classic no bake treat.
Storage Tips for No Bake Chocolate Tart
- Fridge: Store your No Bake Chocolate Tart in an airtight container in the refrigerator for up to 5 days, preserving its silky texture and rich flavor.
- Freezer: For longer storage, wrap the tart tightly in plastic wrap and freeze for up to 2 months. Thaw in the refrigerator before serving for the best results.
- Serving: If the tart becomes slightly soft after thawing, refrigerate it for about 30 minutes before slicing to regain firmness.
- Cover Well: Always cover the tart to prevent it from absorbing other odors in the fridge, ensuring it remains delicious for every indulgent moment.
No Bake Chocolate Tart Variations
Feel free to let your imagination run wild as you customize this delightful dessert! Each twist will create a unique flavor experience.
- Dairy-Free: Substitute heavy cream with coconut cream for a luscious filling that’s completely dairy-free. This option keeps the creamy texture while making it suitable for lactose-intolerant friends.
- Gluten-Free: Use gluten-free cookie crumbs instead of Oreos to accommodate those with gluten sensitivities. It’s an easy swap that doesn’t compromise on taste!
- Nutty Twist: Add crushed nuts to the crust for an extra crunch and flavor boost. Almonds or pecans work wonderfully here, delivering delightful textures that elevate each bite.
- Infused Chocolate: Incorporate a splash of espresso or vanilla extract into your filling for added depth and richness. This little nugget of flavor will leave everyone wondering what your secret is!
- Berry Layer: Before adding the chocolate filling, spread a layer of raspberry or strawberry jam in the crust for a fruity brightness that marries beautifully with the chocolate.
- Mini Tarts: For an adorable twist, pour the filling into mini tart pans or muffin tins for bite-sized delights that are perfect for parties or gifts. Everyone loves a personal treat!
- Spicy Kick: Mix in a pinch of cayenne or chili powder for a subtle yet intriguing heat that enhances the chocolate without being overpowering. This surprising touch will certainly warm their hearts.
- Decorative Garnish: Experiment with different garnishes like crushed candy canes, edible flowers, or citrus zest for an eye-catching finish that brings vibrant colors and flavors to your tart.
These variations will keep your baking fun and exciting. For more inspiration, check out my collection of delicious easy dessert ideas to expand your repertoire!
Make Ahead Options
These No Bake Chocolate Tart options are perfect for busy home cooks looking to save time during the week! You can prepare the Oreo crust up to 24 hours in advance; just press it into your tart pan and refrigerate until firm. The chocolate filling can also be made a day ahead—simply store it in an airtight container in the fridge after mixing. To finish, when you’re ready to serve, pour the chilled filling into the prepped crust and allow it to set for at least 4 hours, or overnight for the best taste. This way, your tart will be just as delicious and rich, making dessert stress-free and delightful!
What to Serve with No Bake Chocolate Tart
Elevate your dessert experience by pairing this luscious tart with delightful sides that complement its rich flavor.
-
Fresh Berries:
The tartness of strawberries or raspberries cuts through the chocolate richness, adding a refreshing balance. -
Whipped Cream:
A dollop of light, fluffy whipped cream enhances the dessert’s creaminess, making every bite melt in your mouth. -
Mint Leaves:
Adding a sprig of fresh mint not only looks stunning but offers a burst of cool flavor that brightens the chocolate. -
Espresso or Coffee:
The boldness of coffee beautifully contrasts the sweetness of the tart, creating an indulgent after-dinner treat. -
Chocolate Ganache Drizzle:
A drizzle of rich ganache intensifies the chocolate experience, perfect for true chocoholics looking for a sumptuous finish. -
Vanilla Ice Cream:
The creaminess and slight chill of vanilla ice cream bring a delightful contrast, making every mouthful a heavenly treat. -
Coconut Whipped Cream:
For a dairy-free option, consider coconut whipped cream to layer your tart with a tropical flair that dances on the palate. -
Tuile Cookies:
The crunch of delicate tuile cookies offers a textural contrast that pairs beautifully with the smooth tart, enhancing the overall presentation.
No Bake Chocolate Tart Recipe FAQs
What kind of chocolate should I use for the tart?
It’s best to choose bittersweet chocolate with at least 60% cocoa for the richest flavor. The higher cocoa content enhances the tartness, creating a delicious contrast with the sweetness of the crust. Remember to chop the chocolate finely to ensure it melts smoothly when combined with the cream.
How can I store leftover No Bake Chocolate Tart?
You can store the tart in an airtight container in the refrigerator for up to 5 days. This will help preserve its creamy texture and flavors. If you want to keep it longer, tightly wrap it in plastic wrap and freeze for up to 2 months. Just remember to thaw it in the refrigerator before serving for the best results.
Can I make this tart gluten-free?
Absolutely! Simply swap the Oreo cookie crumbs for gluten-free cookie crumbs or graham cracker crumbs. Make sure to check that your chocolate and any other ingredients are also gluten-free. Your guests won’t even notice the difference, and you’ll have a delectable dessert everyone can enjoy!
What should I do if my tart filling doesn’t set?
If your filling doesn’t set properly, it could be due to a couple of factors. Ensure that the cream was heated to a simmering point without boiling before adding the chocolate. If you find it too soft after chilling, try returning it to the refrigerator for a bit longer—an additional hour or two can often help. If still soft, you can gently heat the mixture again and re-chill it for better consistency.
How should I serve the tart?
This No Bake Chocolate Tart is best served chilled. Remove it from the tart pan gently after it has set, and consider garnishing with chocolate curls, fresh berries, or a dusting of powdered sugar for an elegant touch. You can also slice it while it’s slightly cold for cleaner cuts!
How can I customize the No Bake Chocolate Tart?
There are so many delightful options! You can mix in espresso or vanilla extract to the chocolate filling for extra flavor depth. Consider adding a layer of jam or fruit preserves before pouring in the chocolate filling for a fruity twist. You can even create mini tarts by using muffin tins – the more the merrier!
No Bake Chocolate Tart: A Dreamy Dessert in Five Ingredients
Ingredients
Equipment
Method
- Combine the Oreo cookie crumbs with melted unsalted butter. Stir until the mixture resembles wet sand. Press into a 9-inch tart pan and chill for at least 30 minutes.
- Heat heavy whipping cream in a saucepan until it simmers, then remove from heat. Stir in chopped bittersweet chocolate and unsalted butter until smooth.
- Pour the chocolate filling into the cooled crust. Smooth the top and refrigerate for at least 4 hours.
- Remove from the tart pan and garnish with chocolate curls, fresh berries, or powdered sugar. Slice and serve chilled.