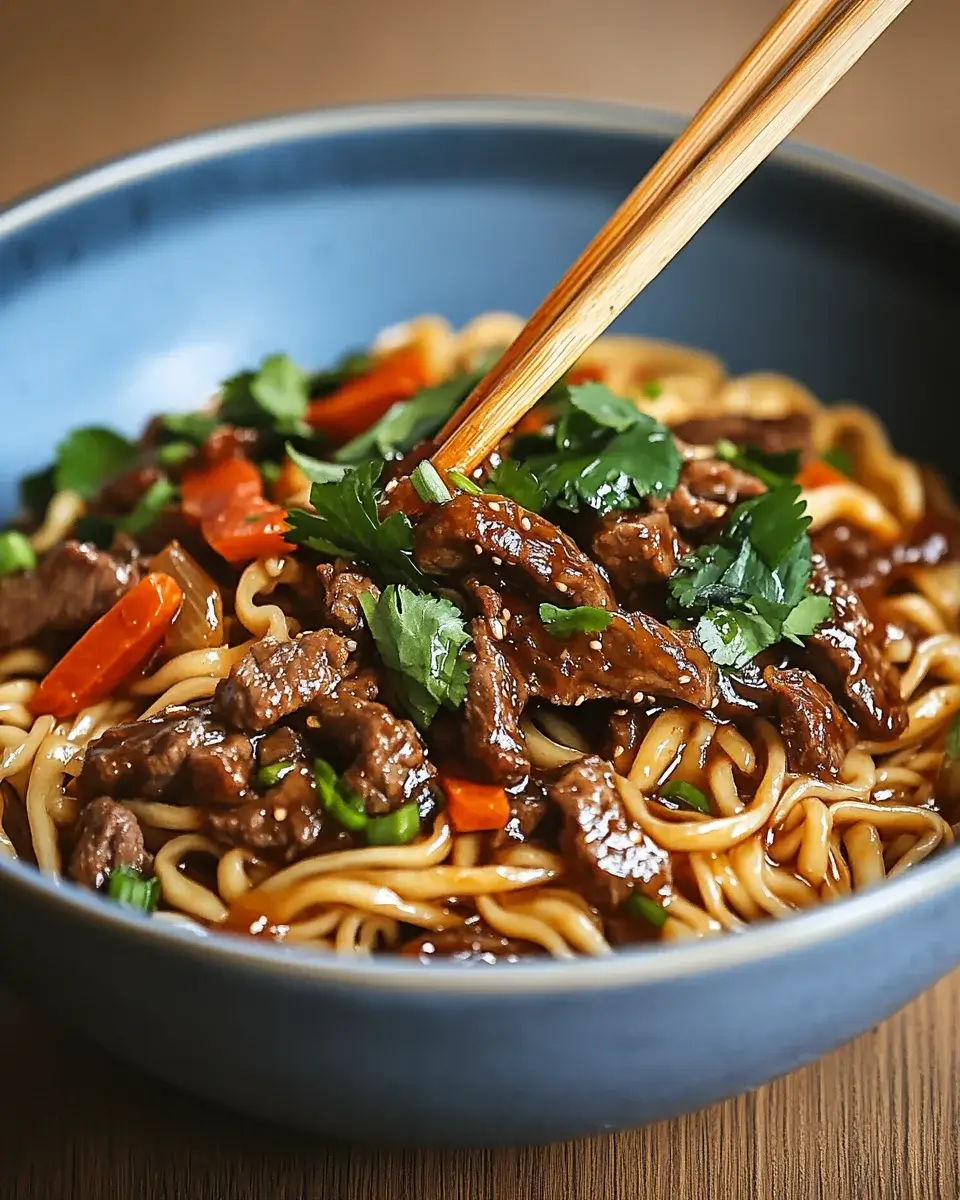
Introduction to Hoisin Beef Noodles
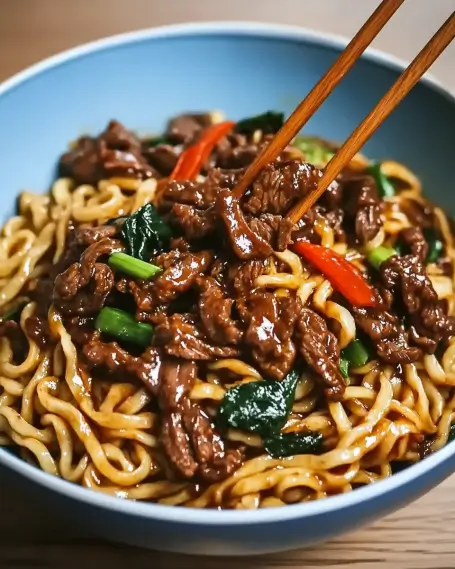
If you’re looking for a quick and flavorful weeknight dinner, these Hoisin Beef Noodles are just the ticket. Tender strips of beef are tossed with vibrant vegetables and chewy noodles, all coated in a rich, sweet-savory hoisin sauce that brings bold flavor in every bite. This dish comes together in under 25 minutes, making it perfect for busy evenings when you want something comforting yet exciting. It’s an irresistible blend of texture and taste that will have everyone coming back for seconds!
Ingredients for Hoisin Beef Noodles
Gathering the right ingredients is key to making these Hoisin Beef Noodles a hit. Here’s what you’ll need:
- Rice noodles: These are the base of the dish, providing a soft and chewy texture that soaks up the delicious sauce.
- Flank Steak: This cut is perfect for stir-frying, as it’s tender and flavorful when sliced thinly.
- Vegetable oil: A neutral oil that helps to achieve that perfect sear on the beef and veggies.
- Bell pepper: Adds a pop of color and sweetness, balancing the savory flavors of the dish.
- Snap peas: These provide a delightful crunch and a fresh taste that complements the other ingredients.
- Green onions: A sprinkle of these adds a mild onion flavor and a fresh finish.
- Garlic: Minced garlic brings a warm, aromatic quality that enhances the overall flavor.
- Fresh ginger: This adds a zesty kick and a hint of warmth, making the dish even more aromatic.
- Hoisin sauce: The star of the show! This sweet and savory sauce is what gives the dish its signature flavor. Choose low-sugar or reduced-fat version if available.
- Soy sauce: Adds depth and umami, enhancing the overall taste of the dish.
- Sesame oil: A drizzle of this oil adds a nutty flavor that rounds out the dish beautifully. Use minimal for flavor.
- Red pepper flakes: Optional, but if you like a bit of heat, these will spice things up!
- Salt and pepper: Essential for seasoning, ensuring every bite is flavorful.
For those looking to mix things up, you can substitute flank steak with chicken or tofu for a different protein option. And if you want to elevate the dish, consider garnishing with chopped cilantro or crushed peanuts for added texture and flavor. You can find the exact quantities of these ingredients at the bottom of the article, ready for printing!
How to Make Hoisin Beef Noodles
Now that you have all your ingredients ready, let’s dive into the cooking process! Making Hoisin Beef Noodles is straightforward and fun. Follow these simple steps, and you’ll have a delicious meal on the table in no time.
Step 1: Cook the Rice Noodles
Start by boiling water in a large pot. Once it’s bubbling, add the rice noodles. Cook them according to the package instructions, usually around 4-6 minutes. You want them tender but not mushy. Once done, drain the noodles and rinse them under cold water to stop the cooking process. This keeps them from sticking together later.
Step 2: Prepare the Flank Steak
While the noodles are cooking, it’s time to prepare the flank steak. Thinly slice the steak against the grain. This helps it stay tender when cooked. Season the slices with salt and pepper. If you have time, marinating the beef in soy sauce and minced garlic for about 30 minutes can add an extra layer of flavor.
Step 3: Stir-Fry the Vegetables
In a large skillet or wok, heat the vegetable oil over medium-high heat. Once hot, toss in the sliced bell pepper, snap peas, green onions, garlic, and ginger. Stir-fry these vibrant veggies for about 2-3 minutes. You want them to be tender-crisp, retaining their bright colors and nutrients. The aroma will be heavenly!
Step 4: Combine Ingredients
Now, it’s time to bring everything together. Add the seasoned flank steak back into the skillet with the vegetables. Pour in the hoisin sauce, soy sauce, and sesame oil. If you like a little heat, sprinkle in the red pepper flakes. Stir everything well, allowing the flavors to meld for about 2 minutes. The sauce should coat the beef and veggies beautifully.
Step 5: Toss in the Noodles
Next, add the cooked rice noodles to the skillet. Gently toss everything together, ensuring the noodles are well coated with the savory sauce. This is where the magic happens! The noodles will soak up all those delicious flavors. Cook for another minute or two until everything is heated through.
Step 6: Serve and Enjoy
Your Hoisin Beef Noodles are ready to shine! Serve them immediately, garnished with extra green onions if desired. The vibrant colors and enticing aroma will make your family eager to dig in. Enjoy this quick, flavor-packed delight that’s sure to become a favorite!
Tips for Success
- Prep all your ingredients before you start cooking. It makes the process smoother!
- Don’t overcrowd the skillet; cook in batches if necessary for even cooking.
- Adjust the hoisin sauce to your taste. If you love it sweet, add a bit more!
- For a gluten-free option, ensure your soy sauce is gluten-free.
- Feel free to add more veggies like broccoli or carrots for extra nutrition.
Equipment Needed
- Large pot: For boiling the rice noodles. A deep skillet works too!
- Skillet or wok: Essential for stir-frying. A non-stick pan can be a great alternative.
- Cutting board and knife: For slicing the flank steak and veggies.
- Measuring spoons: Handy for measuring sauces and oils.
Variations
- Protein Swap: Substitute flank steak with chicken, shrimp, or tofu for a different protein option.
- Vegetable Medley: Add or replace vegetables with broccoli, carrots, or bok choy for a colorful twist.
- Spicy Kick: Incorporate sliced jalapeños or a dash of sriracha for an extra layer of heat.
- Gluten-Free Version: Use gluten-free soy sauce and ensure your rice noodles are certified gluten-free.
- Herb Infusion: Toss in fresh basil or cilantro at the end for a burst of freshness.
Serving Suggestions
- Side Salad: Pair your Hoisin Beef Noodles with a light cucumber and carrot salad for a refreshing crunch.
- Drink Pairing: Enjoy with a chilled iced tea or a light white wine to complement the flavors.
- Presentation: Serve in a large bowl, garnished with sesame seeds and extra green onions for a pop of color.
FAQs about Hoisin Beef Noodles
Can I make Hoisin Beef Noodles ahead of time?
Absolutely! You can prepare the ingredients in advance and store them separately in the fridge. Just stir-fry everything together when you’re ready to eat. This makes it a fantastic quick meal option for busy nights!
What can I substitute for hoisin sauce?
If you don’t have hoisin sauce on hand, you can create a quick substitute using soy sauce, peanut butter, and a bit of honey. It won’t be exactly the same, but it will still add a delicious flavor to your dish.
Can I use other types of noodles?
Yes! While rice noodles are traditional, you can use egg noodles, udon, or even whole wheat spaghetti in a pinch. Just adjust the cooking time according to the type of noodles you choose.
Is this dish suitable for meal prep?
Definitely! Hoisin Beef Noodles store well in the fridge for up to three days. Just reheat in a skillet or microwave, and you’ll have a tasty meal ready to go!
How can I make this dish vegetarian?
To make a vegetarian version, simply swap the flank steak for tofu or tempeh. You can also add more vegetables to make it heartier. The hoisin sauce will still provide that rich flavor you love!
Final Thoughts
Cooking Hoisin Beef Noodles is more than just preparing a meal; it’s about creating a moment of joy for you and your family. The vibrant colors and enticing aromas fill your kitchen, making it a warm and inviting space. This dish is a reminder that even on the busiest days, you can whip up something delicious and satisfying in no time. Whether it’s a weeknight dinner or a special occasion, these noodles bring smiles and happy bellies to the table. I hope you enjoy every bite as much as I do!
“`
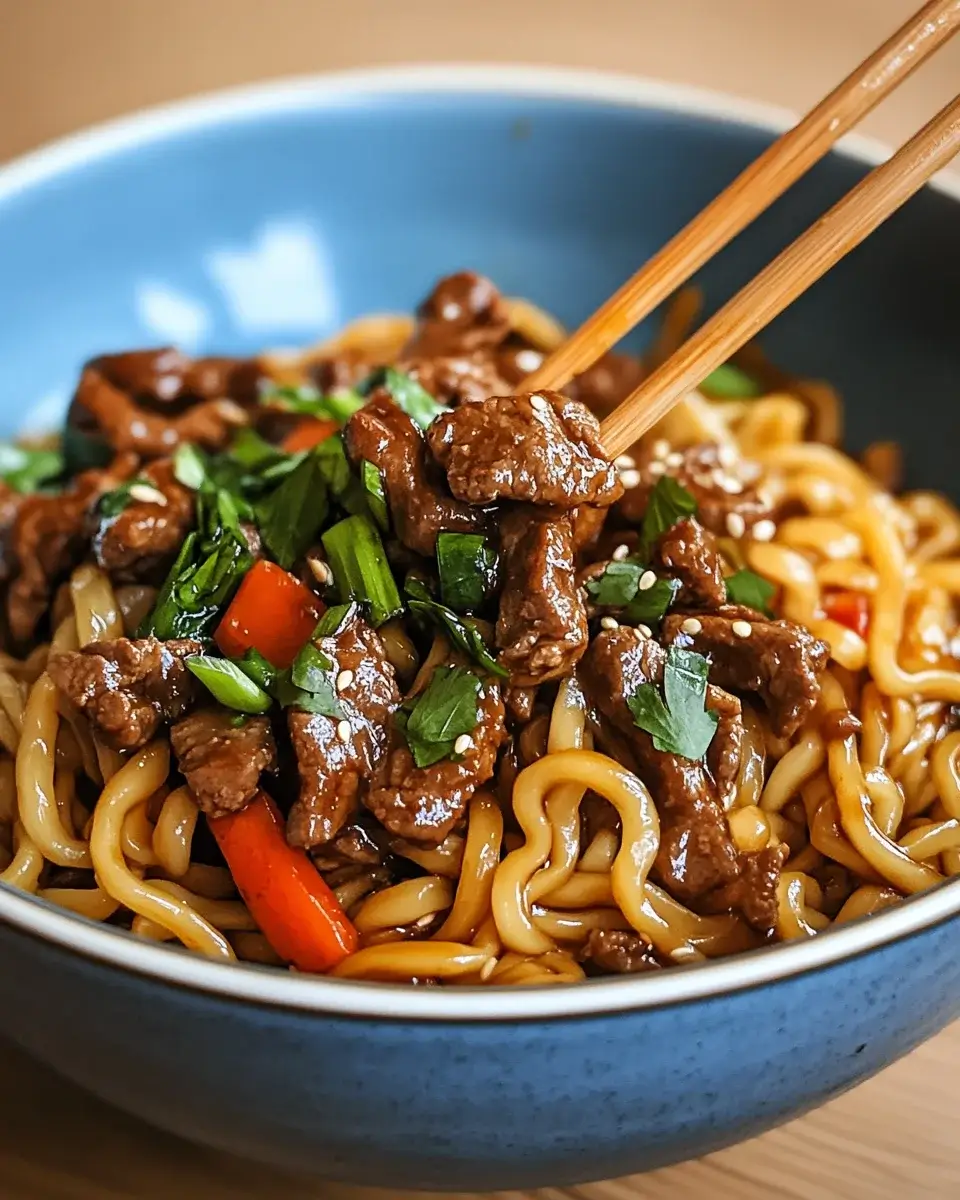
Hoisin Beef Noodles: A Quick, Flavor-Packed Delight!
Ingredients
Method
- Cook the rice noodles according to package instructions. Drain and set aside.
- In a large skillet or wok, heat the vegetable oil over medium-high heat.
- Add the sliced flank steak to the skillet, season with salt and pepper, and stir-fry for about 3-4 minutes until browned. Remove the beef from the skillet and set aside.
- In the same skillet, add the bell pepper, snap peas, green onions, garlic, and ginger. Stir-fry for about 2-3 minutes until the vegetables are tender-crisp.
- Return the beef to the skillet and add the hoisin sauce, soy sauce, sesame oil, and red pepper flakes (if using). Stir well to combine and heat through for another 2 minutes.
- Add the cooked rice noodles to the skillet, tossing everything together until the noodles are well coated with the sauce and heated through.
- Serve immediately, garnished with additional green onions if desired.
Nutrition
Notes
- For extra flavor, marinate the flank steak in a mixture of soy sauce and garlic for 30 minutes before cooking.
- You can substitute the flank steak with chicken or tofu for a different protein option.
- Add chopped cilantro or crushed peanuts as a garnish for added texture and flavor.