As the sun sets and the day’s hustle fades, the kitchen transforms into a sanctuary of comforting warmth and delightful aromas. I often crave something quick yet enticing to whip up during those busy weeknights, and that’s where my Creamy Coconut Lime Chicken comes into play. This delectable dish is not only family-friendly but also a breeze to prepare. Picture juicy chicken simmering in a luscious coconut milk-based sauce, kissed with a hint of lime and just the right amount of spice. It’s a perfect way to escape the fast food rut without spending hours in the kitchen! Plus, it’s a hit with kids and adults alike, making it an instant crowd-pleaser. Ready to indulge in this creamy, flavorful adventure? Let’s dive into the recipe!
Why is this dish a must-try?
Quick and Easy: This recipe is perfect for busy weeknights, allowing you to whip up a delicious meal in no time. Family Friendly: With its creamy flavor and gentle spice, even the pickiest eaters will ask for seconds. Rich and Flavorful: The combination of coconut milk and lime creates a unique taste sensation that’s hard to resist. Versatile Ingredients: Feel free to swap in your favorite veggies or proteins to suit your family’s preferences. Crowd Pleaser: Great for gatherings or family dinners, this dish is sure to impress anyone at the table. Whether served with coconut rice or a refreshing salad, it’s a delightful escape from fast food without the hassle!
Creamy Coconut Lime Chicken Ingredients
Elevate your weeknight cooking with these simple ingredients!
For the Chicken
- Boneless, Skinless Chicken Breasts – The star protein of this dish; substitute with chicken thighs for a richer flavor.
- Salt and Pepper – Essential for seasoning to bring out the flavors; adjust to your taste preferences.
- Olive Oil – Perfect for sautéing the chicken, but try coconut oil for an extra tropical touch.
For the Sauce
- Diced Onion – Adds a wonderful sweetness; can be swapped for shallots if preferred.
- Diced Red Bell Pepper – Brings color and sweetness; feel free to choose any bell pepper variety.
- Minced Garlic – Infuses the dish with aromatic goodness; fresh is best but garlic powder can work in a pinch.
- Chicken Stock – Acts as the sauce’s base; substitute vegetable broth for a vegetarian option.
- Cornstarch – A must for thickening the sauce; arrowroot powder can be used as an alternative.
- Red Chili Flakes – Adds a gentle kick; adjust according to your heat tolerance.
- Turmeric – Offers vibrant color and earthy flavor; omit for a milder taste.
- Coconut Milk – The creamy foundation of the sauce; light coconut milk is a lower-calorie option.
- Lime Juice – Brings a zesty brightness; fresh juice is ideal for the best flavor.
- Heavy Cream – Enhances silkiness; coconut cream is great for a dairy-free twist.
For Garnish
- Chopped Fresh Cilantro – Adds a burst of freshness; you can skip this if you’re not a fan of cilantro.
This Creamy Coconut Lime Chicken dish is quick to prepare and a perfect way to infuse excitement back into your family dinners!
Step-by-Step Instructions for Creamy Coconut Lime Chicken
Step 1: Season the Chicken
Begin by generously seasoning boneless, skinless chicken breasts with salt and pepper on both sides. This initial step helps to enhance the flavors throughout your creamy coconut lime chicken. Allow the chicken to rest for a few minutes while you prepare for cooking.
Step 2: Sauté the Chicken
Heat 2 tablespoons of olive oil in a large, non-stick skillet over medium heat. Once the oil is shimmering, add the seasoned chicken breasts. Cook for 5-7 minutes on each side until they turn golden brown and are nearly cooked through. Transfer the chicken to a plate to keep warm while you prepare the sauce.
Step 3: Prepare the Vegetables
In the same skillet, add the diced onion and red bell pepper, sautéing for about 5 minutes until they soften and become translucent. Stir in the minced garlic for an additional minute, allowing it to release its fragrant aroma. This colorful vegetable mix forms the delicious base for the creamy coconut lime sauce.
Step 4: Make the Sauce Base
Whisk together chicken stock and cornstarch in a bowl until smooth. Pour this mixture into the skillet with the sautéed vegetables, along with a pinch of red chili flakes and turmeric for color. Allow the sauce to simmer for about 3-5 minutes, or until it slightly thickens, stirring occasionally to prevent sticking.
Step 5: Add the Creamy Elements
Stir in the coconut milk, letting it blend thoroughly into your sauce. Keep the heat at medium and let the mixture simmer for another 3-5 minutes until it’s creamy and delicious. The coconut milk gives the sauce its rich texture, perfectly complementing the lime later on.
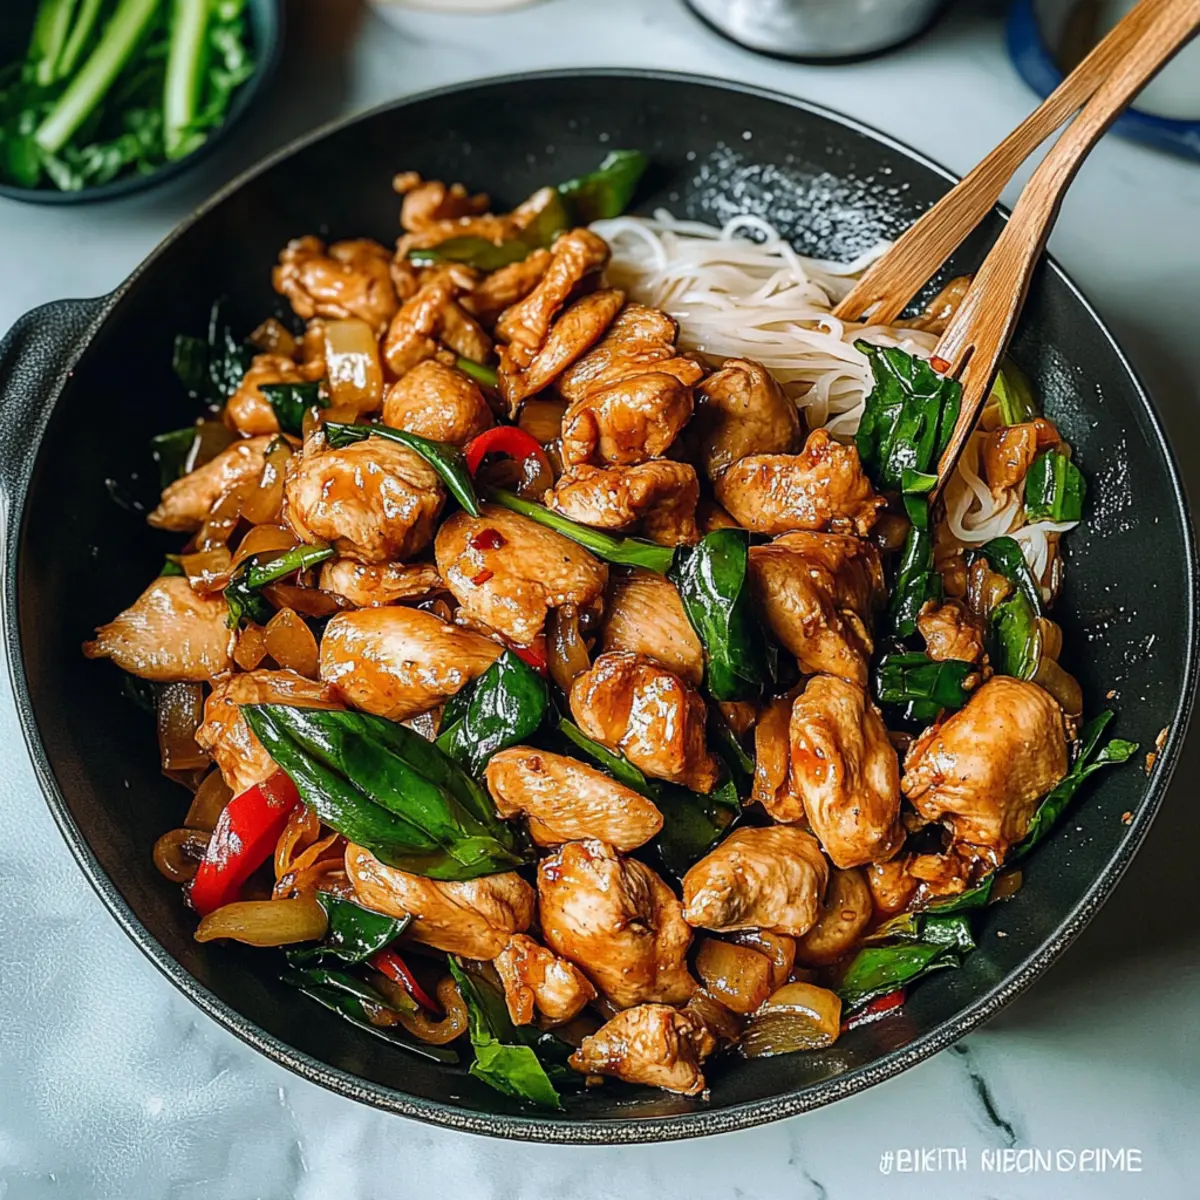
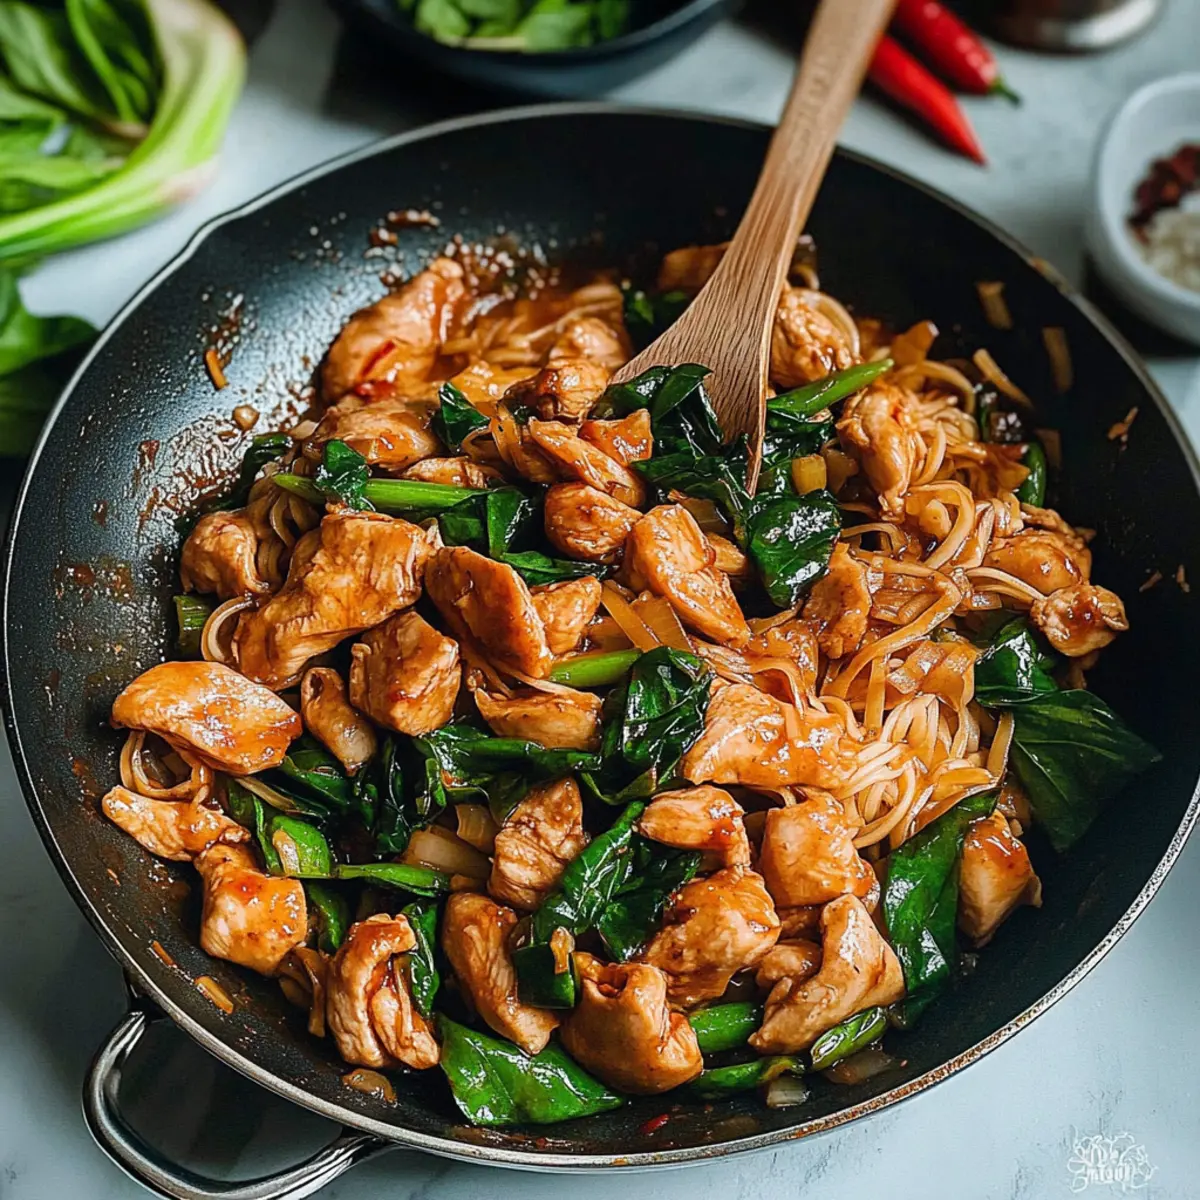
Step 6: Combine with Chicken
Next, squeeze in the fresh lime juice and add the heavy cream to the sauce, adjusting the richness to your taste. Return the sautéed chicken to the skillet, gently spooning the sauce over the pieces. Let everything simmer together for an additional 5-10 minutes, ensuring the chicken is fully cooked and flavorful.
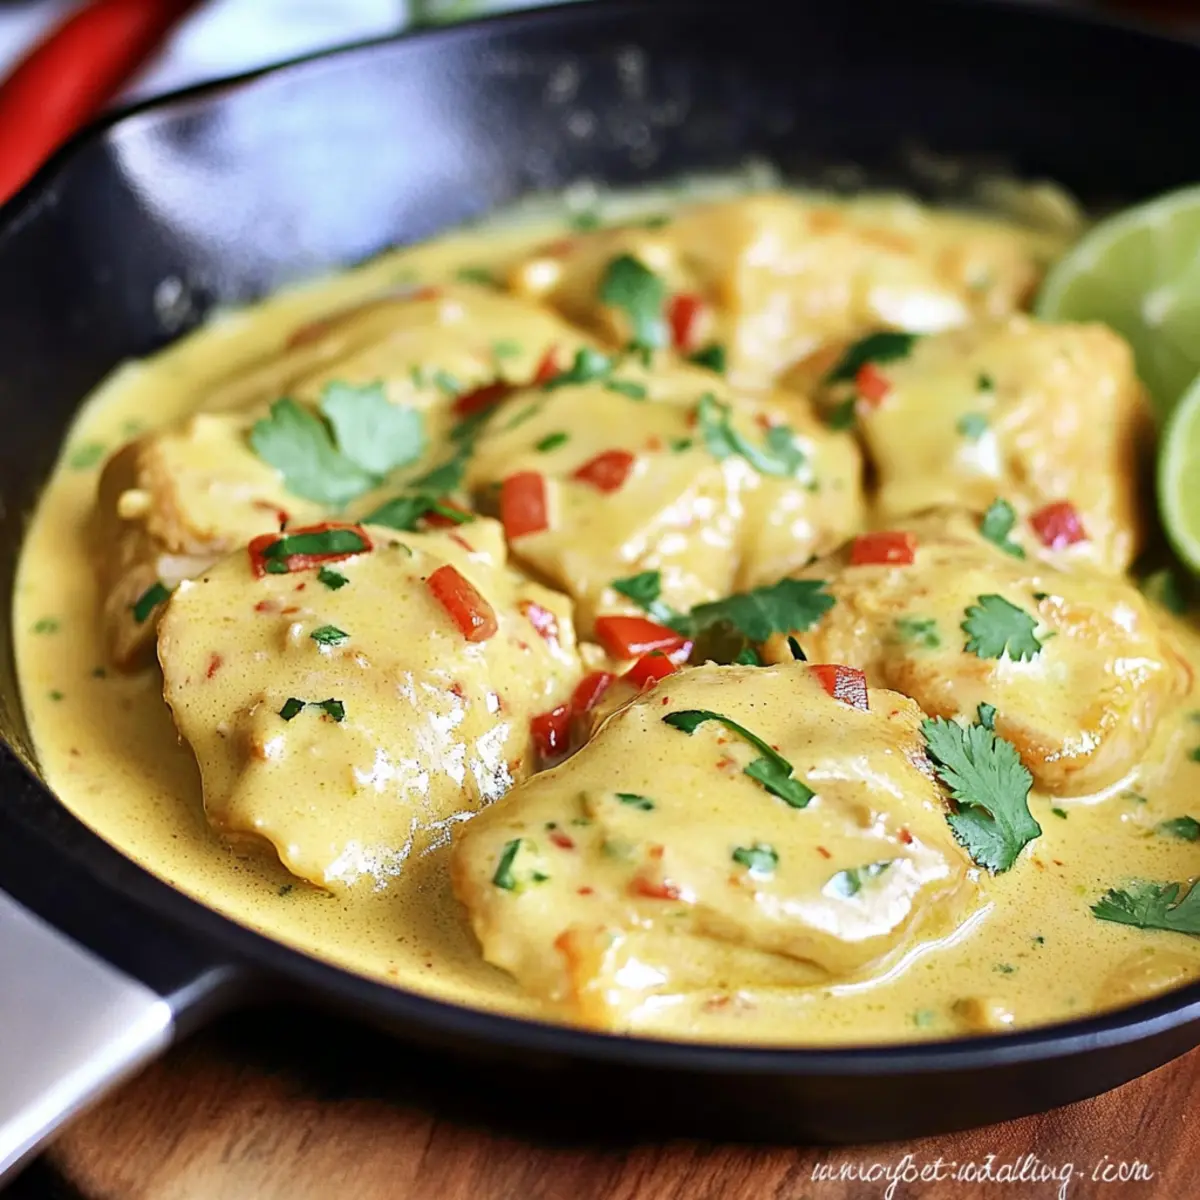
Step 7: Garnish and Serve
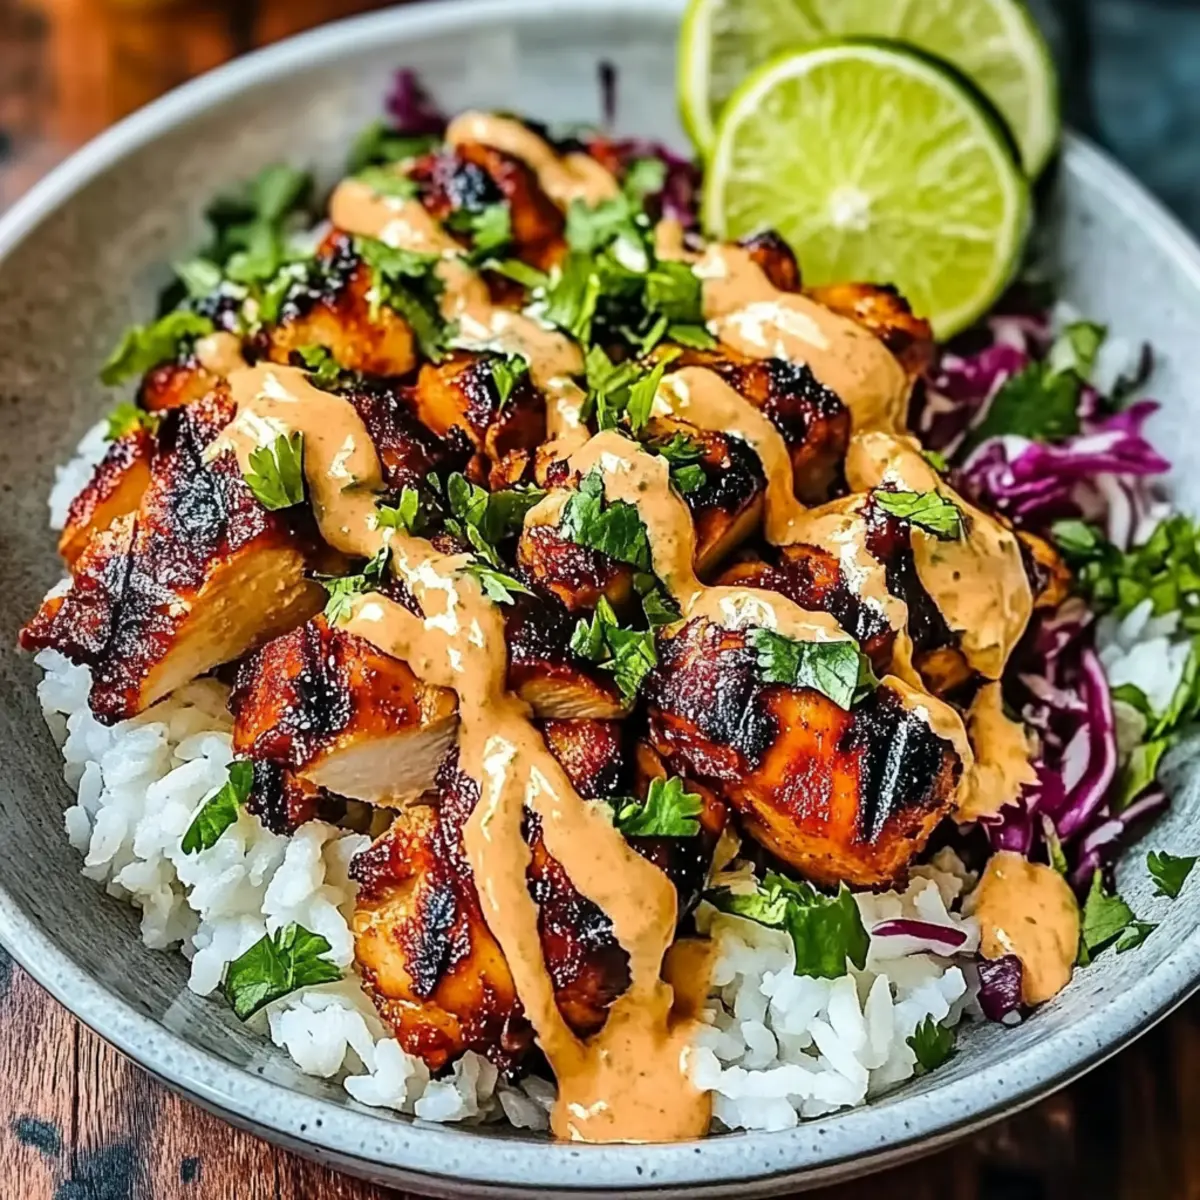
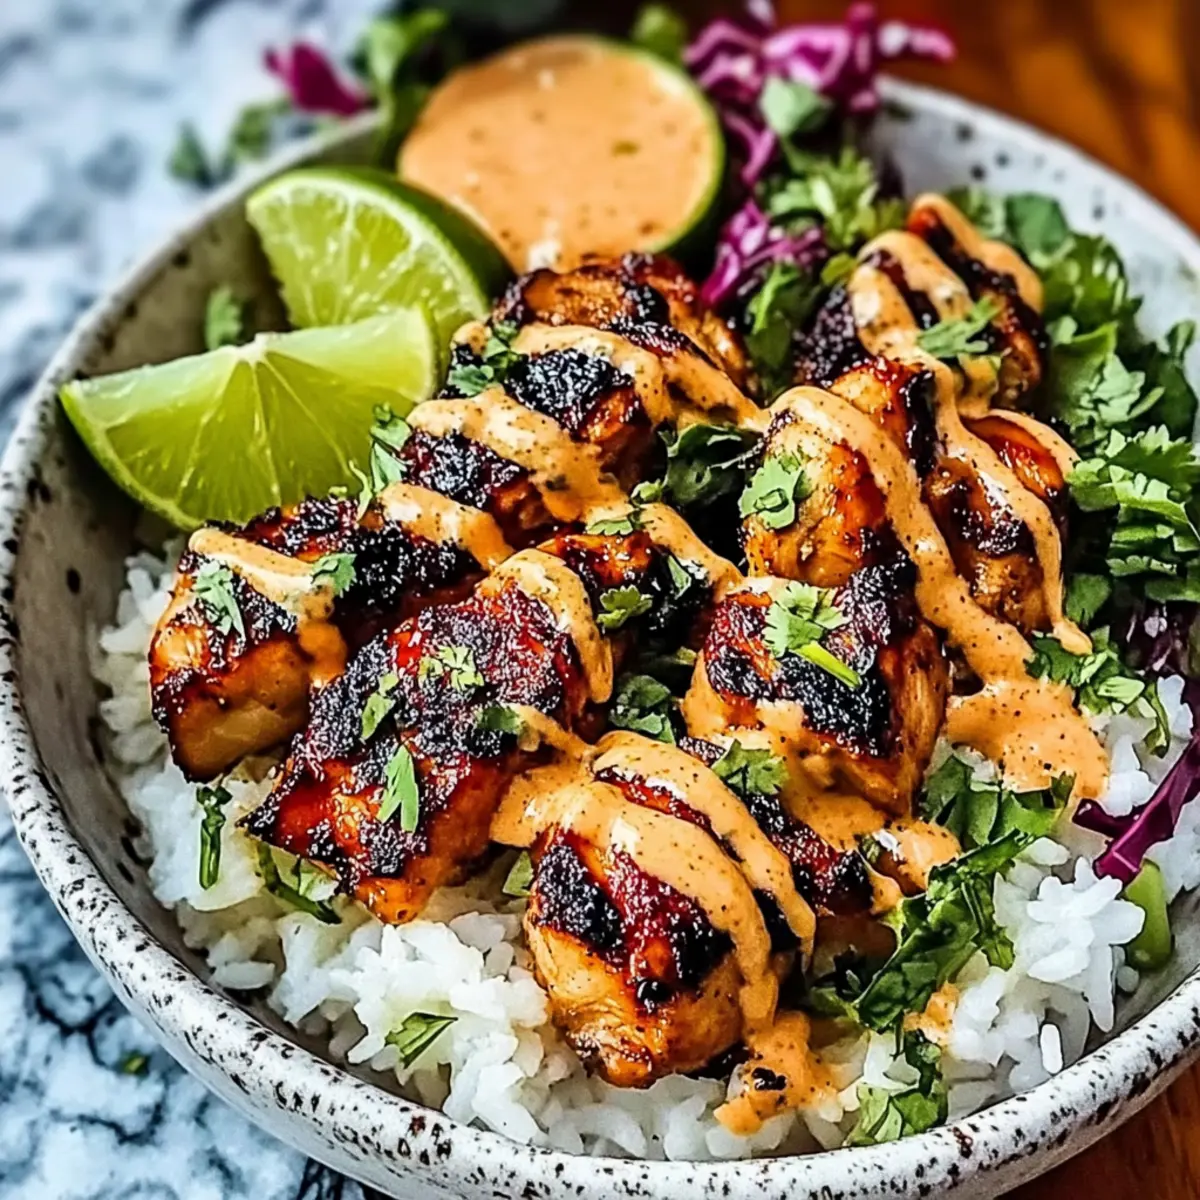
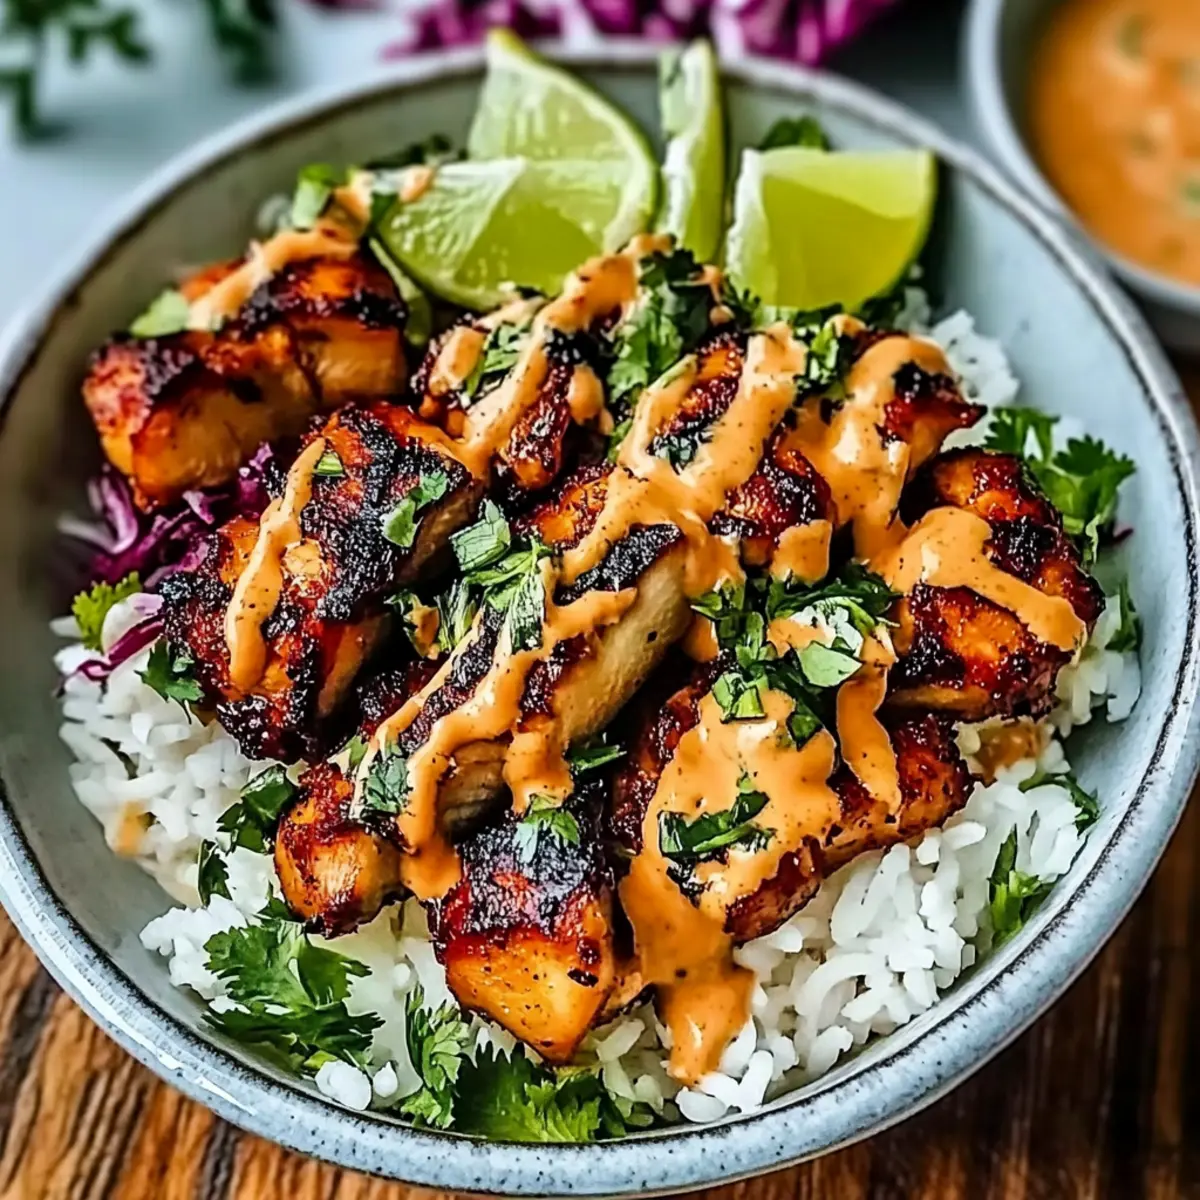
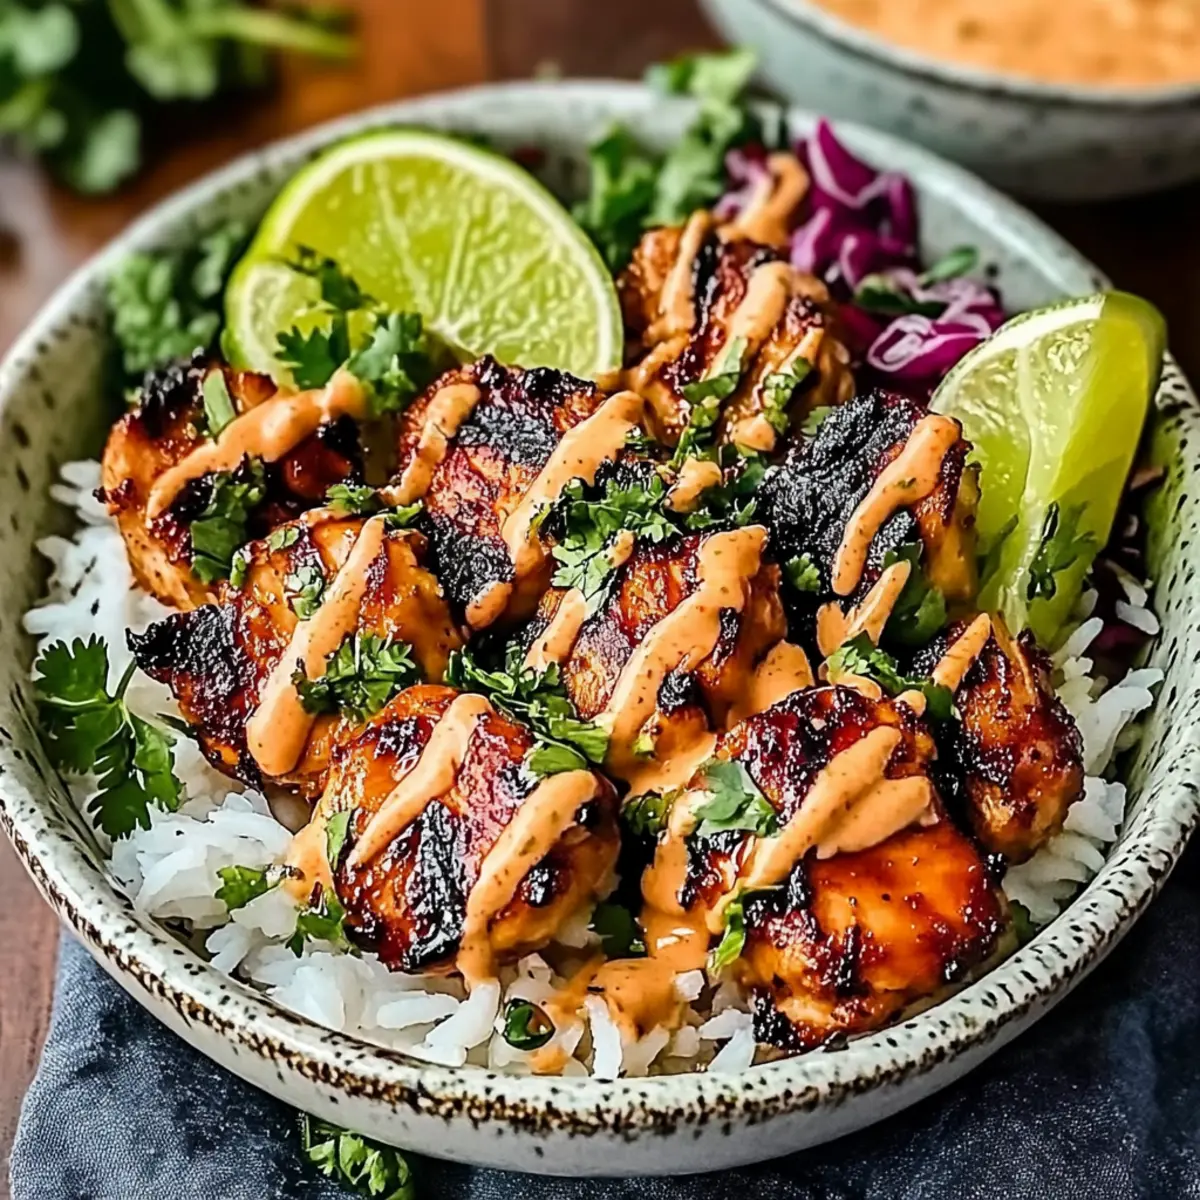
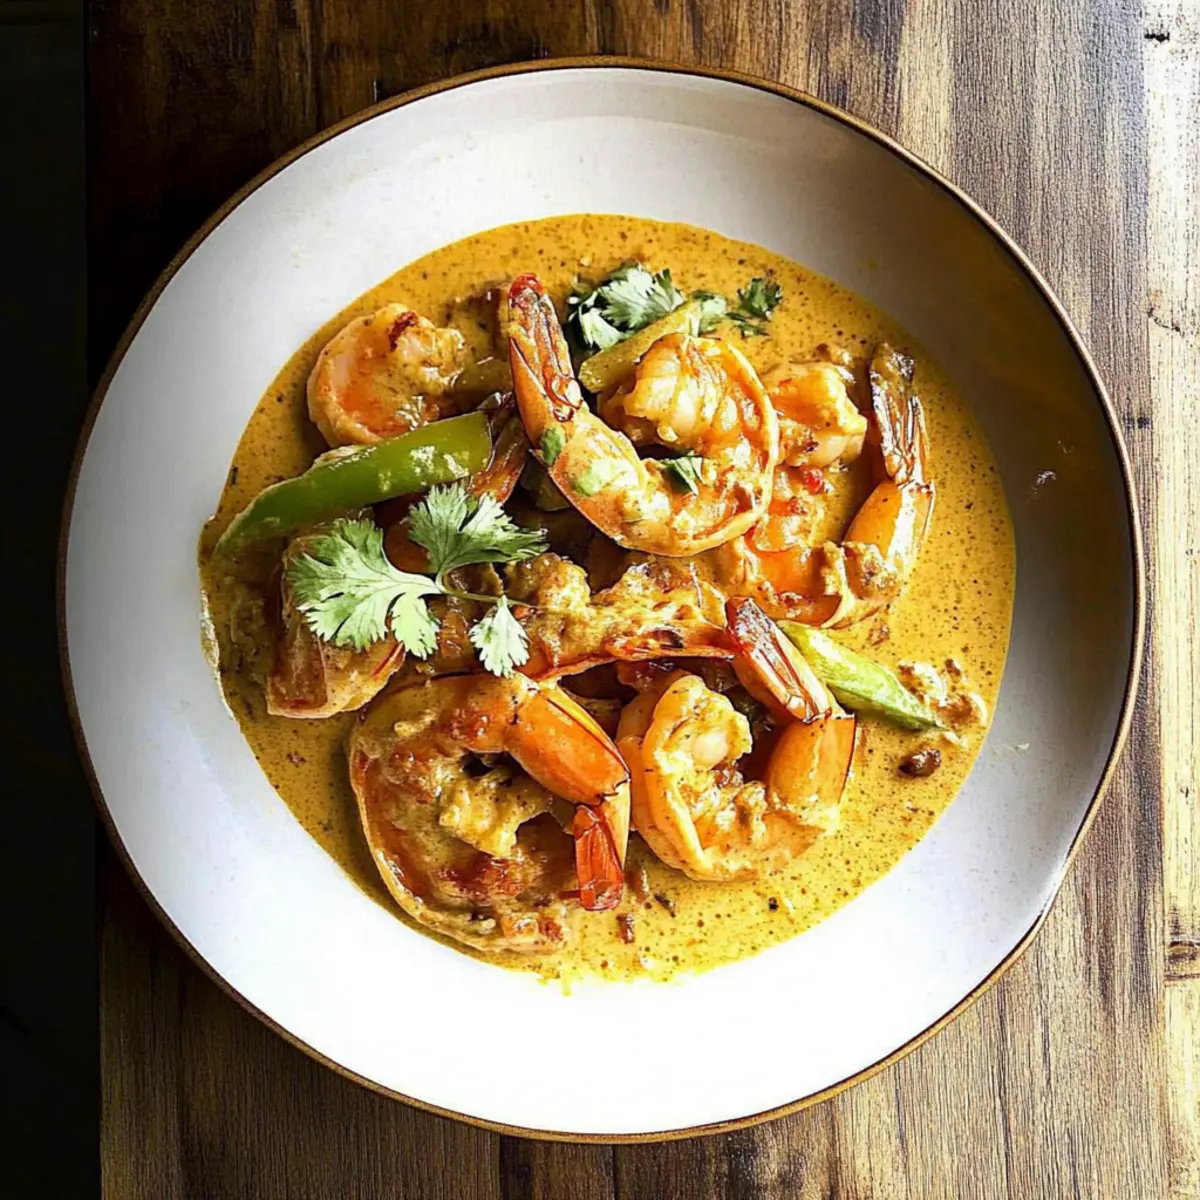
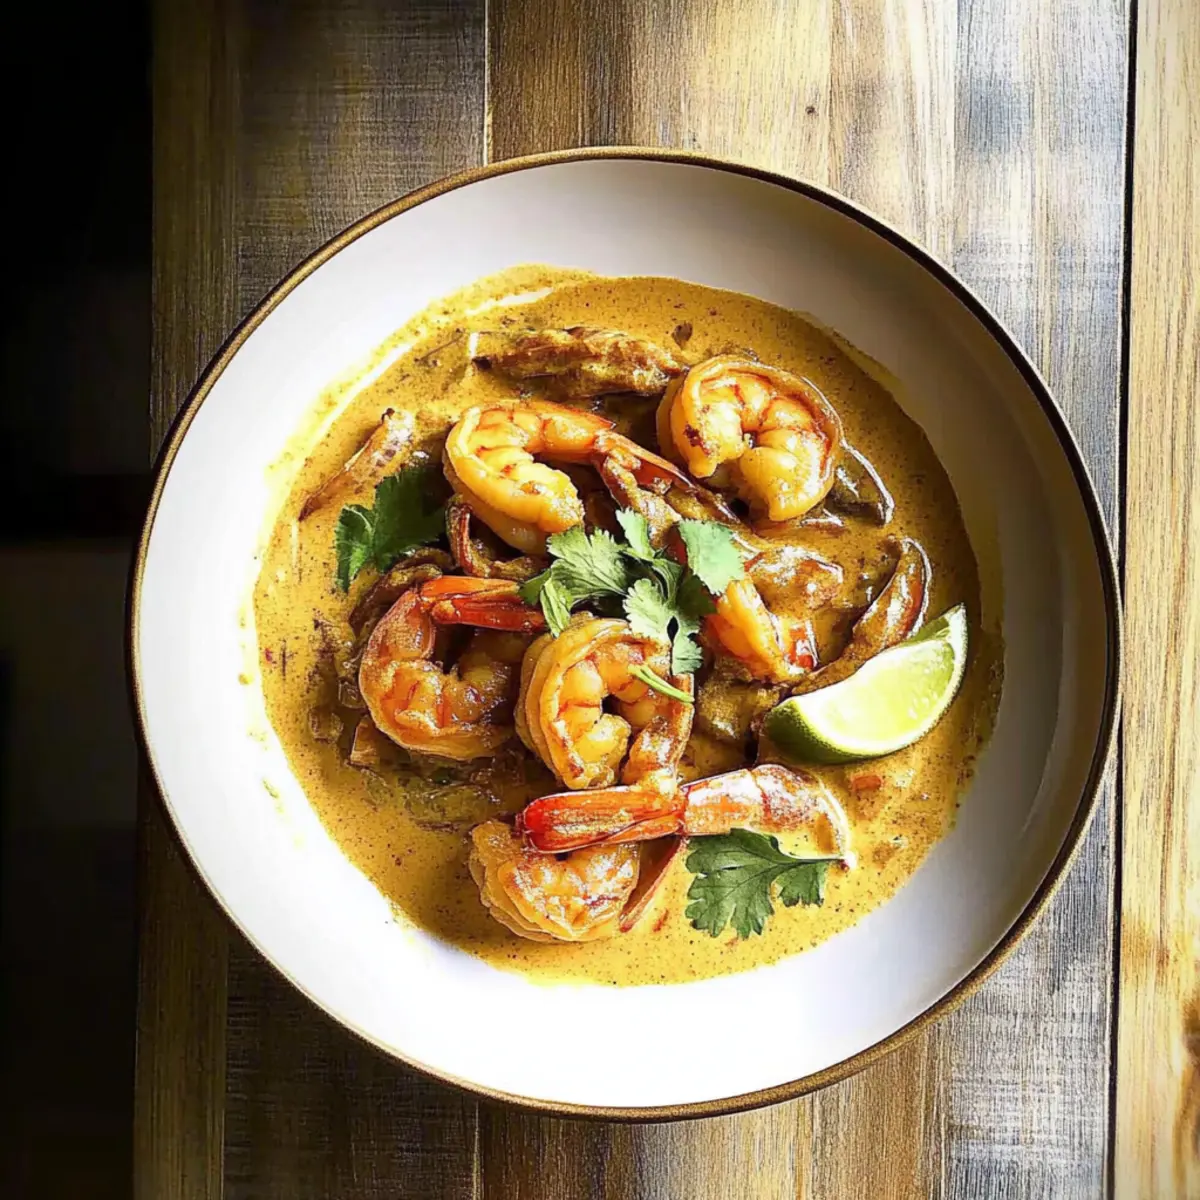
Once the chicken is tender and the sauce is bubbly, remove the skillet from the heat. Garnish your creamy coconut lime chicken with a sprinkle of chopped fresh cilantro for a touch of color and freshness. Serve this delectable dish warm, perhaps alongside coconut rice to soak up all the luscious sauce.

What to Serve with Creamy Coconut Lime Chicken
As the flavors dance on your palate, consider pairing this dish with delightful sides to create a memorable meal experience.
- Coconut Rice: A fragrant companion, absorbing the creamy sauce while adding subtle sweetness. It transforms every bite into a tropical escape.
- Garlic Naan: Soft and buttery, this bread is perfect for dipping into the luscious sauce, making each meal an interactive feast.
- Crisp Cucumber Salad: With a zesty lime dressing, this refreshing salad adds a crunchy contrast, balancing the creaminess beautifully.
- Steamed Broccoli: Bright green and nutritious, its slight bitterness perfectly complements the rich, sweet coconut flavors while also adding a pop of color.
- Mango Chutney: This sweet and tangy condiment intensifies the dish’s flavor profile, offering a delightful burst of sweetness that pairs wonderfully with spice.
- Chilled White Wine: A glass of chilled Sauvignon Blanc takes the experience to the next level, seamlessly enhancing the dish’s vibrant citrus notes.
- Chocolate Lava Cake: Cap off your meal with a warm, gooey dessert. The richness of chocolate contrasts delightfully with the zesty chicken, leaving everyone blissfully satisfied.
Each of these options adds texture, flavor, and freshness, creating a lovely balance that complements your creamy coconut lime chicken!
Make Ahead Options
These Creamy Coconut Lime Chicken preparations are perfect for busy home cooks looking to save time! You can season and sauté the chicken, then store it in the fridge for up to 24 hours. For the sauce, prepare the sautéed onion, red bell pepper, and garlic, then mix in the chicken stock and cornstarch, refrigerating the mixture for up to 3 days. To keep everything fresh, store the sautéed chicken and sauce in separate airtight containers. When you’re ready to enjoy this delightful dish, simply reheat the chicken and sauce, stir in the coconut milk and heavy cream, and let it simmer together until bubbly. This way, you’ll still savor that creamy, mouthwatering flavor without the rush!
Expert Tips for Creamy Coconut Lime Chicken
-
Don’t Overcrowd the Pan: Cook chicken pieces in batches if your skillet is small. Overcrowding can lead to uneven cooking and steaming rather than browning.
-
Flavor Boosting Marinade: For extra flavor, marinate the chicken in lime juice, salt, and pepper for 30 minutes before cooking. This enhances the depth of flavors in your creamy coconut lime chicken.
-
Adjusting Sauce Thickness: If the sauce is too thin, add a little more cornstarch mixed with water. Start with a tablespoon and allow it to simmer until thickened to your liking.
-
Control the Heat: When adding red chili flakes, start with a small amount and taste as you go. It’s easy to add more heat than you can handle!
-
Fresh Ingredients Matter: Use fresh garlic and lime juice for maximum flavor impact, as they will elevate your creamy coconut lime chicken dish significantly.
-
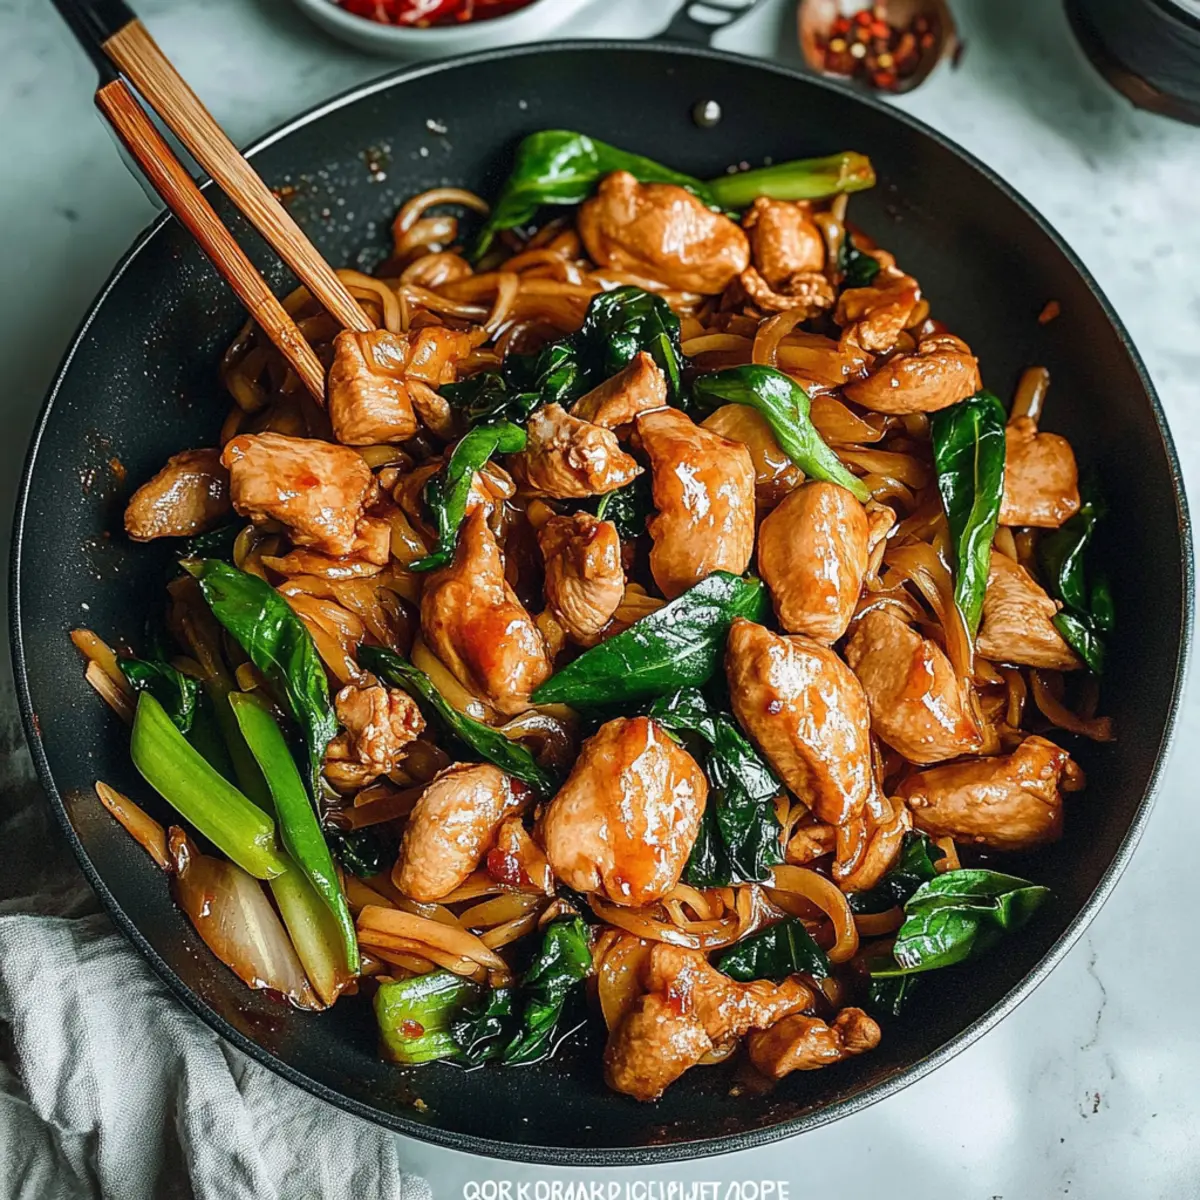
Experiment with Veggies: Feel free to add other vegetables like spinach or snap peas for extra color and nutrition. This not only adds flavor but also makes the dish even more family-friendly!
Creamy Coconut Lime Chicken Variations
Feel free to play around with this recipe and make it your own with these tasty ideas!
-
Vegetarian Delight: Substitute chicken with firm tofu, cubed, and sauté until golden for a satisfying vegetarian dish. You won’t miss the meat!
-
Load Up the Veggies: Add fresh spinach or frozen peas for a burst of color and nutrients. These green additions not only enhance appearance but elevate the overall flavor profile too.
-
Spice Level Up: Crank up the heat by incorporating sliced jalapeños or a dash of sriracha into the sauce. This adds a delightful zing that spice lovers will adore.
-
Herb Twist: Switch out cilantro for fresh basil or mint to create a wholly different flavor experience. These herbs will lend a refreshing twist that’s perfect for warmer nights.
-
Nutty Flavor: Stir in some toasted coconut flakes before serving for a delightful crunch and enhanced coconut flavor. It adds texture and a bit of tropical flair!
-
Creamy Variance: For a lighter option, use light coconut milk in place of regular, or go completely dairy-free by opting for coconut cream instead of heavy cream. Your dish will still be deliciously creamy!
-
Curry Vibe: Add curry powder for a more vibrant and exotic flavor profile that enhances the creamy sauce with a deep, warming spice. A great way to entice your taste buds!
-
Citrus Burst: Replace lime juice with fresh lemon or orange juice for a zesty twist. This brightens the dish, adding a refreshing citrus note that surprises the palate!
Explore these variations to make your Creamy Coconut Lime Chicken a unique family favorite. Each twist can breathe new life into your meal while keeping that comforting essence that everyone loves!
Storage Tips for Creamy Coconut Lime Chicken
Fridge: Store leftovers in an airtight container for up to 3 days. Make sure to let the dish cool completely before sealing to maintain freshness.
Freezer: For longer storage, freeze in a freezer-safe container for up to 3 months. To reheate, thaw overnight in the fridge and reheat gently on the stove for best results.
Reheating: Reheat Creamy Coconut Lime Chicken on medium heat in a skillet. Stir occasionally until warmed through to maintain the creamy texture.
Serving Suggestions: Enjoy it over fresh rice or salad for a delightful meal that brings warmth back to your weeknight dinners!

Creamy Coconut Lime Chicken Recipe FAQs
What types of chicken work best for this dish?
Absolutely! Boneless, skinless chicken breasts are ideal for this recipe, but I often find that chicken thighs bring a richer flavor and juiciness. If you’re looking for a healthier alternative, consider using lean turkey cutlets, which also work well.
How do I store leftovers of Creamy Coconut Lime Chicken?
Refrigerate your leftovers in an airtight container for up to 3 days. It’s best to let the dish cool completely before sealing it to maintain its freshness. When reheating, do so gently over medium heat to preserve the creamy texture.
Can I freeze Creamy Coconut Lime Chicken?
Yes, you can! To freeze, transfer the cooled chicken and sauce to a freezer-safe container, and it will keep well for up to 3 months. When ready to enjoy, thaw it overnight in the fridge, and reheat on the stovetop over medium heat, stirring occasionally until heated through.
What should I do if my sauce is too thin?
If your sauce doesn’t thicken as expected, don’t worry! Mix 1 tablespoon of cornstarch with 2-3 tablespoons of cold water to create a slurry. Slowly add this mixture to the simmering sauce while continually stirring. Let it simmer for a few more minutes until it reaches your desired thickness.
Is there a dairy-free alternative for this recipe?
Definitely! To make the Creamy Coconut Lime Chicken dairy-free, simply substitute the heavy cream with coconut cream. This provides the same luxurious, creamy texture without any dairy. You’ll enjoy the delicious coconut flavor even more!
Are there any special considerations for allergies?
When preparing this dish, keep in mind that it contains coconut, which some people may be allergic to. Additionally, always check for specific dietary needs like gluten intolerance if using broth or sauces. You can easily substitute with low-sodium chicken broth or vegetable broth to cater to various dietary preferences.

Creamy Coconut Lime Chicken for a Quick Family Feast
Ingredients
Equipment
Method
- Generously season the chicken breasts with salt and pepper on both sides. Allow to rest for a few minutes.
- Heat olive oil in a large skillet over medium heat and cook chicken for 5-7 minutes on each side until golden brown. Transfer to a plate to keep warm.
- In the same skillet, add onion and bell pepper, sauté for 5 minutes until softened. Stir in minced garlic for an additional minute.
- Whisk together chicken stock and cornstarch in a bowl until smooth. Pour into the skillet with vegetables, add red chili flakes and turmeric. Simmer for 3-5 minutes until thickened.
- Stir in coconut milk and let simmer for another 3-5 minutes until creamy.
- Add lime juice and heavy cream, return chicken to skillet and spoon sauce over. Simmer for an additional 5-10 minutes.
- Remove from heat and garnish with cilantro. Serve warm.