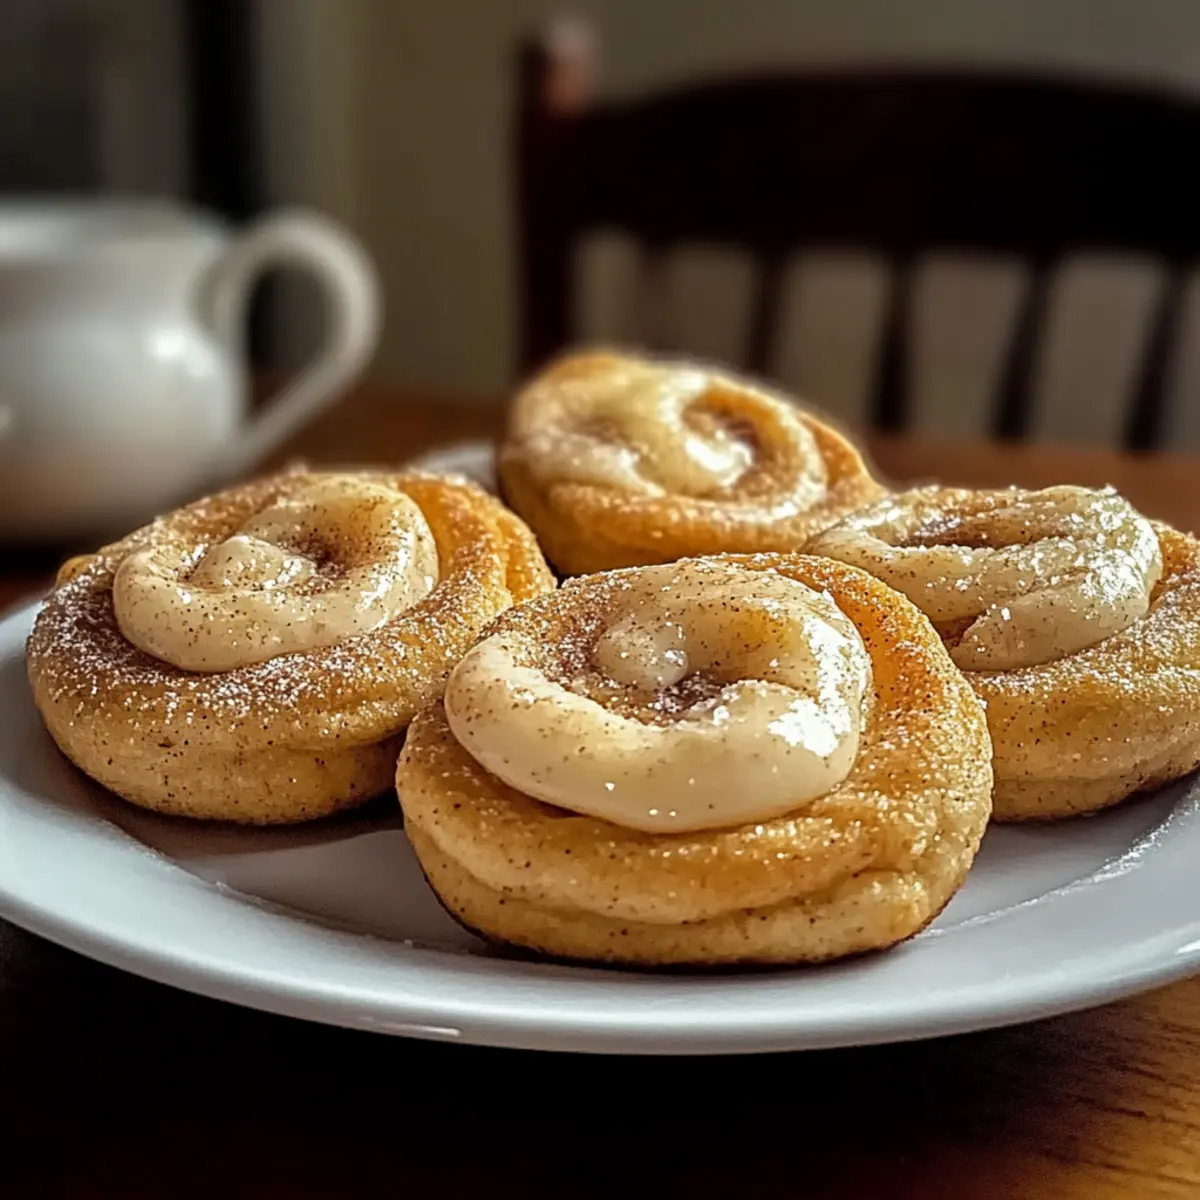
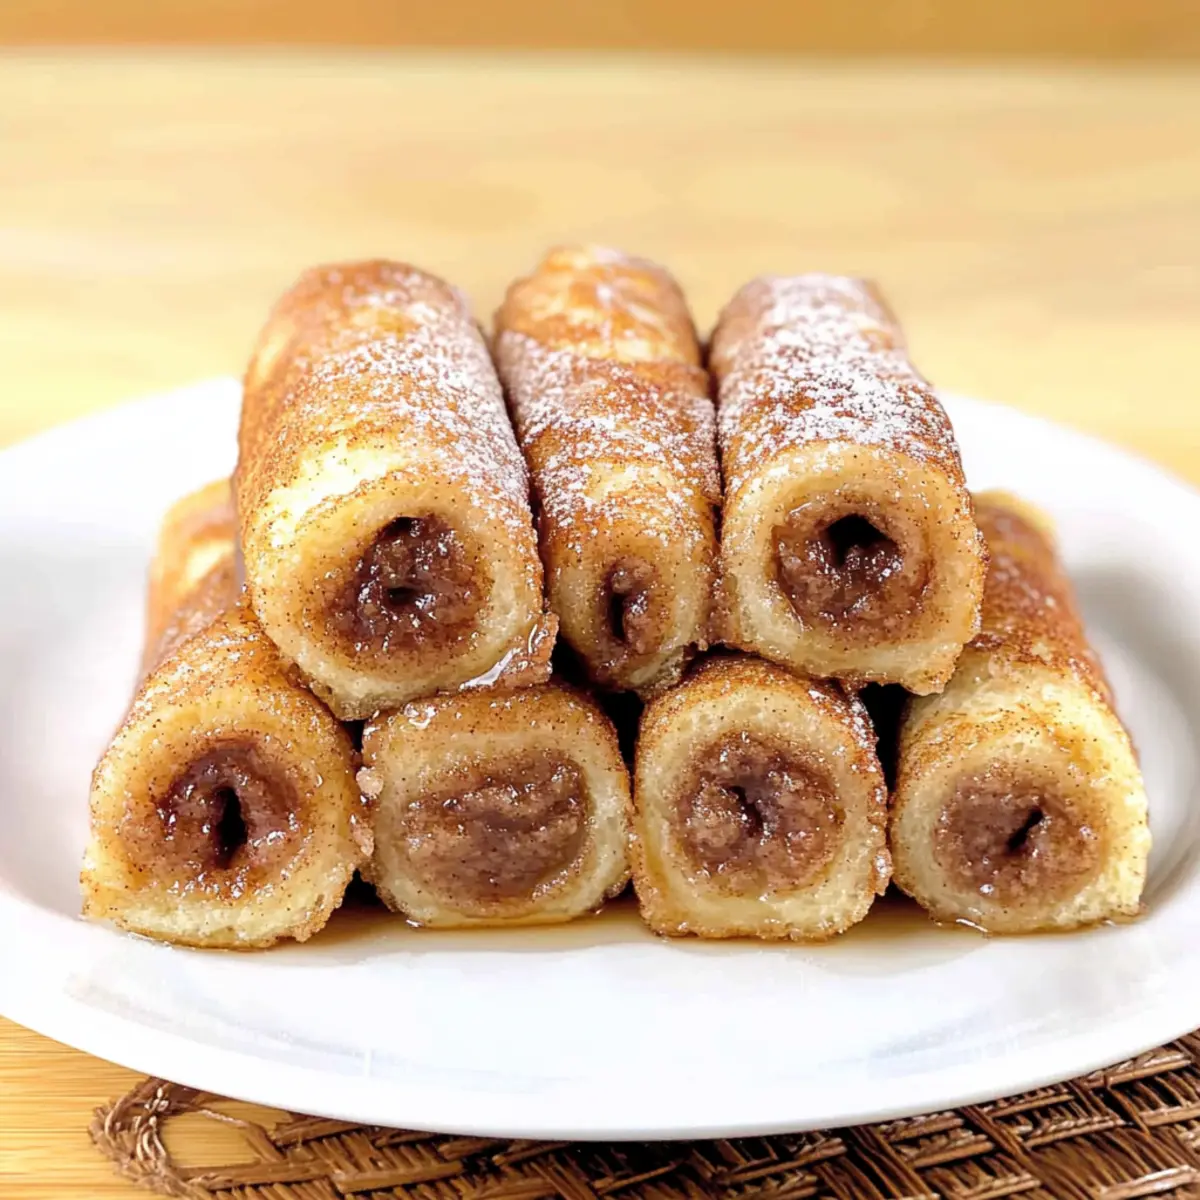
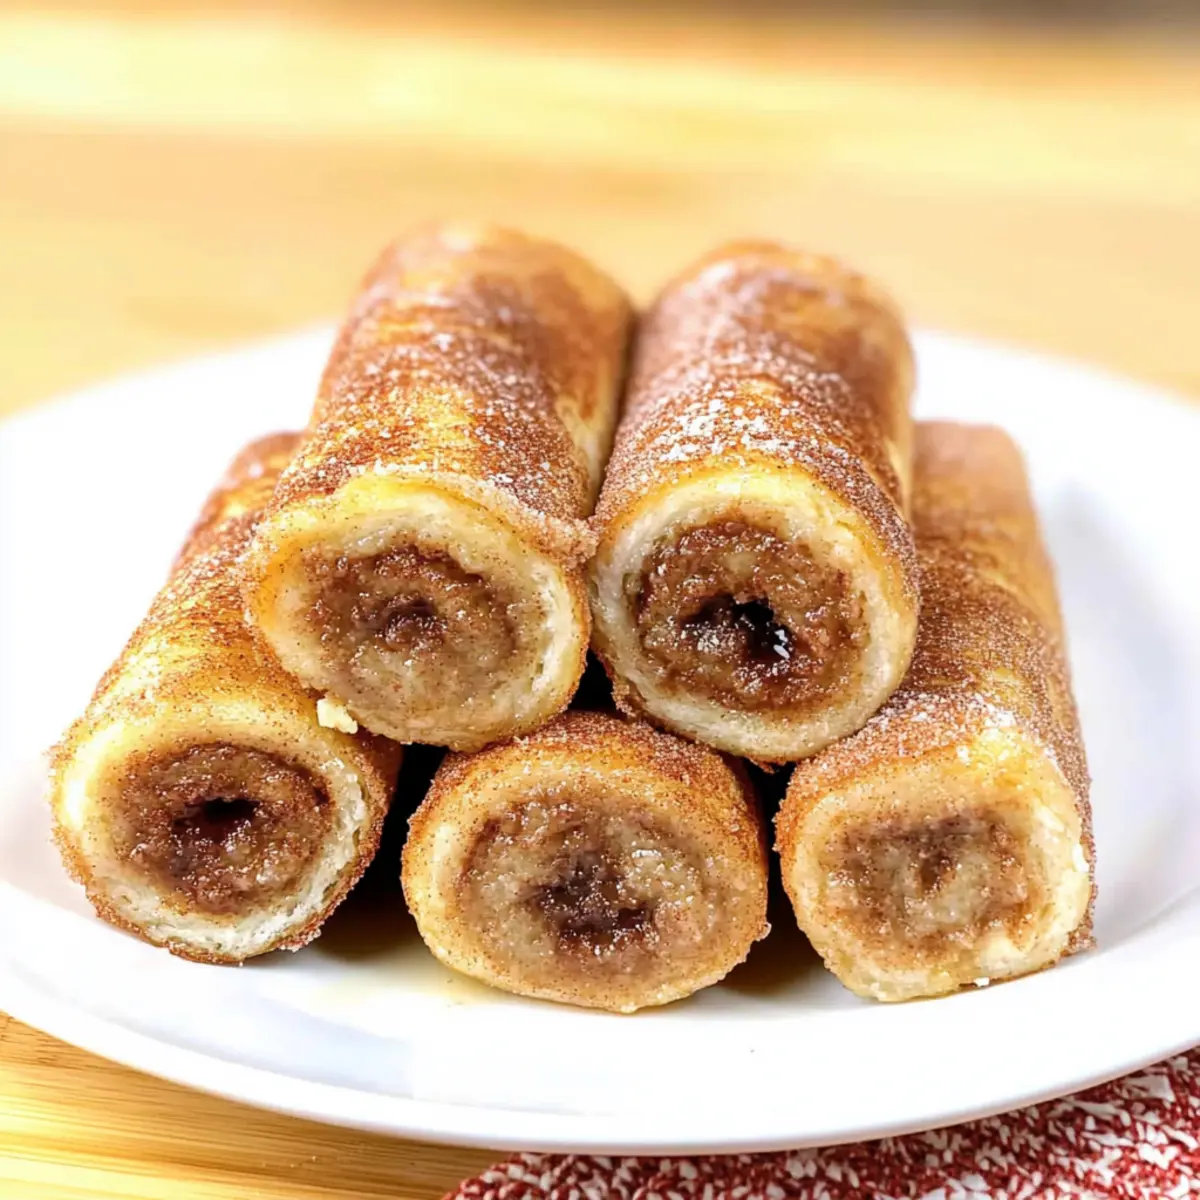
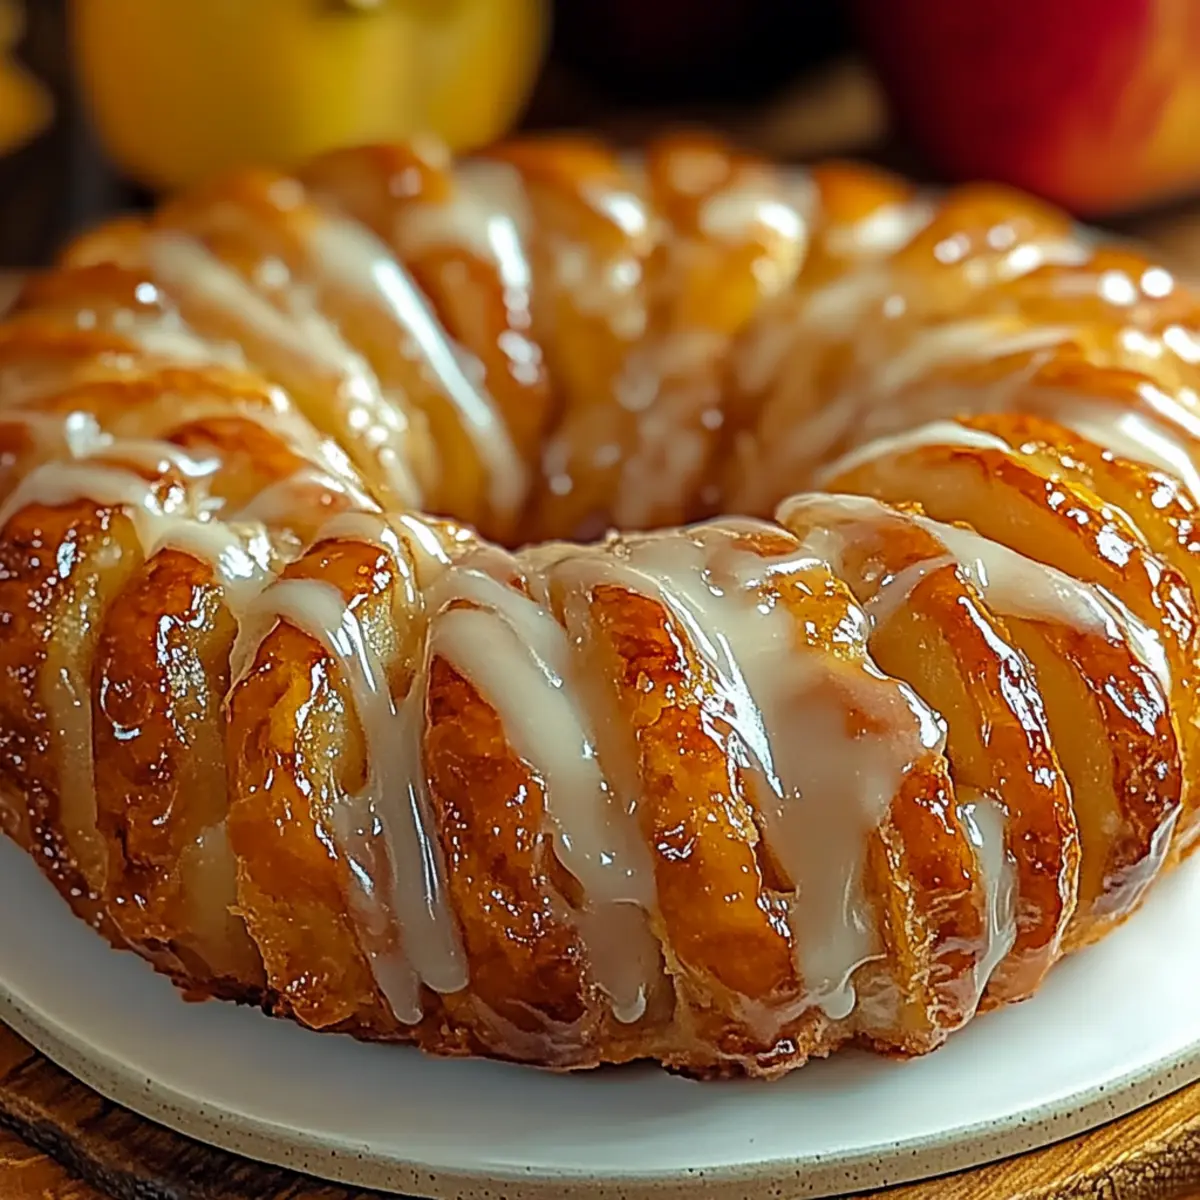
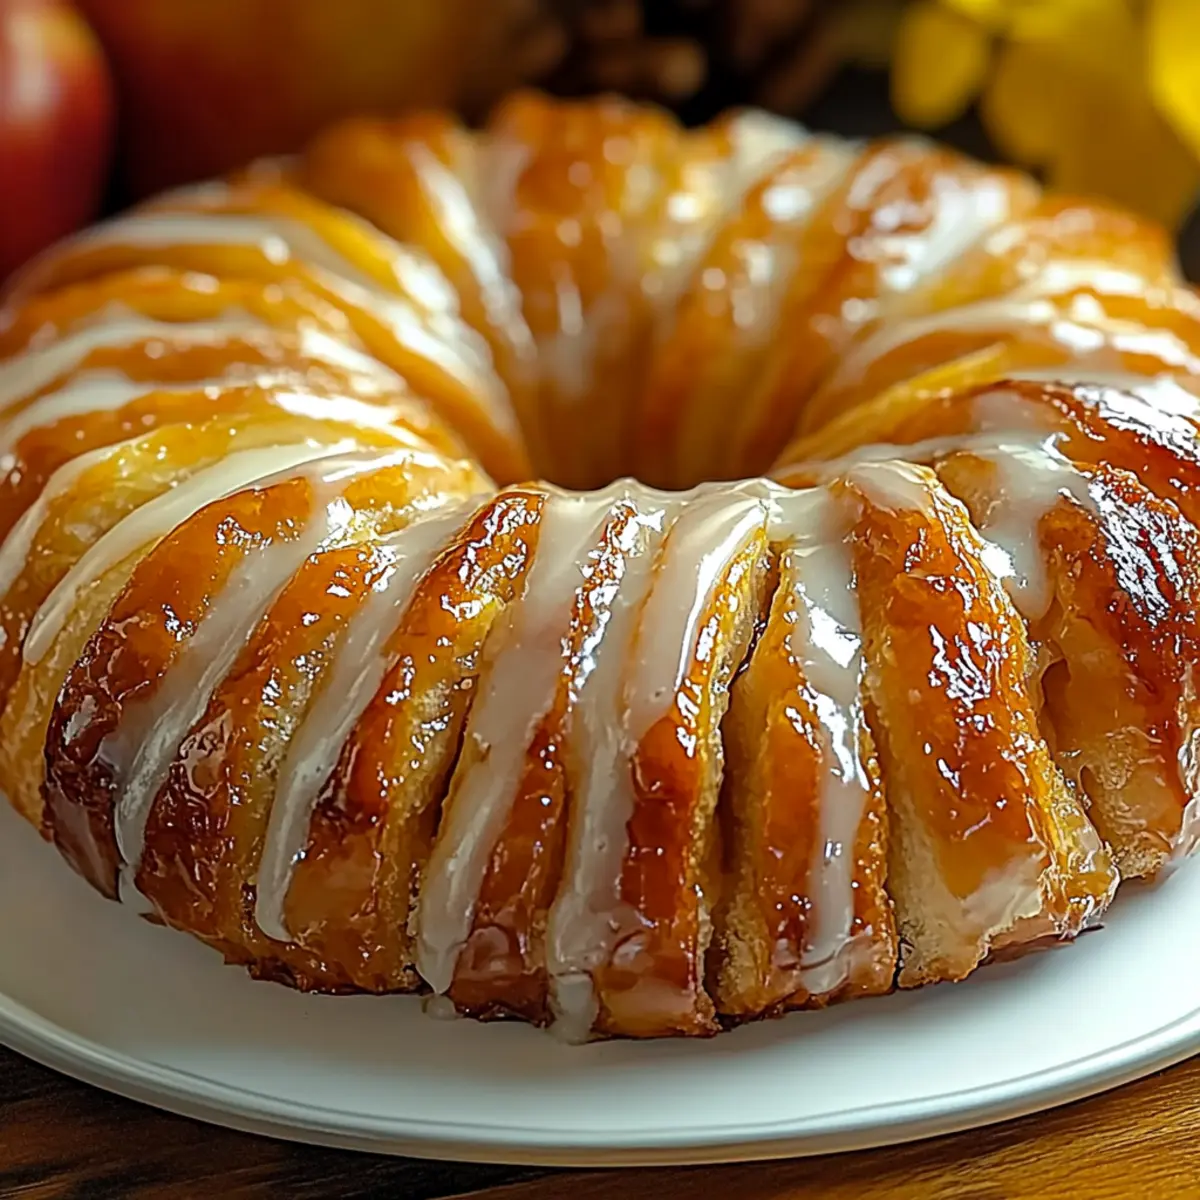
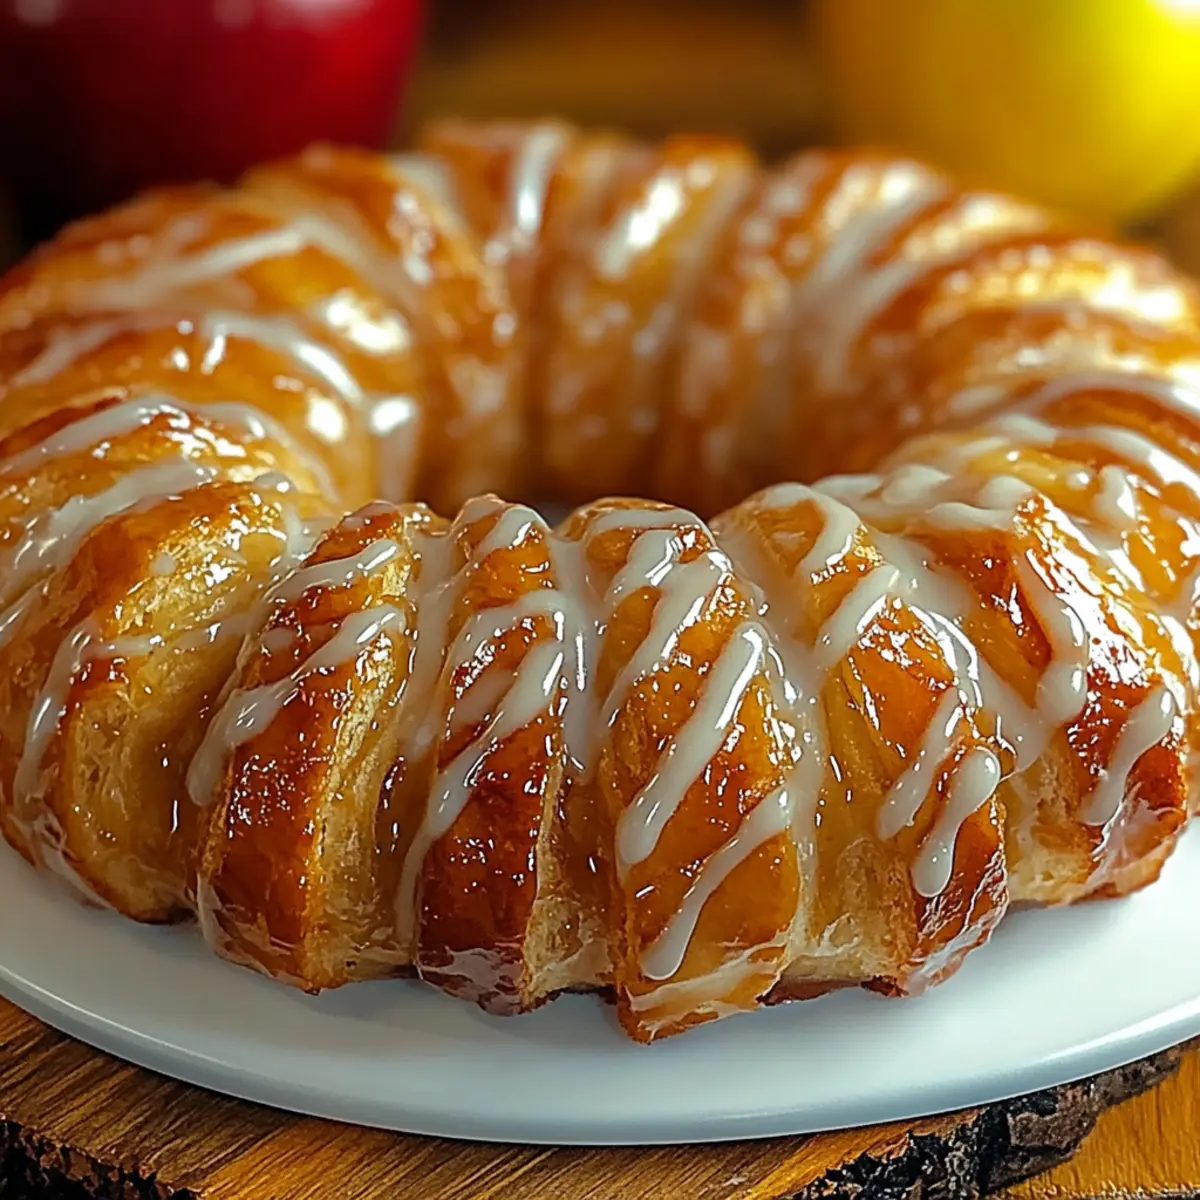
As I flipped through my grandmother’s recipe book, a familiar scent swept me away—warm apples mingling with cinnamon—a nostalgic reminder of cozy afternoons in her kitchen. Today, I’m excited to share my take on a classic: the Luscious Apple Kringle with Creamy Vanilla Glaze. This delightful Danish pastry not only brings a flaky, airy texture to the table but also features a sweet and spiced apple filling that’s bound to warm your heart. One of the best parts? It’s incredibly customizable, allowing you to swap in your favorite fruits or nuts for a fun twist. Plus, it makes an impressive centerpiece for any occasion, whether it’s brunch with friends or a sweet pick-me-up during the week. Are you ready to roll up your sleeves and give this a try?
Why is this Apple Kringle a must-try?
Irresistible Flavor: The combination of warm apples and fragrant cinnamon enveloped in a buttery, flaky pastry creates a taste sensation that echoes comfort.
Customizable Goodness: With options for gluten-free dough and a variety of fillings, like berries or nuts, this recipe allows for endless creativity.
Simple Steps: The approach is straightforward, making it perfect for bakers of all levels.
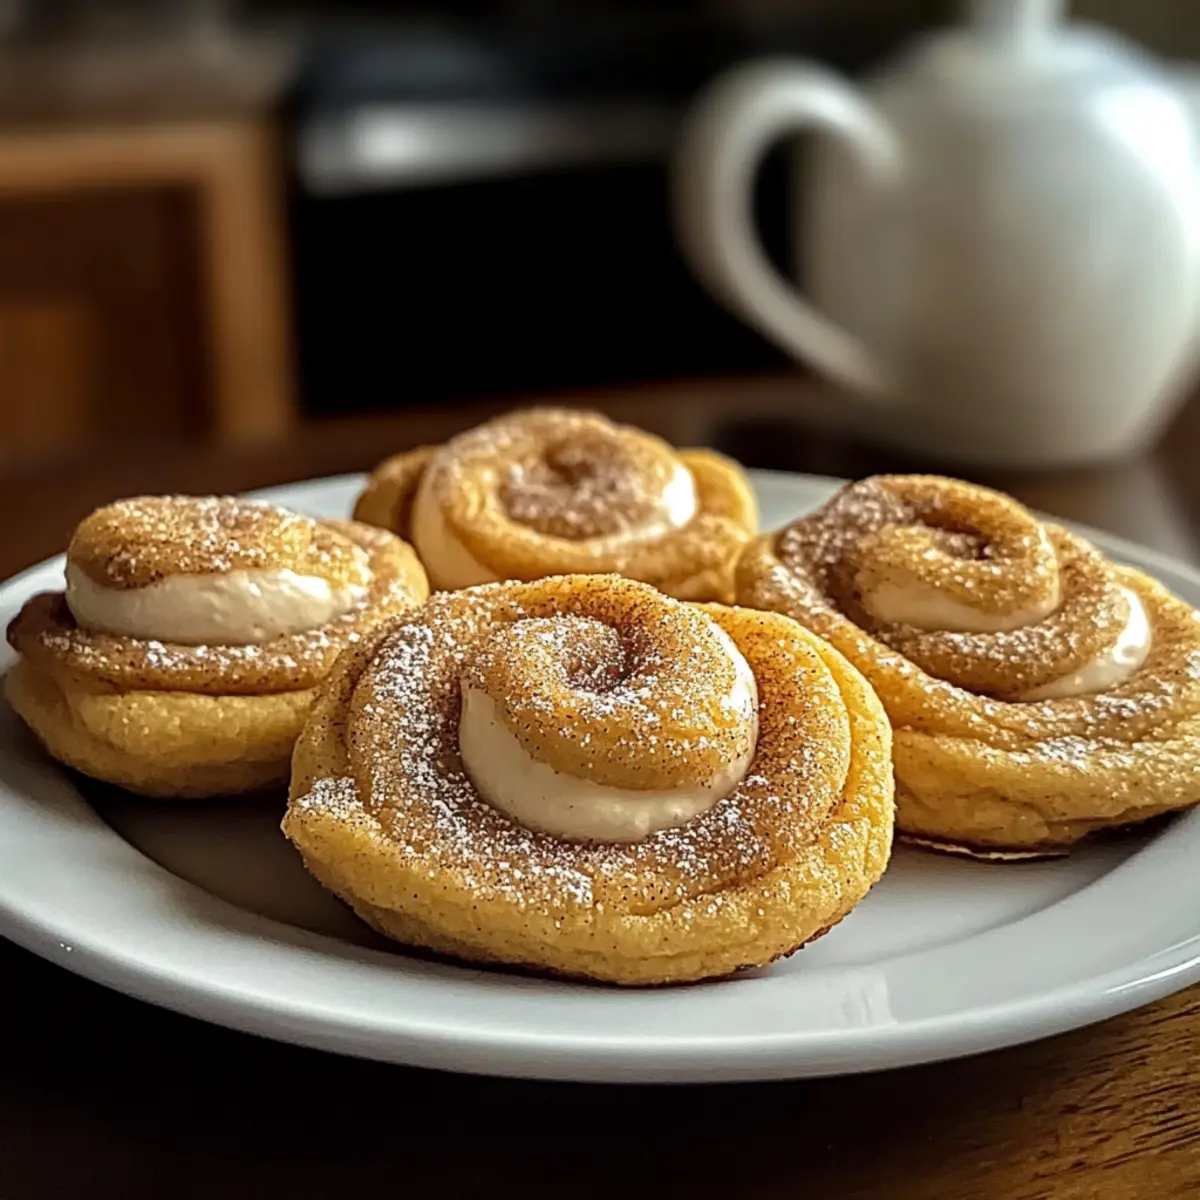
Crowd Favorite: It’s eye-catching and delicious, ensuring you impress guests during brunch or special occasions. Serve it alongside a delightful cup of coffee or tea for an elevated treat!
Perfect for Any Time: Whether it’s breakfast, dessert, or a cozy snack, this Kringle is suitable for every craving. Plus, if you’re looking for more delicious pastries, check out this Honeybun Carrot Cake or explore the comforting flavors of Chicken Soup Warms.
Apple Kringle Ingredients
• Get ready to create a delightful treat!
For the Dough
- All-purpose flour – Provides structure for the dough. Substitute with gluten-free flour blend for a gluten-free version.
- Salt – Enhances overall flavor. Use sea salt for a different taste profile.
- Sugar – Adds sweetness and enriches flavor. Can be substituted with brown sugar for a deeper flavor.
- Chilled, cubed butter – Creates flakiness in the pastry. Ensure the butter is very cold for best results.
- Cold water – Helps bring the dough together without activating gluten. Use ice water for optimal dough consistency.
For the Apple Filling
- Apples (peeled and diced) – Main filling ingredient that provides sweetness and texture. Granny Smith apples work well for a tart flavor.
- Brown sugar – Sweetens the apple filling and adds moisture. Substitute with coconut sugar for a healthier option.
- Cinnamon – Adds warmth and spice to the filling. Can be swapped with nutmeg for a different flavor.
- Lemon juice – Brightens the apple filling. Substitute with apple cider vinegar for a similar effect.
- Cornstarch – Thickens the apple filling as it bakes. Can be replaced with arrowroot powder.
For the Vanilla Glaze
- Powdered sugar – For the vanilla glaze, adds sweetness and texture. Use erythritol for a low-sugar alternative.
- Milk – Provides liquid in the glaze to achieve the right consistency. Use non-dairy milk for a vegan option.
- Vanilla extract – Infuses flavor into the glaze. Almond extract can be used as a substitute for a different flavor profile.
Now that you have all the essentials for your Apple Kringle with Vanilla Glaze, let’s take this journey into delightful baking!
Step‑by‑Step Instructions for Apple Kringle with Vanilla Glaze
Step 1: Dough Preparation
In a large mixing bowl, combine all-purpose flour, salt, and sugar. Cut in chilled, cubed butter using a pastry cutter until the mixture resembles coarse crumbs. Gradually add ice-cold water, mixing until a dough forms. Wrap the dough in plastic wrap and refrigerate for at least 30 minutes to allow it to firm up for rolling.
Step 2: Apple Filling
While the dough is chilling, prepare the apple filling. In a medium bowl, mix peeled and diced apples with brown sugar, cinnamon, lemon juice, and cornstarch. Stir well to ensure the apples are evenly coated. Let the mixture sit for about 10 minutes to meld the flavors, creating a fragrant filling for your Apple Kringle.
Step 3: Assembly
After chilling, preheat your oven to 375°F (190°C). Roll out the dough on a floured surface into a large rectangle, about 1/4 inch thick. Place the apple filling in the center of the dough, ensuring there’s a border around the edges. Cut slits along both sides of the filling, then fold the dough over the apples, alternating sides to create a braid-like effect.
Step 4: Baking
Transfer the assembled Apple Kringle to a parchment-lined baking sheet. Bake in the preheated oven for 25-30 minutes or until the pastry is golden brown and flaky. Keep an eye on it; once you see a beautiful golden hue, it’s almost ready! After baking, allow it to cool on the baking sheet for about 10 minutes before adding the glaze.
Step 5: Glaze Preparation
While the Kringle cools, prepare the creamy vanilla glaze. In a small bowl, whisk together powdered sugar, milk, and vanilla extract until smooth and drizzling consistency is achieved. If the glaze is too thick, add a splash of milk; if too thin, add a little more powdered sugar.
Step 6: Finishing Touch
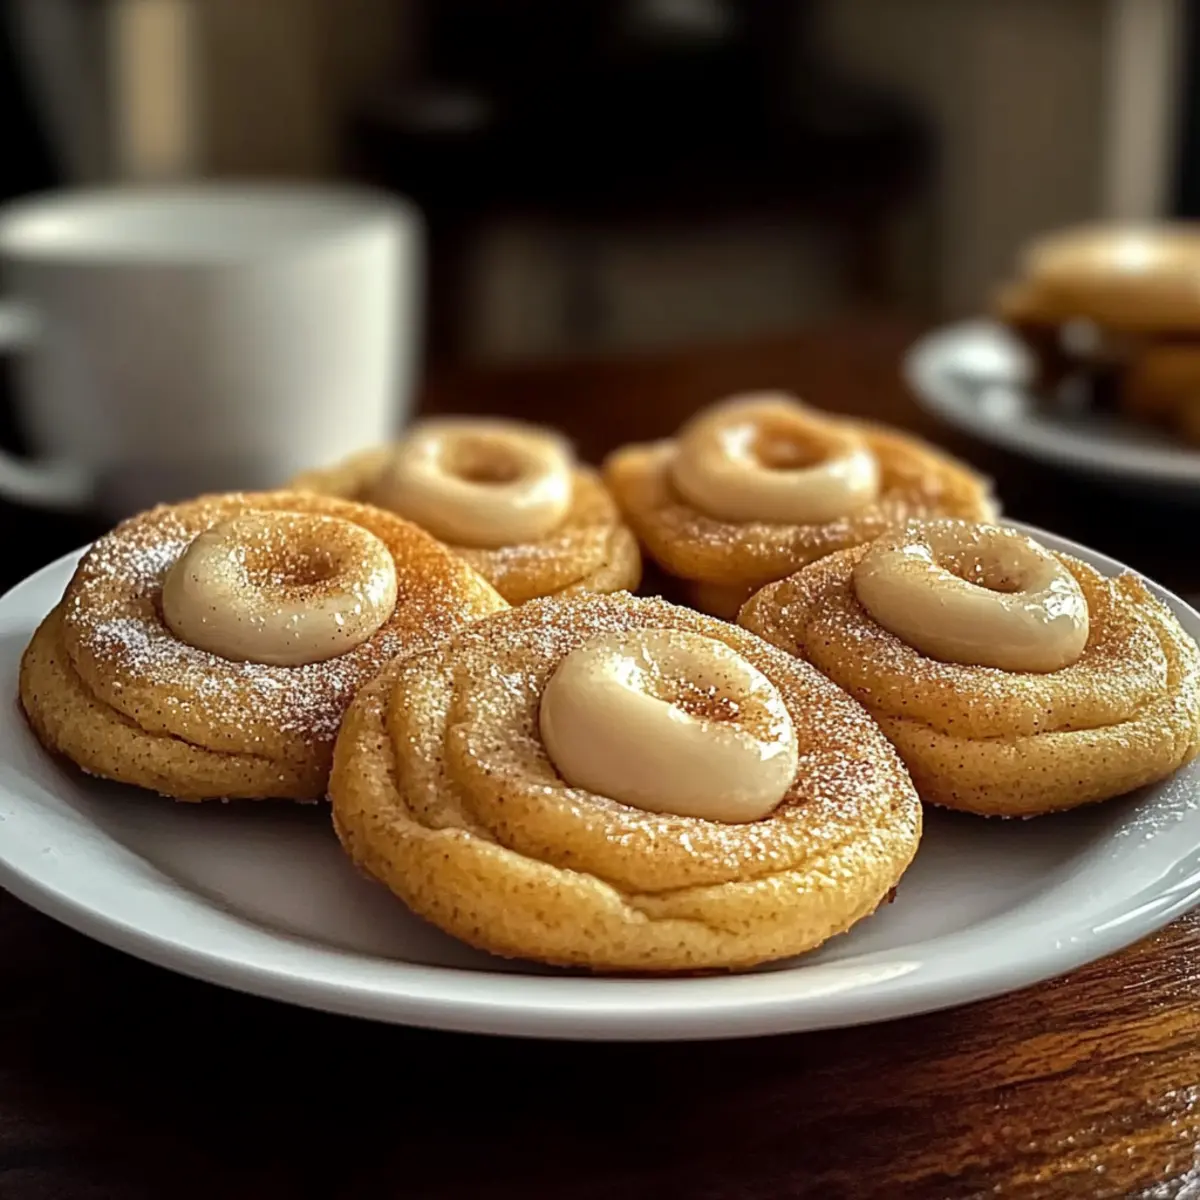
Once the Apple Kringle has cooled slightly, drizzle the vanilla glaze generously over the top, allowing it to cascade down the sides. The glaze will create a lovely shine and sweetness that complements the warm apple filling. Slice and serve your delightful Apple Kringle with Vanilla Glaze warm or at room temperature, ready for everyone to enjoy!
Make Ahead Options
These Apple Kringle with Vanilla Glaze are perfect for busy home cooks who love meal prep! You can prepare the dough and apple filling up to 24 hours in advance for a delightful time-saving solution. Simply follow the dough preparation and apple filling steps, then wrap the dough tightly in plastic wrap and refrigerate it. Store the filling in an airtight container in the fridge to keep it fresh. When you’re ready to bake, roll out the chilled dough, assemble the Kringle, and bake as instructed. You’ll have a freshly baked treat with all the flavors intact, making your mornings or dessert times just a little sweeter!
How to Store and Freeze Apple Kringle
Room Temperature: Store leftover Apple Kringle tightly wrapped in plastic wrap for up to 2 days to maintain its delightful flakiness.
Fridge: If you prefer a longer storage option, refrigerate wrapped Kringle for up to a week; make sure it’s well-sealed to prevent drying out.
Freezer: For longer preservation, freeze the wrapped Apple Kringle for up to 3 months. Thaw it overnight in the refrigerator before reheating.
Reheating: To bring back that warm, flaky goodness, reheat slices in the oven at 350°F (175°C) for about 10-15 minutes or until warmed through.
What to Serve with Apple Kringle with Vanilla Glaze
Create a delightful dining experience that complements the sweetness of this pastry!
-
Warm Spiced Cider: The comforting aroma and flavors of spiced apple cider create a cozy atmosphere, perfectly highlighting the apple filling of the Kringle.
-
Pumpkin Spice Latte: This seasonal favorite adds creaminess and a hint of spice, enhancing your dessert experience while evoking feelings of fall.
-
Whipped Cream: A dollop of fresh whipped cream elevates each slice, adding a light and airy contrast to the rich flavors of the pastry.
-
Vanilla Ice Cream: The melty creaminess plays wonderfully with the warm Kringle, creating a luscious dessert duo that’s irresistibly indulgent.
-
Fresh Berries Salad: A mix of tart berries like raspberries and blueberries adds a refreshing element that balances the sweetness of the pastry beautifully.
-
Herbal Tea: A soothing cup of herbal tea, like chamomile or mint, offers a calming finish alongside the sweet indulgence, perfect for winding down after a meal.
-
Chocolate Drizzle: For a decadent twist, drizzling a bit of melted chocolate over the glaze adds rich flavor that will make your taste buds sing.
-
Nutty Granola: Serving a side of crunchy, nutty granola introduces delightful texture and healthy elements, creating a well-rounded snack or breakfast option.
-
Caramel Sauce: A drizzle of caramel sauce can transform each bite into a luxurious treat, enhancing the sweet apple flavor while tempting your palate.
Expert Tips for Apple Kringle
-
Chill Ingredients: Always use cold butter and water to maintain flakiness in the dough, which is key for a perfect Apple Kringle.
-
Uniform Apples: Dice your apples evenly for consistent cooking. This prevents some apples from becoming mushy while others remain crunchy.
-
Don’t Overwork Dough: Handle the dough gently to avoid activating gluten, which can lead to a tough pastry instead of a light and flaky texture.
-
Watch the Bake: Ovens can vary significantly; always monitor the Kringle closely, and look for a golden-brown color to know it’s done.
-
Glaze Adjustments: If your glaze is too thin after mixing, add a little more powdered sugar. For a thicker glaze, incorporate a splash more milk gradually.
-
Creative Fillings: Feel free to explore different fillings beyond apples. Mixed berries or nuts can add a delightful twist to your custom Apple Kringle.
Apple Kringle with Vanilla Glaze Variations
Feel free to get creative with your Apple Kringle by experimenting with unique flavors and textures that will delight your taste buds!
-
Pears: Substitute apples with pears for a subtly sweet and tender filling that adds a lovely twist.
-
Berries: Add a mix of berries like blueberries or cranberries for a tart burst of flavor that perfectly complements the sweet glaze. Imagine savoring warm fruit with that vanilla touch – pure bliss!
-
Nuts: Incorporate chopped walnuts or pecans for added crunch and a nutty sweetness that elevates the overall texture.
-
Cream Cheese Filling: Layer in a cream cheese mixture for extra richness; simply blend cream cheese with a bit of sugar and vanilla for a delightful surprise.
-
Spices: Swap cinnamon for nutmeg or allspice to create a different warm flavor profile that’s sure to impress. Each bite will introduce new dimensions of comfort!
-
Vegan Option: Use a plant-based butter and non-dairy milk for both the dough and glaze, making this a delightful treat for all diets.
-
Chocolate Drizzle: For those with a sweet tooth, drizzle melted chocolate over the vanilla glaze for an indulgent chocolate-apple experience.
-
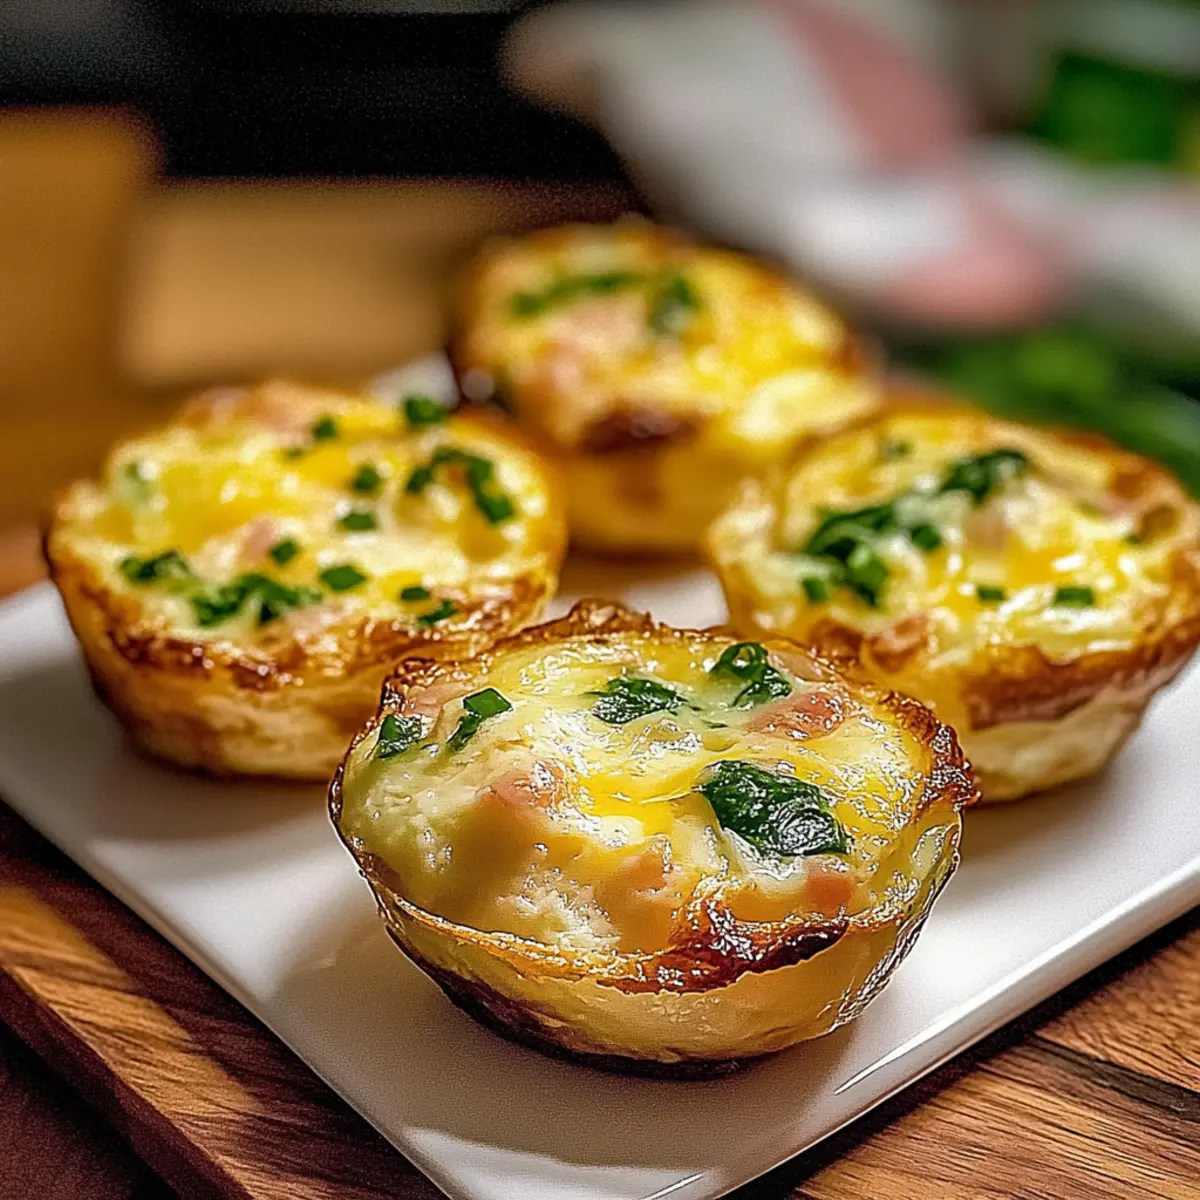
Savory Twist: Try adding sautéed spinach and feta cheese for a savory option that still keeps that flaky pastry goodness. This unexpected fusion will surprise your guests!
With these variations, feel free to explore and combine—your Apple Kringle can be as unique as the memories it creates. For more delightful desserts, don’t miss my Honeybun Carrot Cake or consider a comforting Korean BBQ Meatballs with Spicy Mayo to serve alongside!
Apple Kringle with Vanilla Glaze Recipe FAQs
What apples are best for Apple Kringle?
I recommend using Granny Smith apples for their tartness and firm texture, which holds up beautifully during baking. However, you can also experiment with sweeter varieties like Honeycrisp or Fuji for a different flavor profile. Just make sure the apples are fresh and firm, avoiding any with dark spots or soft areas.
How long can I store the Apple Kringle?
You can keep leftover Apple Kringle tightly wrapped at room temperature for up to 2 days. If you opt for refrigerating, it will stay fresh for up to a week. Just ensure it’s well-sealed to prevent drying out. For maximum freshness, I suggest consuming the Kringle within this timeframe to enjoy its delightful flakiness.
Can I freeze Apple Kringle?
Absolutely! To freeze your Apple Kringle, wrap it tightly in plastic wrap and then in aluminum foil to prevent freezer burn. It can be stored in the freezer for up to 3 months. When you’re ready to enjoy it, simply thaw it overnight in the refrigerator before reheating.
How do I troubleshoot if my pastry doesn’t turn out flaky?
If your Apple Kringle isn’t as flaky as you’d like, it may be due to overworking the dough or using ingredients that weren’t cold enough. Always ensure your butter and water are chilled, and handle the dough gently. If the dough feels tough, it might help to let it rest in the fridge a bit longer before rolling it out.
Is this recipe suitable for people with gluten allergies?
Yes! To make the Apple Kringle gluten-free, simply substitute the all-purpose flour with a gluten-free flour blend. Just make sure to check that all your other ingredients, like the vanilla extract and baking powder (if used), are also gluten-free to prevent any cross-contamination.
What should I do if my glaze turns out too thin?
If your glaze is too runny, you can easily thicken it by gradually adding more powdered sugar until you reach your desired consistency. Alternatively, if you want it thinner, just add a tiny splash of milk and whisk until smooth. Adjusting the glaze is all about finding that perfect balance, and it’s okay to tweak as you go!

Irresistible Apple Kringle with Creamy Vanilla Glaze Bliss
Ingredients
Equipment
Method
- In a large mixing bowl, combine all-purpose flour, salt, and sugar. Cut in chilled, cubed butter using a pastry cutter until the mixture resembles coarse crumbs. Gradually add ice-cold water, mixing until a dough forms. Wrap the dough in plastic wrap and refrigerate for at least 30 minutes to allow it to firm up for rolling.
- While the dough is chilling, prepare the apple filling. In a medium bowl, mix peeled and diced apples with brown sugar, cinnamon, lemon juice, and cornstarch. Stir well to ensure the apples are evenly coated. Let the mixture sit for about 10 minutes to meld the flavors, creating a fragrant filling for your Apple Kringle.
- After chilling, preheat your oven to 375°F (190°C). Roll out the dough on a floured surface into a large rectangle, about 1/4 inch thick. Place the apple filling in the center of the dough, ensuring there's a border around the edges. Cut slits along both sides of the filling, then fold the dough over the apples, alternating sides to create a braid-like effect.
- Transfer the assembled Apple Kringle to a parchment-lined baking sheet. Bake in the preheated oven for 25-30 minutes or until the pastry is golden brown and flaky. After baking, allow it to cool on the baking sheet for about 10 minutes before adding the glaze.
- While the Kringle cools, prepare the creamy vanilla glaze. In a small bowl, whisk together powdered sugar, milk, and vanilla extract until smooth and drizzling consistency is achieved. If too thick, add a splash of milk; if too thin, add a little more powdered sugar.
- Once the Apple Kringle has cooled slightly, drizzle the vanilla glaze generously over the top, allowing it to cascade down the sides. The glaze will create a lovely shine and sweetness that complements the warm apple filling. Slice and serve your delightful Apple Kringle with Vanilla Glaze warm or at room temperature.