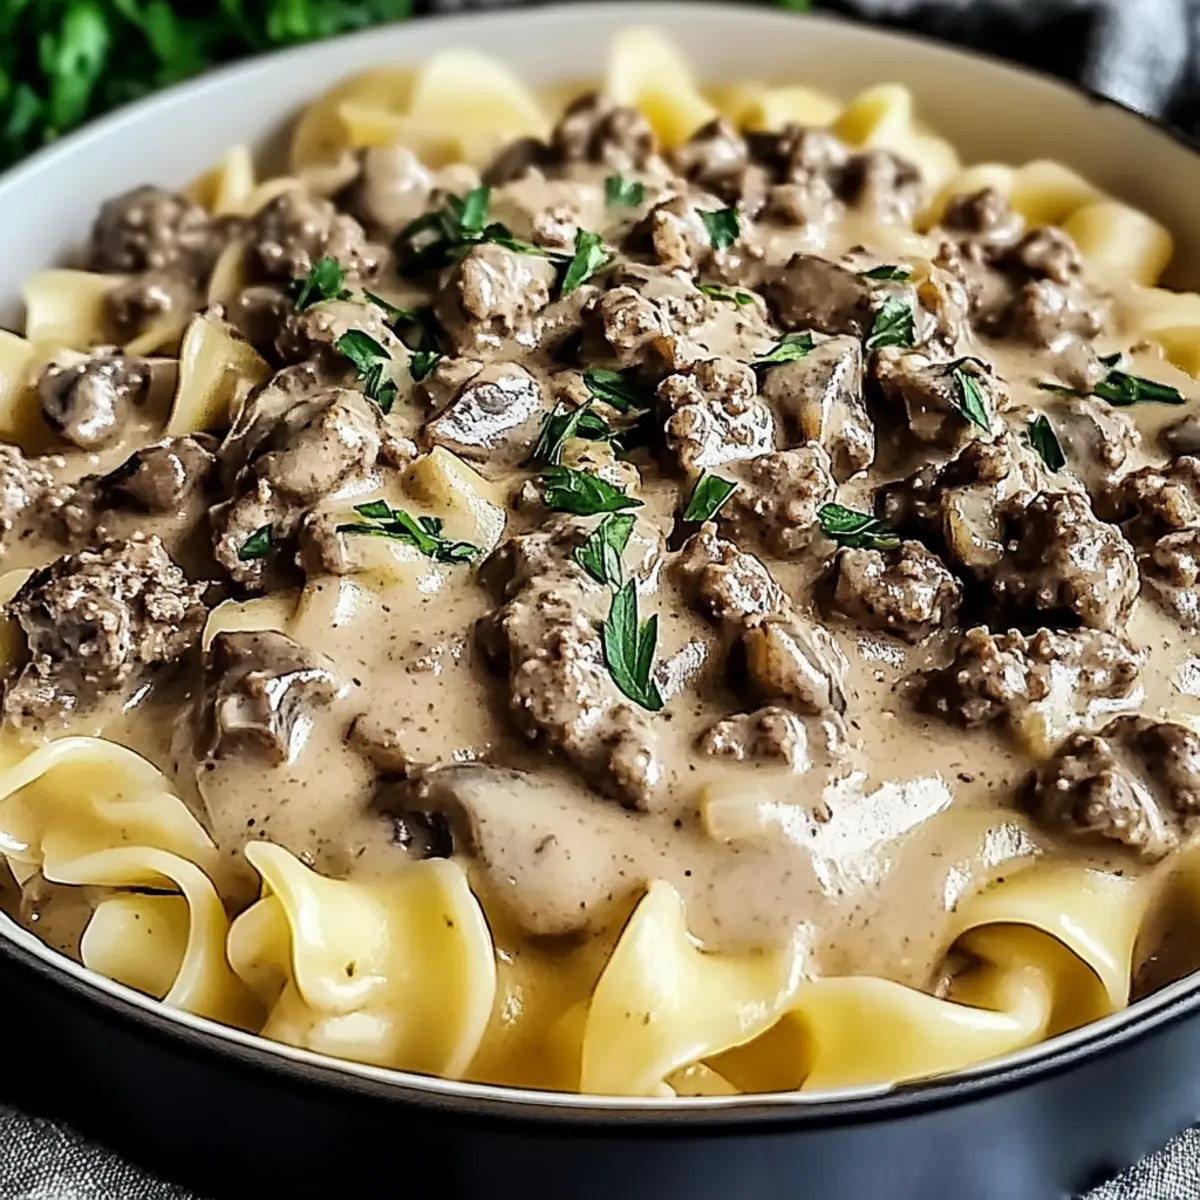
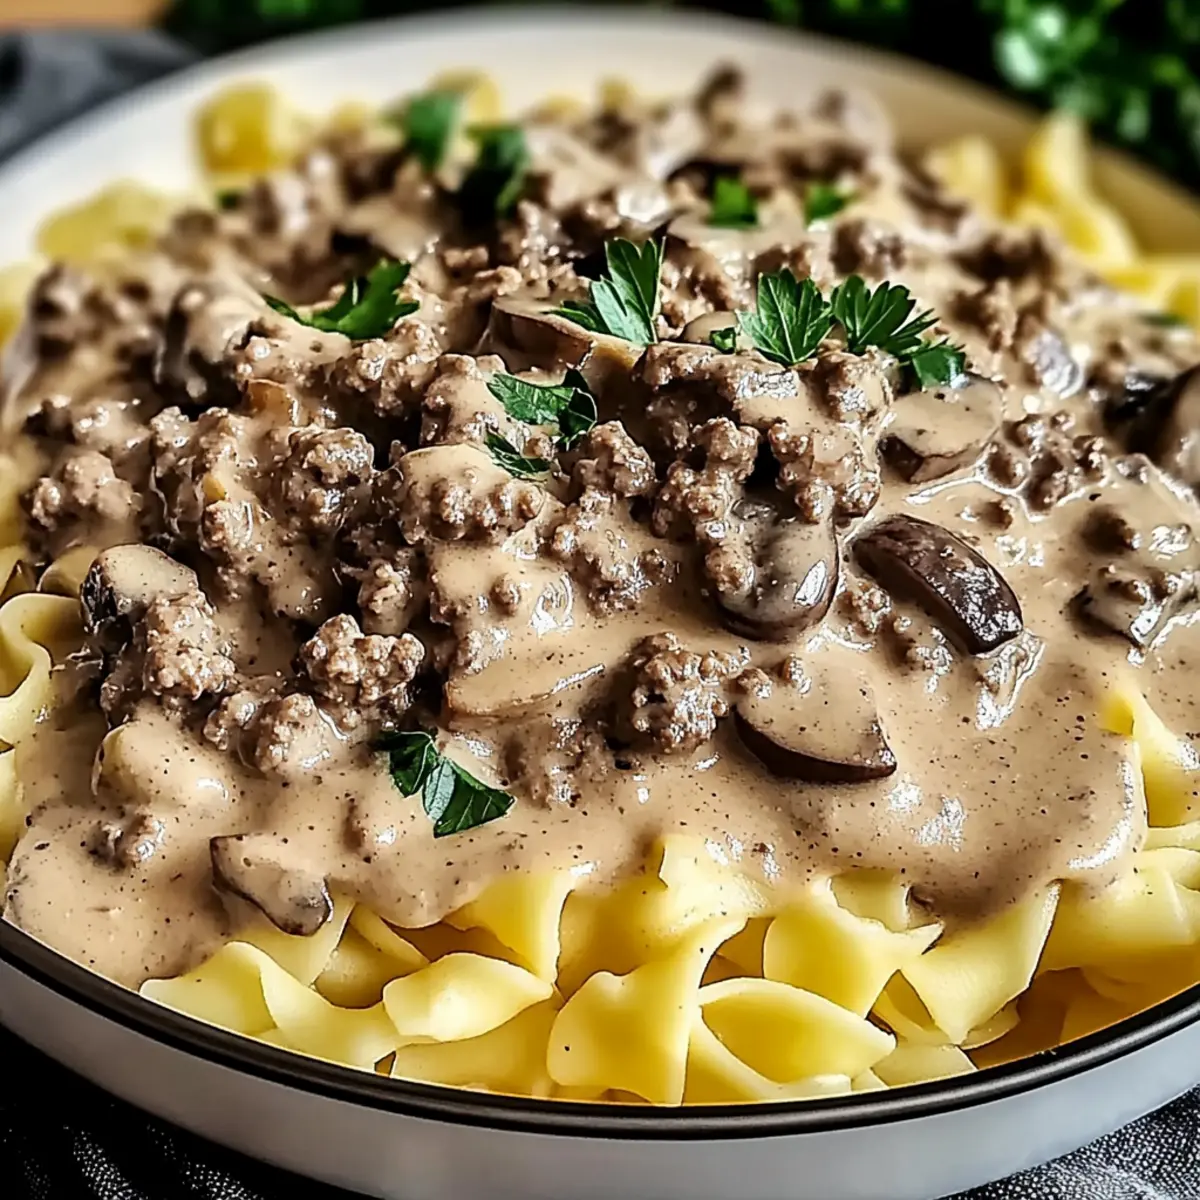
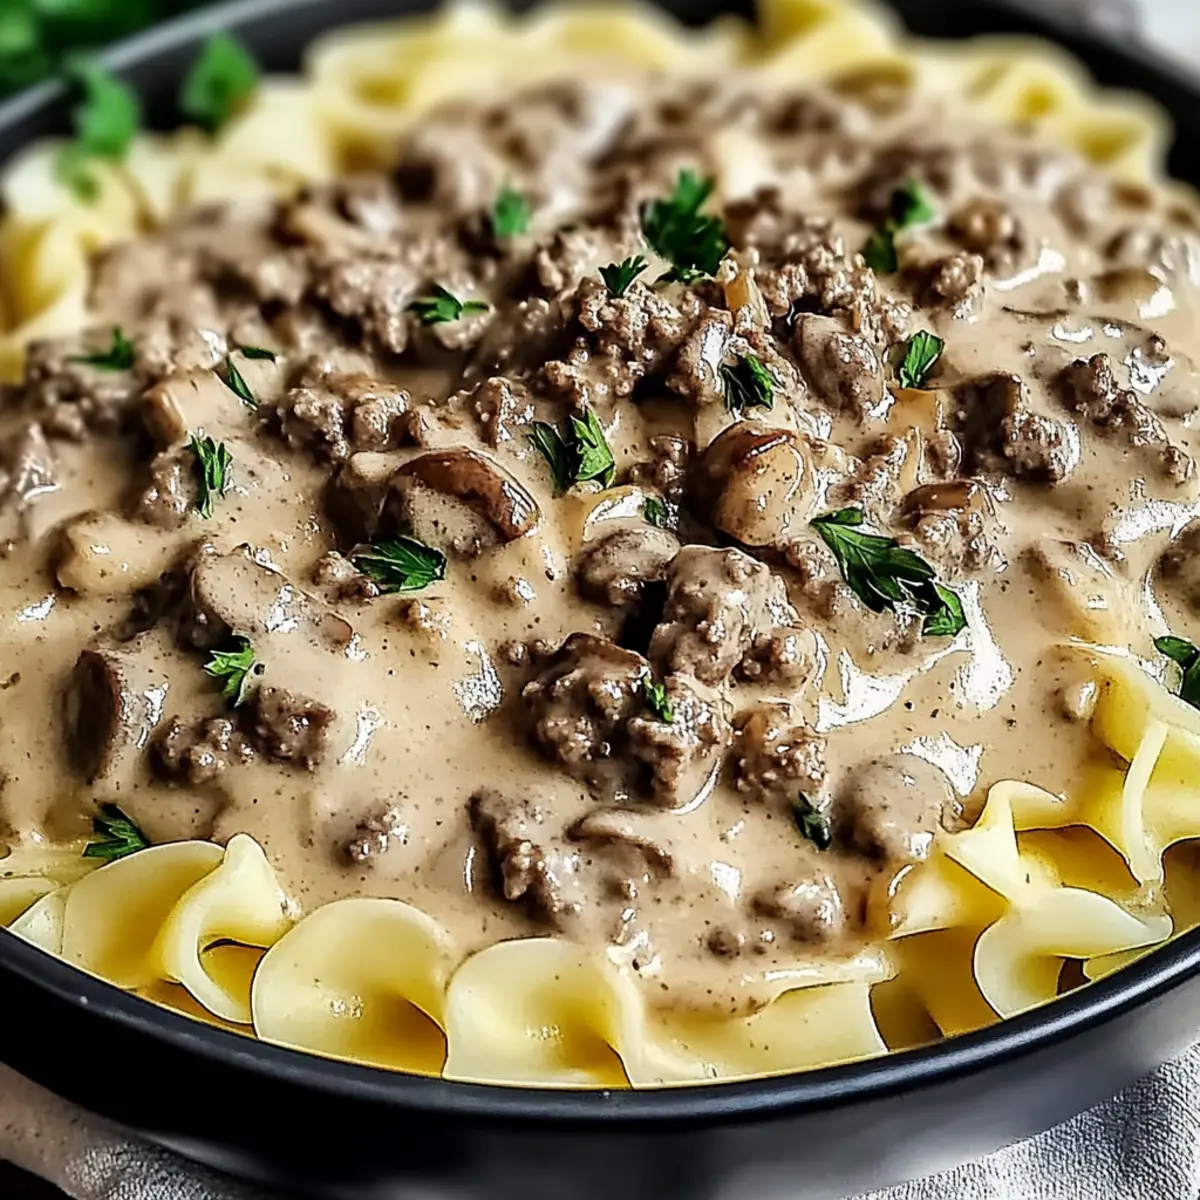
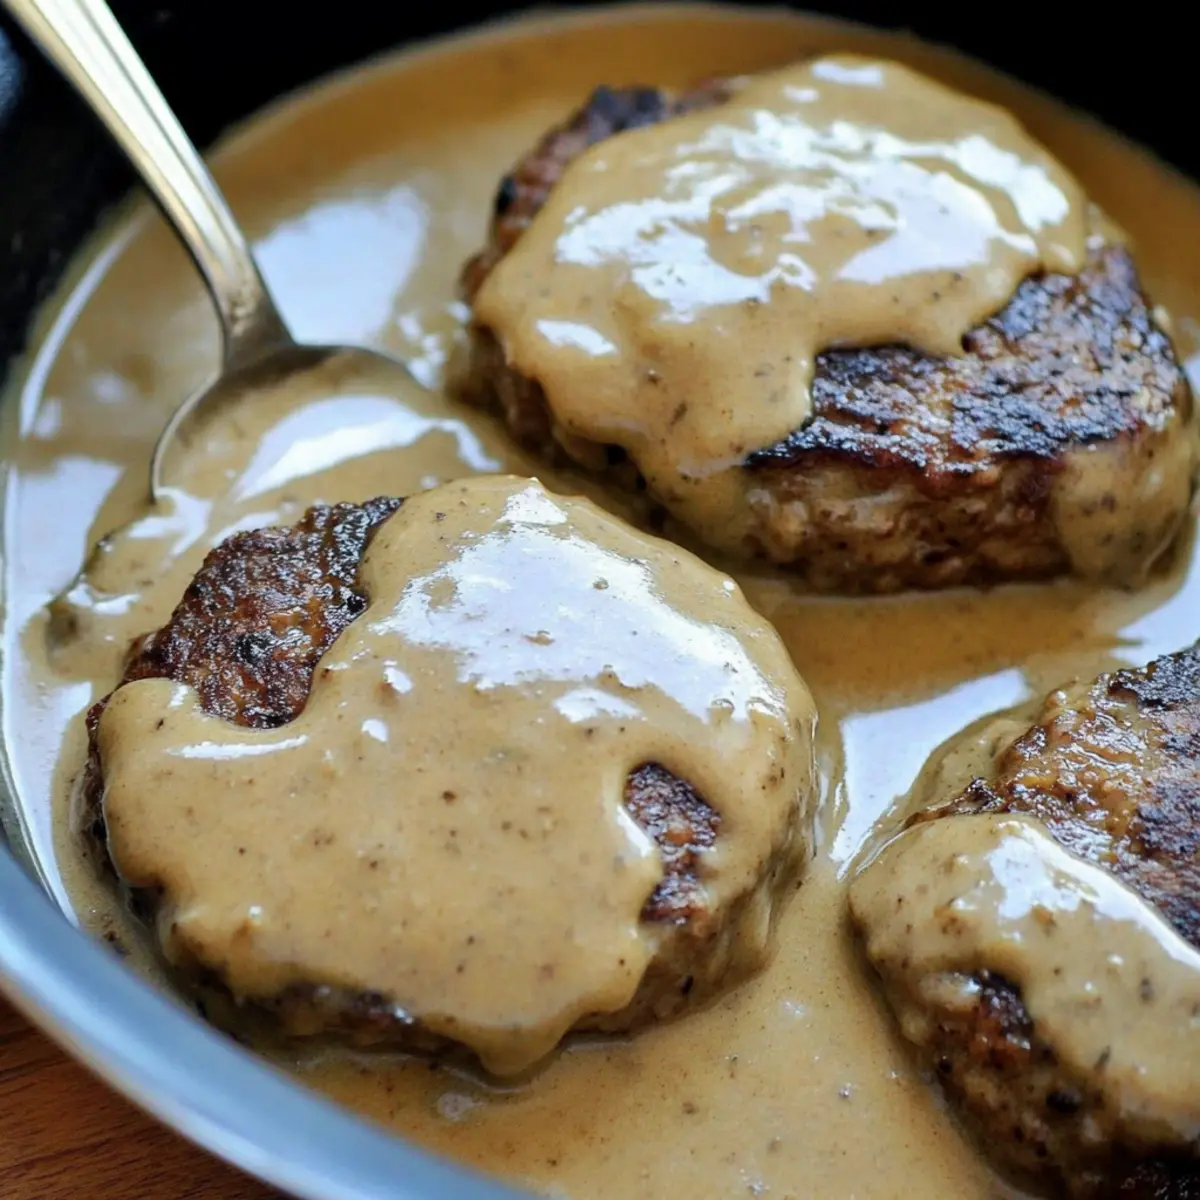
As I stirred the rich gravy in my skillet, the savory aroma filled my kitchen, whisking me away to my childhood dinners at grandma’s house. That’s the magic of the Amish Hamburger Steak Bake; it combines seasoned ground beef with tender veggies in a luscious gravy—all in one convenient pan! This dish isn’t just a quick weeknight meal; it’s a budget-friendly way to embrace homestyle comfort, perfect for those hectic evenings when you crave something hearty yet simple. With minimal prep and maximum satisfaction, it’s sure to delight your family. Curious about how to create this cozy casserole that feels like a warm hug on a plate? Let’s dive into the details!
Why is this casserole a must-try?
Comforting and Cozy: The Amish Hamburger Steak Bake is a dish that wraps you in warmth, reminiscent of family gatherings and hearty meals shared at home.
One-Pan Wonder: With everything cooked and served in a single pan, cleanup is a breeze, allowing you more time to enjoy your meal with loved ones.
Budget-Friendly Delight: Using simple ingredients, this recipe is easy on the wallet while still delivering rich flavors that feel indulgent.
Quick Prep Time: Perfect for busy weeknights, it’s ready in about an hour, bringing comfort to your table without demanding too much of your time.
Crowd-Pleasing Flavor: The savory blend of ground beef, gravy, and veggies makes this a guaranteed hit with family and friends. Pair it with a side of mashed potatoes to soak up that delicious gravy!
Amish Hamburger Steak Bake Ingredients
• Get ready to whip up this comforting one-pan delight with these simple ingredients!
For the Hamburger Patties
- Ground Beef – Use 80/20 for a balance of flavor and moisture.
- Chopped Onion – Adds flavor; substitute with shallots or green onions if preferred.
- Minced Garlic – Enhances overall taste; fresh garlic is preferable for the best flavor.
- Breadcrumbs – Helps bind patties; Panko adds crunch or use gluten-free options if needed.
- Egg – Acts as a binding agent; applesauce works as a substitute for egg-free cooking.
- Worcestershire Sauce – Adds depth of flavor; soy sauce can be used as a substitute.
- Salt – Enhances flavors; adjust according to personal preference.
- Black Pepper – For seasoning; white pepper can be used for a milder taste.
For the Gravy
- Beef Broth – Forms the gravy base; chicken broth is a viable alternative for lighter flavor.
- Flour – Used for thickening the gravy; cornstarch can easily replace it for gluten-free options.
Optional Toppings
- Shredded Cheese – Adds richness; cheddar or mozzarella are great choices, or omit for dairy-free.
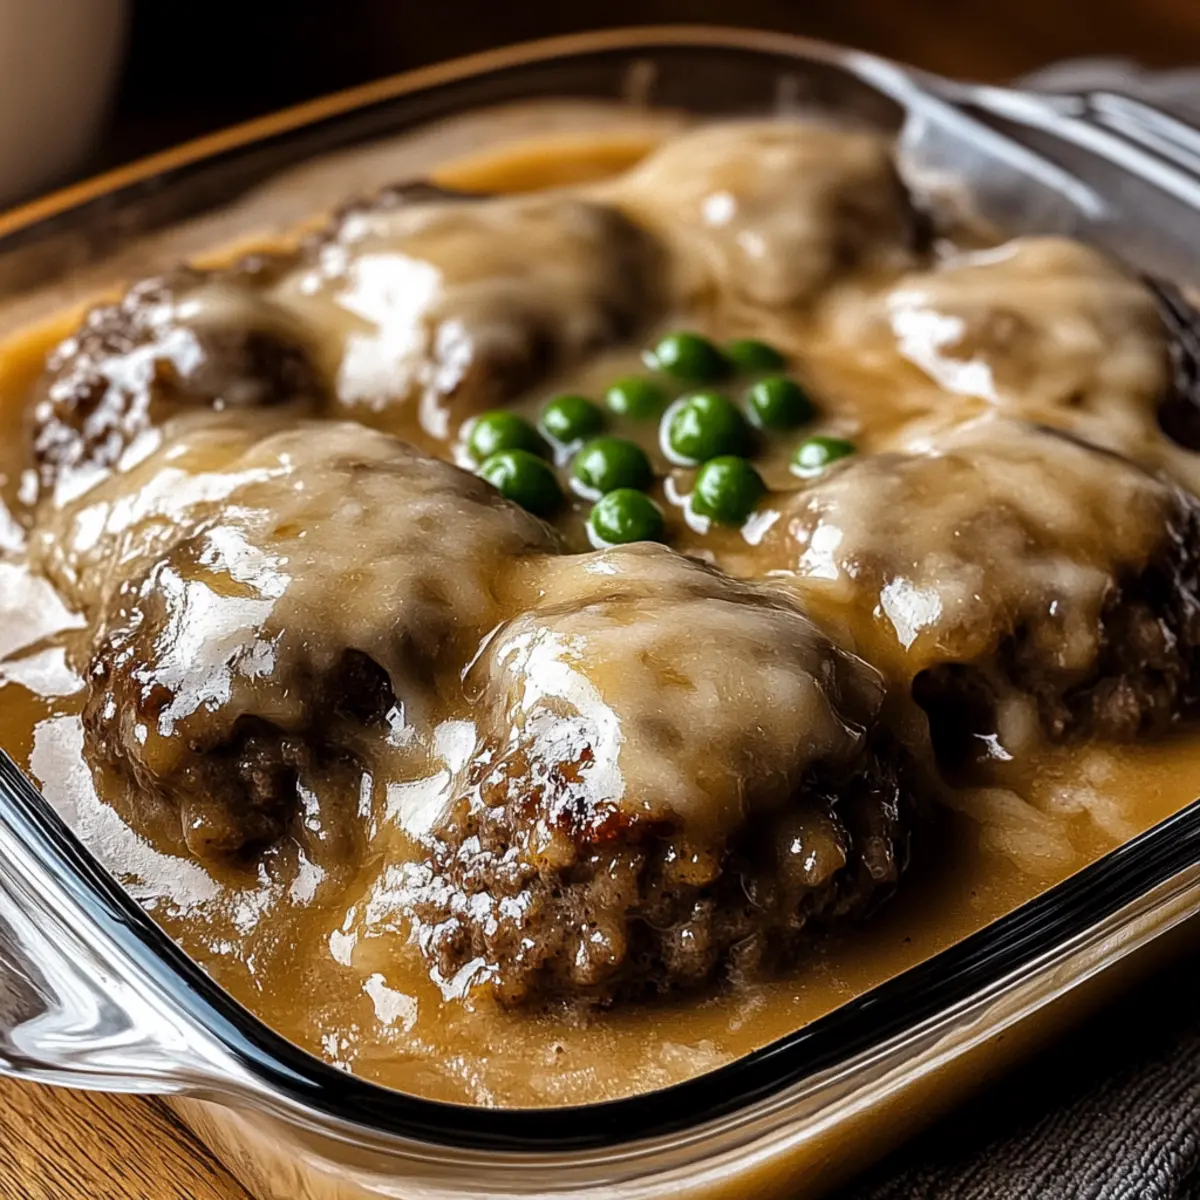
- Frozen Peas or Corn – Added for nutrition and color; fresh vegetables can also be substituted.
Now, gather these essentials and get ready to create a delightful Amish Hamburger Steak Bake that will leave everyone at the table smiling, especially those craving comfort food!
Step‑by‑Step Instructions for Amish Hamburger Steak Bake
Step 1: Prepare the Hamburger Patties
In a large mixing bowl, combine ground beef, chopped onion, minced garlic, breadcrumbs, egg, Worcestershire sauce, salt, and black pepper. Use your hands to thoroughly mix the ingredients until well combined. Shape the mixture into equal-sized patties, about half an inch thick, ensuring they will cook evenly. Set the patties aside while you preheat the skillet.
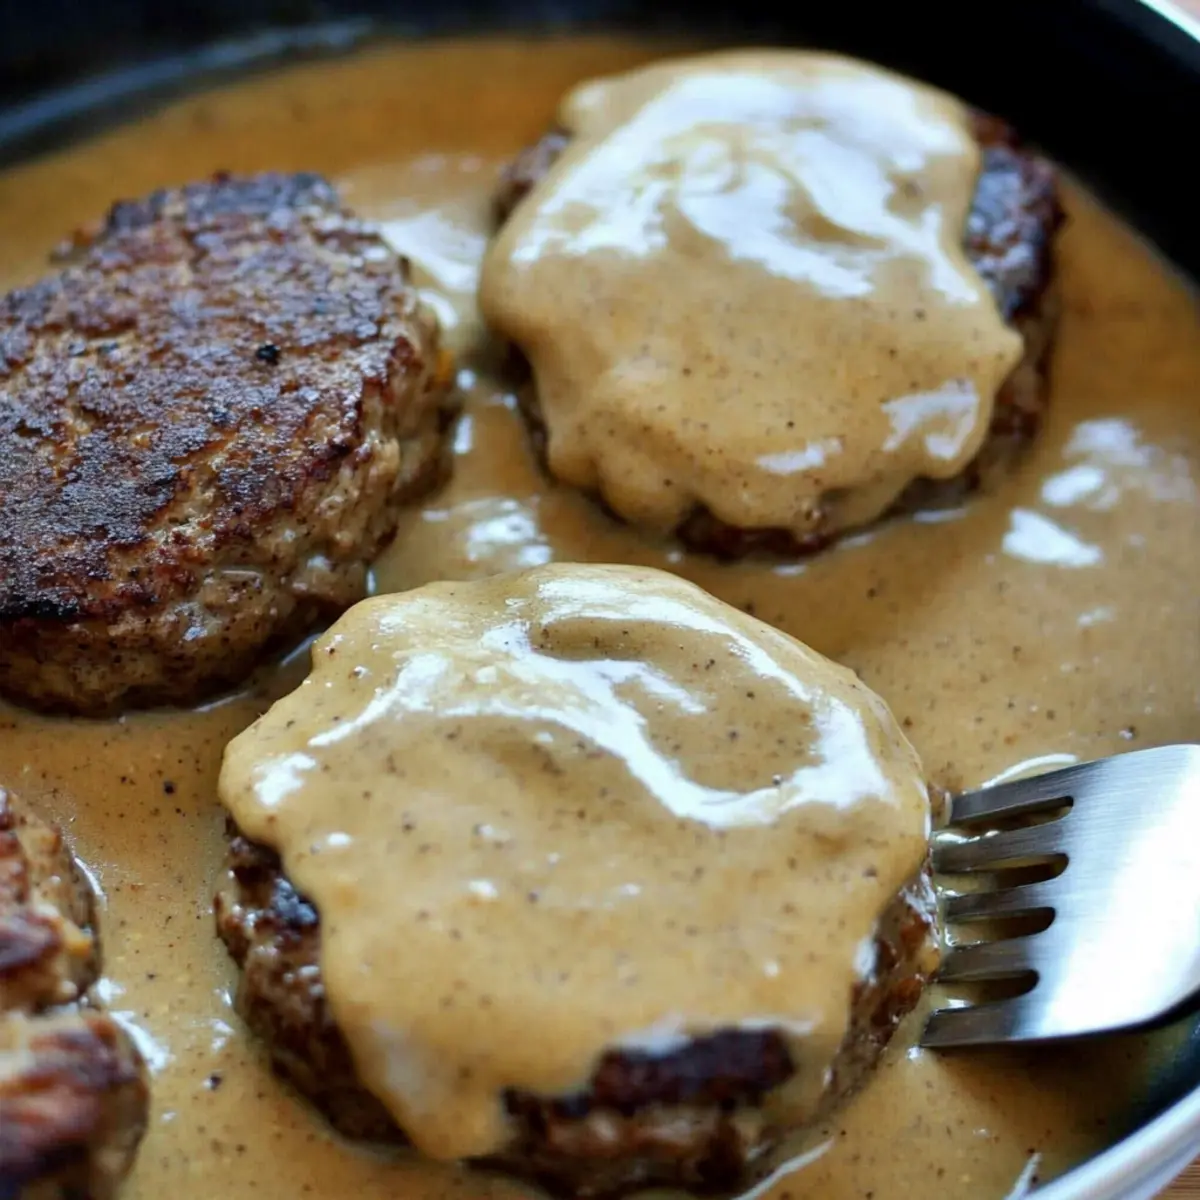
Step 2: Cook the Patties
Heat a skillet over medium heat and add a splash of cooking oil to prevent sticking. Once the skillet is hot, carefully place the patties in the pan, allowing space between each one. Cook for 4-5 minutes on each side until they are nicely browned and cooked through, reaching an internal temperature of 160°F. Once done, remove the browned patties and set them aside on a plate.
Step 3: Make the Gravy
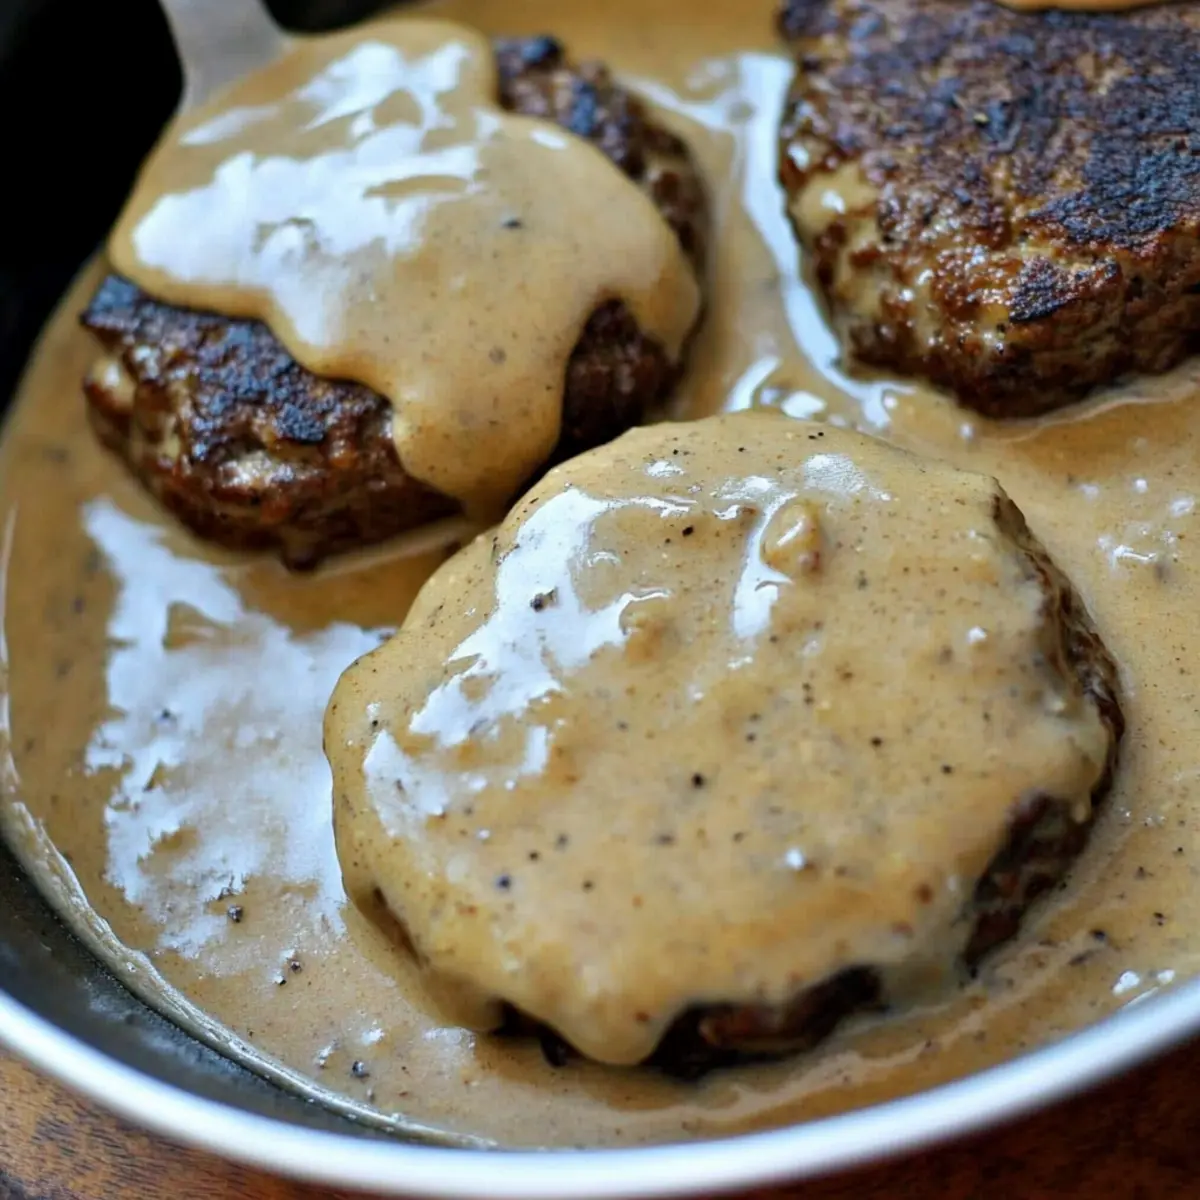
Using the same skillet, pour in the beef broth and bring it to a gentle simmer over medium heat. If you want a thicker gravy, sprinkle in flour while whisking continuously to avoid lumps. Continue to stir until the gravy reaches your desired consistency, usually taking about 3-5 minutes. Remember to scrape up any flavorful brown bits from the bottom of the pan for extra flavor.
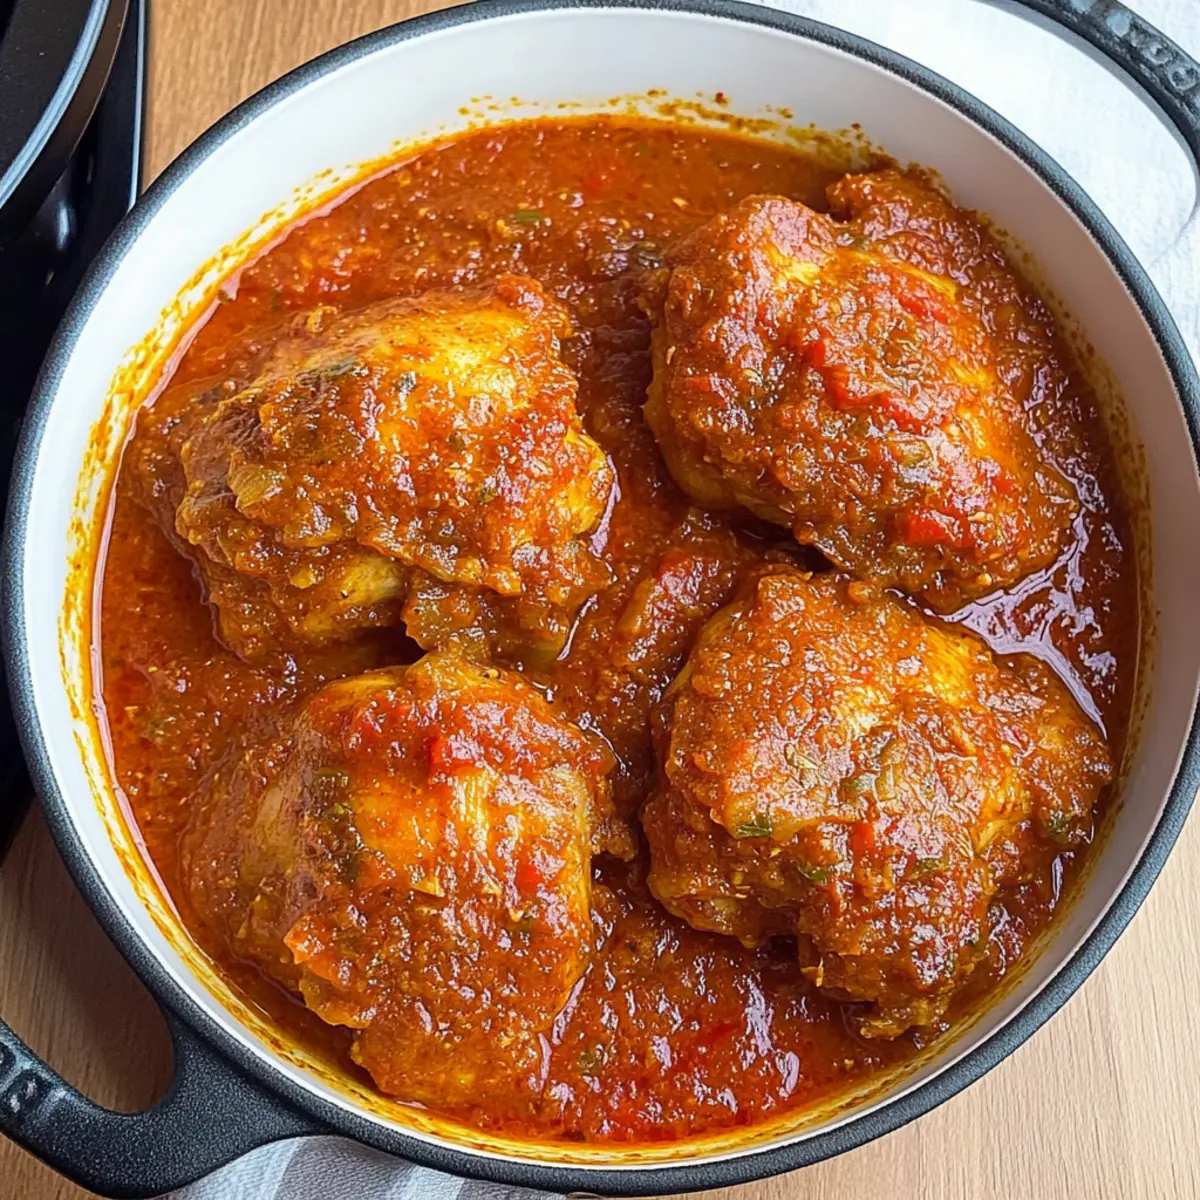
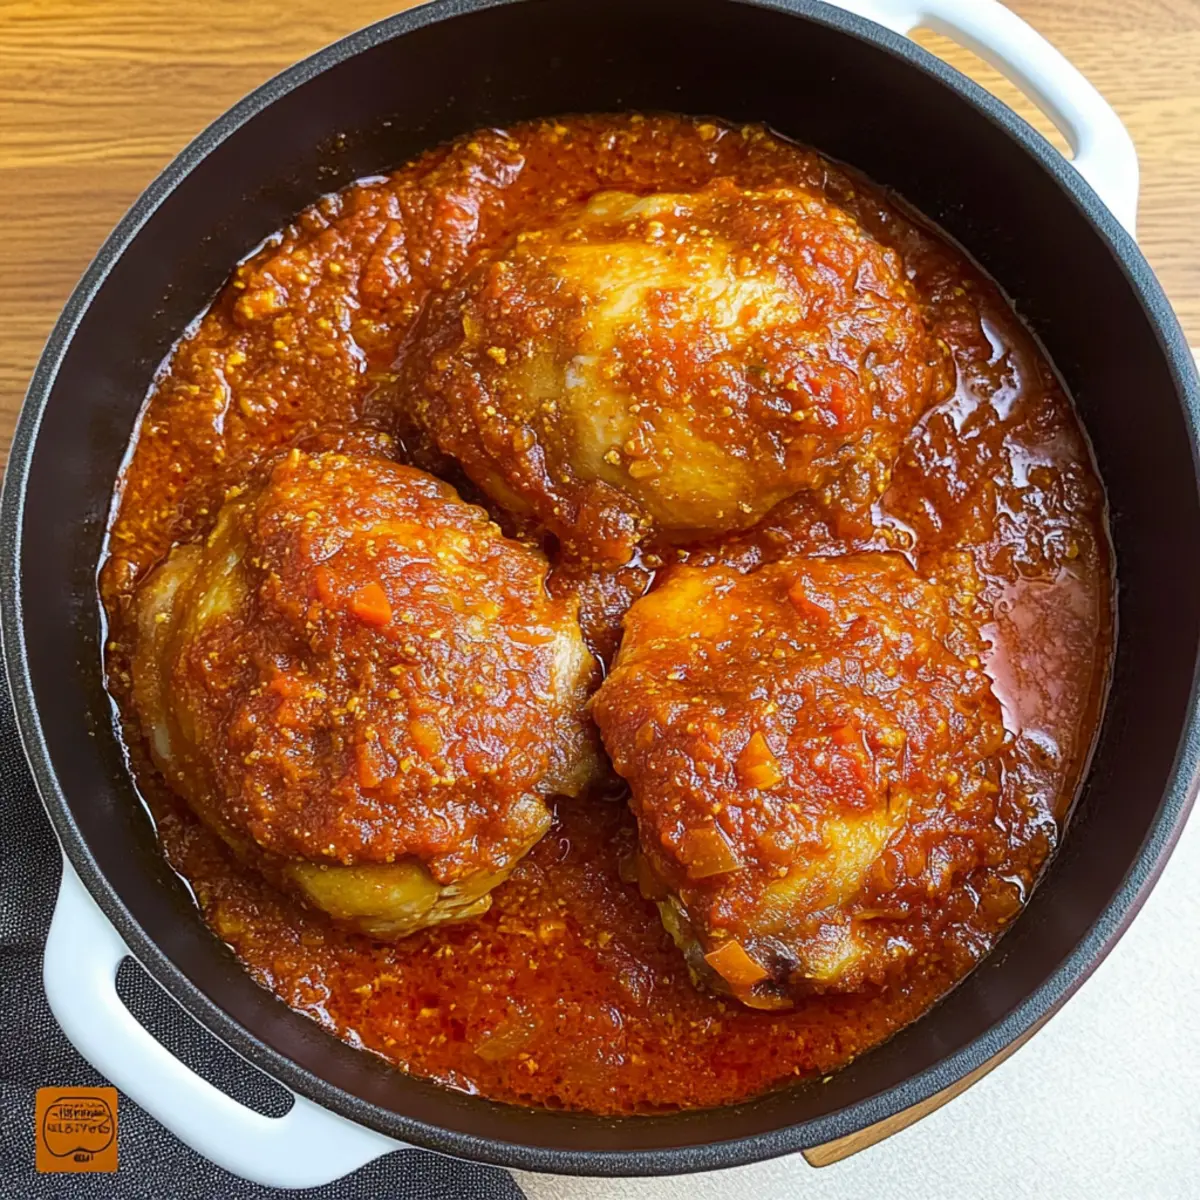
Step 4: Assemble the Casserole
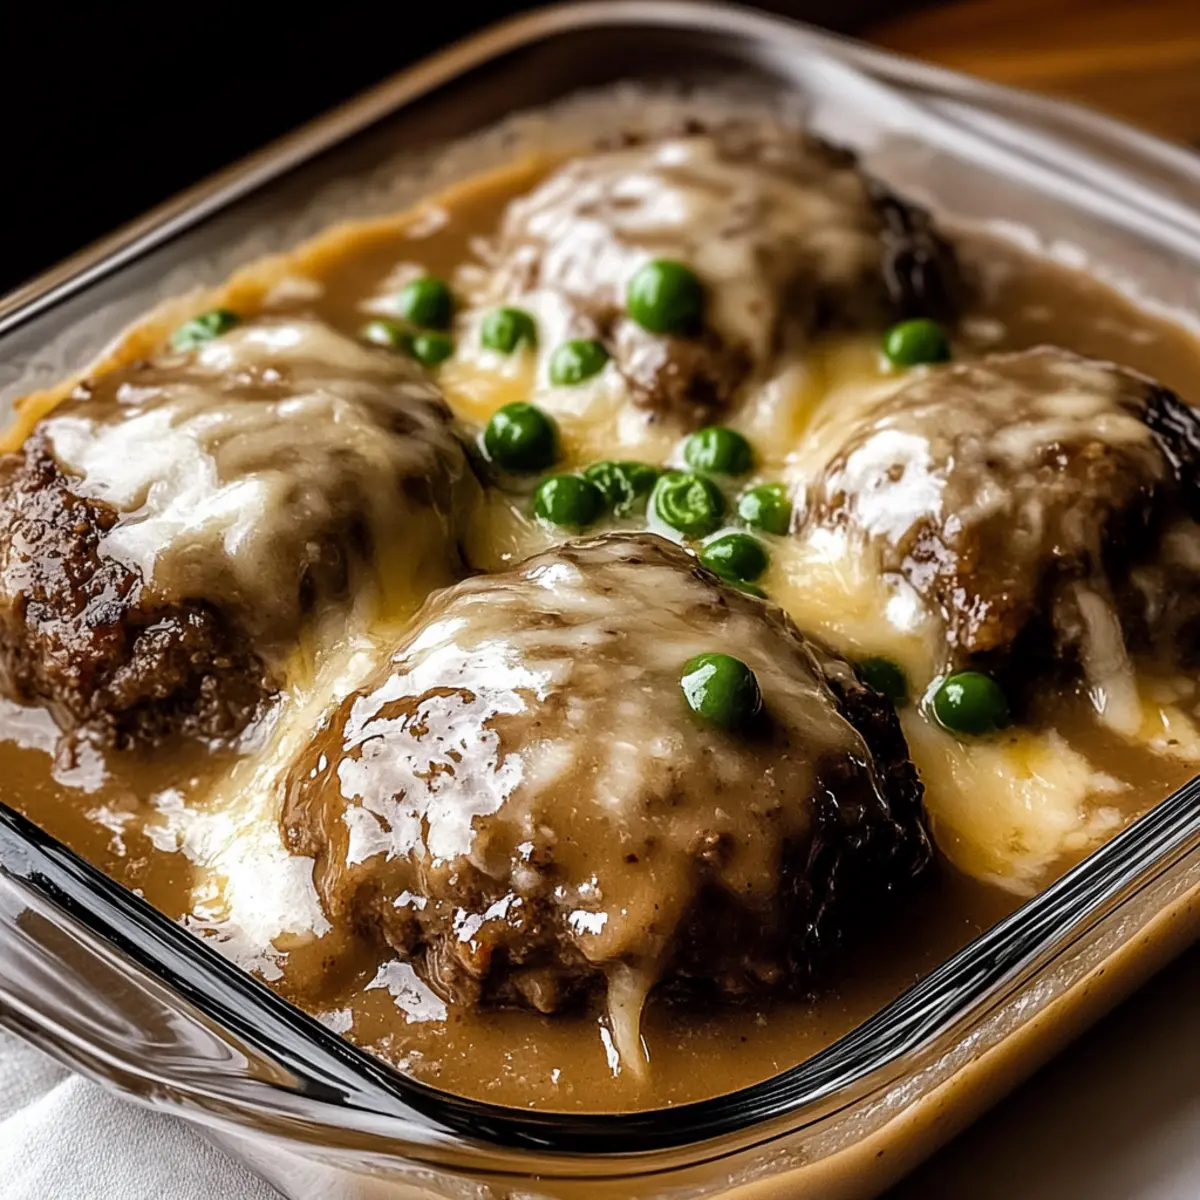
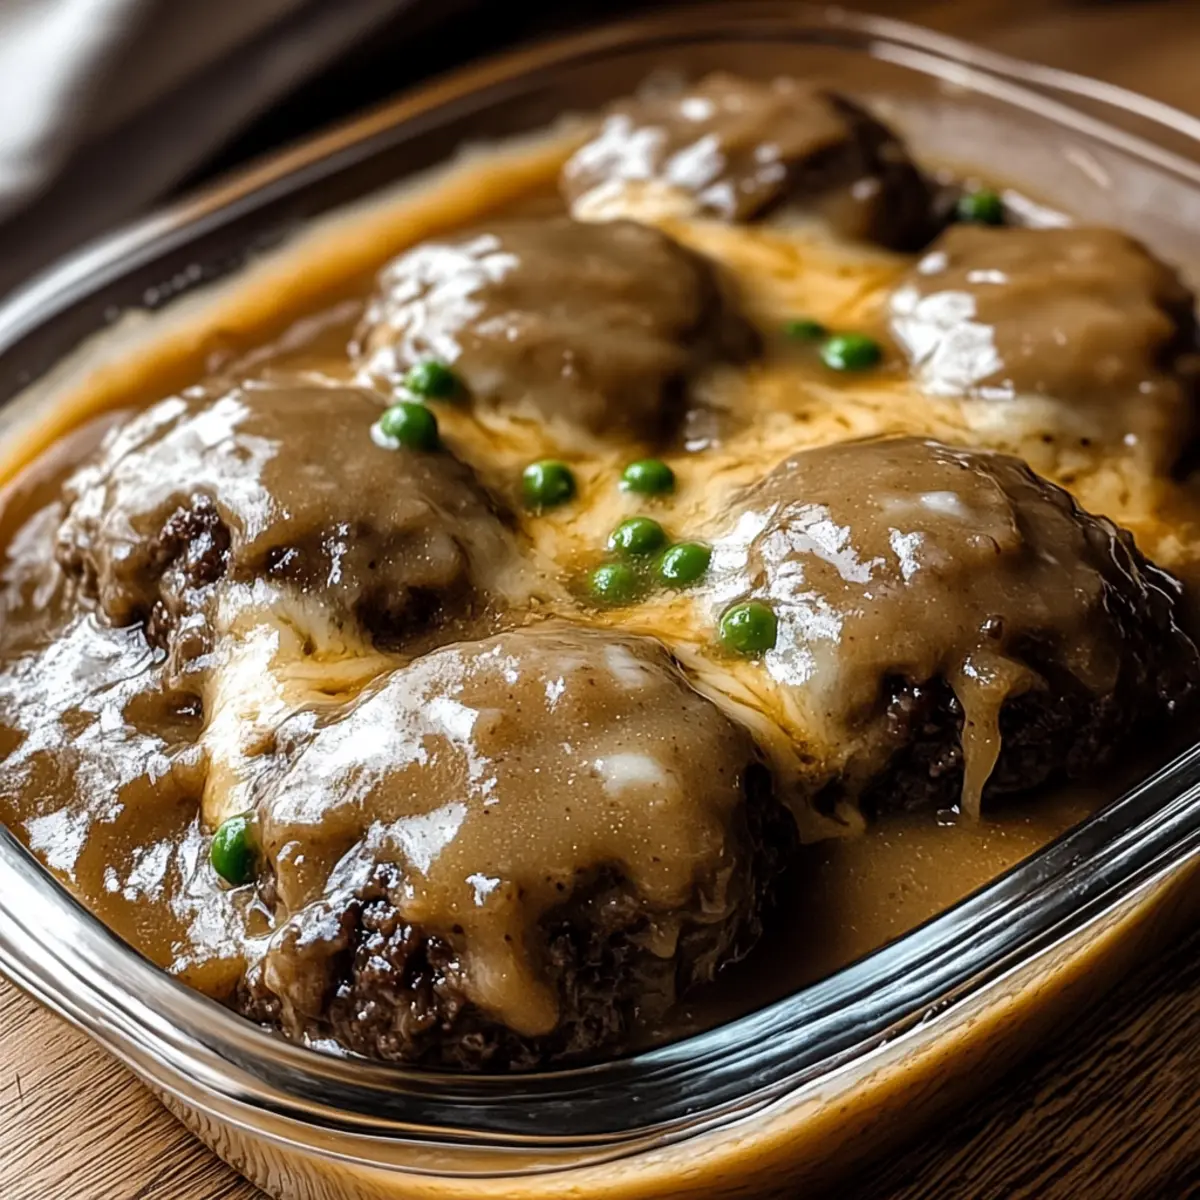
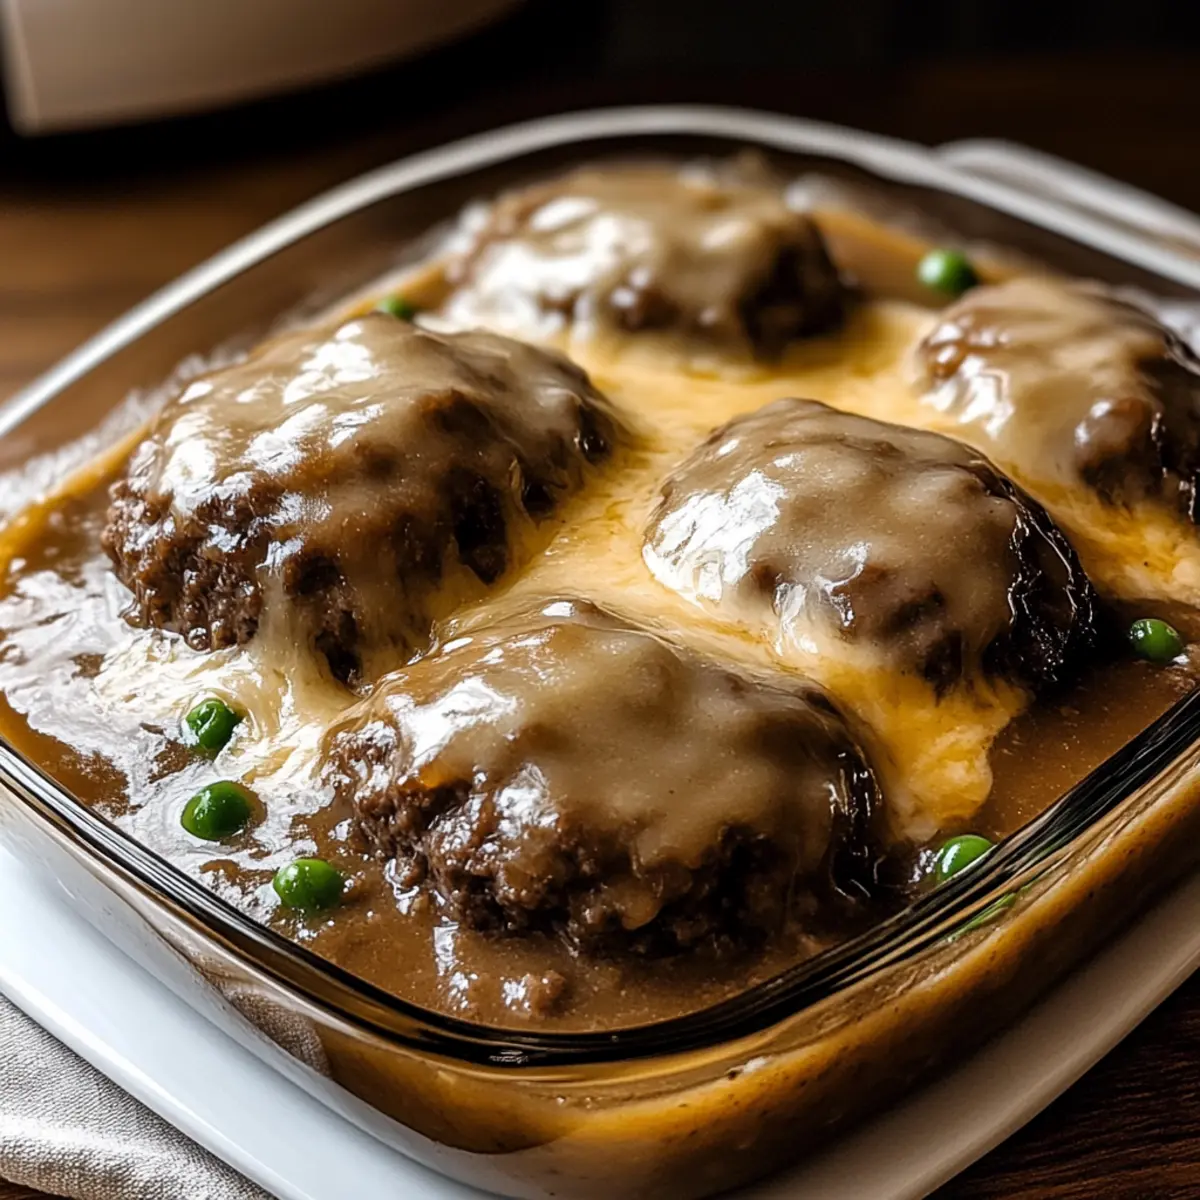
Preheat your oven to 350°F (175°C). In a large baking dish, arrange the cooked hamburger patties in a single layer. Pour the rich gravy over the tops of the patties, making sure they’re well covered. If desired, sprinkle shredded cheese and frozen peas or corn over the top for added nutrition and flavor.
Step 5: Bake
Cover the baking dish with aluminum foil to keep the moisture in, and bake in the preheated oven for 20-30 minutes. The Amish Hamburger Steak Bake is ready when the patties are heated through and the gravy is bubbling around the edges. If you’ve added cheese, uncover for the last 5-10 minutes to allow it to melt beautifully.
Step 6: Serve
Once the casserole is done baking, carefully remove it from the oven and let it rest for a few minutes before serving. This will help the flavors meld together. Serve your comforting Amish Hamburger Steak Bake alongside fluffy mashed potatoes, rice, or a crisp salad for a complete meal that warms the heart.
Expert Tips for Amish Hamburger Steak Bake
-
Patties Uniformity: Ensure your hamburger patties are of equal size to promote even cooking throughout the dish.
-
Avoid Overmixing: When combining ingredients, mix just until incorporated to keep patties tender. Overmixing can lead to a tough texture.
-
Gravy Thickness: For a thicker gravy, add flour gradually and whisk constantly. Adjust the quantity based on how thick you want it; if it gets too thick, add more broth.
-
Resting Time: Allow the casserole to rest for a few minutes before serving. This helps the flavors meld beautifully and makes for cleaner servings.
-
Smart Seasoning: Taste the gravy before serving; adjust seasoning with salt and pepper based on your preference. This ensures the final dish is perfectly seasoned and delicious.
-
Creative Variations: Feel free to customize your Amish Hamburger Steak Bake! Add seasonal vegetables or swap in ground turkey for a lighter version while keeping it budget-friendly.
Variations & Substitutions for Amish Hamburger Steak Bake
Feel free to add your personal touch to this beloved recipe with these delightful variations!
- Ground Turkey: Swap out the beef for ground turkey for a lighter and leaner version, perfect for a healthful twist.
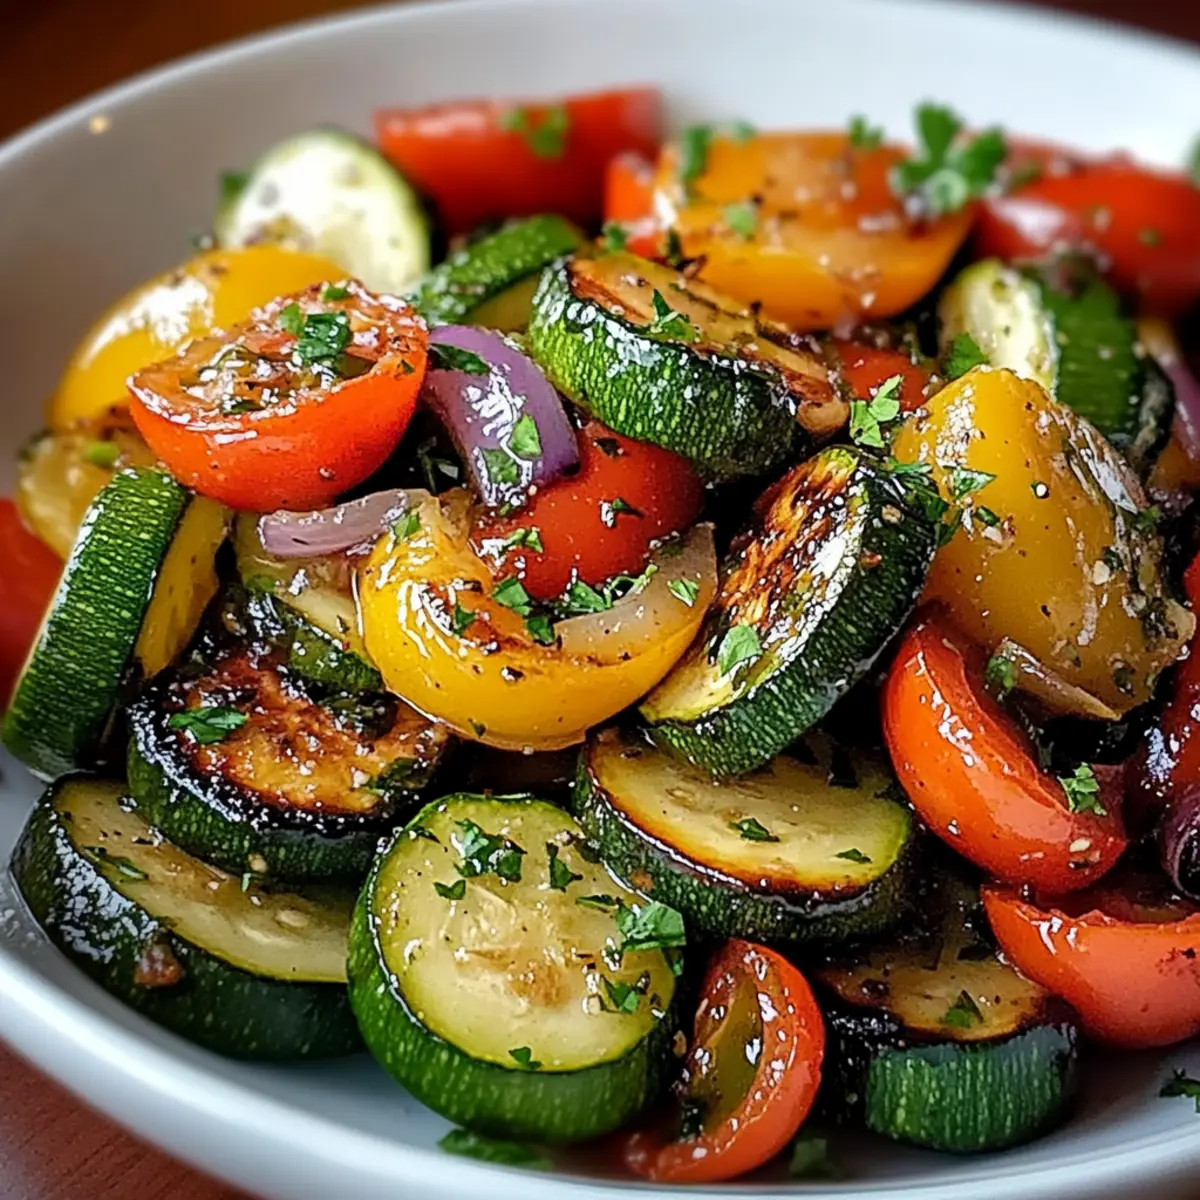
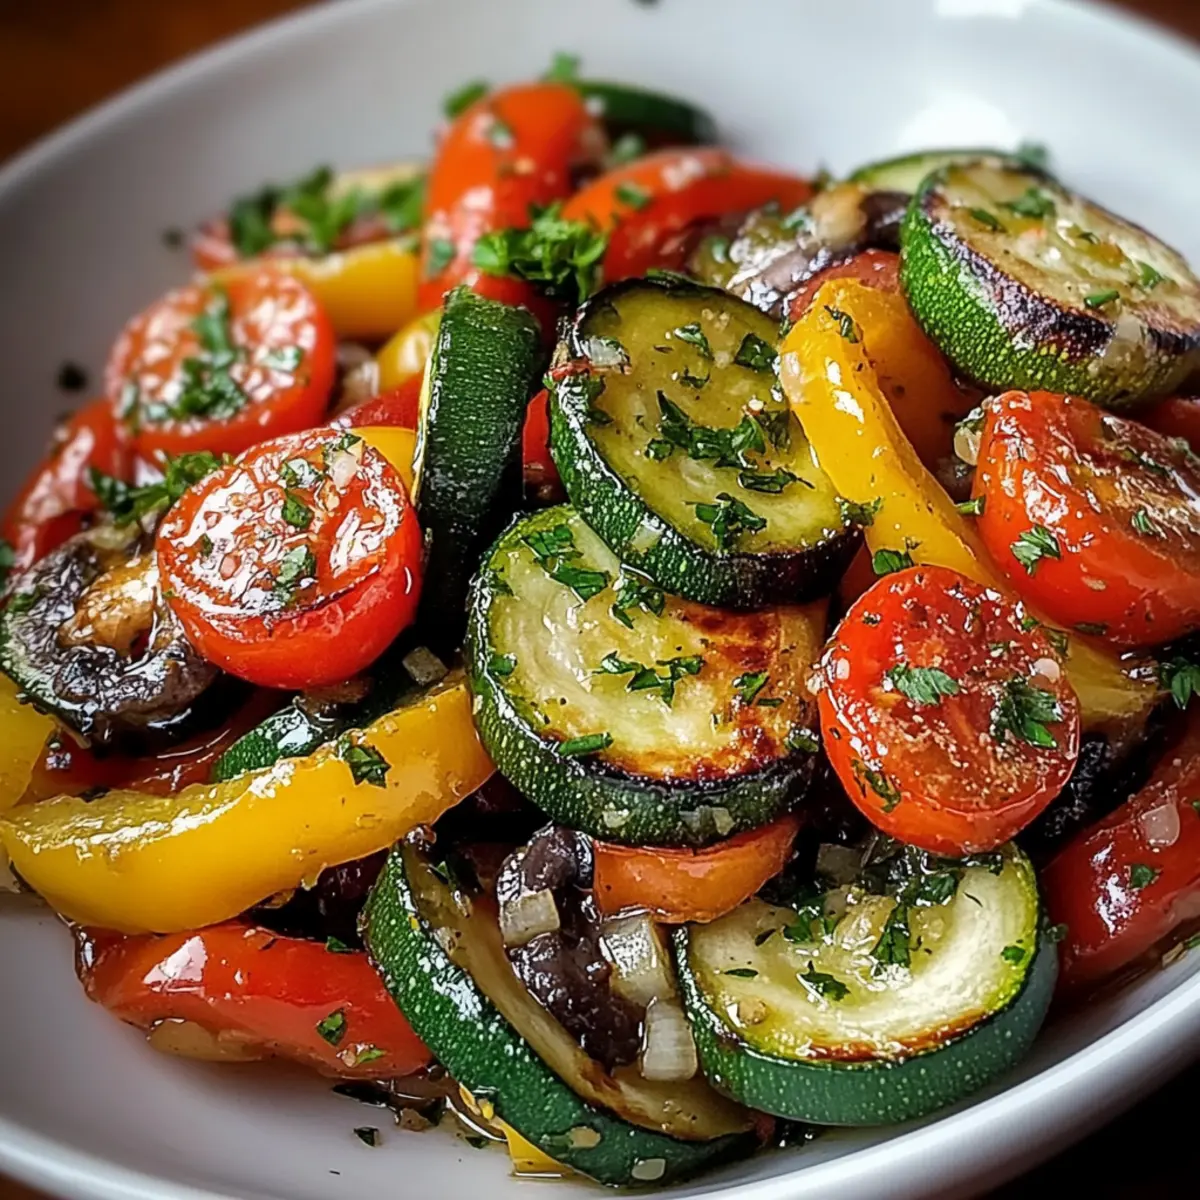
- Veggie Boost: Toss in seasonal vegetables like carrots or bell peppers for extra nutrition and vibrant color in the dish.
- Gravy Upgrade: Use homemade beef broth for a richer flavor, elevating the entire casserole experience.
- Dairy-Free Option: Omit the cheese or replace it with a dairy-free cheese alternative for a comforting, vegan-friendly meal.
- Spicy Kick: Add a pinch of crushed red pepper or some diced jalapeños for those who enjoy a touch of heat in their dishes.
- Herb Infusion: Stir in fresh herbs like rosemary or thyme into the gravy for a fragrant flavor boost that elevates the overall dish experience.
- Gluten-Free: Substitute regular breadcrumbs with gluten-free breadcrumbs and replace flour with cornstarch to accommodate gluten sensitivities.
- Make it Cheesy: Add a layer of your favorite cheese on top before baking for a deliciously cheesy crust that everyone will adore.
Remember, the beauty of this dish lies in its flexibility. Whether you’re looking to make dietary accommodations or simply enhance the flavors, these suggestions will help you create a customized Amish Hamburger Steak Bake that your family will cherish!
Make Ahead Options
These Amish Hamburger Steak Bake preparations are perfect for busy home cooks looking to save time during the week! You can prepare the hamburger patties and even make the gravy up to 24 hours in advance. Simply mix the ingredients for the patties, shape them, and store them in an airtight container in the fridge. For the gravy, prepare it just as you would before baking, let it cool, and refrigerate it as well. When ready to enjoy, place the patties in a baking dish, pour the gravy over them, and bake as instructed—no need to adjust the cooking time! This way, you’ll have a delicious meal ready with minimal effort, just as good as if you made it from scratch in one go!
What to Serve with Amish Hamburger Steak Bake
A comforting casserole like this deserves a pairing that enhances its hearty flavors while balancing the meal beautifully.
- Creamy Mashed Potatoes: The luscious, buttery texture of mashed potatoes is perfect for soaking up the flavorful gravy from the bake.
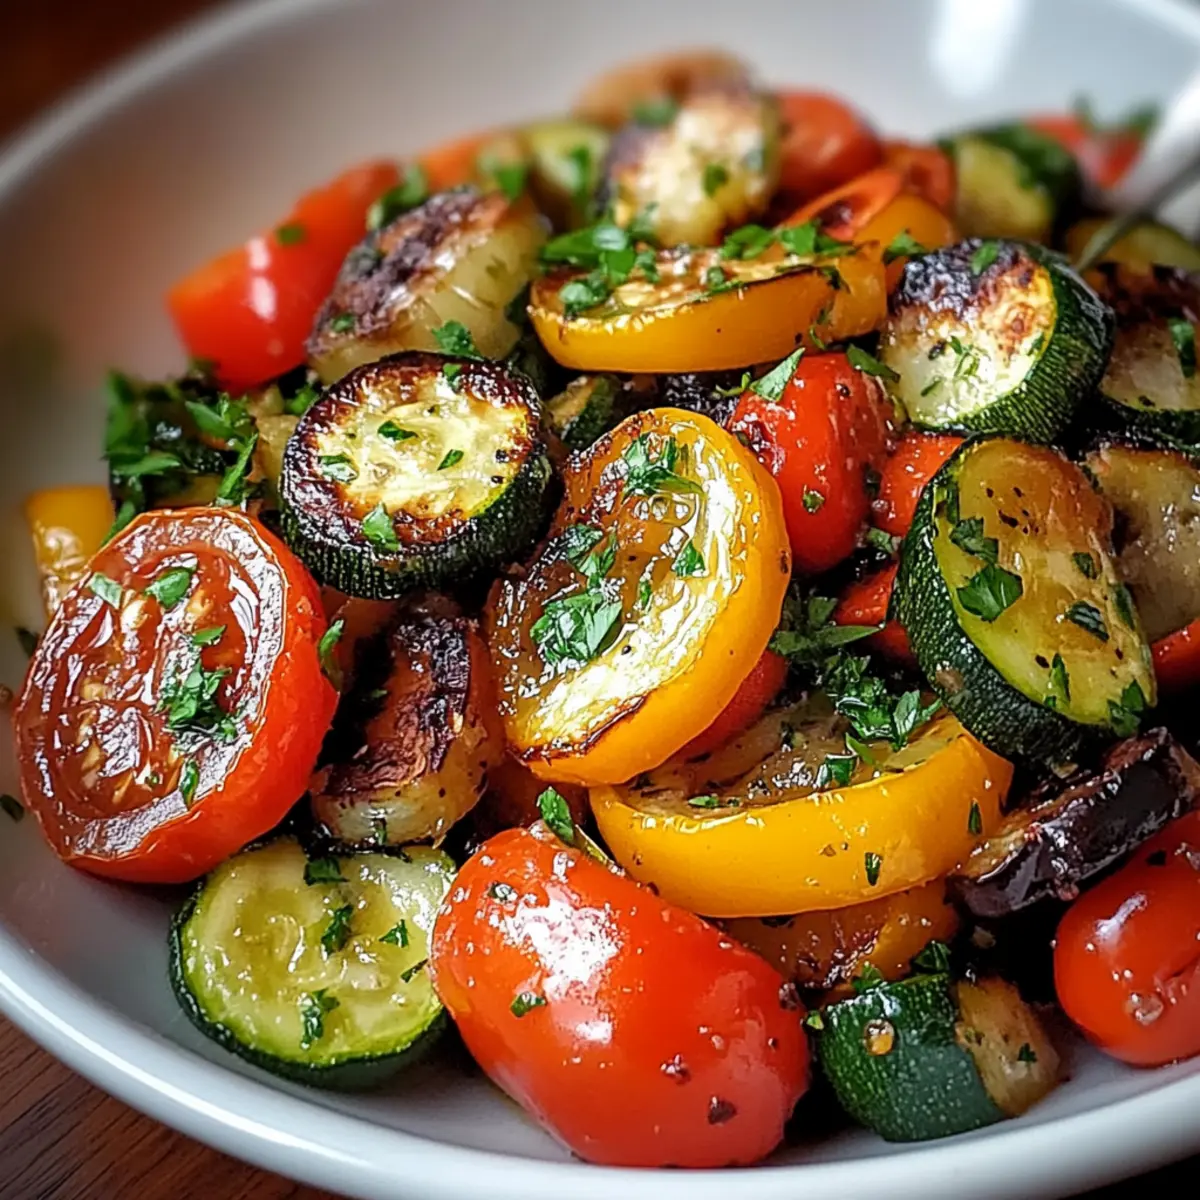
- Steamed Green Beans: Their crisp texture and fresh taste add a vibrant color and nutrition to your plate, complementing the rich casserole.
- Garlic Bread: Warm, crispy garlic bread is a delightful addition that captures your palate with a satisfying crunch and savory aroma.
- Simple Garden Salad: A light, refreshing salad provides a crunchy contrast to the comforting casserole, making it a well-rounded meal.
- Corn on the Cob: Sweet, juicy corn adds a delightful burst of flavor, balancing the savory notes of the Hamburger Steak Bake perfectly.
- Red Wine: A glass of Merlot or Cabernet elevates the entire meal, complementing the rich flavors of the dish beautifully.
- Fruit Salad: A chilled fruit salad offers a refreshing finish, cleansing the palate and adding a hint of sweetness to round out the meal.
Treat your loved ones to a comforting feast that feels both indulgent and satisfying!
Storage Tips for Amish Hamburger Steak Bake
-
Room Temperature: Allow leftovers to cool completely before refrigerating. Do not leave at room temperature for more than 2 hours to ensure food safety.
-
Fridge: Store in an airtight container and refrigerate for up to 3 days. Reheat in the microwave or oven until heated through, adding a splash of beef broth if needed to maintain moisture.
-
Freezer: This comforting casserole can be frozen for up to 3 months. Cool completely, then wrap tightly in plastic wrap followed by aluminum foil to prevent freezer burn.
-
Reheating: When ready to eat, reheat in the oven at 350°F (175°C) for about 25-30 minutes or microwave in individual portions until thoroughly heated. Enjoy the delicious flavors of your Amish Hamburger Steak Bake even after storing!
Amish Hamburger Steak Bake Recipe FAQs
What type of ground beef should I use for the best flavor?
Absolutely! For the most satisfying flavor and moisture balance, I recommend using ground beef that is 80/20 (80% lean, 20% fat). This ratio ensures that your patties will be juicy and flavorful, essential for a comforting dish like the Amish Hamburger Steak Bake.
How should I store leftovers of the Amish Hamburger Steak Bake?
You can store any leftovers in an airtight container in the fridge for up to 3 days. Just make sure to let the casserole cool completely before sealing it. When you’re ready to enjoy it again, you can reheat individual portions in the microwave or the oven at 350°F (175°C) for about 20 minutes, adding a splash of broth for extra moisture.
Can I freeze the Amish Hamburger Steak Bake?
Yes, you can! This casserole freezes beautifully. To freeze, allow it to cool completely, then wrap it tightly in plastic wrap followed by aluminum foil to avoid freezer burn. It’s best consumed within 3 months. When you’re ready to eat, simply thaw it in the refrigerator overnight, then reheat in the oven at 350°F (175°C) until heated through.
How can I adjust the recipe for dietary restrictions?
Very! If you’re looking for alternatives, you can easily make this dish gluten-free by substituting breadcrumbs with crushed gluten-free crackers or using cornmeal. For a lighter version, swap ground beef with ground turkey or chicken. Additionally, you can make it dairy-free by omitting cheese or replacing it with a dairy-free alternative. If you need an egg substitute, a quarter cup of unsweetened applesauce can work wonders for binding the patties!
Amish Hamburger Steak Bake: A Cozy One-Pan Delight
Ingredients
Equipment
Method
- In a large mixing bowl, combine ground beef, chopped onion, minced garlic, breadcrumbs, egg, Worcestershire sauce, salt, and black pepper. Use your hands to thoroughly mix the ingredients until well combined. Shape into patties.
- Heat a skillet over medium heat with a splash of cooking oil. Cook the patties for 4-5 minutes on each side until browned and cooked through, then remove them and set aside.
- In the same skillet, pour in the beef broth and bring to a simmer. Sprinkle in flour while whisking continuously to avoid lumps and cook until the gravy reaches your desired consistency, about 3-5 minutes.
- Preheat your oven to 350°F (175°C). In a large baking dish, arrange the cooked hamburger patties in a single layer and pour gravy over the tops. Add optional toppings if desired.
- Cover with aluminum foil and bake for 20-30 minutes. Uncover for the last 5-10 minutes if using cheese.
- Let the casserole rest for a few minutes before serving. Enjoy your Amish Hamburger Steak Bake with mashed potatoes or a fresh salad.