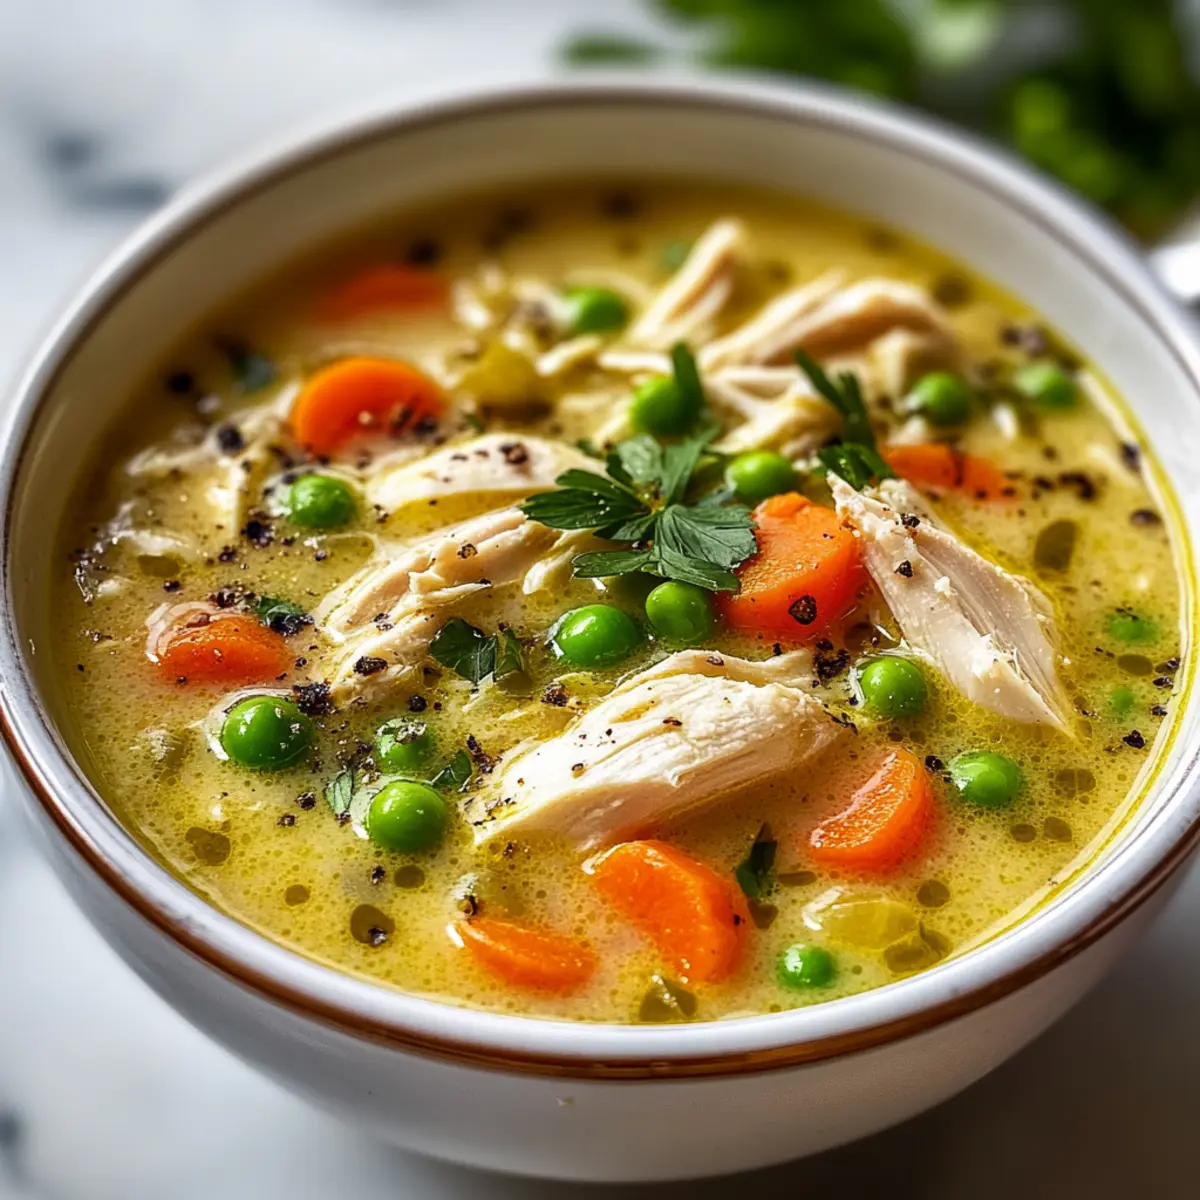
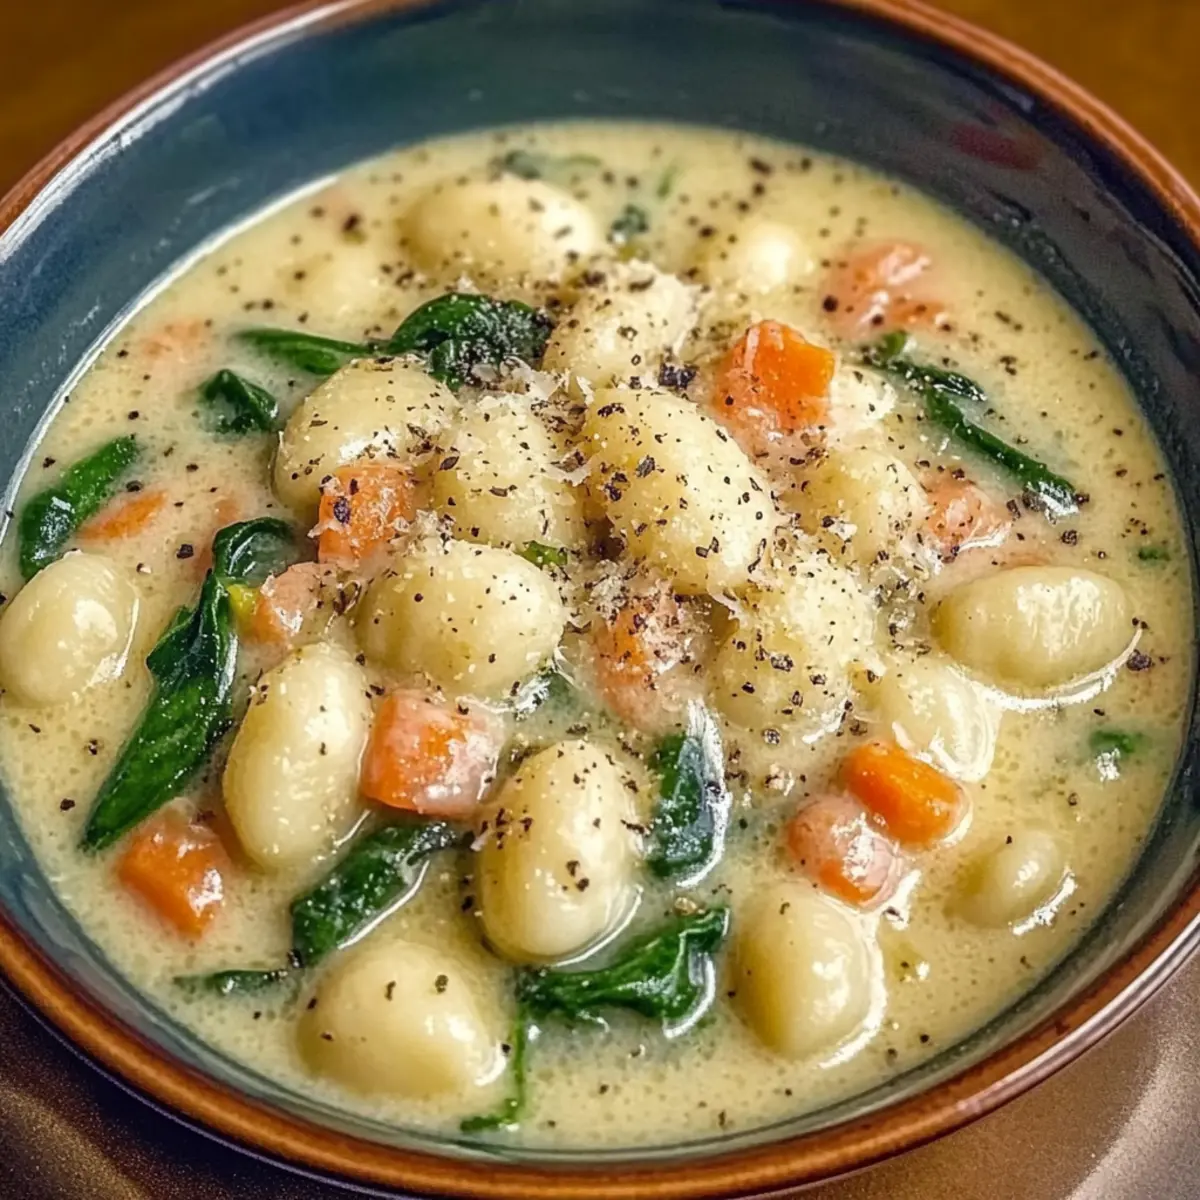
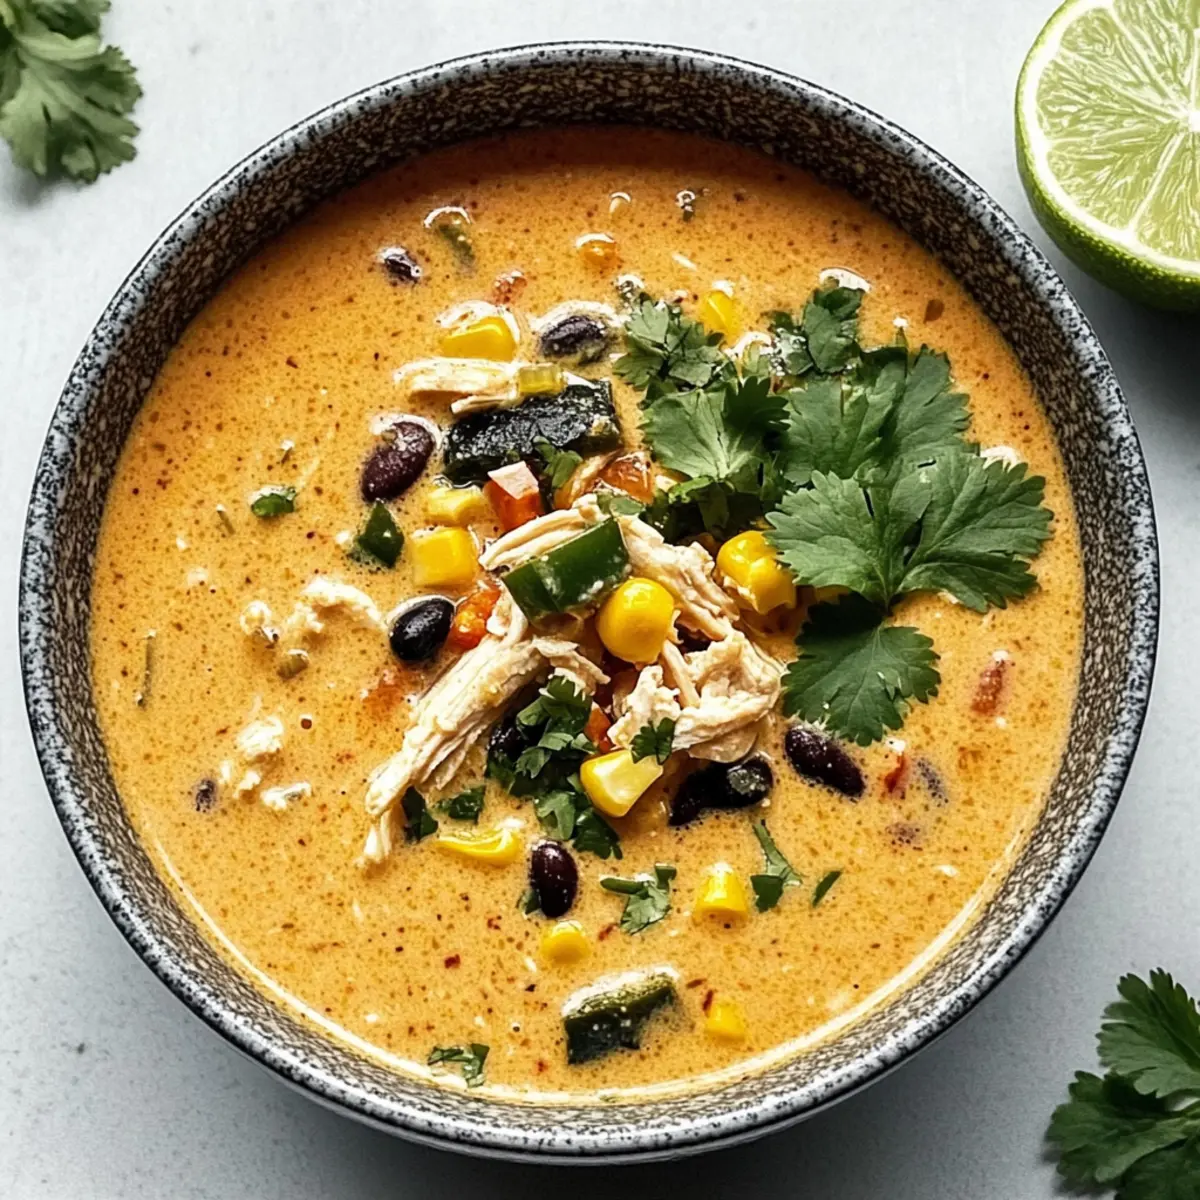
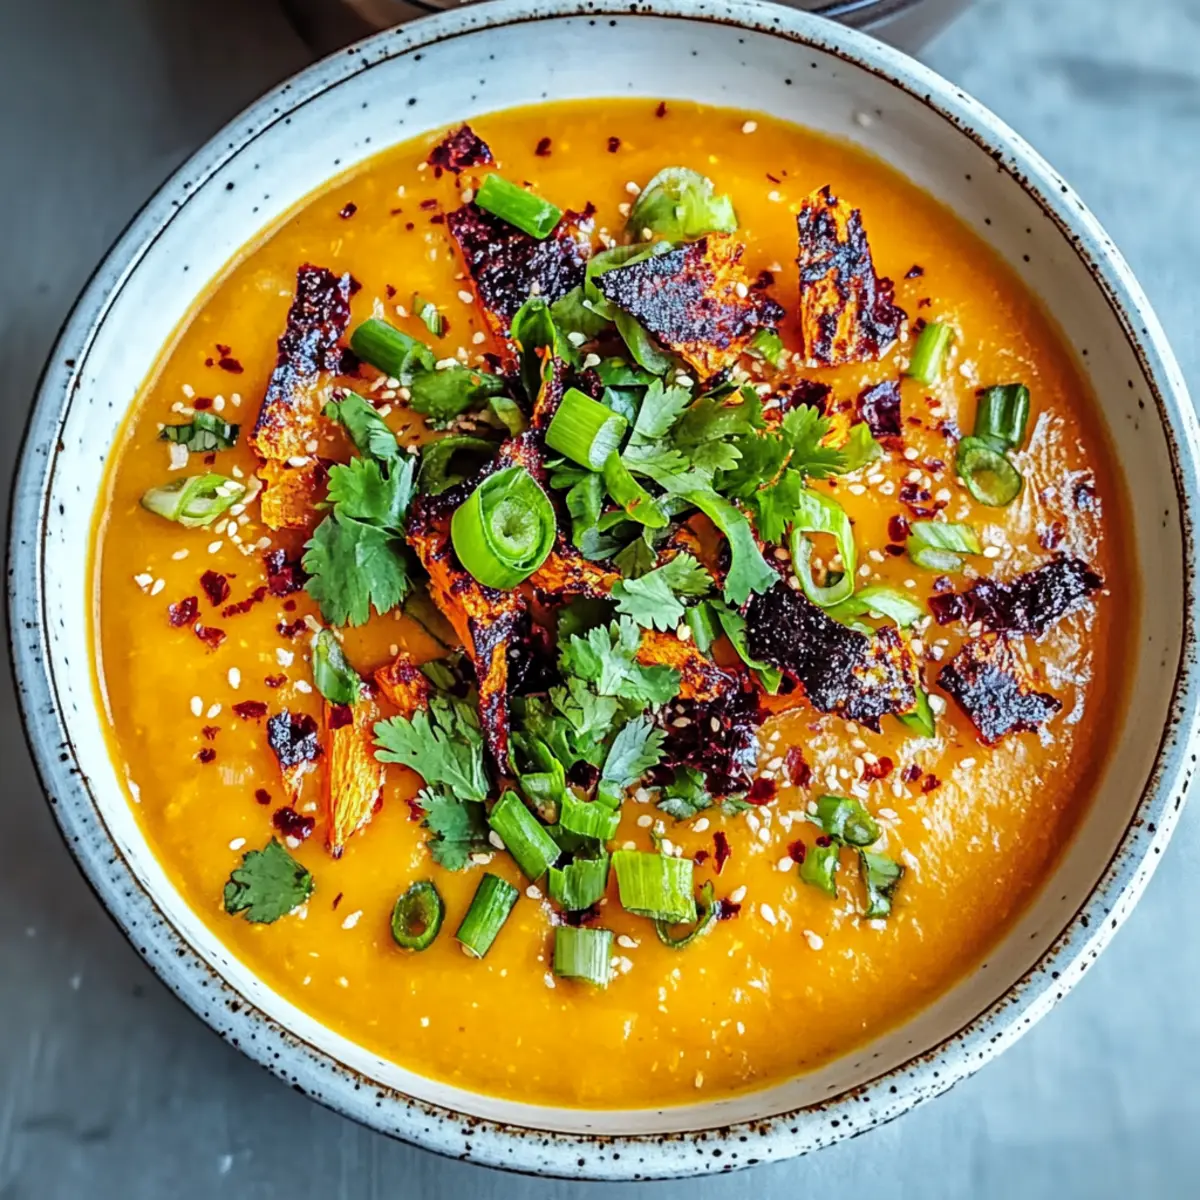
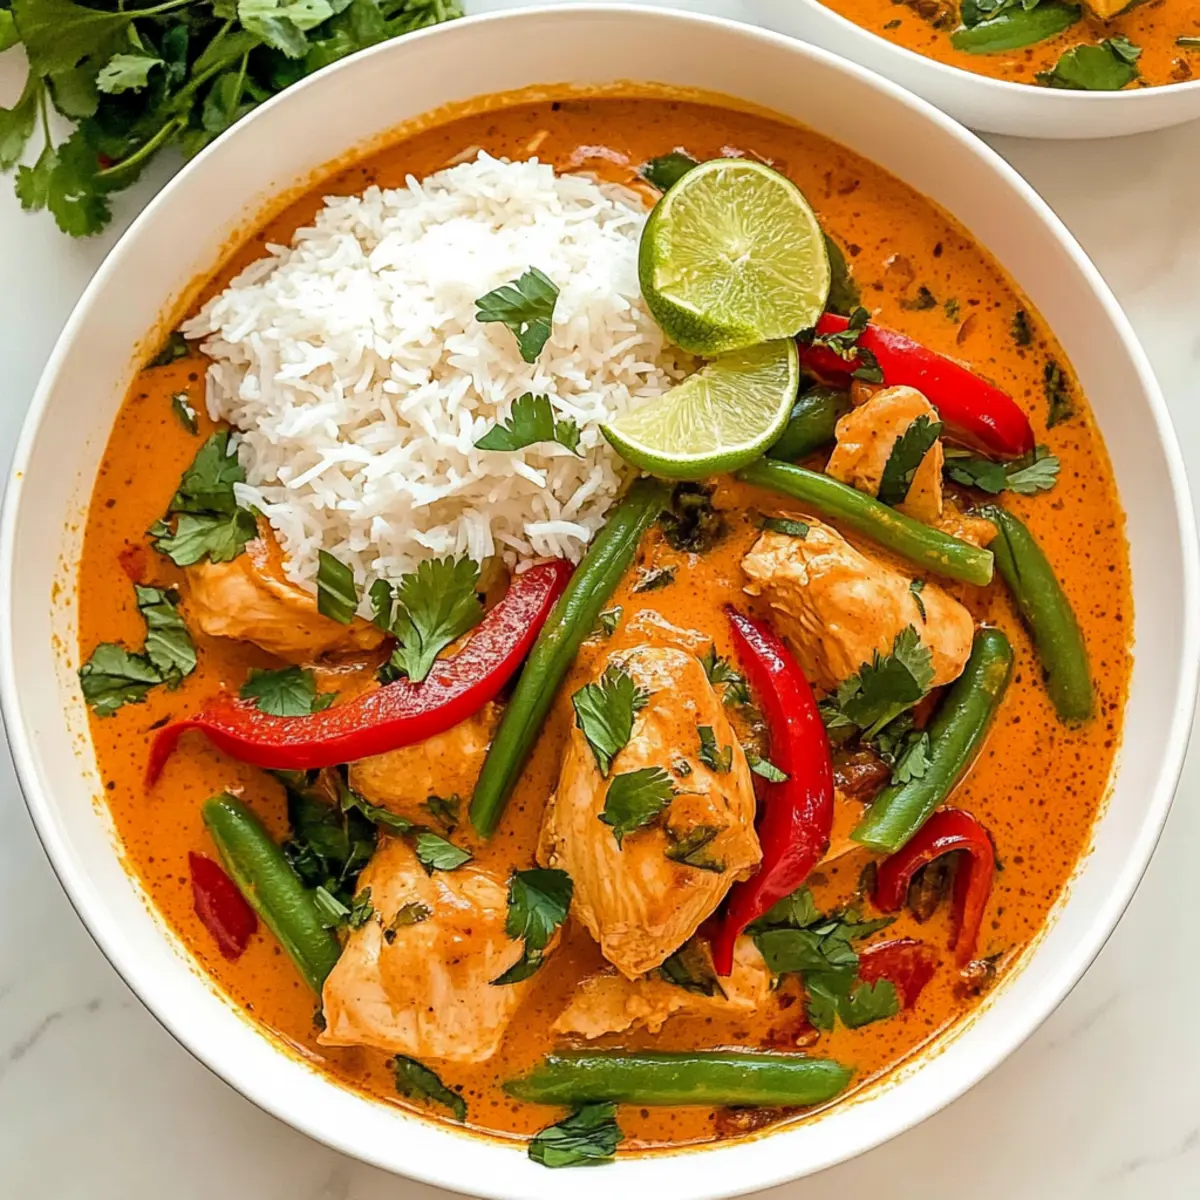
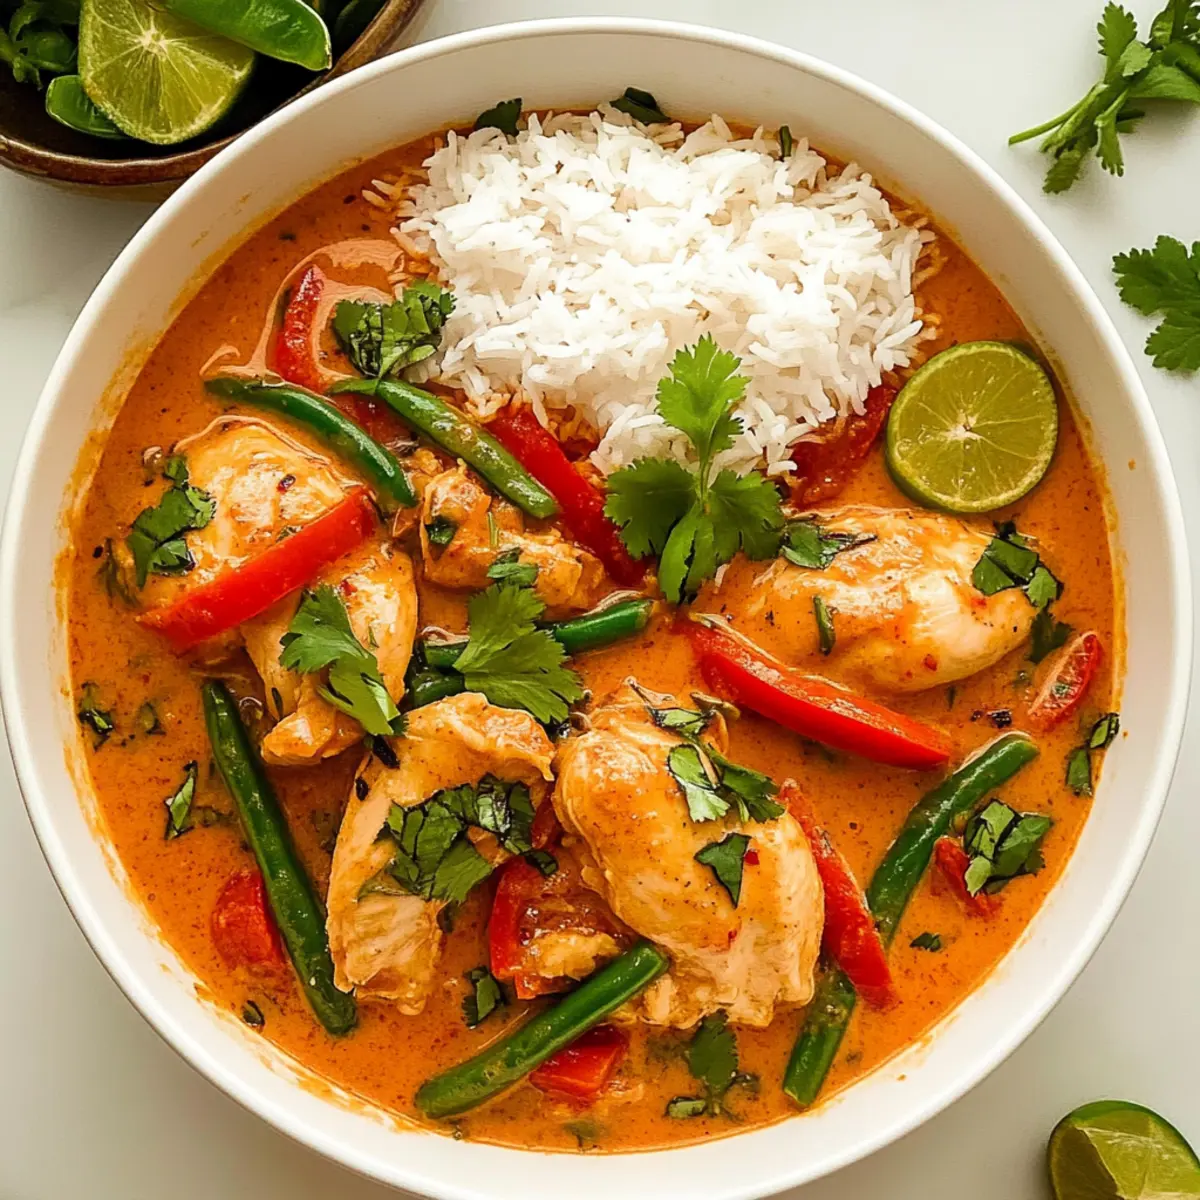
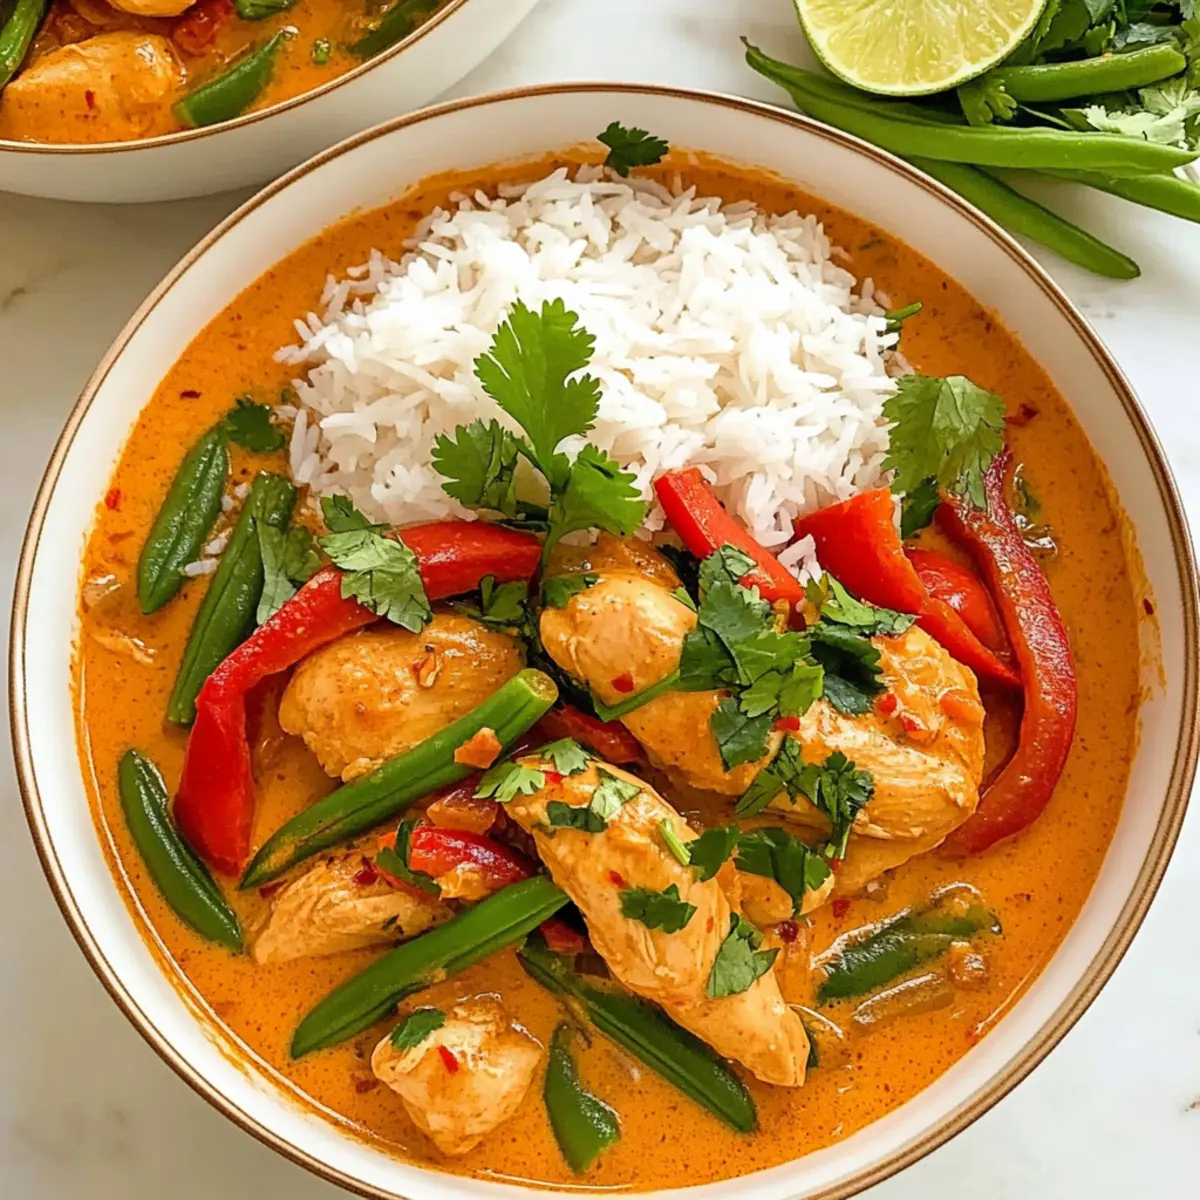
The moment the pungent aroma of garlic and ginger mingles in my kitchen, I know a delightful meal is just moments away. This 30-Minute Thai Red Curry with Chicken has become my go-to recipe for those busy weeknights when I want something quick yet satisfying. With just one pot, you can create a colorful, customizable dish that rivals your favorite takeout, but with the warmth of homemade goodness. Whether you opt for chicken, shrimp, or even tofu, this recipe adapts beautifully to your cravings and dietary preferences. Plus, it’s packed with vibrant veggies, making it not just a treat for your taste buds but also a comforting and nutritious choice for any dinner table. Are you ready to transform your evenings with this delicious Thai-inspired delight?
Why is this Thai Red Curry Special?
Quick and Easy: You’ll love how this dish comes together in just 30 minutes, making it perfect for busy weeknights when you want a delicious meal without hours in the kitchen.
Customizable Flavors: Whether you prefer chicken, shrimp, or tofu, this recipe allows for creative freedom. Mix and match proteins and veggies to fit your cravings or dietary needs!
One-Pot Wonder: Forget the chaos of dirty dishes; everything cooks in a single pot, ensuring minimal fuss and a quick cleanup afterward.
Comforting and Nourishing: With its creamy texture and vibrant vegetables, this curry brings warmth and nutrition to your table, offering the perfect balance between comfort food and healthy eating.
Rich in Umami: The combination of fish sauce and red curry paste creates a robust flavor profile that will make your taste buds dance, far exceeding average takeout options.
Elevate your dinner game tonight with this Thai-inspired delight!
Thai Red Curry Ingredients
• For a flavorful experience, gather your ingredients below.
For the Curry Base
- Coconut Oil – Adds richness and flavor; you can replace it with avocado or olive oil for a lighter touch.
- Garlic Paste – Provides aromatic depth; feel free to use minced fresh garlic if you have it on hand.
- Ginger Paste – Adds warmth and spice; fresh ginger, minced or grated, works beautifully as an alternative.
- Red Curry Paste – This is the heart of the dish; try yellow or green curry paste for a unique twist.
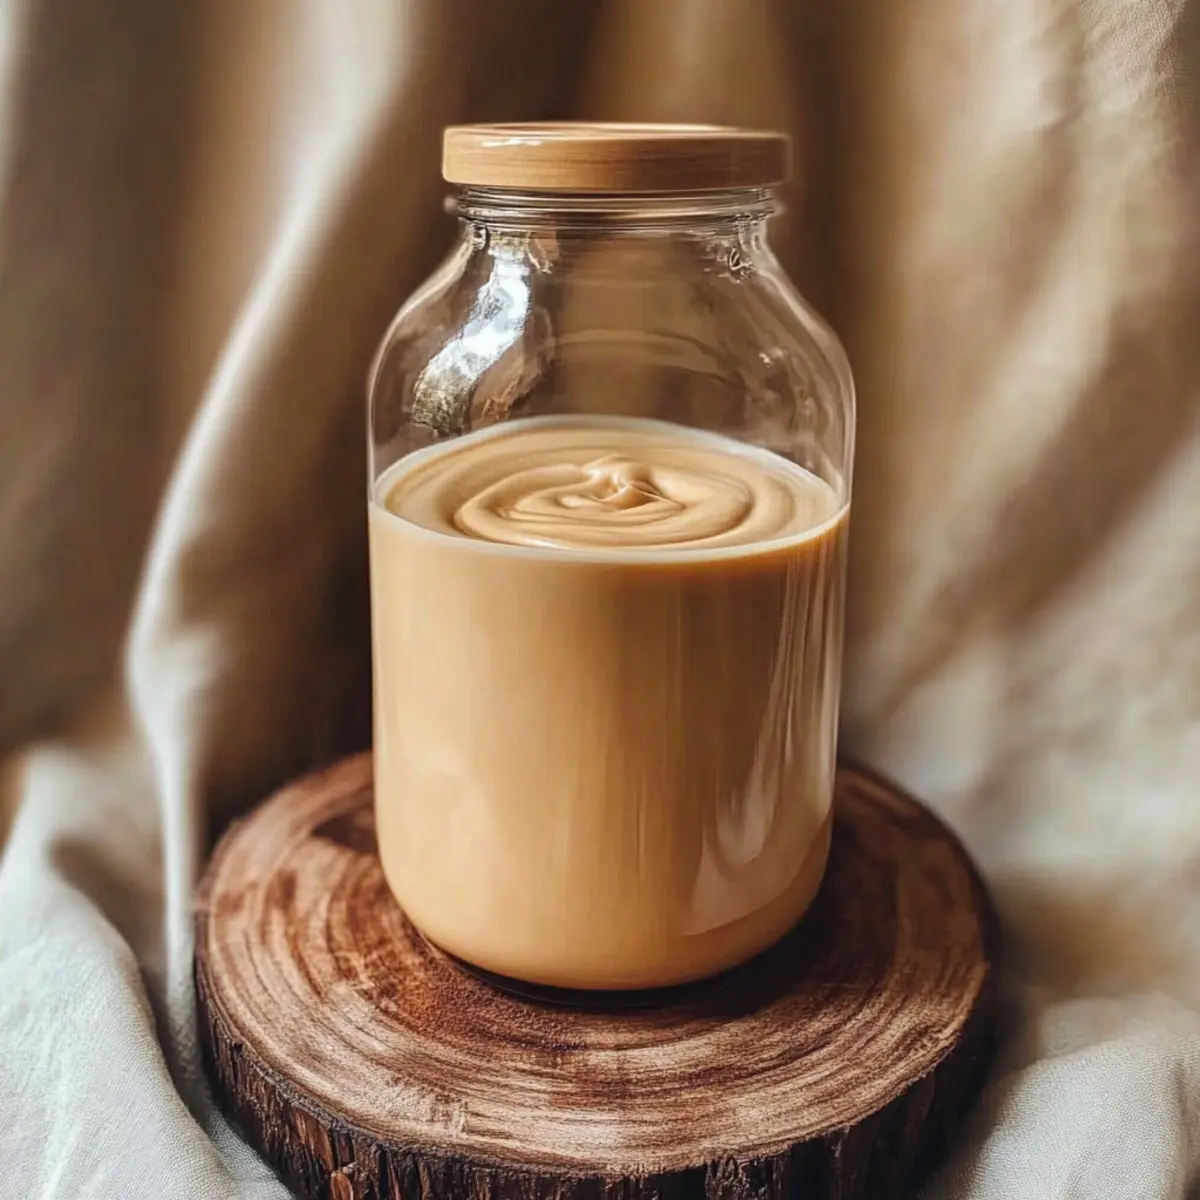
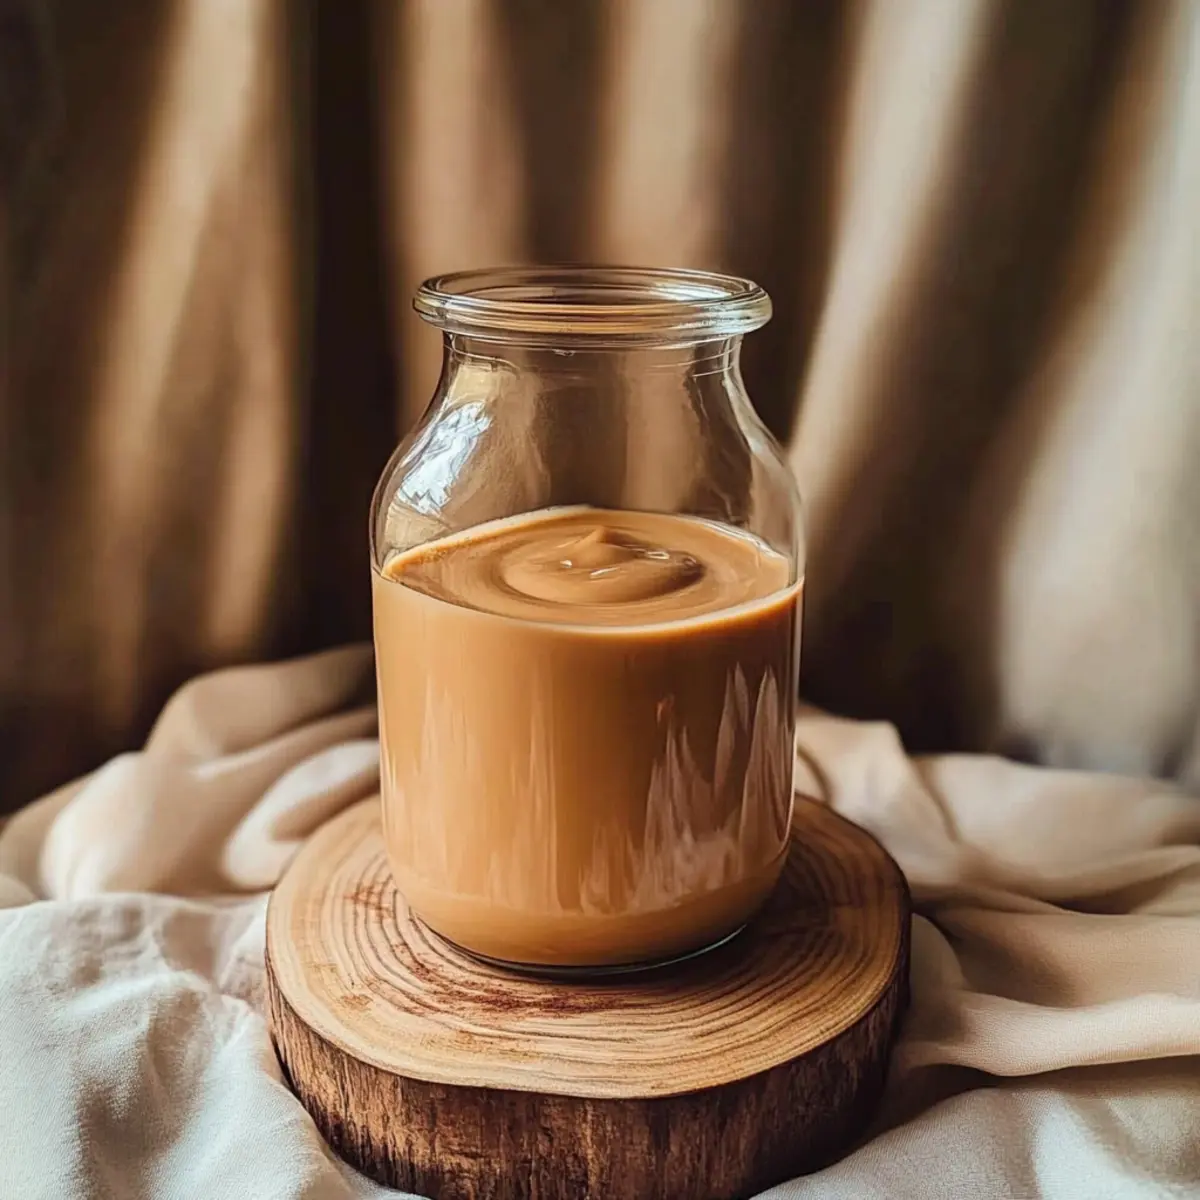
- Coconut Milk – Delivers a creamy texture; opt for low-fat canned coconut milk for a lighter version.
For Flavor Enhancement
- Red Pepper Flakes – Adjust spice levels according to your preference; omit for a milder flavor or add more for extra heat.
- Salt – Enhances overall flavor; consider soy sauce or tamari for a gluten-free option.
- Fish Sauce – Instantly adds umami richness; substitute with soy sauce for a vegetarian option if desired.
- Lime Juice – Brightens the dish; fresh lemon juice makes an excellent alternative.
- Brown Sugar – Balances all the flavors; coconut sugar or omission can lower sweetness if preferred.
For the Main Ingredients
- Chicken – The primary protein; switch to shrimp, beef, or tofu for a vegetarian variant.
- Red Bell Peppers – Infuses sweetness and color; feel free to mix in any of your favorite bell peppers.
- Green Beans – Contribute crunch and nutrition; consider carrots or zucchini as delightful alternatives.
For Garnish
- Fresh Basil & Cilantro – Add a burst of flavor; Thai basil offers a stronger taste but regular basil can also work well.
- Cornstarch – Used as a thickening agent; mix with water to create a slurry for the perfect texture.
With these ingredients, you’re well on your way to creating a comforting and delicious Thai Red Curry that embodies warmth and satisfaction in every bite!
Step-by-Step Instructions for 30-Minute Thai Red Curry with Chicken
Step 1: Sauté Aromatics
Heat a deep pan over medium heat and add 2 tablespoons of coconut oil. Once melted, stir in 2 tablespoons of garlic paste and 1 tablespoon of ginger paste. Sauté for 1-2 minutes until fragrant, ensuring the mixture doesn’t brown too much. This step sets a flavorful foundation for your Thai red curry.
Step 2: Add Curry Paste
Incorporate 3 tablespoons of red curry paste into the fragrant mixture. Stir continuously for 1-2 minutes, allowing the paste to release its rich aroma and deepen the flavor. You’ll notice the vibrant color intensifying, signaling it’s ready for the next ingredients in your 30-minute Thai red curry.
Step 3: Create the Curry Base
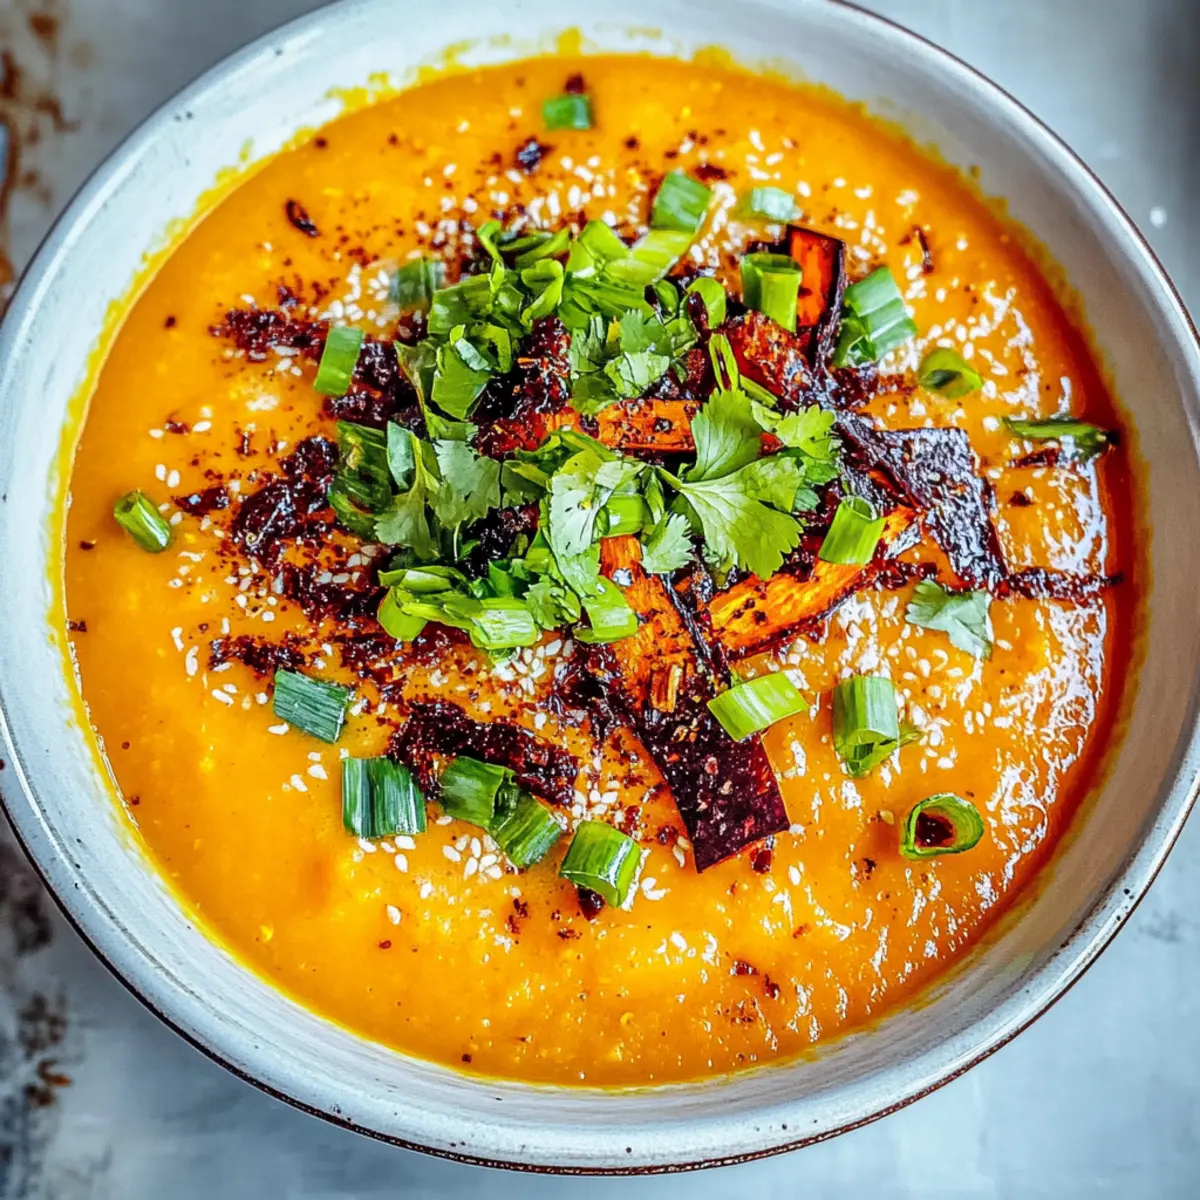
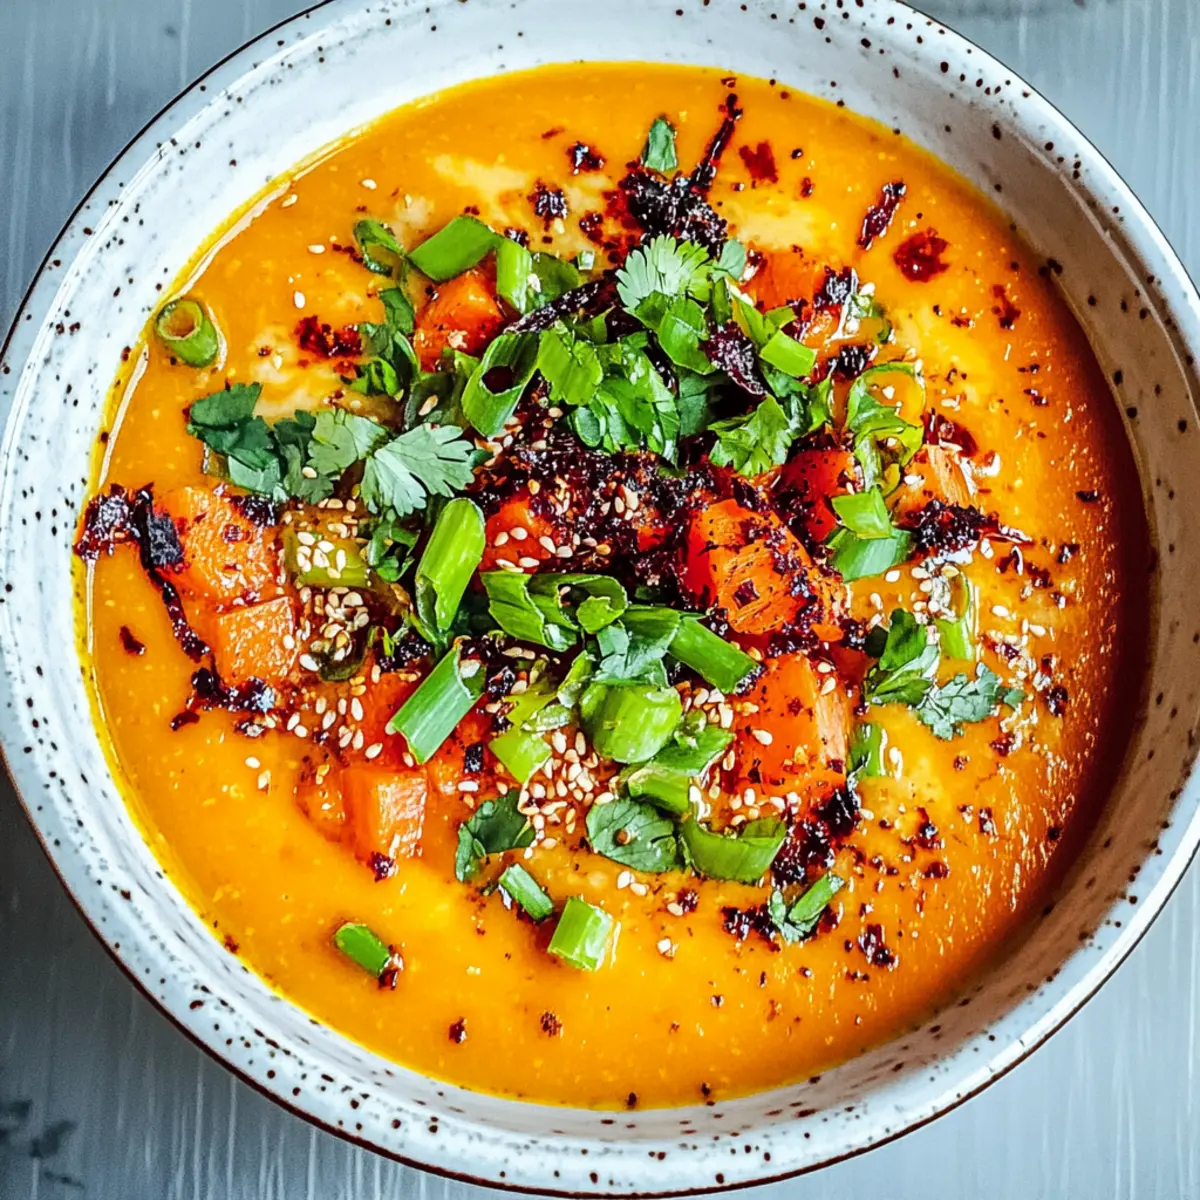
Pour in a can of coconut milk, followed by 1 teaspoon of red pepper flakes, 1 teaspoon of salt, 1 tablespoon of fish sauce, the juice of half a lime, and 1 tablespoon of brown sugar. Mix everything thoroughly and bring the mixture to a rolling boil, allowing it to bubble gently for about 2-3 minutes, ensuring the flavors meld beautifully.
Step 4: Add Main Ingredients
Add 1 pound of diced chicken, 1 sliced red bell pepper, and 1 cup of trimmed green beans into the pan. Stir to combine, then cover and cook for 11-12 minutes. During this time, the chicken should be cooked through, and the veggies will soften, creating a colorful medley that defines your Thai red curry.
Step 5: Thicken the Curry
Once the chicken is thoroughly cooked, remove the lid and stir in the cornstarch slurry made from 2 tablespoons cornstarch mixed with 2 tablespoons of water. Gently mix until the curry thickens, which should take about 2-3 minutes. You’ll see the luscious texture come together, perfecting your 30-minute Thai red curry.
Step 6: Final Touches
Before serving, stir in a handful of freshly chopped basil and cilantro, reserving some for garnishing later. This adds a pop of freshness to the dish. Make sure to give it a final taste and adjust seasoning if needed, bringing your comforting Thai red curry to life right before serving.
Step 7: Serve and Enjoy
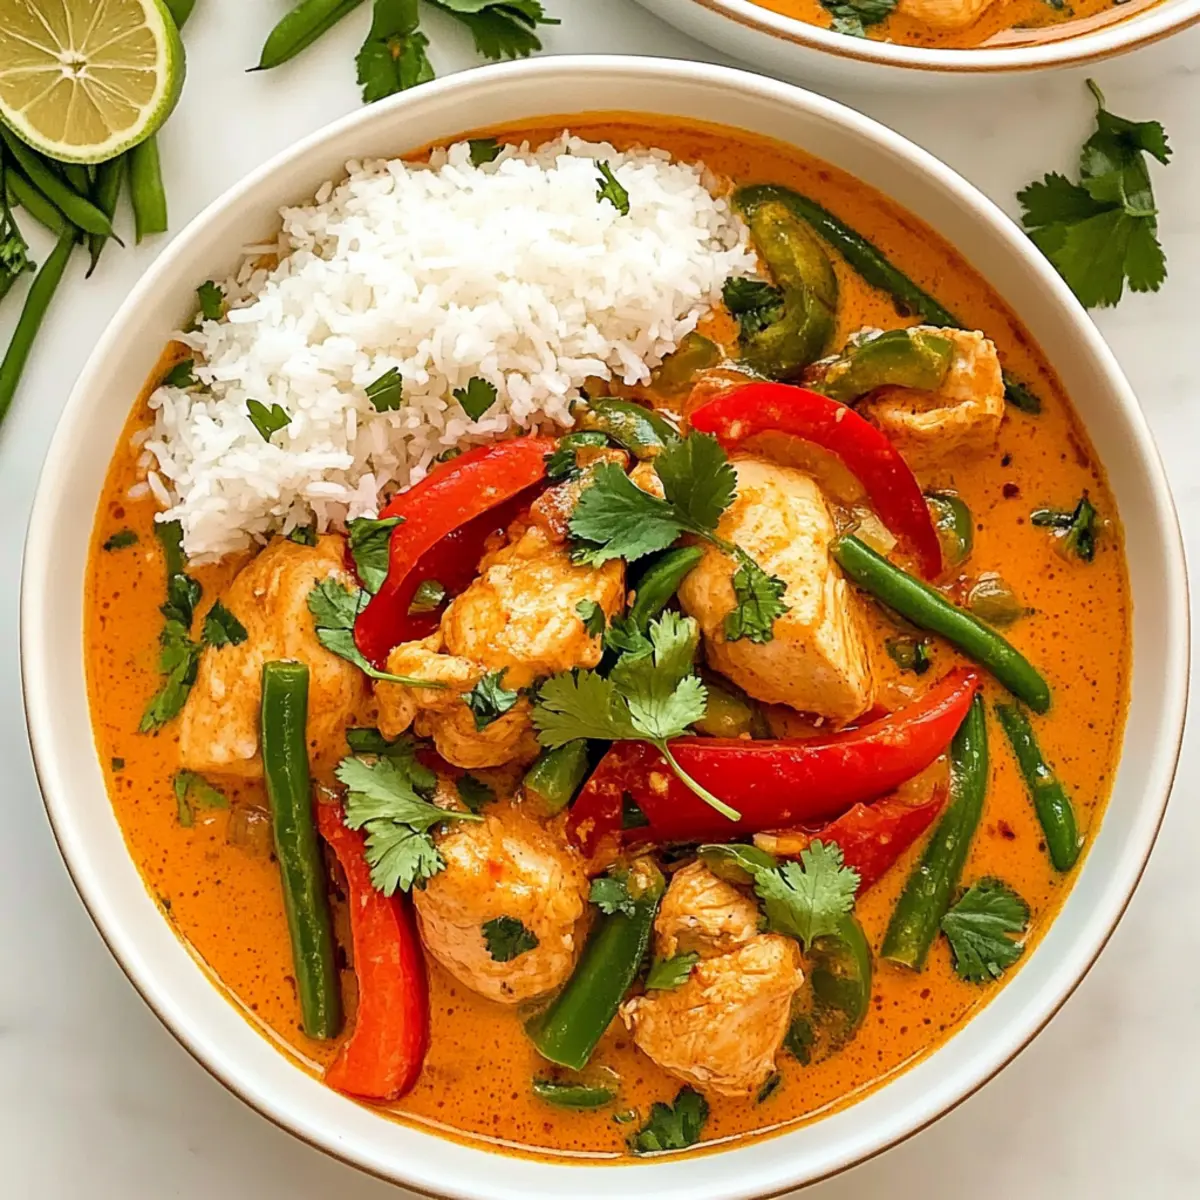
Serve your 30-minute Thai red curry hot, ideally alongside jasmine rice or quinoa for a complete meal. The colorful, aromatic dish not only warms the heart but also tantalizes the taste buds, providing a homemade alternative to takeout that your family will love.
How to Store and Freeze Thai Red Curry
Fridge: Store leftover Thai red curry in an airtight container and refrigerate for up to 3 days. Reheat gently on the stovetop or in the microwave until heated through.
Freezer: Allow the curry to cool completely, then transfer to a freezer-safe container. It can be frozen for up to 3 months. Thaw in the fridge overnight before reheating.
Reheating: When reheating, add a splash of coconut milk or water to restore creaminess and prevent drying out. Stir well and heat until hot.
Portioning: For easy meals, consider freezing in individual portions. This way, you can easily enjoy your delicious homemade Thai red curry anytime!
Make Ahead Options
These 30-Minute Thai Red Curry with Chicken are a fantastic choice for meal prep enthusiasts! You can chop your vegetables and measure out spices up to 24 hours in advance, ensuring that your busy weeknight cooking is a breeze. Additionally, you can marinate the chicken (or your chosen protein) in the curry paste and store it in the refrigerator for enhanced flavor. When it’s time to enjoy your delicious curry, simply sauté the aromatics, add the prepared chicken and vegetables, and follow the regular cooking instructions. This way, you’ll achieve that comforting and vibrant dish just as if you had cooked everything from scratch, saving you time without compromising quality!
Thai Red Curry Variations & Substitutions
Feel free to mix and match to make this delightful curry truly yours, exploring flavors and textures that entice your palate!
-
Dairy-Free: Replace coconut milk with almond milk or cashew cream for a lighter but equally creamy texture.
-
Vegetarian Twist: Swap chicken for tofu or chickpeas, providing the same protein punch without meat.
-
Seafood Option: For a seafood flair, use shrimp or scallops instead of chicken; just reduce cooking time slightly!
-
Veggie Medley: Incorporate seasonal veggies like bok choy or snap peas, adding color and crunch to your curry.
-
Curry Variations: Experiment with different curry pastes such as green or panang for unique flavors that surprise.
-
Low-Sugar Alternative: Use honey or a sugar substitute like stevia to satisfy your sweet tooth without the guilt.
-
Heat Levels: Adjust the spice by using fresh chilies instead of red pepper flakes. You control just how fiery it gets!
-
Herbal Kick: Enhance with fresh lemongrass or a splash of fish sauce to amp up the umami for a bolder flavor profile.
Your culinary adventure awaits! For more inspiration, don’t forget to check out How to Store and Freeze Thai Red Curry and great side pairings in the Serving Suggestions section of this post.
What to Serve with Thai-Inspired Red Curry with Chicken
This vibrant curry dish pairs beautifully with selections that complement its creamy richness and aromatic spices, turning any meal into a memorable experience.
- Steamed Jasmine Rice: The light, fluffy texture absorbs the bold flavors of the curry, creating a satisfying base that rounds out the meal perfectly.
- Quinoa Salad: A nutty, protein-packed alternative to rice, this salad adds a refreshing crunch and a pop of color that balances the creamy curry.
- Fresh Spring Rolls: Light, crisp spring rolls filled with fresh vegetables provide a delightful contrast to the warm curry, adding a refreshing bite.
- Cucumber Salad: The cool, crisp texture of cucumber salad offers a refreshing palate cleanser and lightens the richness of the dish. Combining these two will turn your dinner into a delightful feast!
- Lime Wedges: A simple addition that brightens each bite, adding an extra zing that complements the spices beautifully.
- Chili Garlic Sauce: For those craving an extra kick, a drizzle of this sauce elevates the heat levels and enhances the curry’s flavor profile.
Enjoy the delightful interplay of flavors and textures as you craft a meal that captures the essence of Thai cuisine right in your own kitchen!
Expert Tips for Thai Red Curry
-
Prep Ahead: Ensure to prep all ingredients before you start cooking to minimize chaos and streamline the cooking process.
-
Adjust Spice Levels: If you prefer a milder curry, reduce the amount of red pepper flakes or omit them entirely. Fresh chilis can be added for an extra kick if desired.
-
Use Non-Stick Cookware: A good quality non-stick pan can help prevent sticking during cooking and make cleanup easier.
-
Cornstarch Caution: When adding the cornstarch slurry, do it gradually and mix well to achieve your desired thickness without clumping.
-
Fresh Herbs Matter: Use freshly chopped basil and cilantro for garnish right before serving to elevate the flavor of your Thai red curry.
30-Minute Thai Red Curry with Chicken Recipe FAQs
What should I look for when selecting ripe vegetables for this curry?
Absolutely! When choosing vegetables, look for vibrant colors and firm textures. For bell peppers, avoid any with soft spots or wrinkles. Green beans should be crisp and bright, while ginger should feel firm and smooth. Fresh ingredients offer a flavorful punch to your Thai red curry.
How should I store leftover Thai red curry?
Leftover Thai red curry can be stored in an airtight container in the refrigerator for up to 3 days. Be sure to cool it to room temperature before sealing it up. I often reheat mine gently on the stovetop for the best texture, adding a splash of coconut milk if it seems a bit thick.
Can I freeze this Thai red curry?
Certainly! After cooling completely, transfer the curry to a freezer-safe container. It freezes beautifully for up to 3 months. To reheat, thaw in the fridge overnight and gently warm it up on the stove, adding a little coconut milk or water if needed to restore creaminess.
What if the curry is too spicy for my taste?
Very! If your curry turns out spicier than desired, you can balance the heat by stirring in a bit of honey or more coconut milk. Adding a splash of lime juice can also brighten it up without increasing the spice level. Always taste as you go to find that perfect balance!
Is this Thai red curry suitable for people with specific dietary needs?
Absolutely! This recipe is highly customizable to fit various dietary restrictions. For gluten-free needs, replace standard fish sauce with tamari or a gluten-free soy sauce. If you have nut allergies, just be cautious about the coconut milk and substitute with low-fat alternatives. You can also easily swap chicken for tofu or shrimp for a vegetarian option!
How do I ensure the curry thickens properly?
To achieve the ideal thickness, mix 2 tablespoons of cornstarch with 2 tablespoons of water to create a slurry before adding it to your curry. Stir it in gradually, allowing it to thicken for a few minutes. This method prevents lumps and ensures a smooth, luscious texture in your Thai red curry!
30-Minute Thai Red Curry with Chicken for Cozy Nights
Ingredients
Equipment
Method
- Heat a deep pan over medium heat and add coconut oil. Once melted, stir in garlic paste and ginger paste. Sauté for 1-2 minutes until fragrant.
- Incorporate red curry paste into the mixture. Stir continuously for 1-2 minutes.
- Pour in coconut milk, red pepper flakes, salt, fish sauce, lime juice and brown sugar. Mix and bring to a boil for 2-3 minutes.
- Add diced chicken, sliced red bell pepper, and green beans. Stir, cover, and cook for 11-12 minutes.
- Remove the lid, stir in cornstarch slurry and mix until thickened for about 2-3 minutes.
- Stir in chopped basil and cilantro before serving. Adjust seasoning if needed.
- Serve hot with jasmine rice or quinoa.