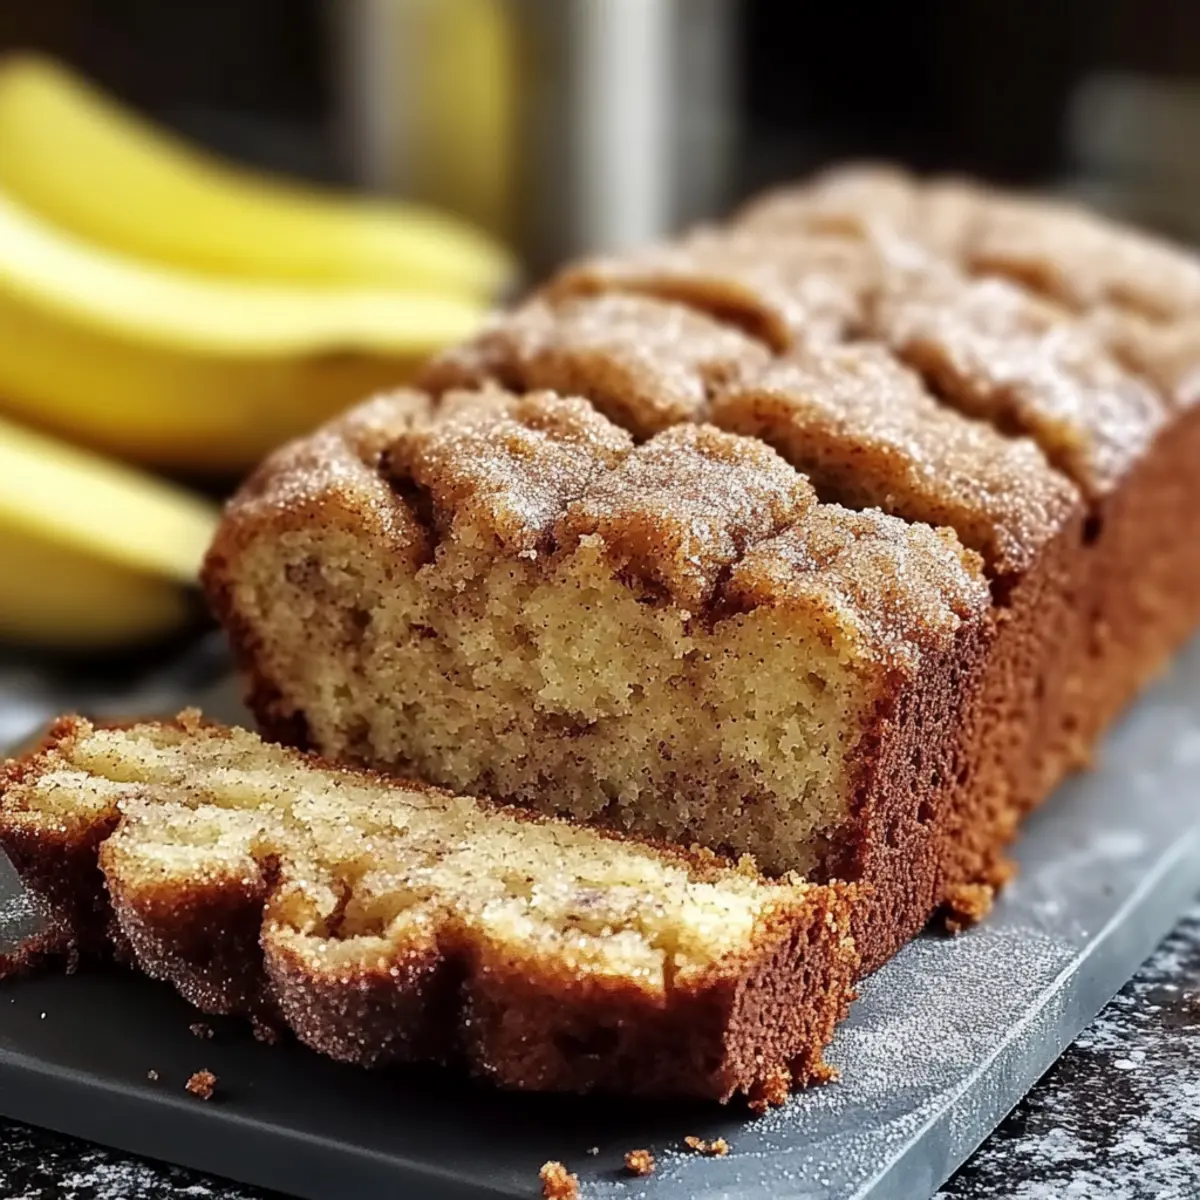
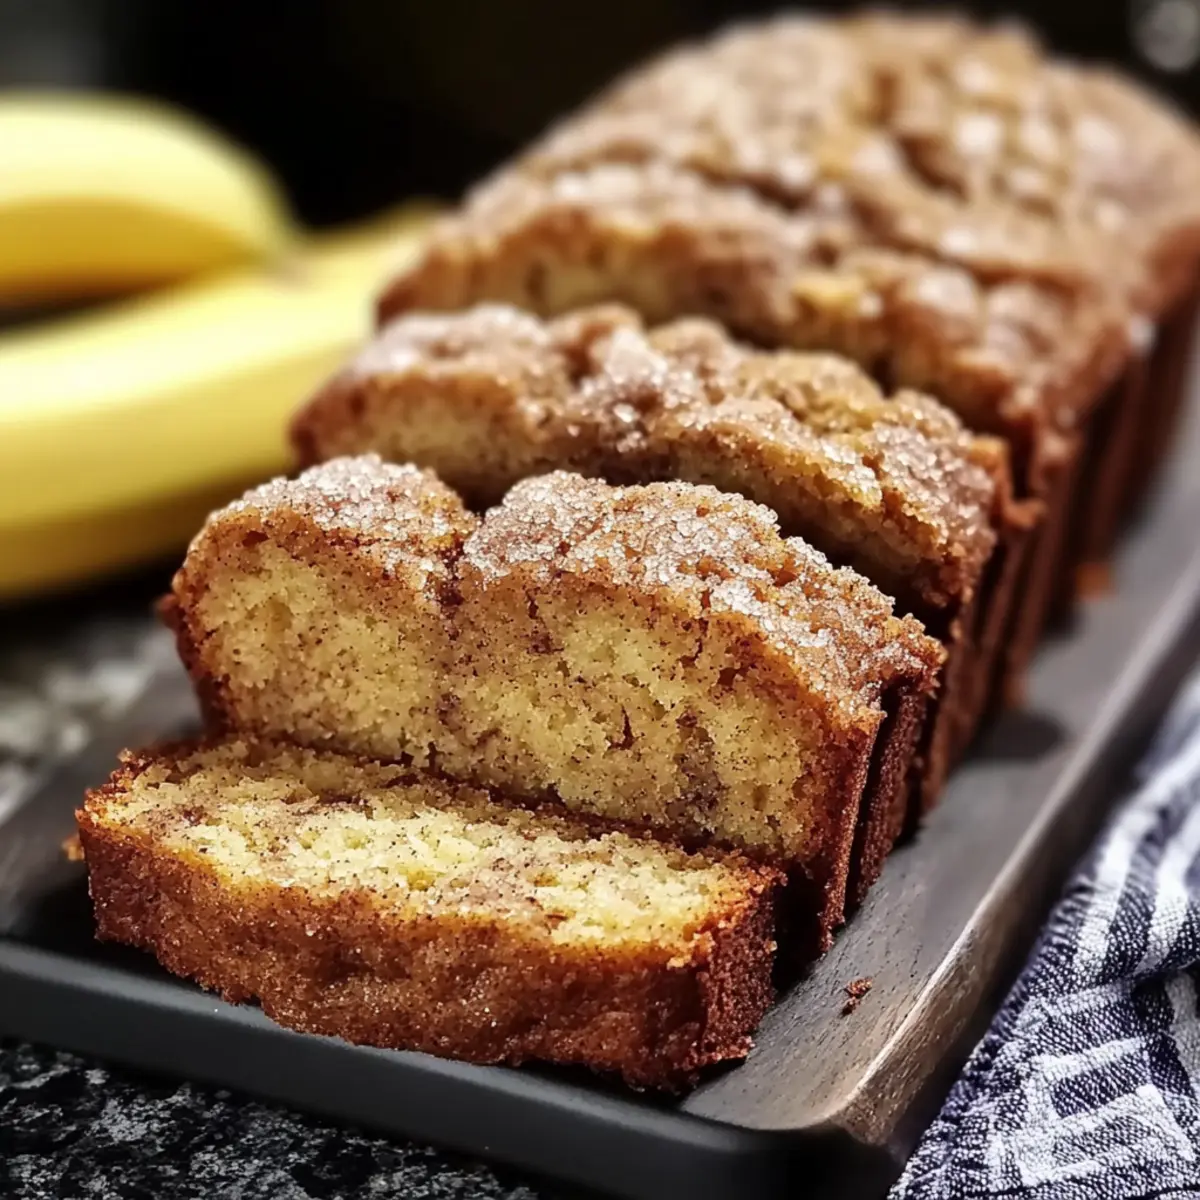
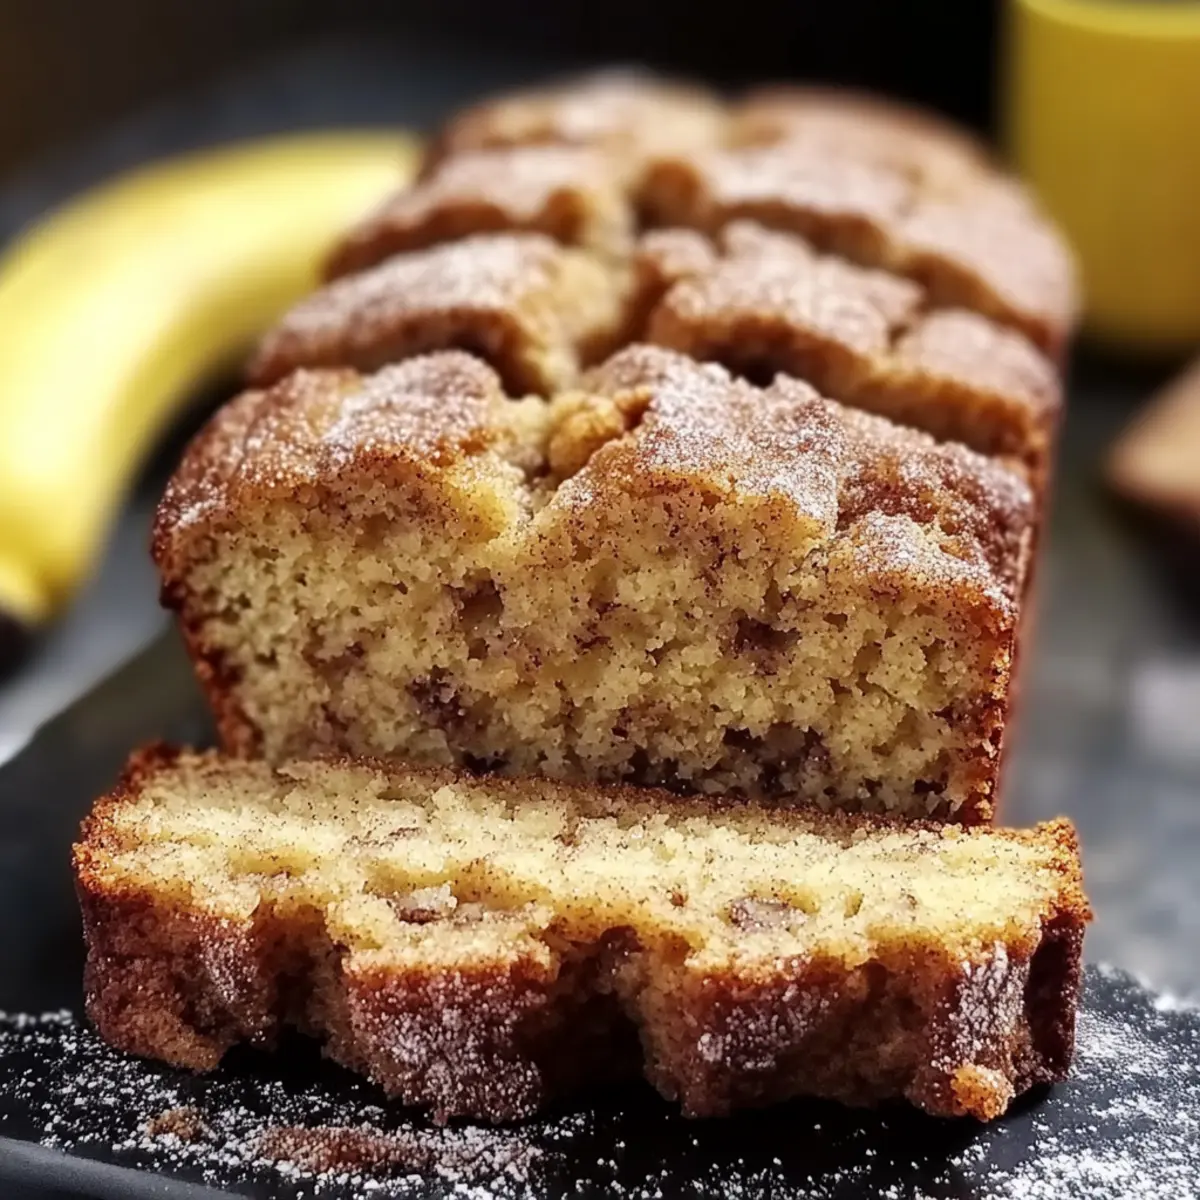
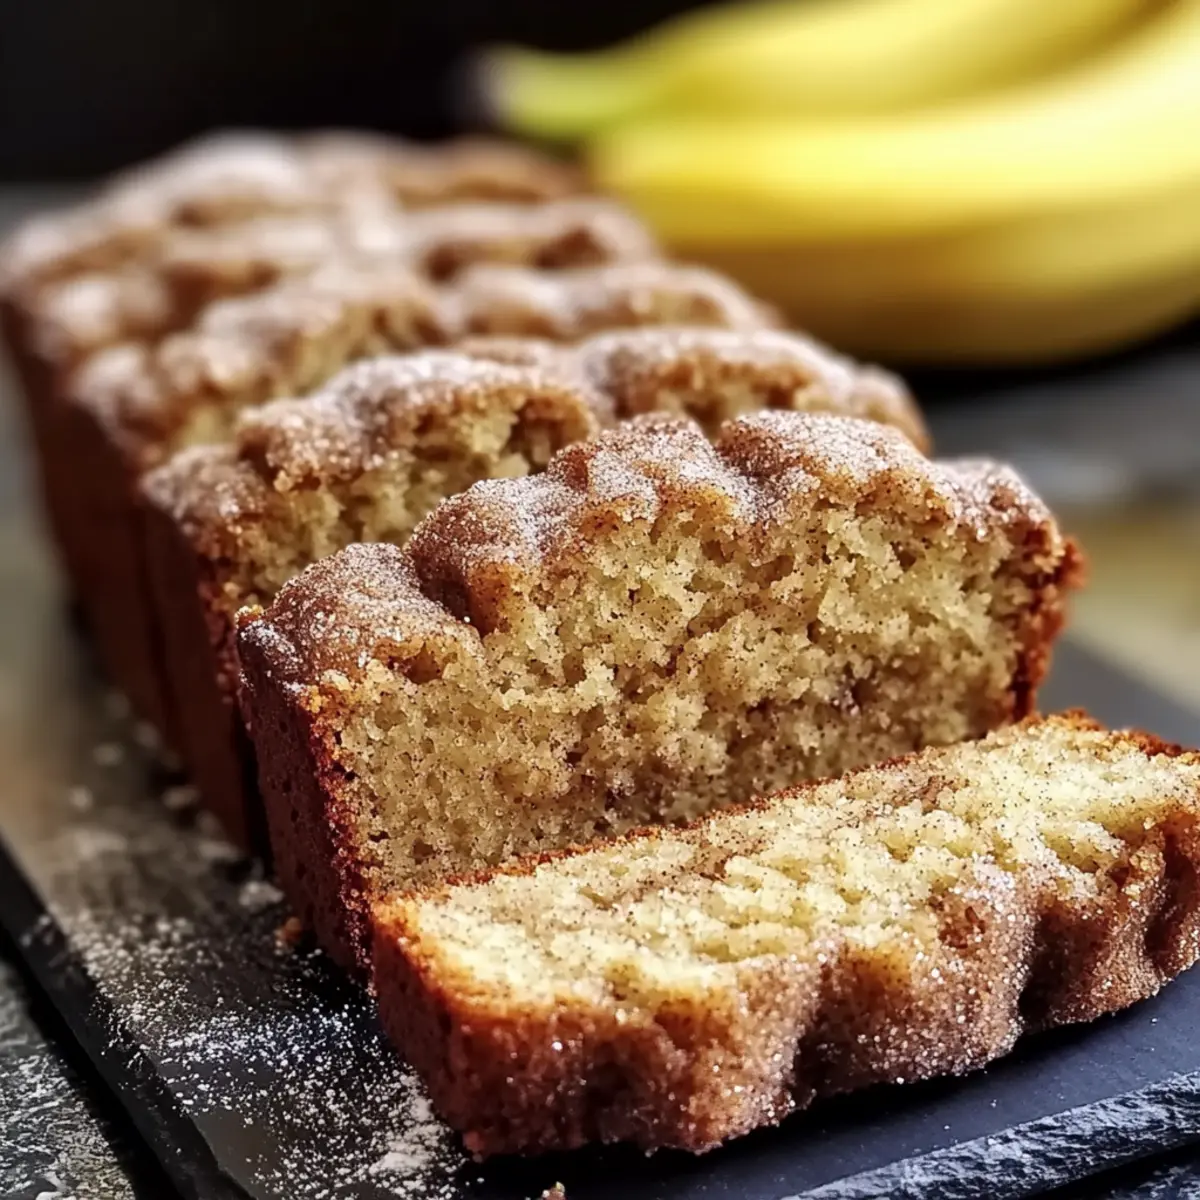
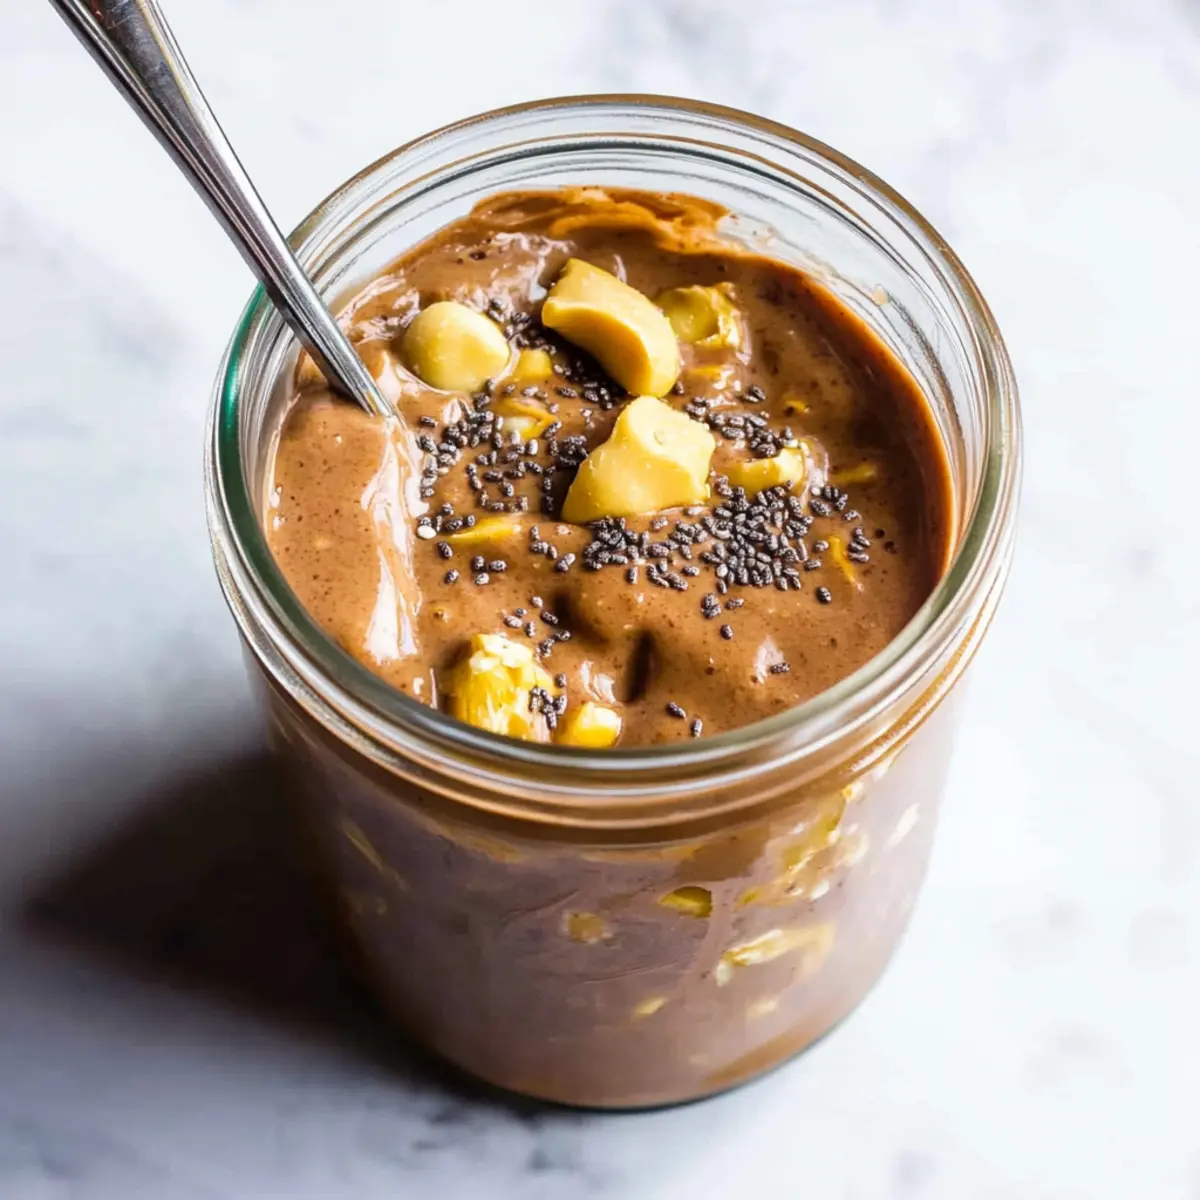
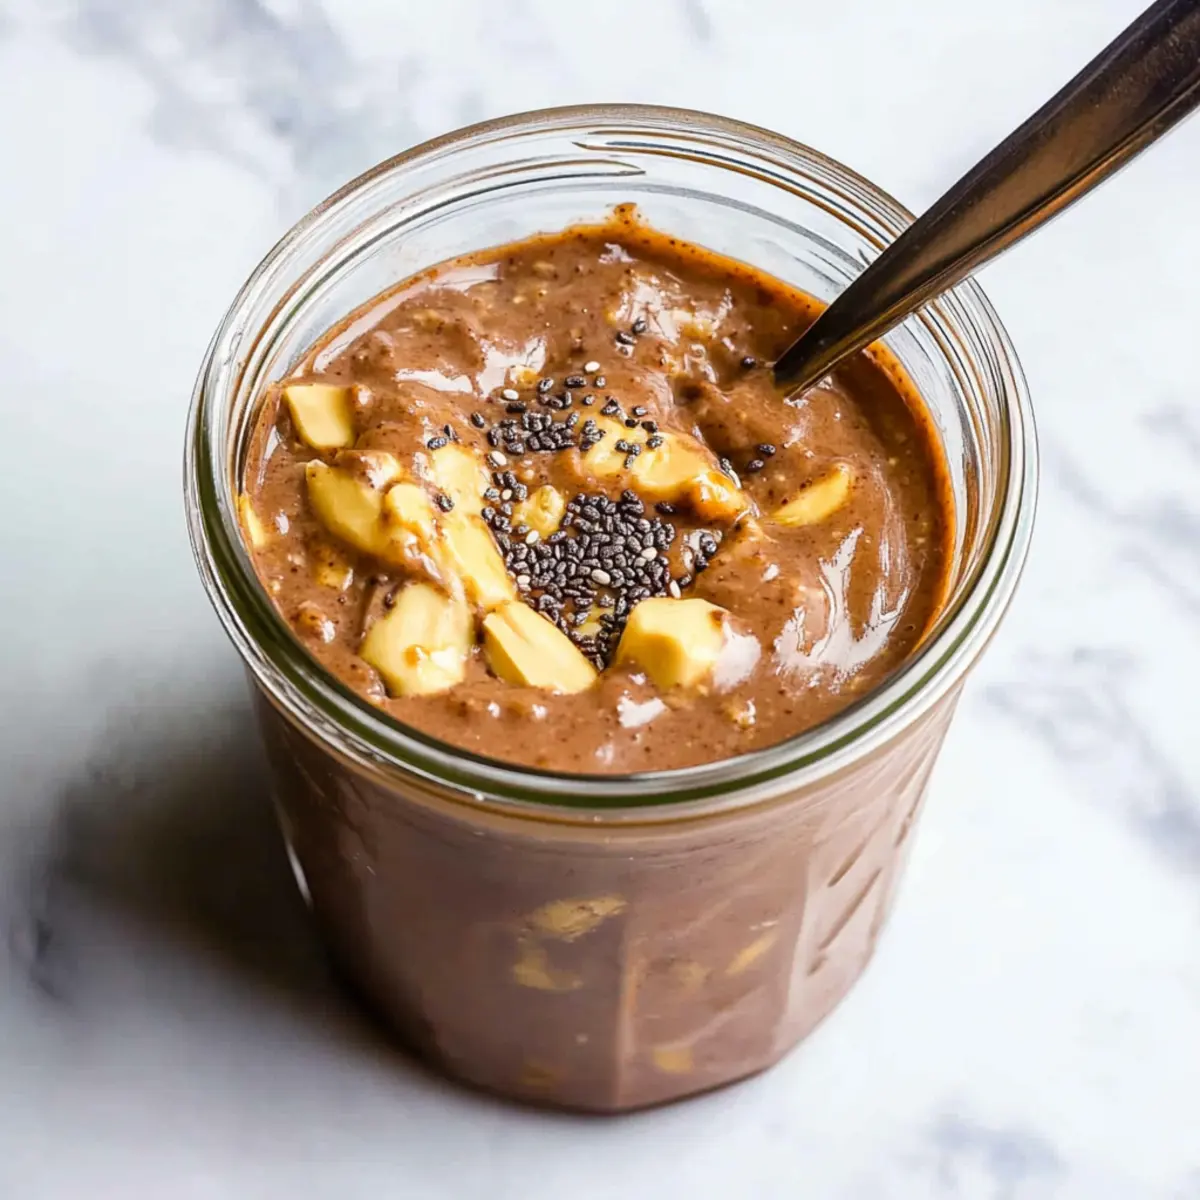
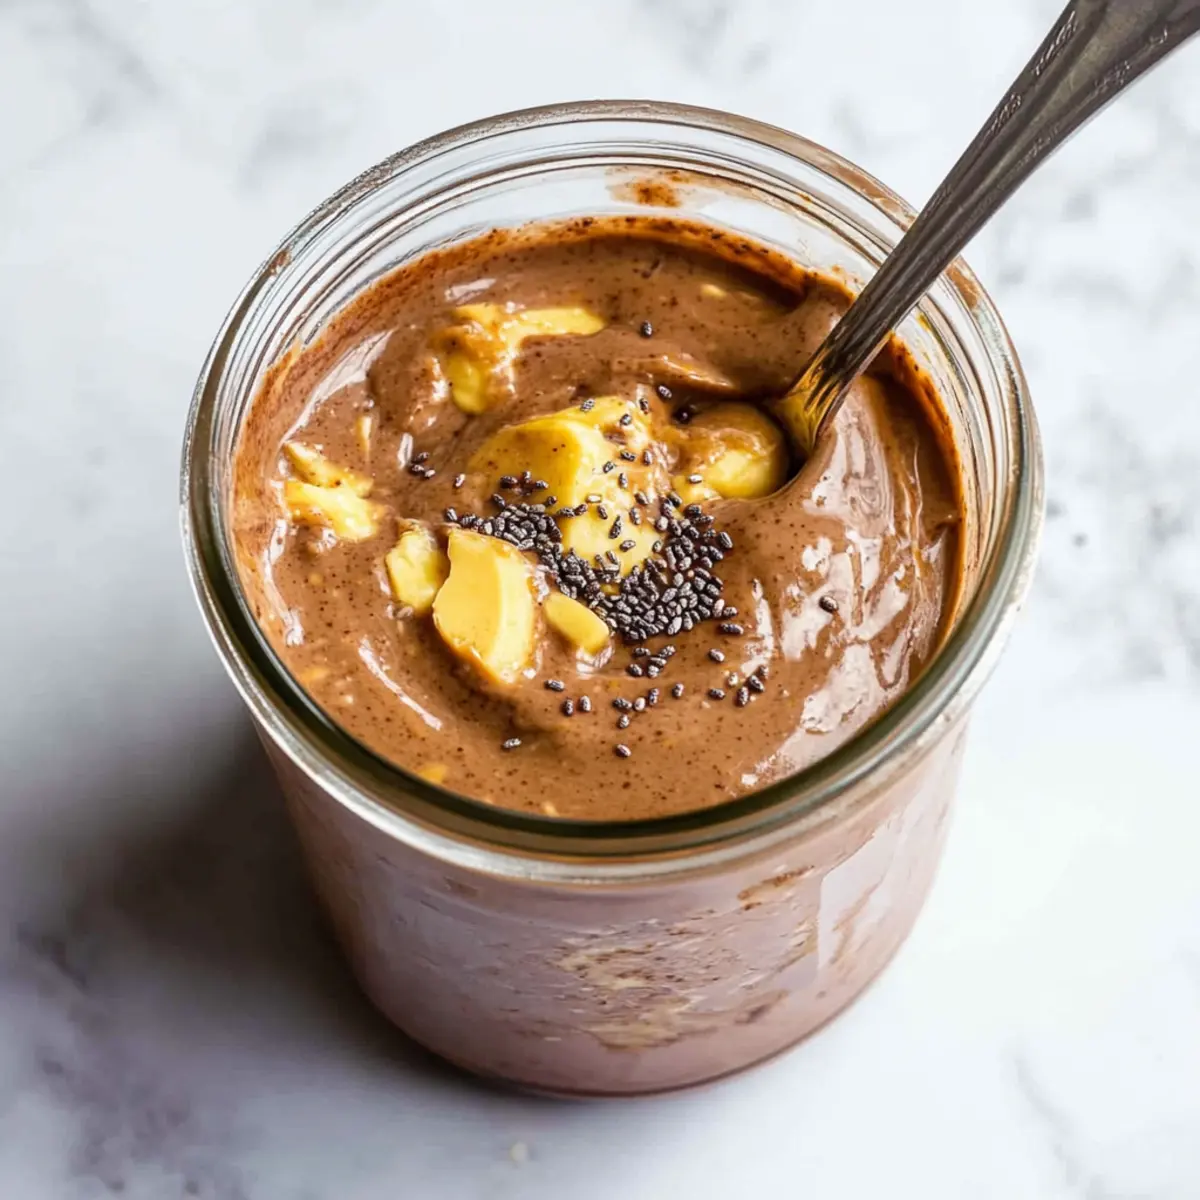
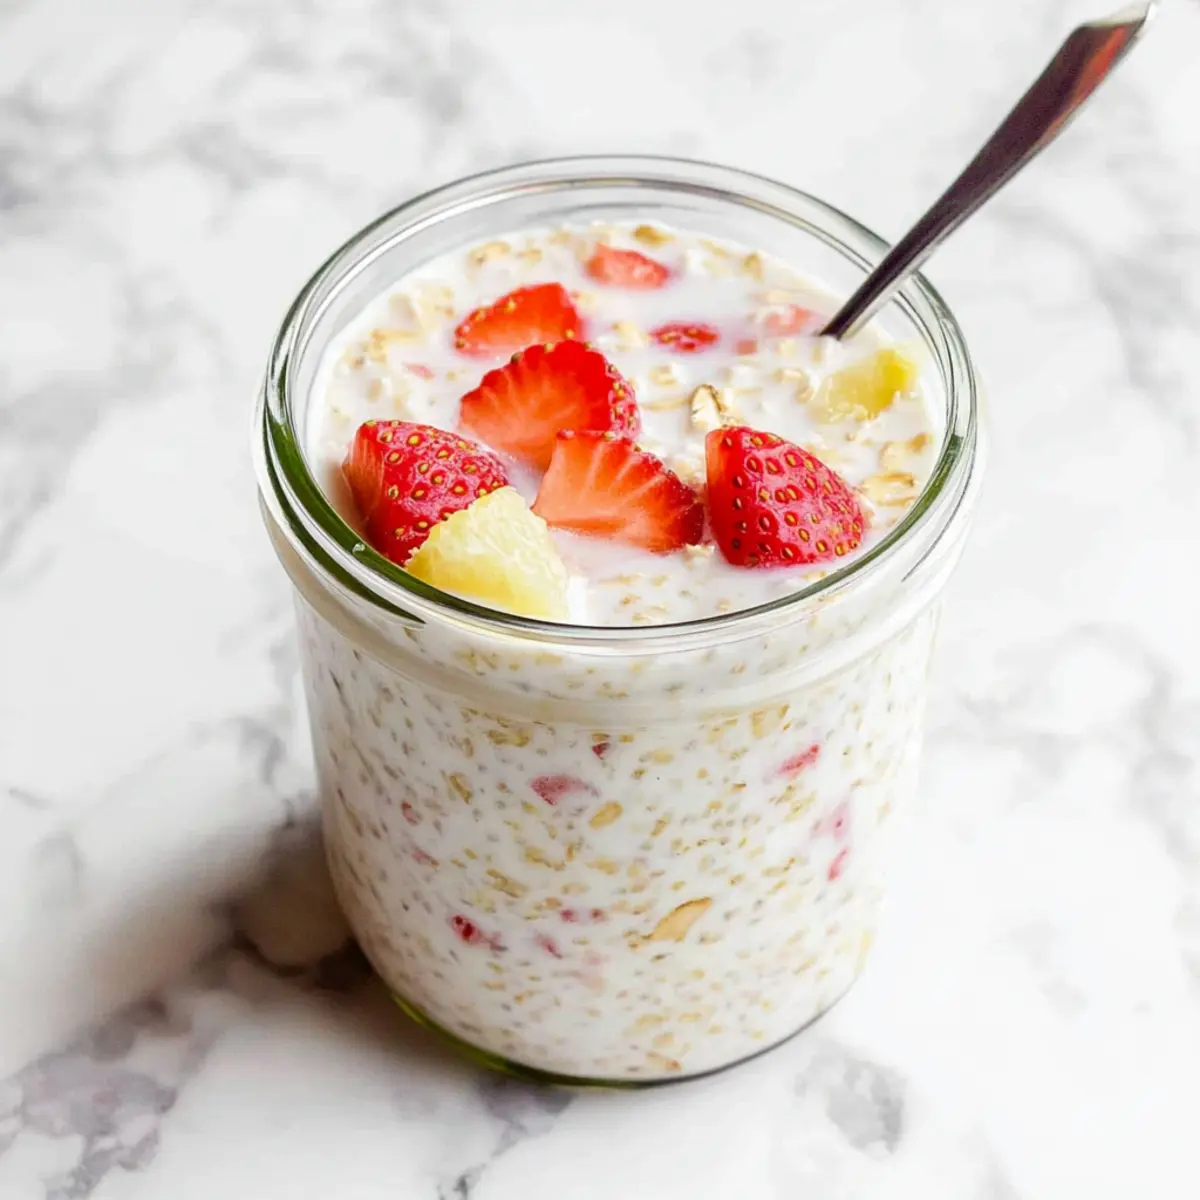
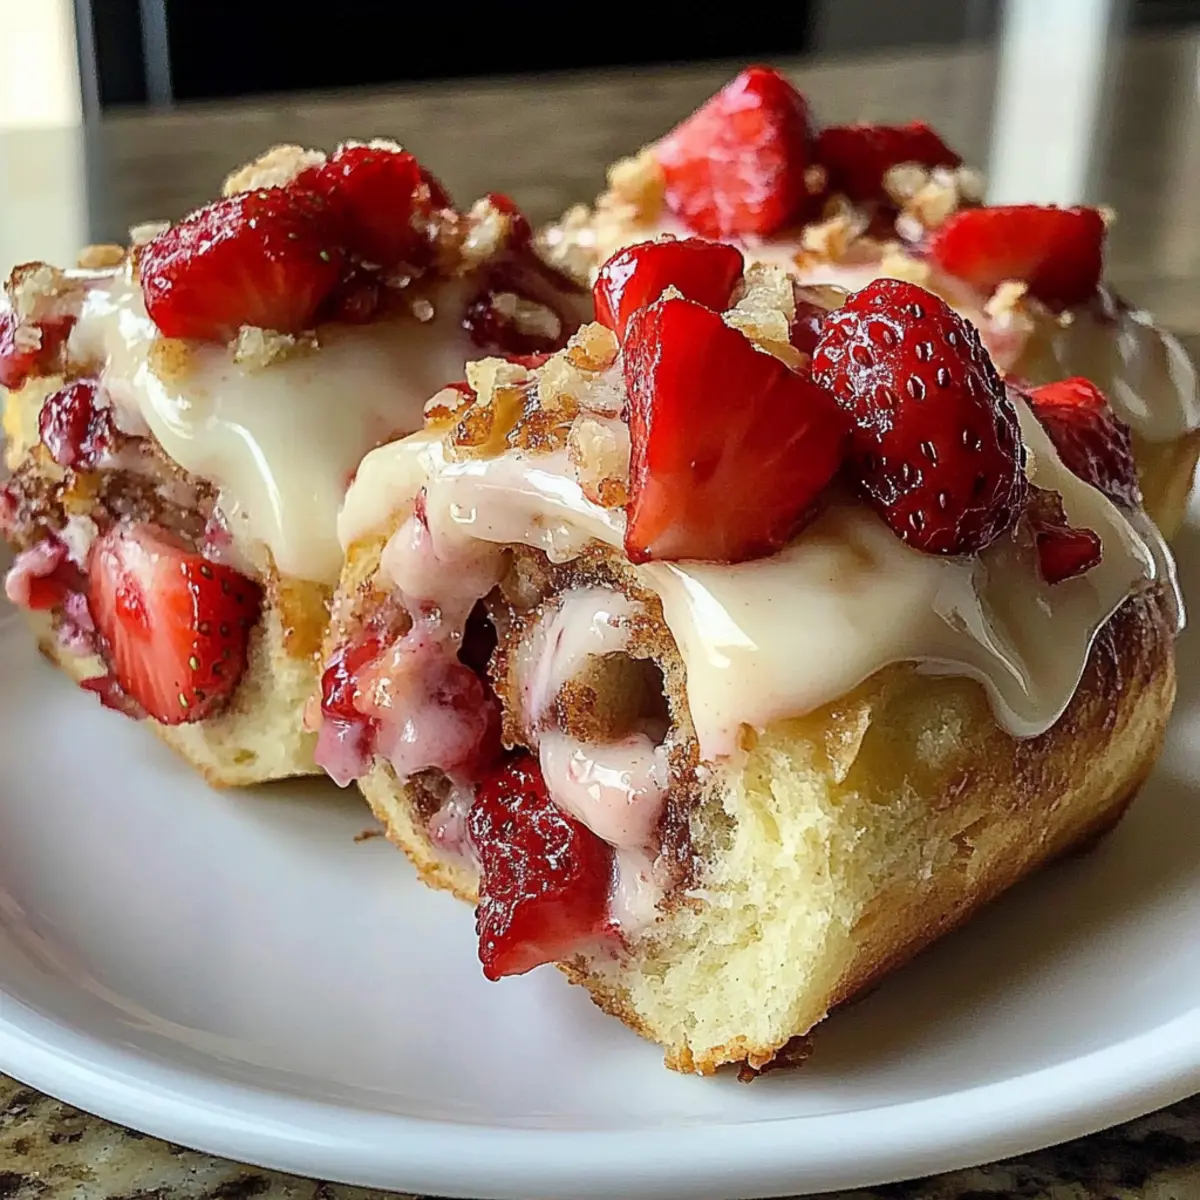
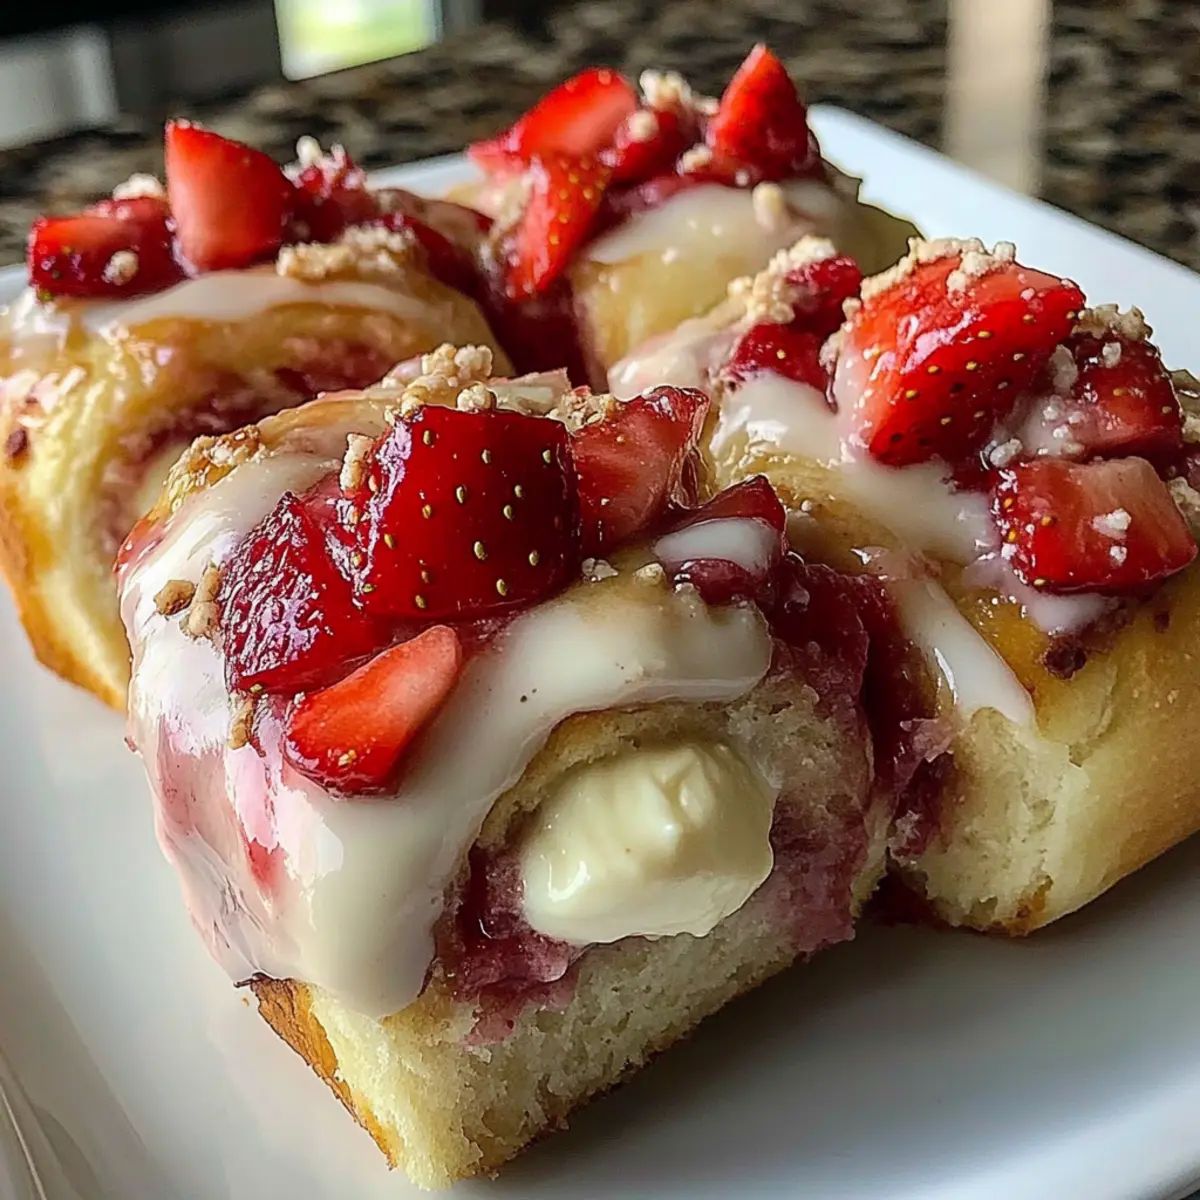
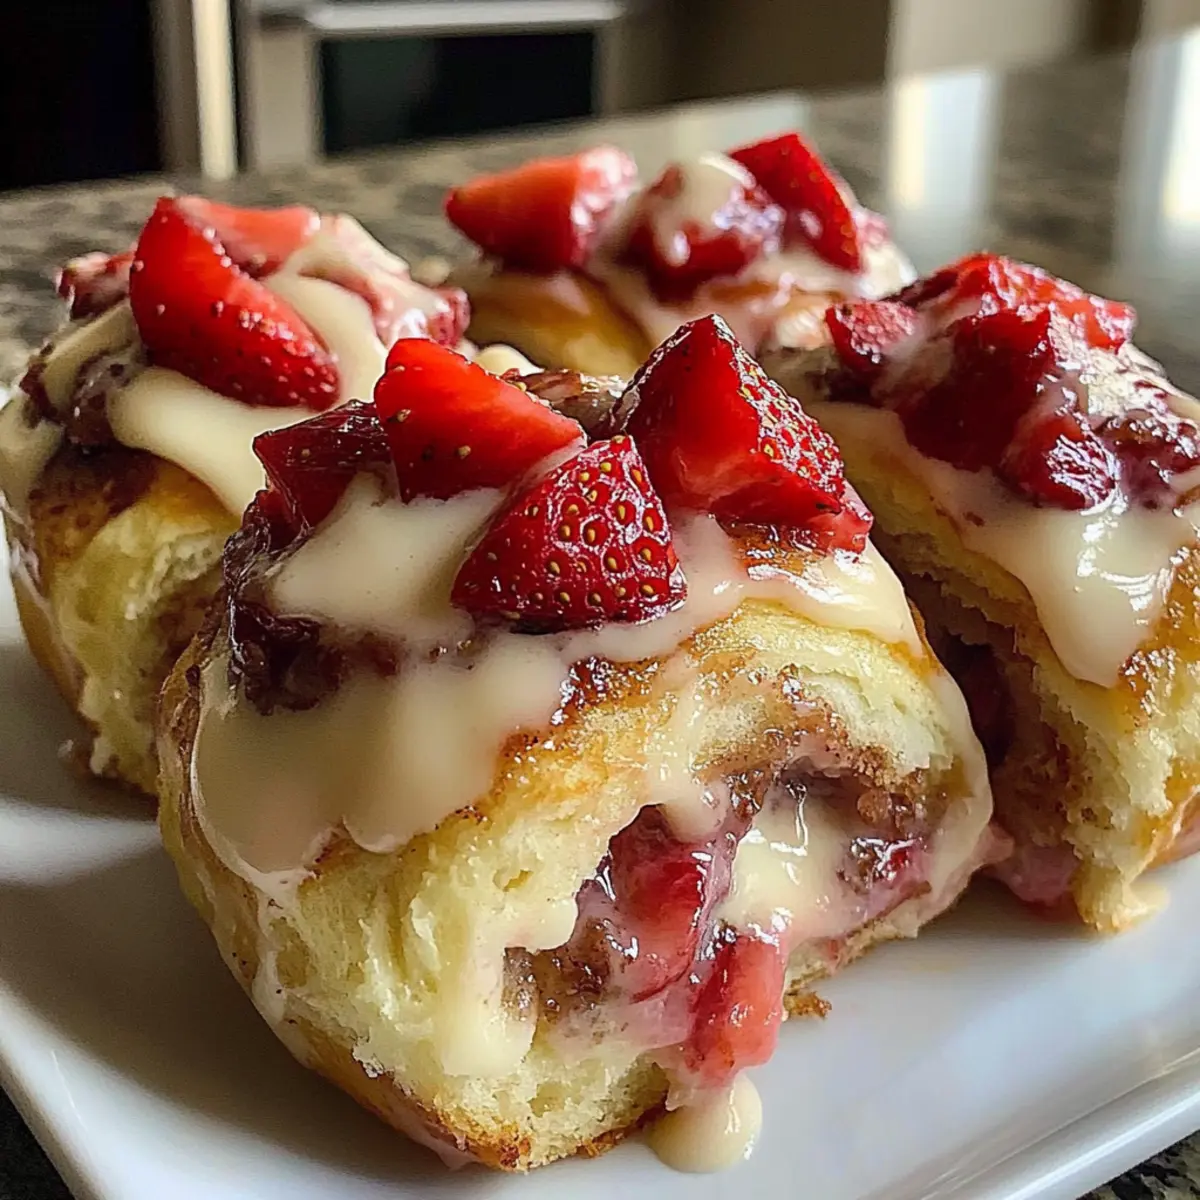
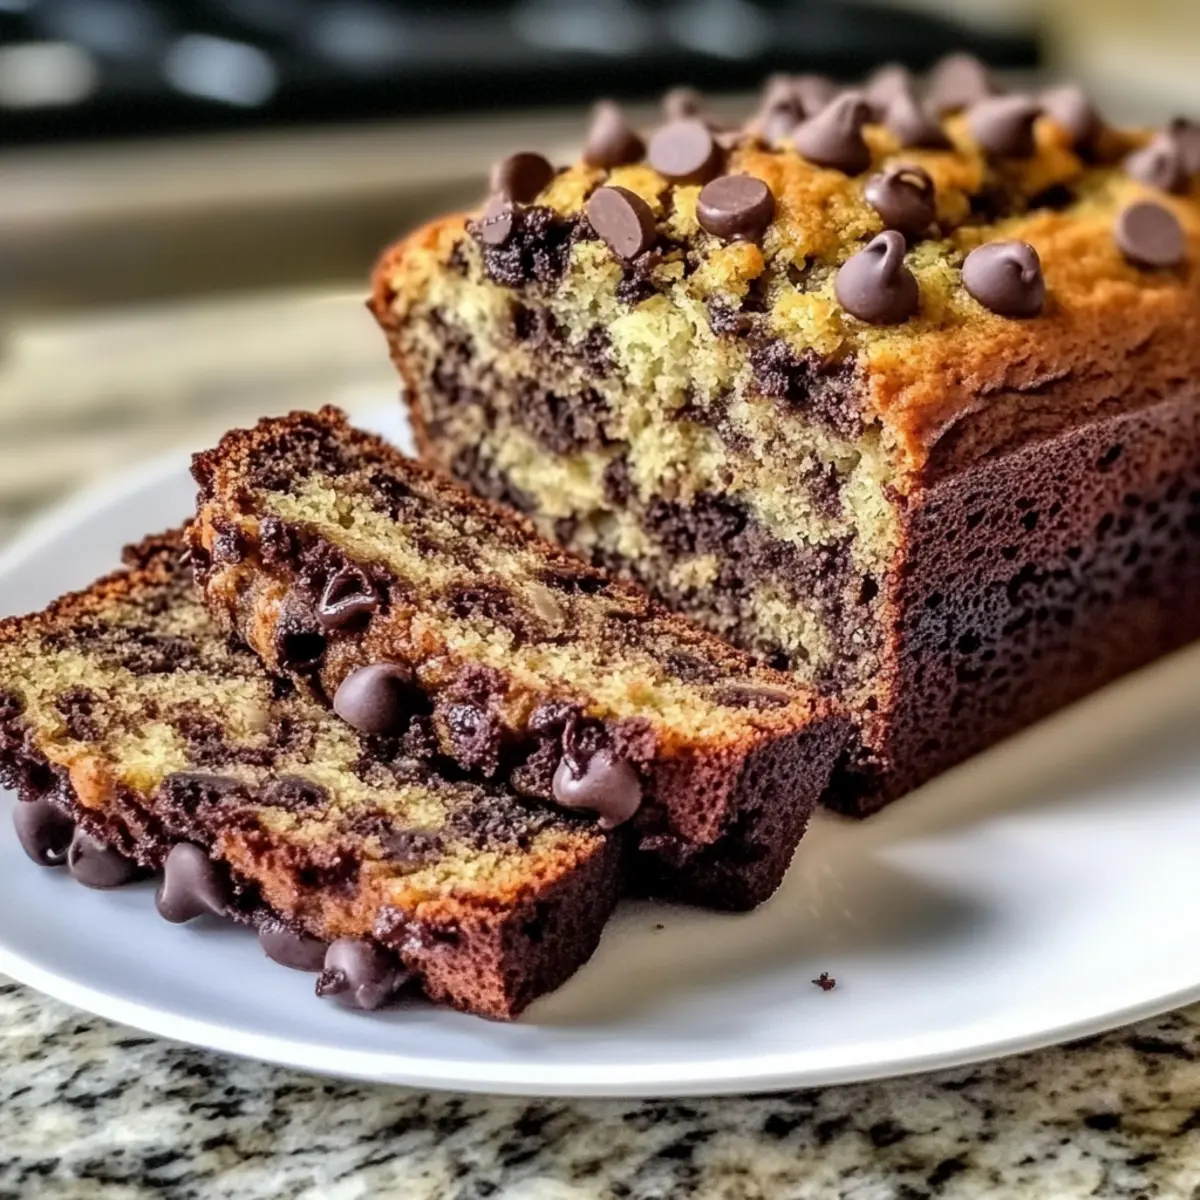
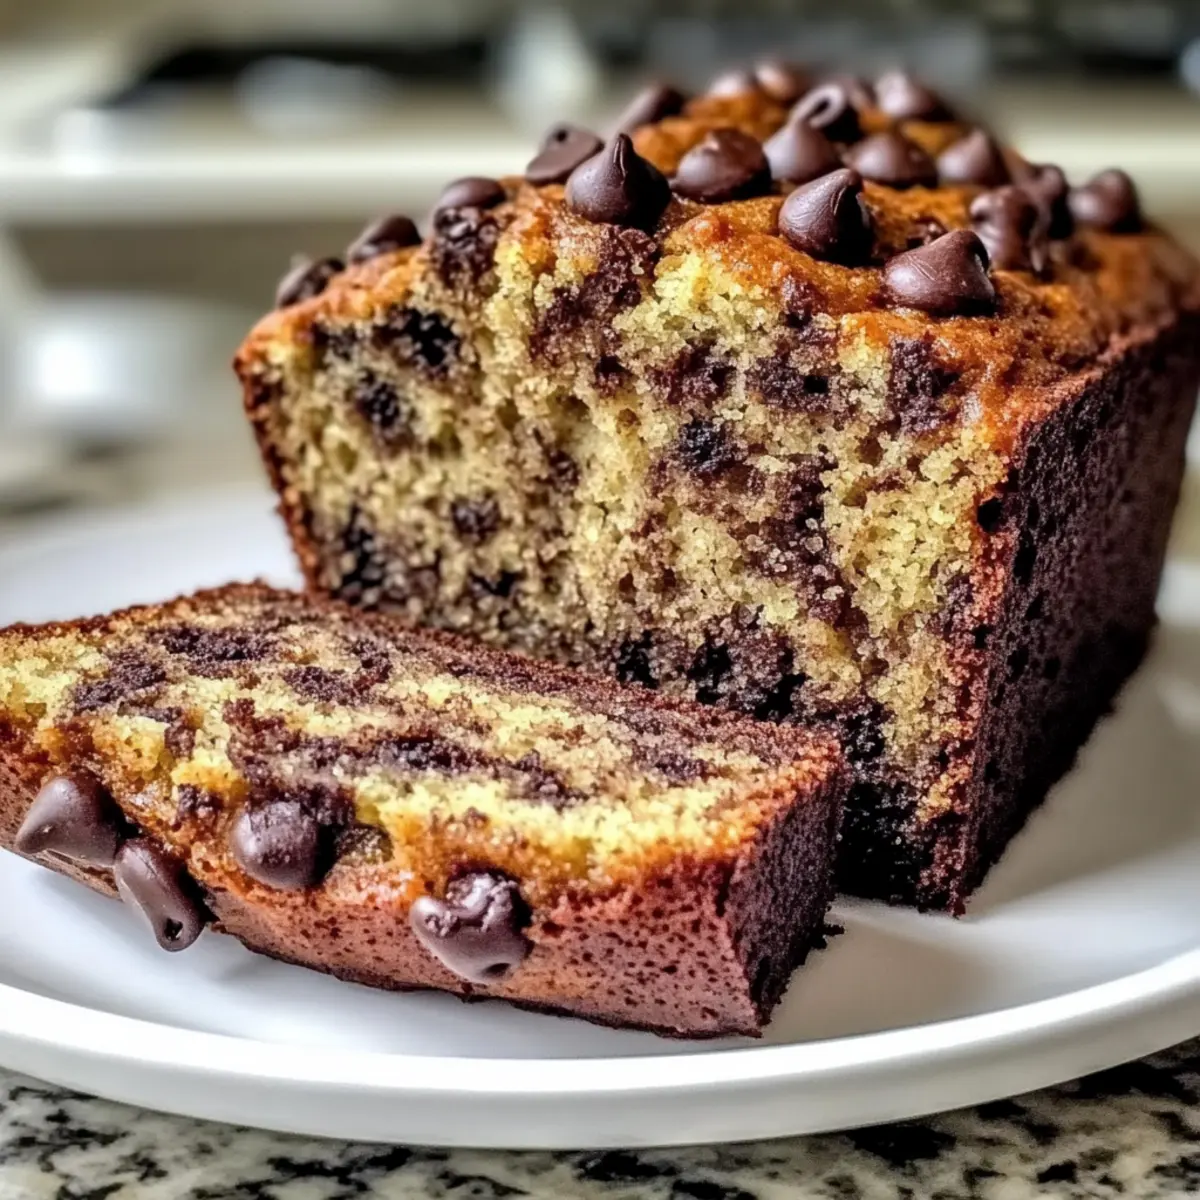
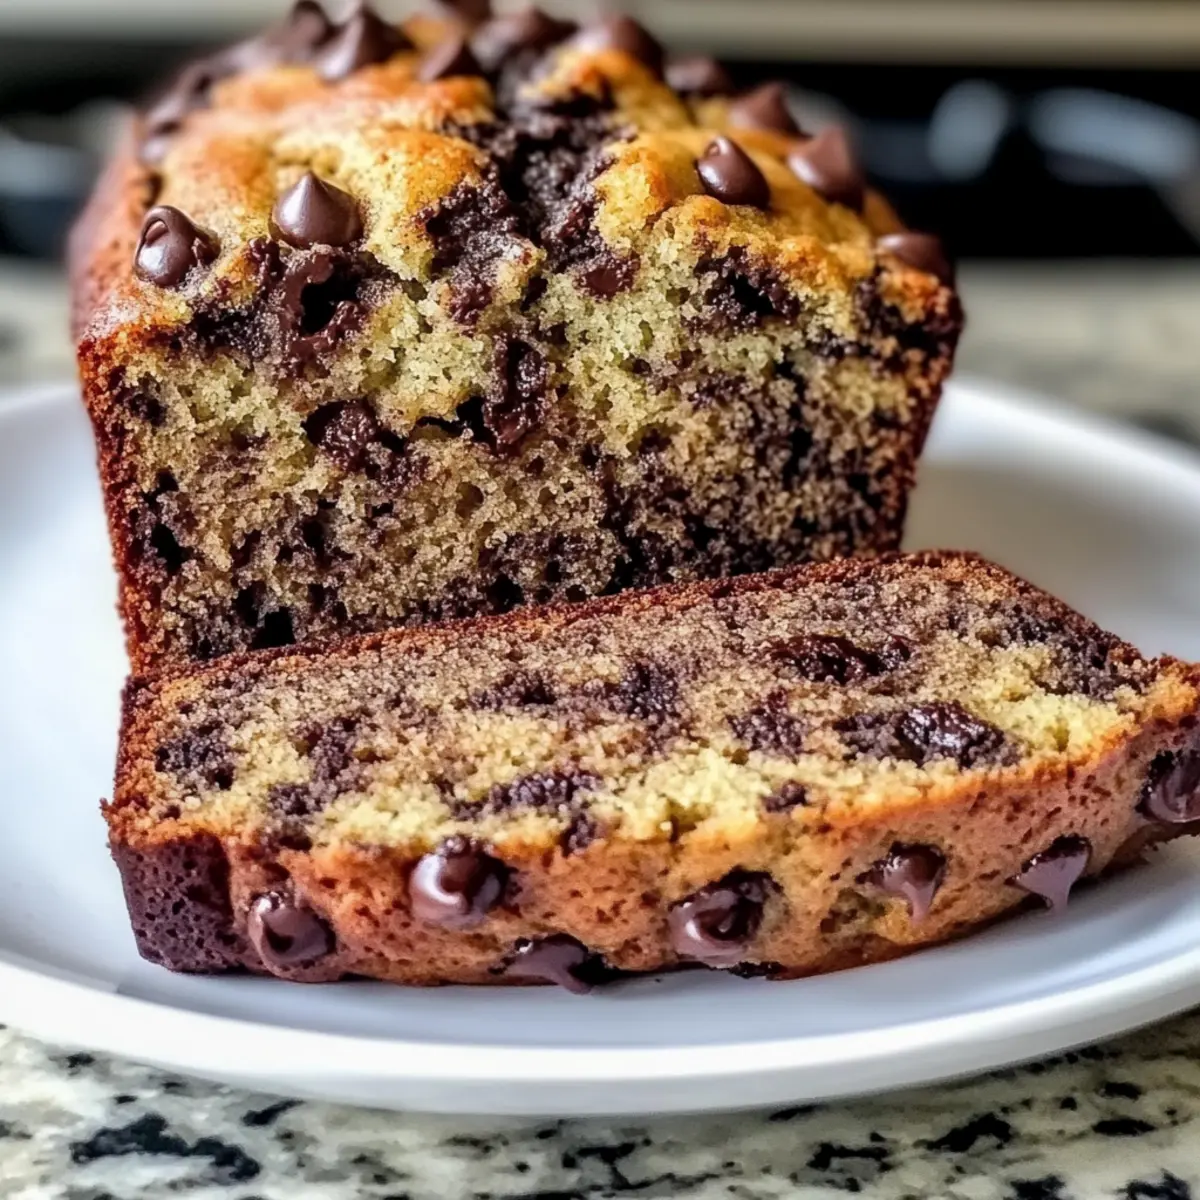
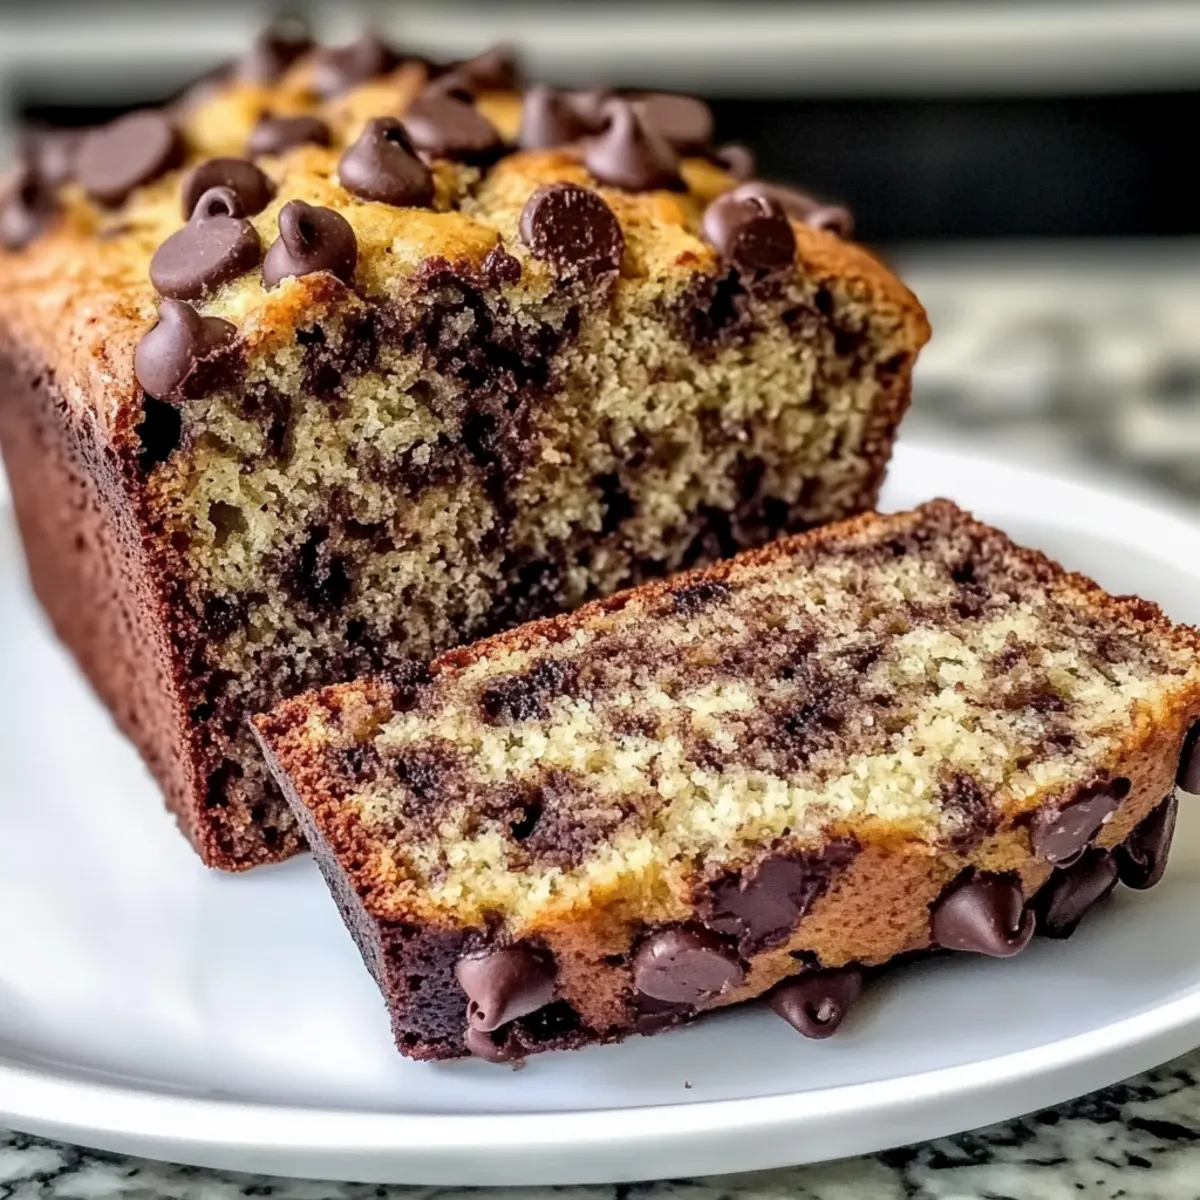
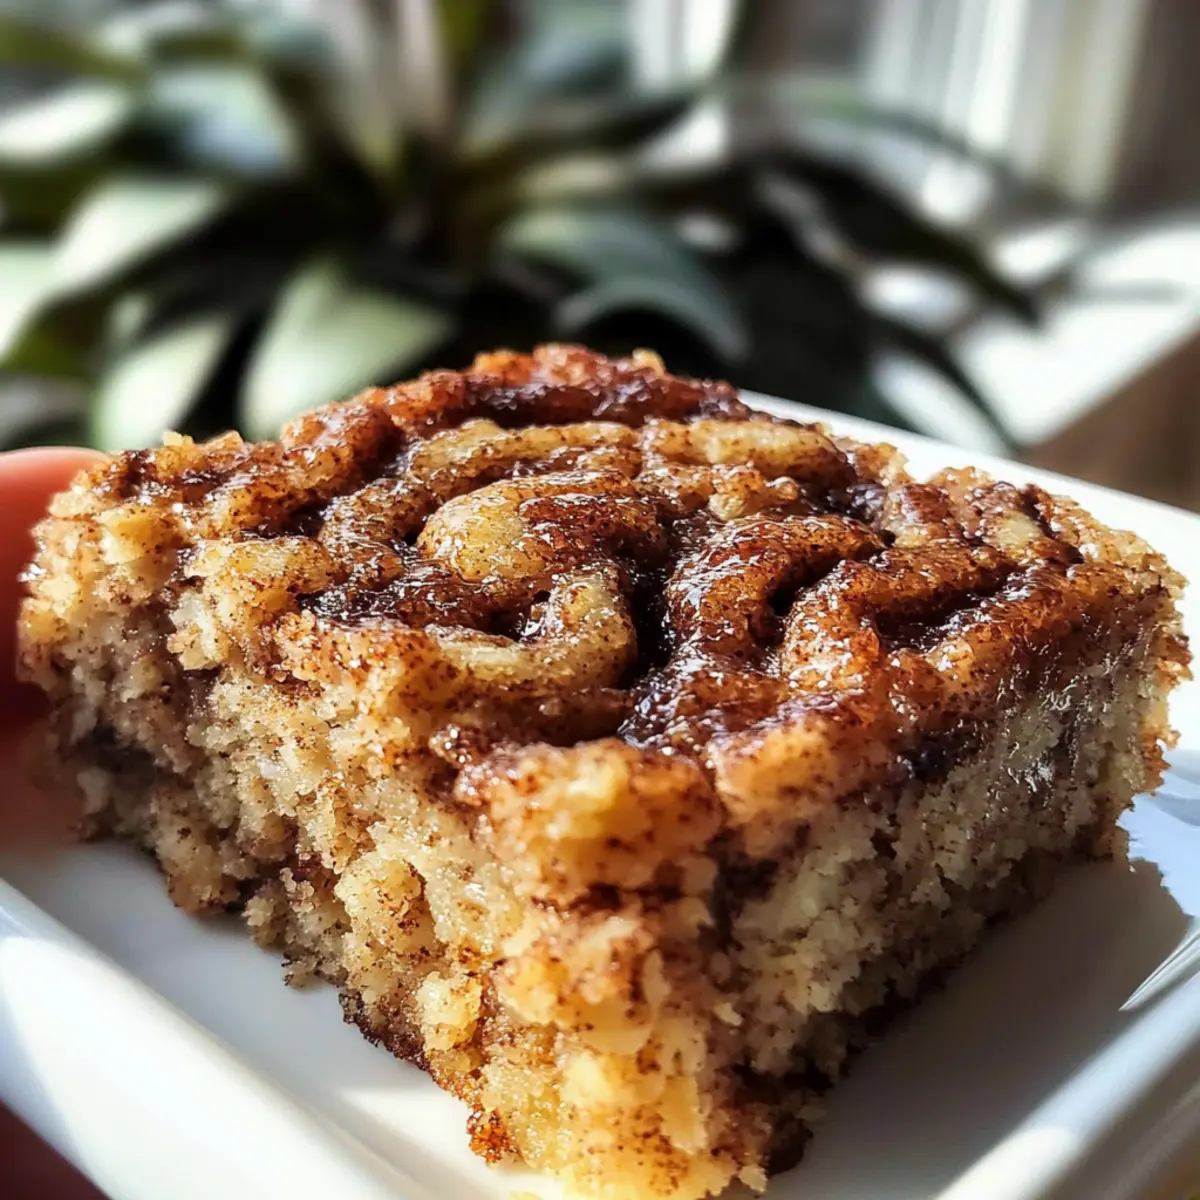
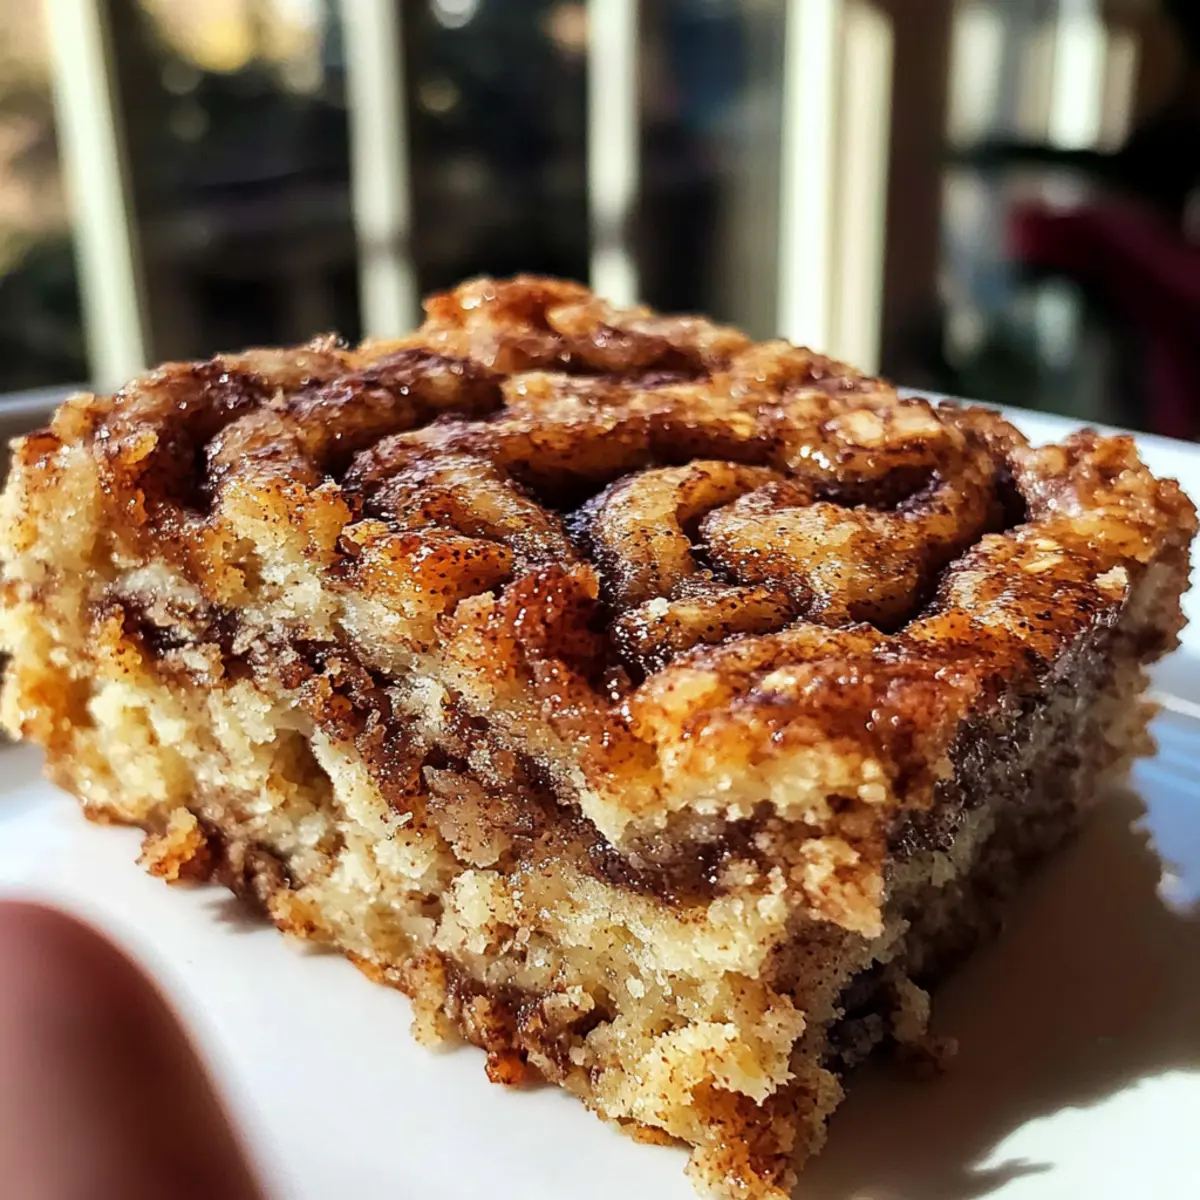
The moment I pulled these Cinnamon Roll Baked Oatmeal Squares from the oven, my kitchen was engulfed in a cozy hug of cinnamon goodness. Mornings can often feel rushed, but these squares transform your breakfast into a leisurely treat, marrying the comforting flavors of traditional cinnamon rolls with the heartiness of oats. Not only are they quick to prepare—perfect for busy schedules—but they also encourage a delightful, stress-free start to the day. Each square is a warm reminder that breakfast can be both indulgent and wholesome. So, are you ready to elevate your morning routine with this easy, vegetarian breakfast delight? Keep scrolling to discover how to create these heavenly squares!
Why Are These Oatmeal Squares a Must-Try?
Quick to Prepare: You’ll love how easy these squares come together, making breakfast a breeze even on hectic mornings.
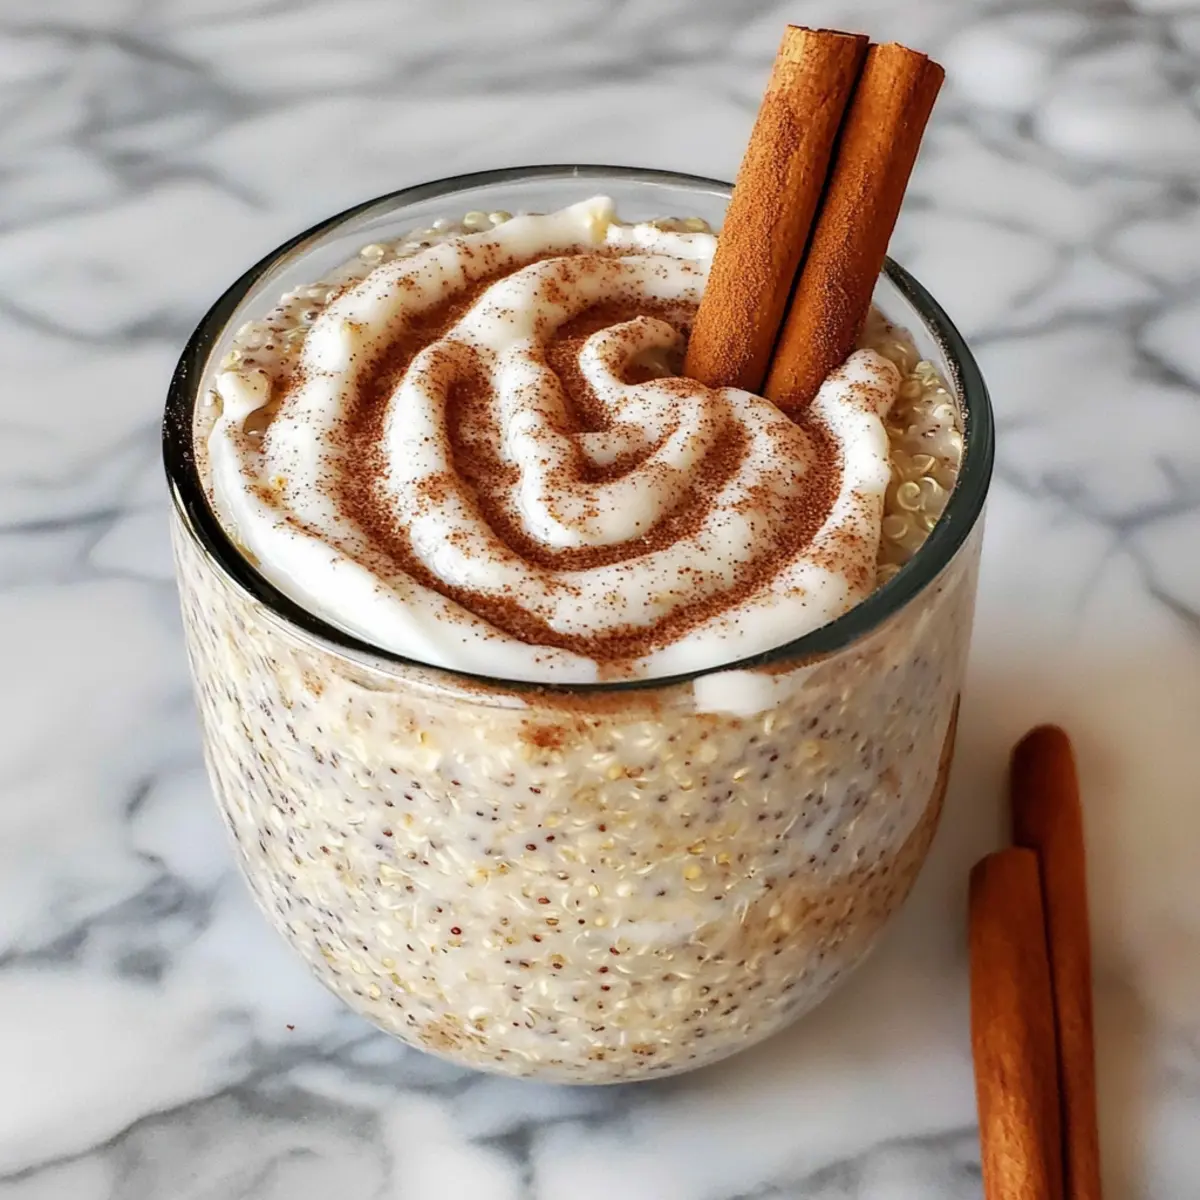
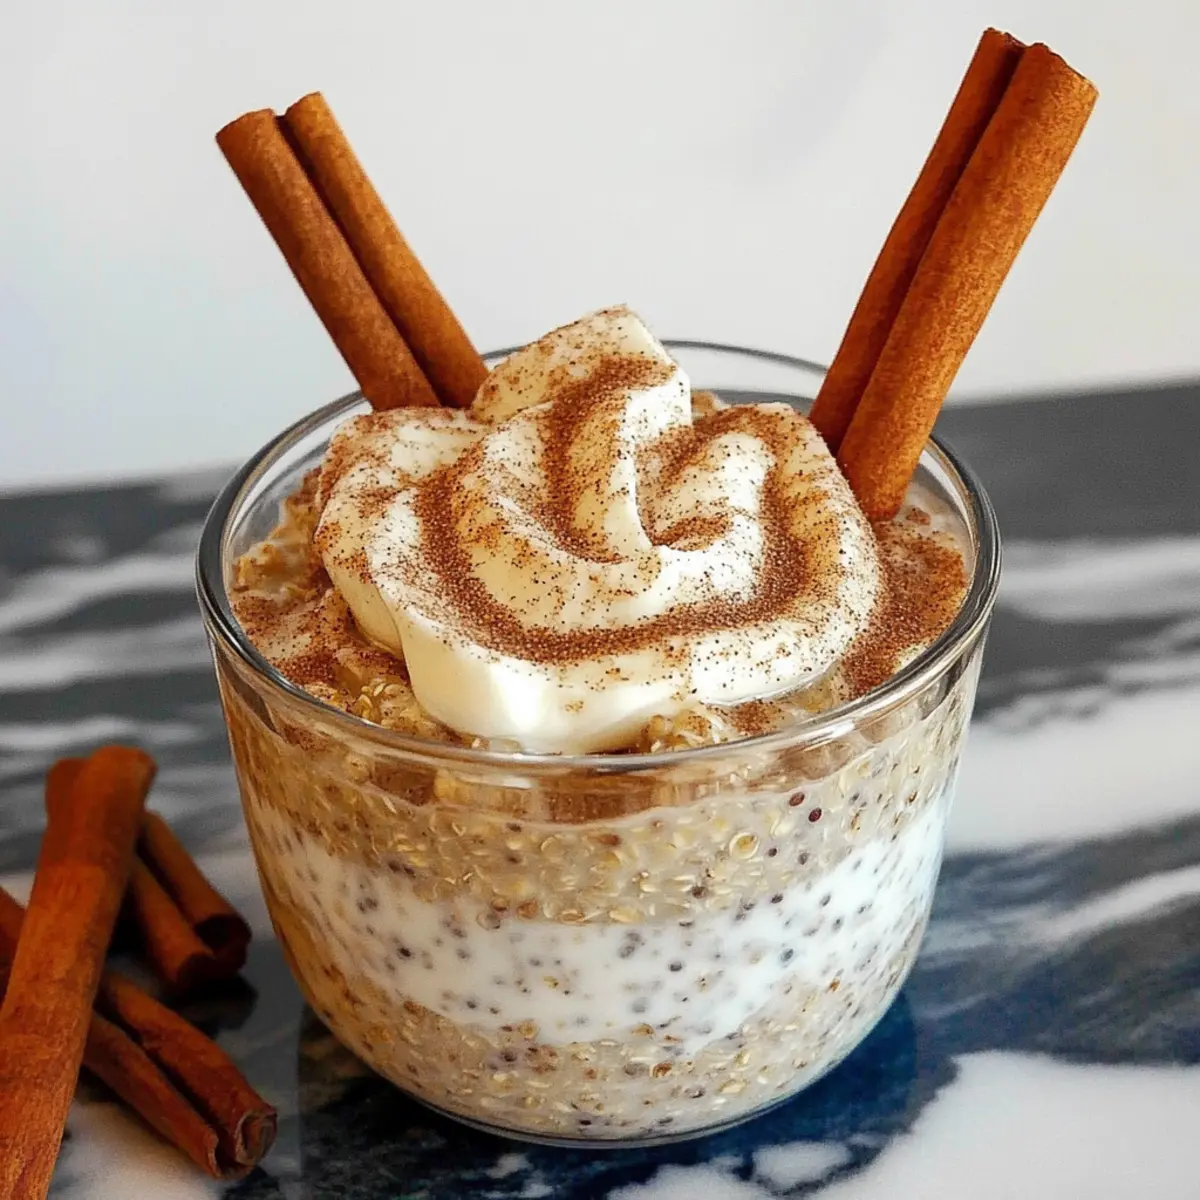
Deliciously Cozy: With the warm aroma of cinnamon and sweet maple, each bite feels like a comforting hug, perfect for starting your day.
Nutritious and Wholesome: Mixing different textures, these squares offer chewy oats with a delightful swirl of sweetness, keeping you full and satisfied without feeling guilty.
Versatile Options: Want a nutty twist or a fruity surprise? Feel free to customize with your favorite additions like nuts or fruits to suit your taste.
Make-Ahead Friendly: Prep them in advance and store for those busy mornings—just grab and go!
With all these reasons to love, you’ll find yourself making this recipe again and again. Check out our other delicious breakfast recipes for more ways to brighten your morning!
Cinnamon Roll Baked Oatmeal Squares Ingredients
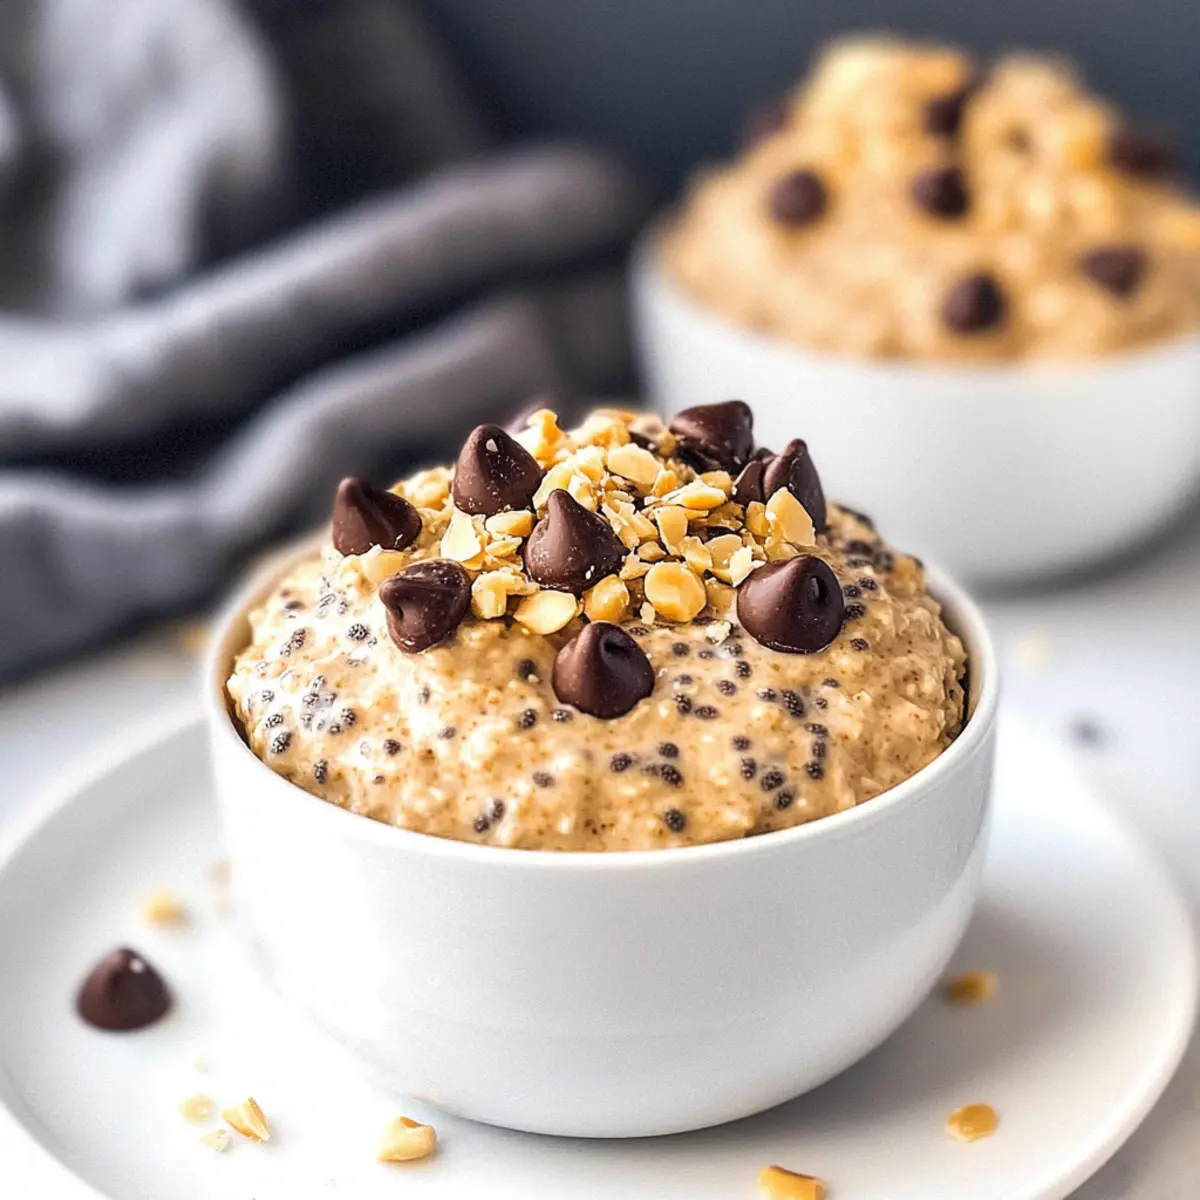
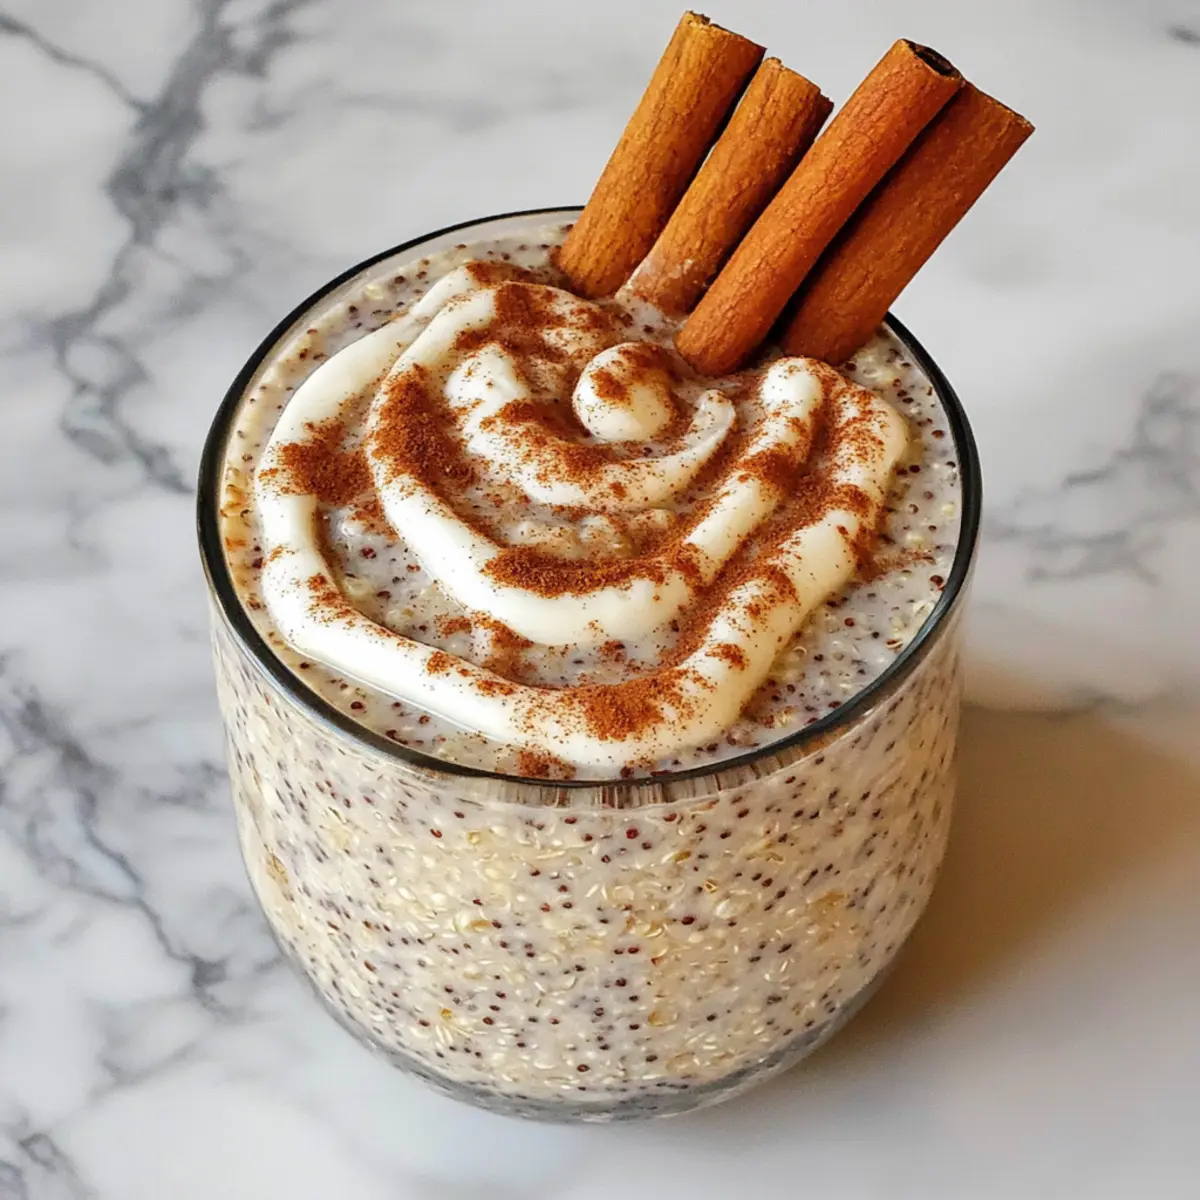
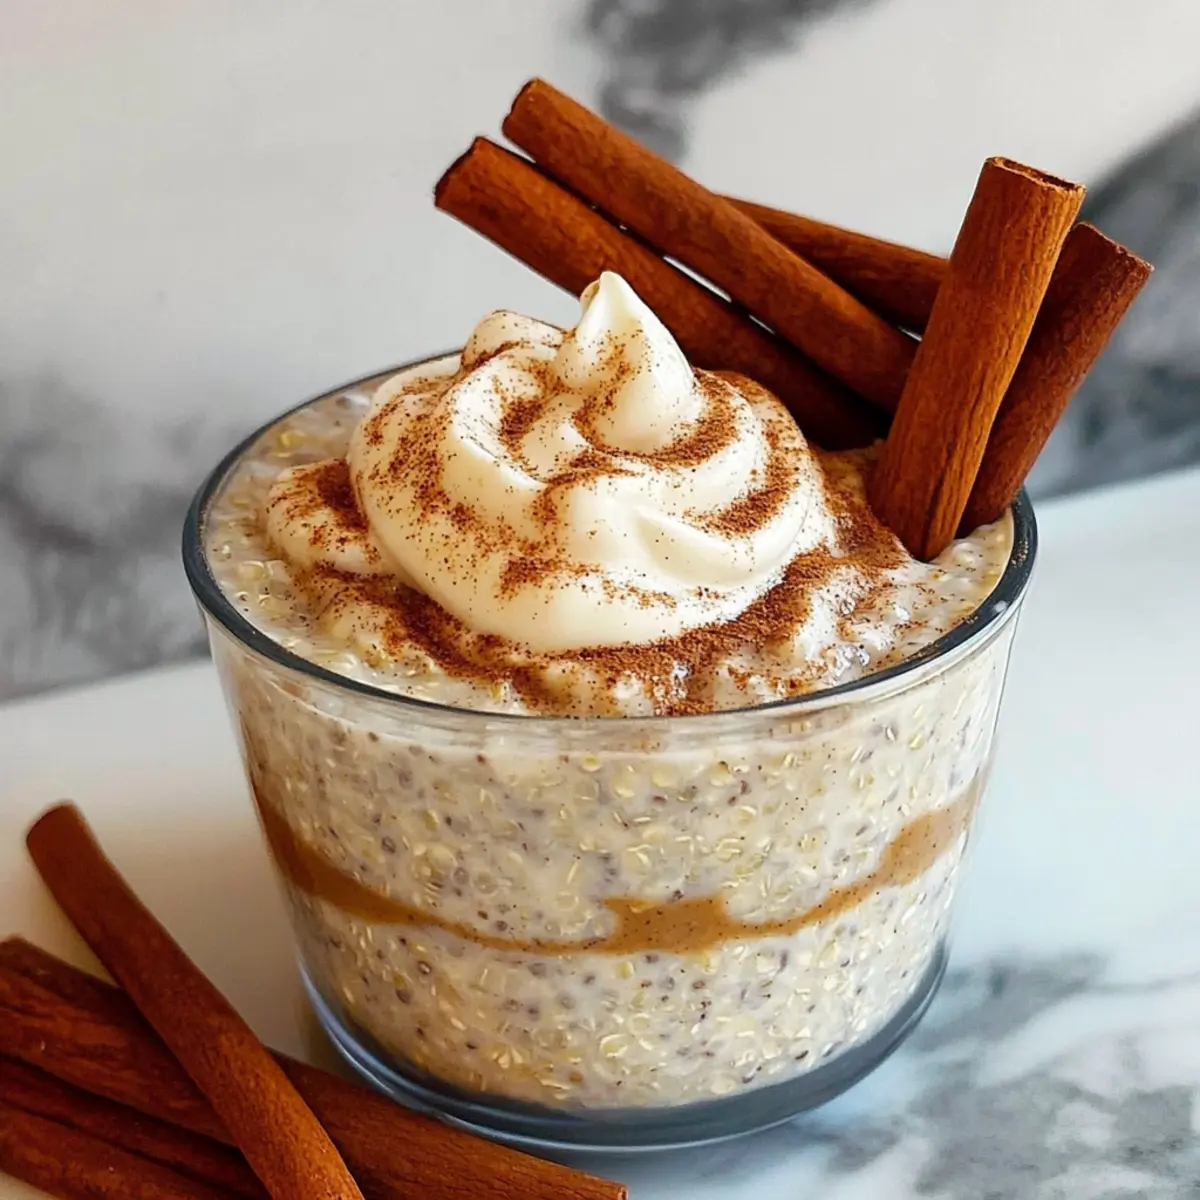
• Perfect for a cozy breakfast treat!
For the Oatmeal Base
- Rolled Oats – A sturdy base that gives these squares their delightful chew; stick with old-fashioned oats for optimal texture.
- Baking Powder – Essential for achieving that light and fluffy consistency; fresh baking powder ensures your squares rise beautifully.
- Ground Cinnamon – The star flavor that evokes warmth and comfort, adjust to your liking for an extra spice kick.
- Salt – A pinch enhances the overall sweetness and balances flavors beautifully.
For the Wet Mixture
- Large Egg – Acts as a binding agent, adding moisture and richness to the squares.
- Milk (Dairy or Non-Dairy) – Provides the creaminess needed; any variety works great, including almond or oat milk for a vegan option.
- Maple Syrup or Honey – A natural sweetener that adds just the right amount of sweetness; maple syrup keeps things vegan-friendly.
- Melted Butter or Coconut Oil – Brings richness and flavor; use coconut oil for a dairy-free twist.
- Vanilla Extract – A splash enhances the aroma, adding a hint of sweetness to the overall flavor.
For the Swirl
- Brown Sugar – Adds that delicious melting sweetness with caramel notes; mix carefully to maintain a delightful crumbly texture.
Your journey into baking these cozy Cinnamon Roll Baked Oatmeal Squares is just a step away! Each ingredient plays a crucial role in creating a breakfast treat that’s both heartwarming and comforting. Don’t forget to gather your items before diving in!
Step-by-Step Instructions for Cinnamon Roll Baked Oatmeal Squares
Step 1: Preheat the Oven
Begin by preheating your oven to 375°F (190°C). This ensures that when your Cinnamon Roll Baked Oatmeal Squares are ready to go in, they bake evenly and achieve that perfect fluffy texture. While the oven heats, take a moment to gather your baking dish—preferably an 8×8 inch pan—and grease it lightly with butter or oil to prevent sticking.
Step 2: Mix Dry Ingredients
In a large mixing bowl, combine 2 cups of rolled oats, 2 teaspoons of baking powder, 1 teaspoon of ground cinnamon, and a pinch of salt. Whisk these dry ingredients together thoroughly so that everything is evenly distributed. You should notice the inviting aroma of cinnamon filling the air—this will be the base for your comforting oatmeal squares.
Step 3: Combine Wet Ingredients
In a separate bowl, whisk together 1 large egg, 2 cups of milk (your choice of dairy or non-dairy), 1/4 cup of maple syrup (or honey), 1/4 cup of melted butter (or coconut oil), and 1 teaspoon of vanilla extract. Mix these wet ingredients until well blended. You’ll be looking for a smooth consistency that combines the rich flavors beautifully, ready to enhance the texture of your oatmeal base.
Step 4: Combine Mixtures
Now, pour the wet ingredients into the bowl with the dry ingredients. Stir gently until just combined—be careful not to over-mix, as this can lead to denser squares. The mixture should be moist but still crumbly, inviting you to savor the warmth and coziness that these Cinnamon Roll Baked Oatmeal Squares will soon bring.
Step 5: Prepare Swirl
In a small bowl, prepare the delightful swirl by mixing together 2 tablespoons of melted butter (or coconut oil), 1/4 cup of brown sugar, and 1 teaspoon of ground cinnamon. Blend these ingredients until they’re well combined and smooth. This luscious mixture will create a sweet ribbon throughout your oatmeal squares, reminiscent of traditional cinnamon rolls.
Step 6: Combine for Baking
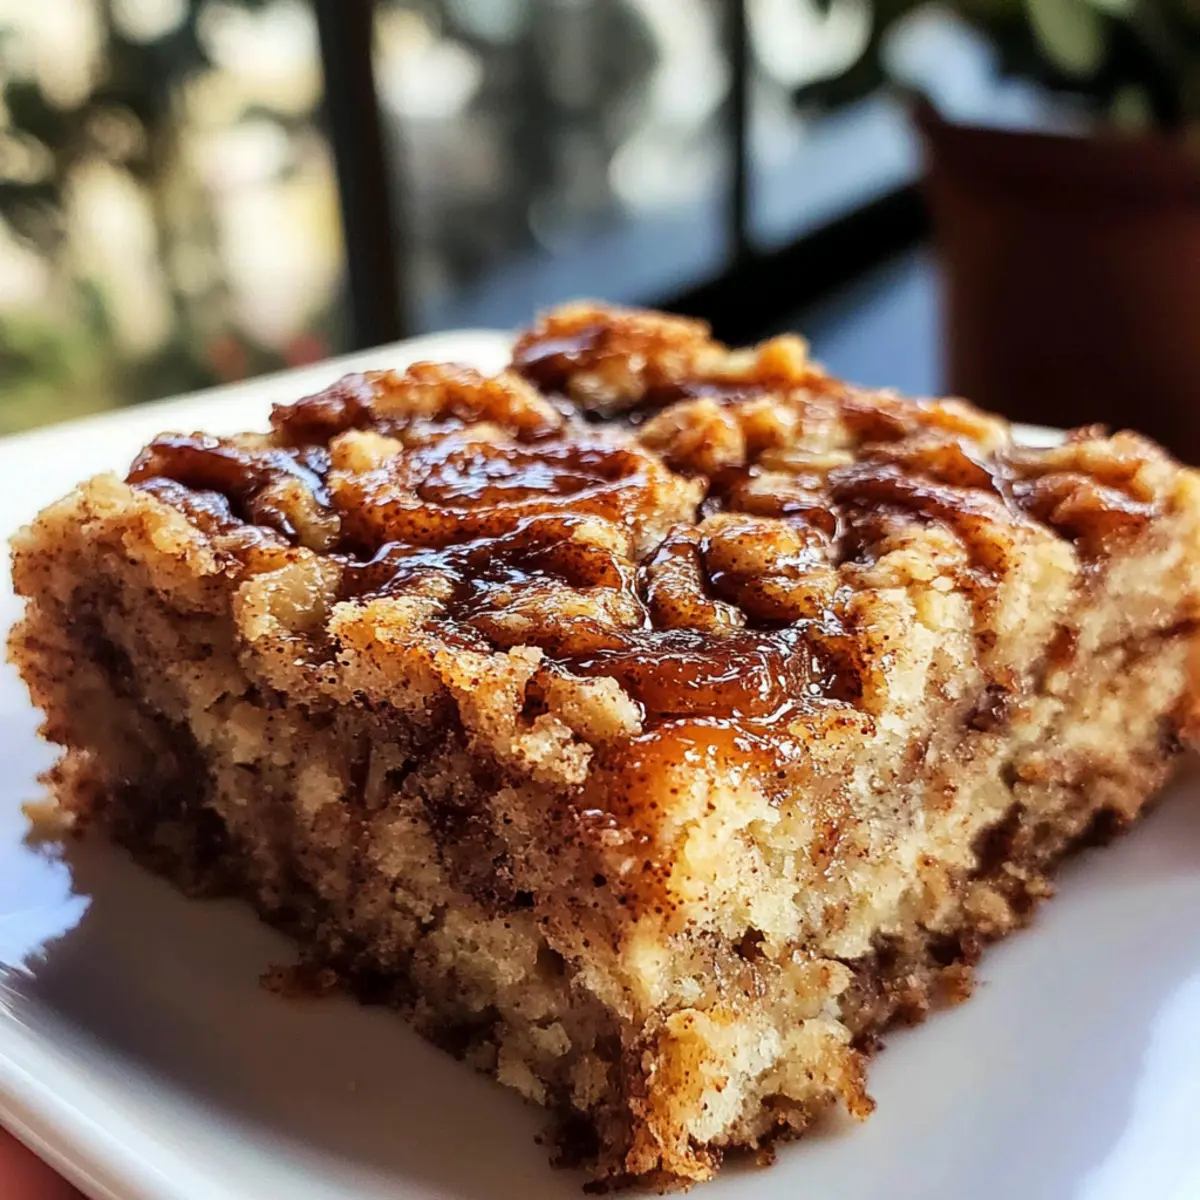
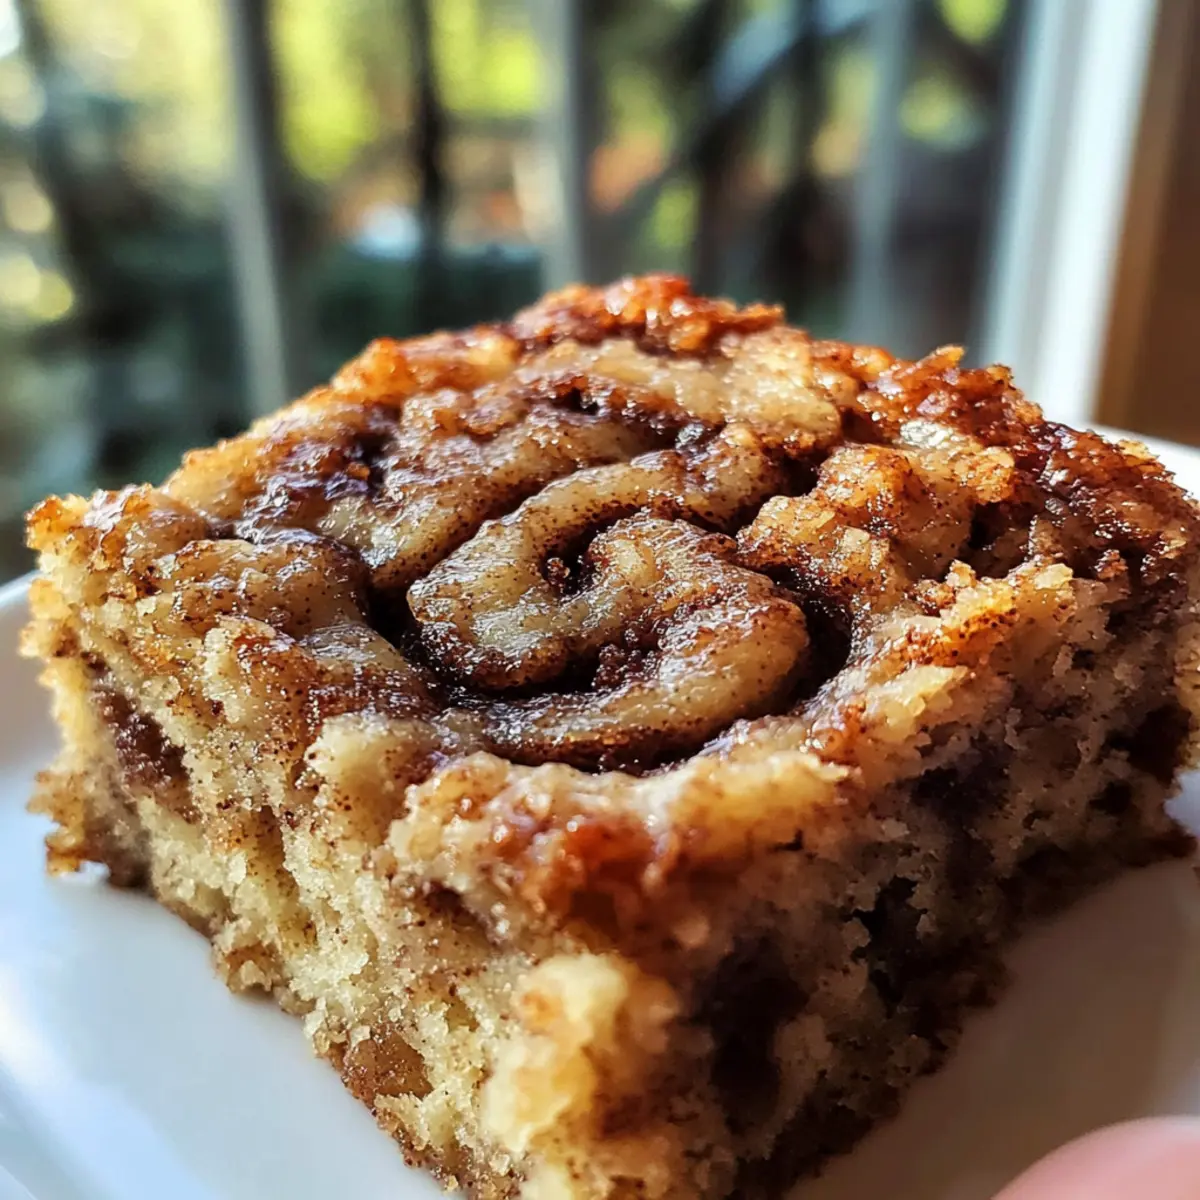
Carefully pour the oatmeal mixture into your greased baking dish, spreading it evenly. Drizzle the brown sugar swirl mixture over the top, then use a toothpick or knife to create a marbled effect. This step not only enhances the flavor but also makes for a visually appealing treat when you serve your Cinnamon Roll Baked Oatmeal Squares.
Step 7: Bake
Slide your baking dish into the preheated oven and let the mixture bake for 25-30 minutes. You’ll know they’re ready when the edges are lightly golden and a toothpick inserted into the center comes out mostly clean. Resist the temptation to open the oven door too soon; let them bake undisturbed for the best results.
Step 8: Cool & Slice
Once baked, remove your Cinnamon Roll Baked Oatmeal Squares from the oven and let them cool in the dish for about 10 minutes. This cooling time allows the squares to set up nicely, making them easier to slice. Afterward, cut them into squares and serve warm, possibly with a drizzle of icing or a dollop of yogurt for an extra cozy breakfast treat.
How to Store and Freeze Cinnamon Roll Baked Oatmeal Squares
Fridge: Store your Cinnamon Roll Baked Oatmeal Squares in an airtight container for up to 5 days. This keeps them fresh and ready for delightful morning indulgence.
Freezer: For longer storage, wrap the squares tightly in plastic wrap and then aluminum foil, or place them in a freezer-safe bag. They can be frozen for up to 3 months without losing their yummy texture.
Reheating: To enjoy, simply reheat them in the microwave for 30-60 seconds, or warm them in the oven at 350°F (175°C) for about 10-15 minutes, enjoying that fresh-out-of-the-oven goodness again.
Make Ahead Options
These Cinnamon Roll Baked Oatmeal Squares are perfect for busy mornings and meal prep! You can prepare the oatmeal mixture and the swirl up to 24 hours in advance. Simply combine the dry ingredients and the wet ingredients separately, then refrigerate them in airtight containers until you’re ready to bake. To maintain their quality, don’t forget to grease your baking dish properly. When you’re ready to enjoy, combine the mixtures, drizzle the swirl on top, and bake for 25-30 minutes until golden. This way, you’ll have a delightful, comforting breakfast ready with minimal effort on hectic mornings!
Cinnamon Roll Baked Oatmeal Squares Variations
Feel free to mix things up and tailor these cozy squares to your liking—they’re just waiting for your creative touch!
-
Nutty Twist: Add chopped nuts like walnuts or pecans for added crunch and healthy fats. The nutty flavor complements the sweet cinnamon beautifully.
-
Fruit Addition: Incorporate raisins or diced apples into the oat mixture for a burst of fruity flavor. This brings in extra moisture and natural sweetness every bite.
-
Dairy-Free: Use coconut milk and coconut oil instead of regular milk and butter to make these squares completely dairy-free without sacrificing flavor. You’ll still enjoy that creamy texture.
-
Spiced Variations: Mix in a teaspoon of nutmeg or pumpkin spice for an autumn-inspired taste. This adds a fascinating depth to the cinnamon, introducing another layer of warmth.
-
Chocolate Chips: Sprinkle mini chocolate chips into the batter for an indulgent twist. The melted chocolate creates a decadent surprise, making mornings feel extra special!
-
Maple Pecan: Swap out some of the brown sugar with crushed pecans mixed in with the swirl. This will introduce a delightful crunchy texture and enhance the maple flavor.
-
Savory Option: Consider incorporating shredded zucchini or carrots for a unique savory twist. The added vegetables bring moisture without affecting the taste, keeping the squares nutritious.
-
Added Heat: If you like a touch of spice, toss in a pinch of cayenne or a dash of chili powder. This unexpected kick can create a fun contrast to the sweet cinnamon.
Feel inspired? You can definitely check out our delightful take on other morning favorites, including our scrumptious breakfast burritos or zesty fruit smoothies!
What to Serve with Cinnamon Roll Baked Oatmeal Squares?
Indulging in these cozy squares can be even better when paired with the perfect accompaniments to create a full breakfast experience.
-
Fresh Fruit Salad: Bright and vibrant, a medley of seasonal fruits adds freshness to your meal, balancing the sweetness of the oatmeal squares.
-
Greek Yogurt: Creamy and tangy, a dollop of Greek yogurt complements the cinnamon flavors while offering a nurturing protein boost, making every bite a rich experience.
-
Maple Syrup Drizzle: Enhance the flavors with a light drizzle of pure maple syrup, adding a touch of sweetness that echoes the oatmeal’s warm spices and keeps the cozy vibe flowing.
-
Coffee or Tea: The warm sips of your favorite brew, whether a robust coffee or a delicate tea, provide the perfect pairing, enhancing the comforting nature of your morning routine.
-
Scrambled Eggs: Fluffy, lightly seasoned scrambled eggs add protein and richness, contrasting the sweet oats and ensuring you’re well-fueled for the day ahead.
-
Nut Butter Spread: A smear of almond or peanut butter offers creamy texture and an extra layer of flavor, creating a delightful balance of sweetness and nuttiness alongside your squares.
-
Cinnamon Roll Icing: A drizzle of simple icing made from powdered sugar and milk elevates the experience, turning your breakfast into a delightful indulgence that echoes classic cinnamon rolls.
Expert Tips for Cinnamon Roll Baked Oatmeal Squares
-
Use Old-Fashioned Oats: Old-fashioned rolled oats provide the best texture; avoid instant oats which can lead to mushy squares.
-
Fresh Baking Powder: Ensure your baking powder is fresh to promote proper rising; an expired powder can result in dense squares.
-
Don’t Overmix: Gently combine the wet and dry ingredients just until mixed; overmixing can create tough, chewy squares instead of fluffy ones.
-
Check for Doneness: Insert a toothpick into the center; it should emerge mostly clean. This helps you avoid undercooking or drying out your oatmeal squares.
-
Cool Before Slicing: Allow the squares to cool for 10 minutes after baking; this helps them set and makes slicing easier. Enjoy your delicious cinnamon roll baked oatmeal squares!
Cinnamon Roll Baked Oatmeal Squares Recipe FAQs
What type of oats should I use for the best results?
Absolutely! Always opt for old-fashioned rolled oats when making Cinnamon Roll Baked Oatmeal Squares. They provide the perfect chewy texture; instant oats will lead to mushy squares, while steel-cut oats won’t cook through adequately.
How should I store the oatmeal squares once they’re made?
To keep your Cinnamon Roll Baked Oatmeal Squares fresh, store them in an airtight container in the refrigerator for up to 5 days. This keeps them delicious and ready for busy mornings!
Can I freeze the oatmeal squares for later?
Very! To freeze your squares, wrap each one tightly in plastic wrap, then place them in a freezer-safe bag or container. They’ll last up to 3 months in the freezer. When you’re ready to enjoy, simply reheat in the microwave for 30-60 seconds or warm in the oven at 350°F (175°C) for about 10-15 minutes.
What if I want to customize the flavors?
Don’t hesitate to get creative! You could incorporate chopped nuts like walnuts or pecans for added texture, or mix in diced apples or raisins for a fruity surprise. The more the merrier when it comes to personalizing your breakfast squares!
Are there any dietary considerations I should keep in mind?
Definitely consider dietary needs! You can easily make these squares dairy-free by using coconut milk and coconut oil instead of regular milk and butter. Additionally, using maple syrup instead of honey makes this recipe completely vegan-friendly.
Can I make these oatmeal squares ahead of time?
Yes! These squares are perfect for batch cooking. You can prepare them the night before and simply reheat them in the morning for a cozy, hassle-free breakfast. Enjoy the comforts of a warm, homemade breakfast without the morning rush!
Cinnamon Roll Baked Oatmeal Squares for Cozy Mornings
Ingredients
Equipment
Method
- Preheat your oven to 375°F (190°C) and grease your 8x8 inch pan.
- In a large bowl, mix together rolled oats, baking powder, ground cinnamon, and salt.
- In a separate bowl, combine egg, milk, maple syrup, melted butter, and vanilla extract and mix well.
- Pour the wet ingredients into the dry ingredients and stir until just combined.
- Mix melted butter, brown sugar, and ground cinnamon for the swirl.
- Pour oatmeal mixture into the greased dish, drizzle swirl mixture on top, and create a marbled effect.
- Bake for 25-30 minutes until edges are golden and a toothpick comes out mostly clean.
- Cool for about 10 minutes, slice into squares, and serve warm.