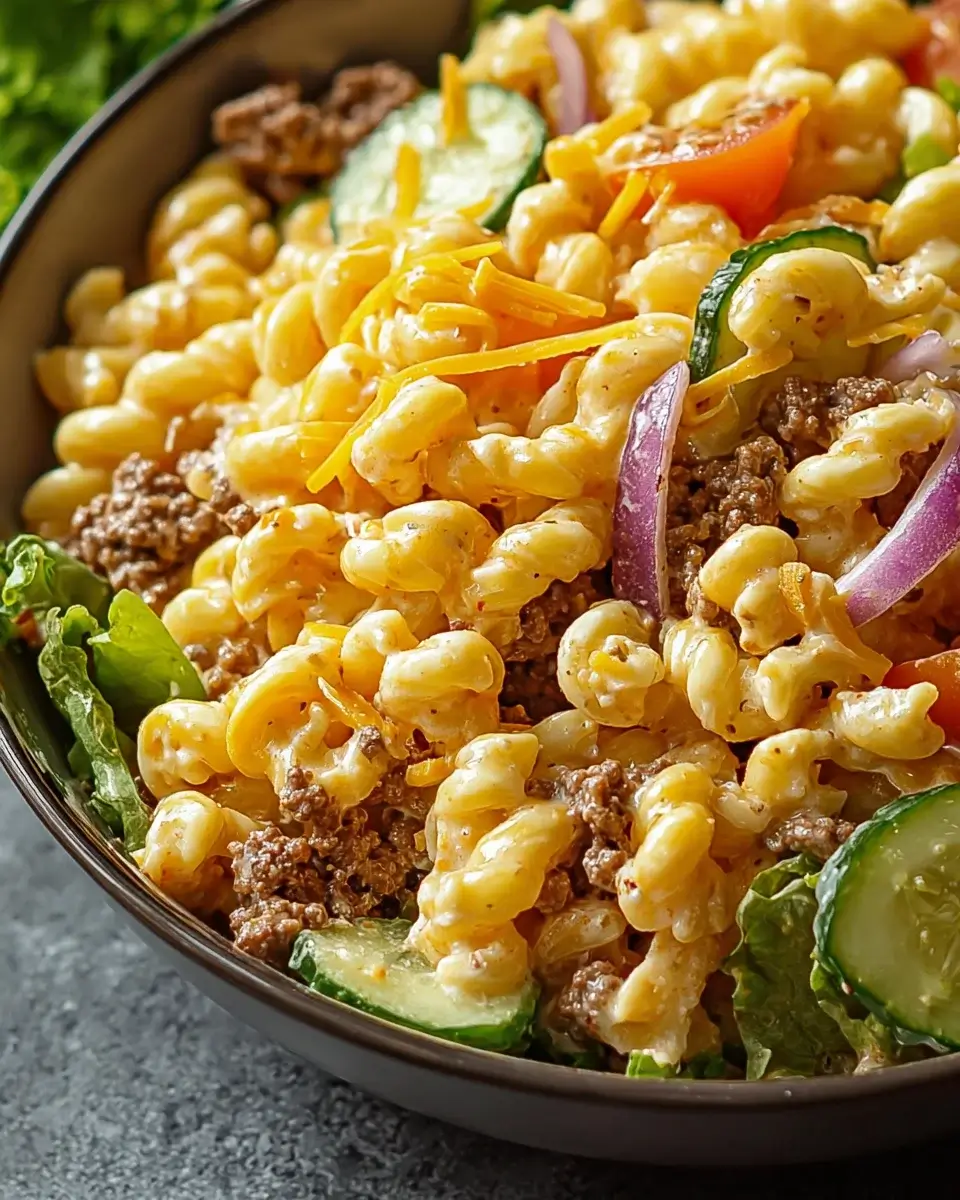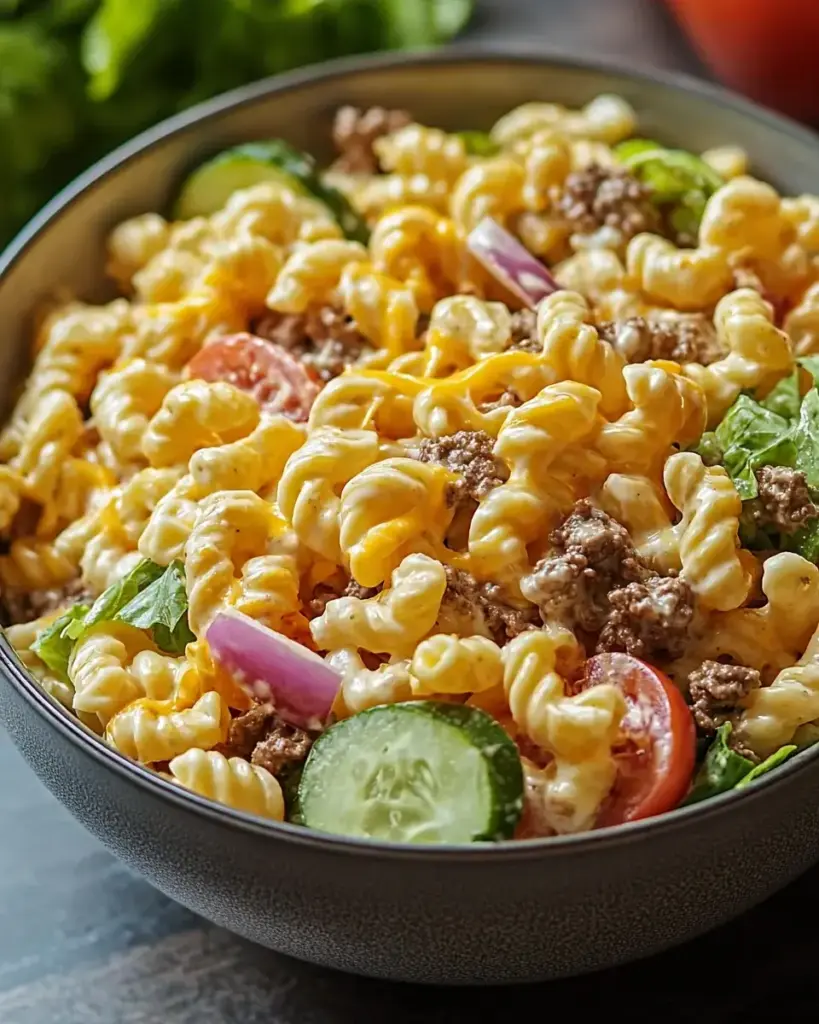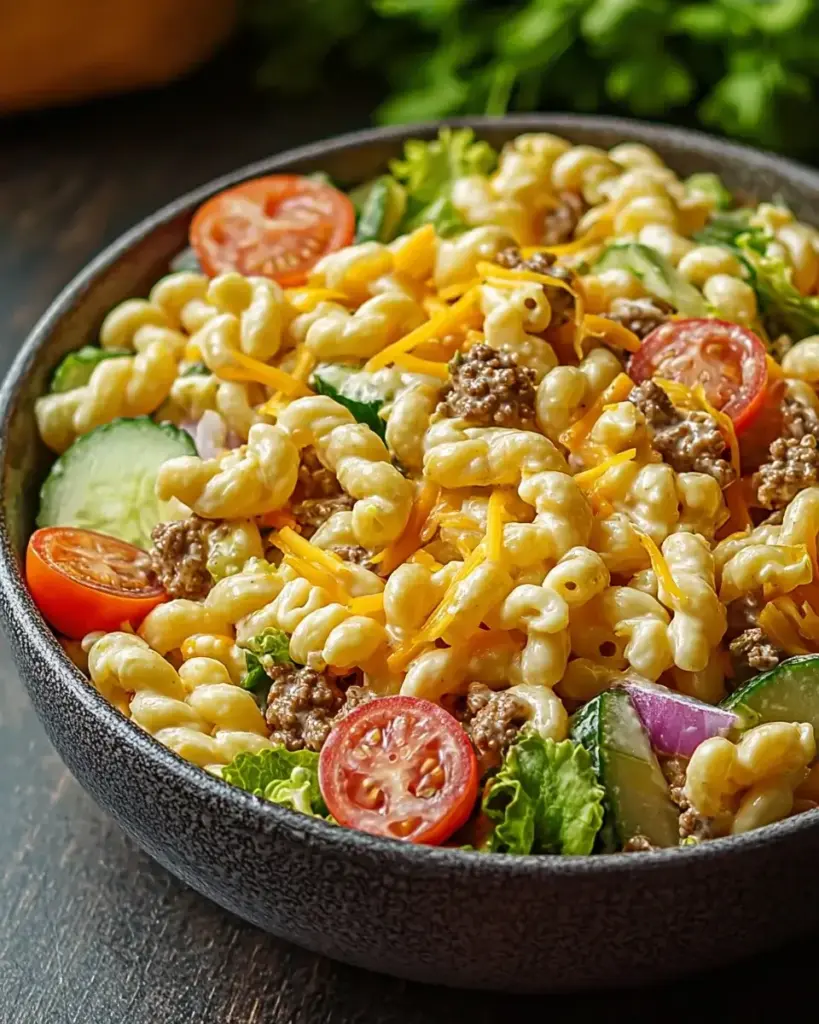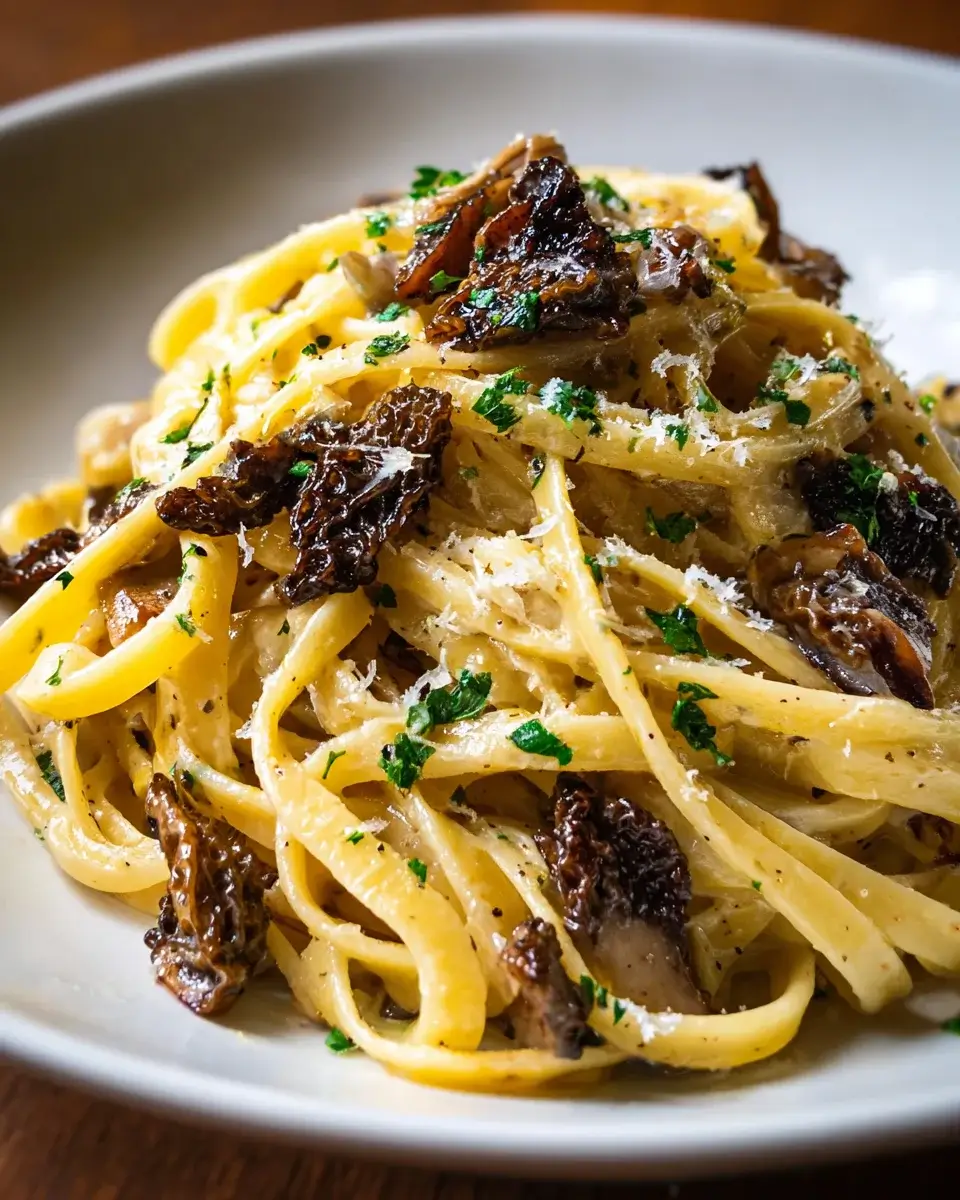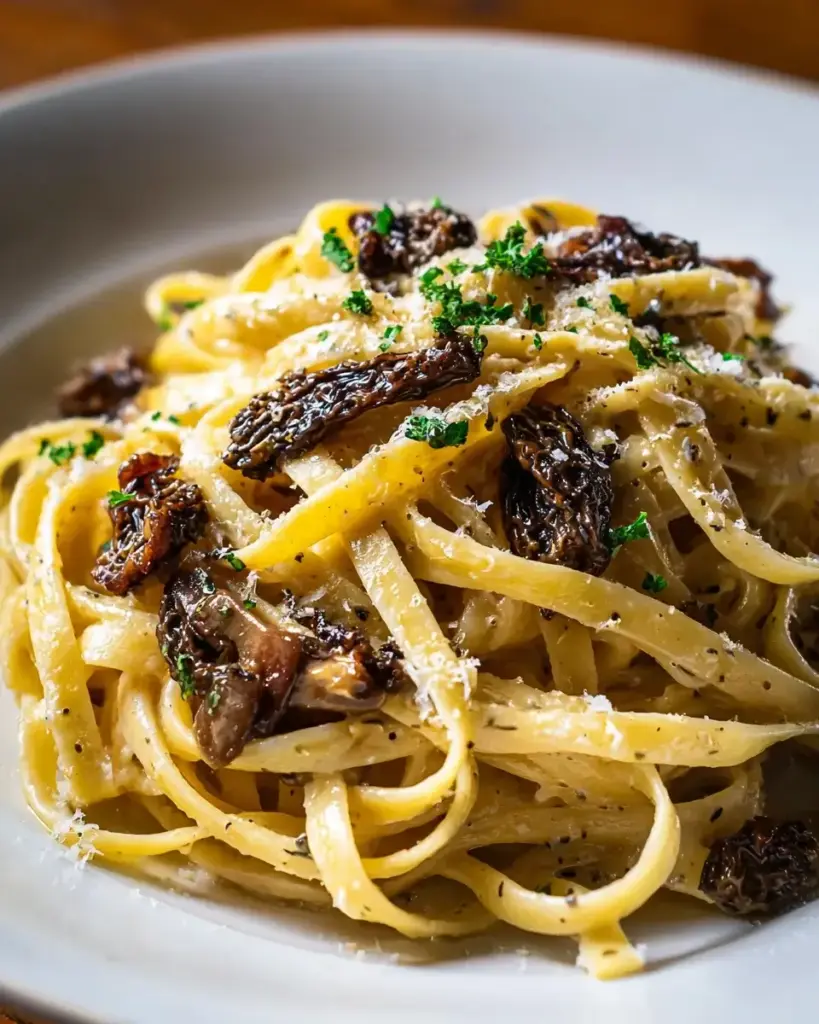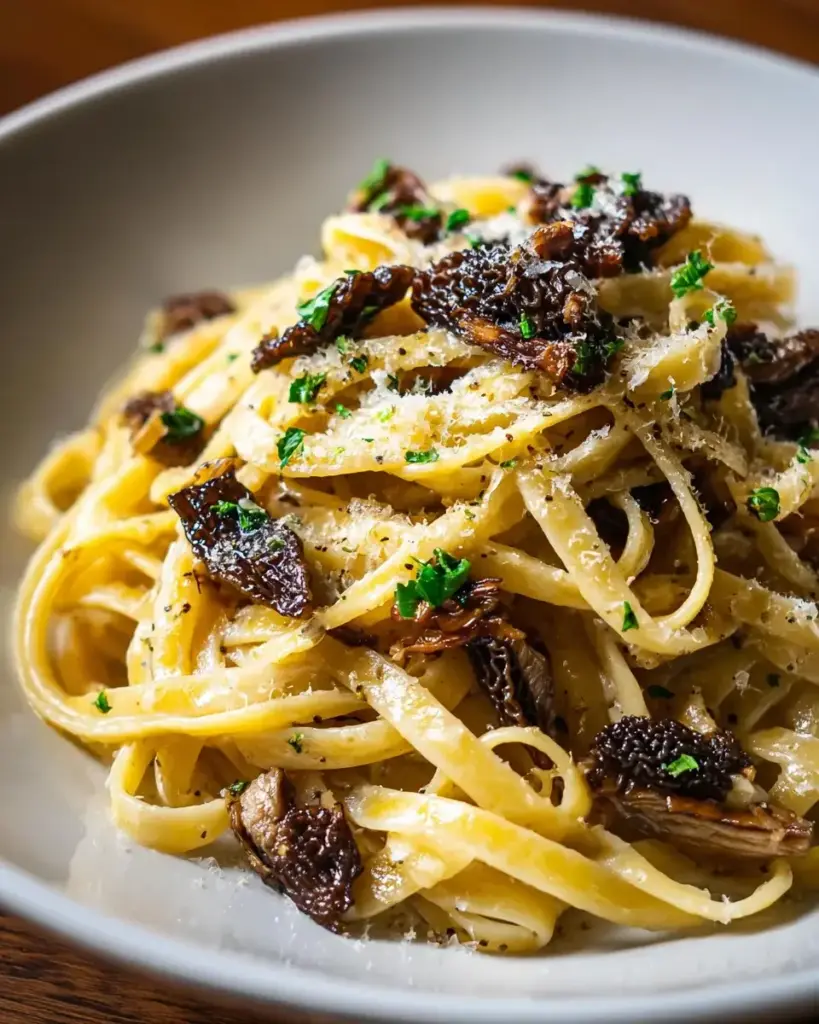
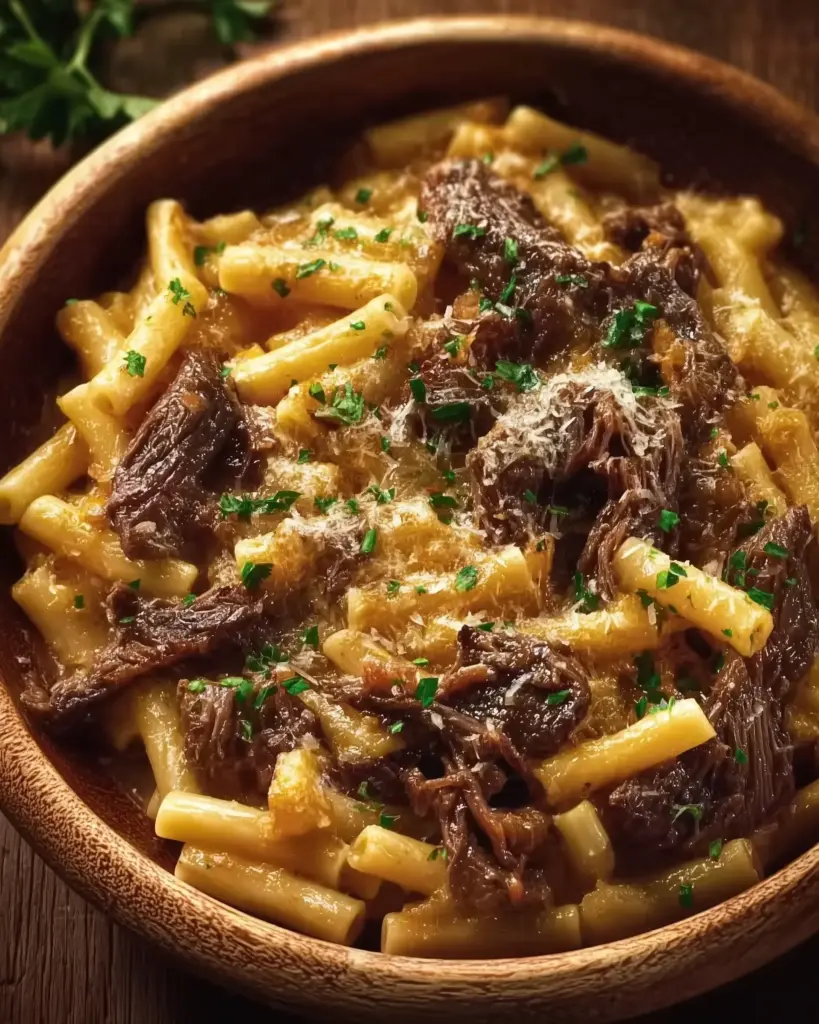
Introduction to Creamy Garlic Beef Pasta
When I think of comfort food, Creamy Garlic Beef Pasta always comes to mind.
This dish is like a warm hug on a plate, perfect for those busy weeknights when you want something delicious without spending hours in the kitchen.
With its rich, creamy sauce and savory ground beef, it’s a meal that can impress your loved ones or simply satisfy your own cravings.
In just 30 minutes, you can whip up a delightful dinner that feels indulgent yet is surprisingly easy to make.
Let’s dive into this culinary adventure together!
Why You’ll Love This Creamy Garlic Beef Pasta
This Creamy Garlic Beef Pasta is a game-changer for your dinner routine.
It’s quick to prepare, taking just 30 minutes from start to finish, making it perfect for those hectic evenings.
The combination of rich flavors and creamy texture will have your taste buds dancing.
Plus, it’s a one-pan wonder, which means less cleanup and more time to enjoy your meal.
What’s not to love?
Ingredients for Creamy Garlic Beef Pasta
Gathering the right ingredients is the first step to creating this delightful dish.
Here’s what you’ll need for your Creamy Garlic Beef Pasta:
- Fettuccine pasta: This wide noodle holds the creamy sauce beautifully, making every bite satisfying.
- Ground beef: The star of the show! It adds a hearty flavor and protein to the dish.
- Olive oil: A splash of this liquid gold helps brown the beef and adds richness.
- Garlic: Freshly minced garlic brings a punch of flavor that elevates the entire dish.
- Italian seasoning: A blend of herbs that adds depth and warmth to the sauce.
- Red pepper flakes (optional): For those who like a little heat, these flakes can spice things up.
- Heavy cream: This is what makes the sauce luxuriously creamy and indulgent.
- Parmesan cheese: Grated cheese adds a salty, nutty flavor that complements the cream.
- Salt and pepper: Essential for seasoning, these staples enhance all the flavors.
- Fresh parsley: A sprinkle of this vibrant herb adds a pop of color and freshness as a garnish.
Feel free to get creative!
You can swap ground beef for ground turkey or chicken for a lighter option.
If you want to sneak in some veggies, consider adding spinach, mushrooms, or bell peppers to the skillet.
For exact measurements, check the bottom of the article where you can find everything you need for printing.
How to Make Creamy Garlic Beef Pasta
Creating this Creamy Garlic Beef Pasta is a straightforward process that will have your kitchen smelling divine.
Let’s break it down step by step, ensuring you have all the tips you need for a perfect dish.
Step 1: Cook the Fettuccine Pasta
Start by bringing a large pot of salted water to a rolling boil.
Salting the water is crucial; it enhances the pasta’s flavor.
Once boiling, add the fettuccine and cook according to the package instructions until al dente.
This usually takes about 8-10 minutes.
Don’t forget to reserve about half a cup of that starchy pasta water before draining!
This water can help adjust the sauce later.
Step 2: Brown the Ground Beef
In a large skillet, heat the olive oil over medium heat.
Add the ground beef, breaking it up with a wooden spoon as it cooks.
You want it browned and crumbly, which should take about 5-7 minutes.
If there’s excess fat, carefully drain it off to keep the dish from becoming greasy.
This step is essential for a flavorful base.
Step 3: Add Garlic and Seasonings
Once the beef is browned, it’s time to add the minced garlic and Italian seasoning.
Stir them in and let them cook for about 1-2 minutes.
This short cooking time allows the garlic to release its aromatic oils without burning.
If you’re feeling adventurous, toss in those red pepper flakes for a kick!
Step 4: Create the Creamy Sauce
Reduce the heat to low and pour in the heavy cream.
Stir it gently to combine with the beef and garlic mixture.
Next, add the grated Parmesan cheese, mixing until it melts into a creamy sauce.
If the sauce feels too thick, don’t hesitate to add a splash of the reserved pasta water.
You want a silky consistency that clings to the pasta.
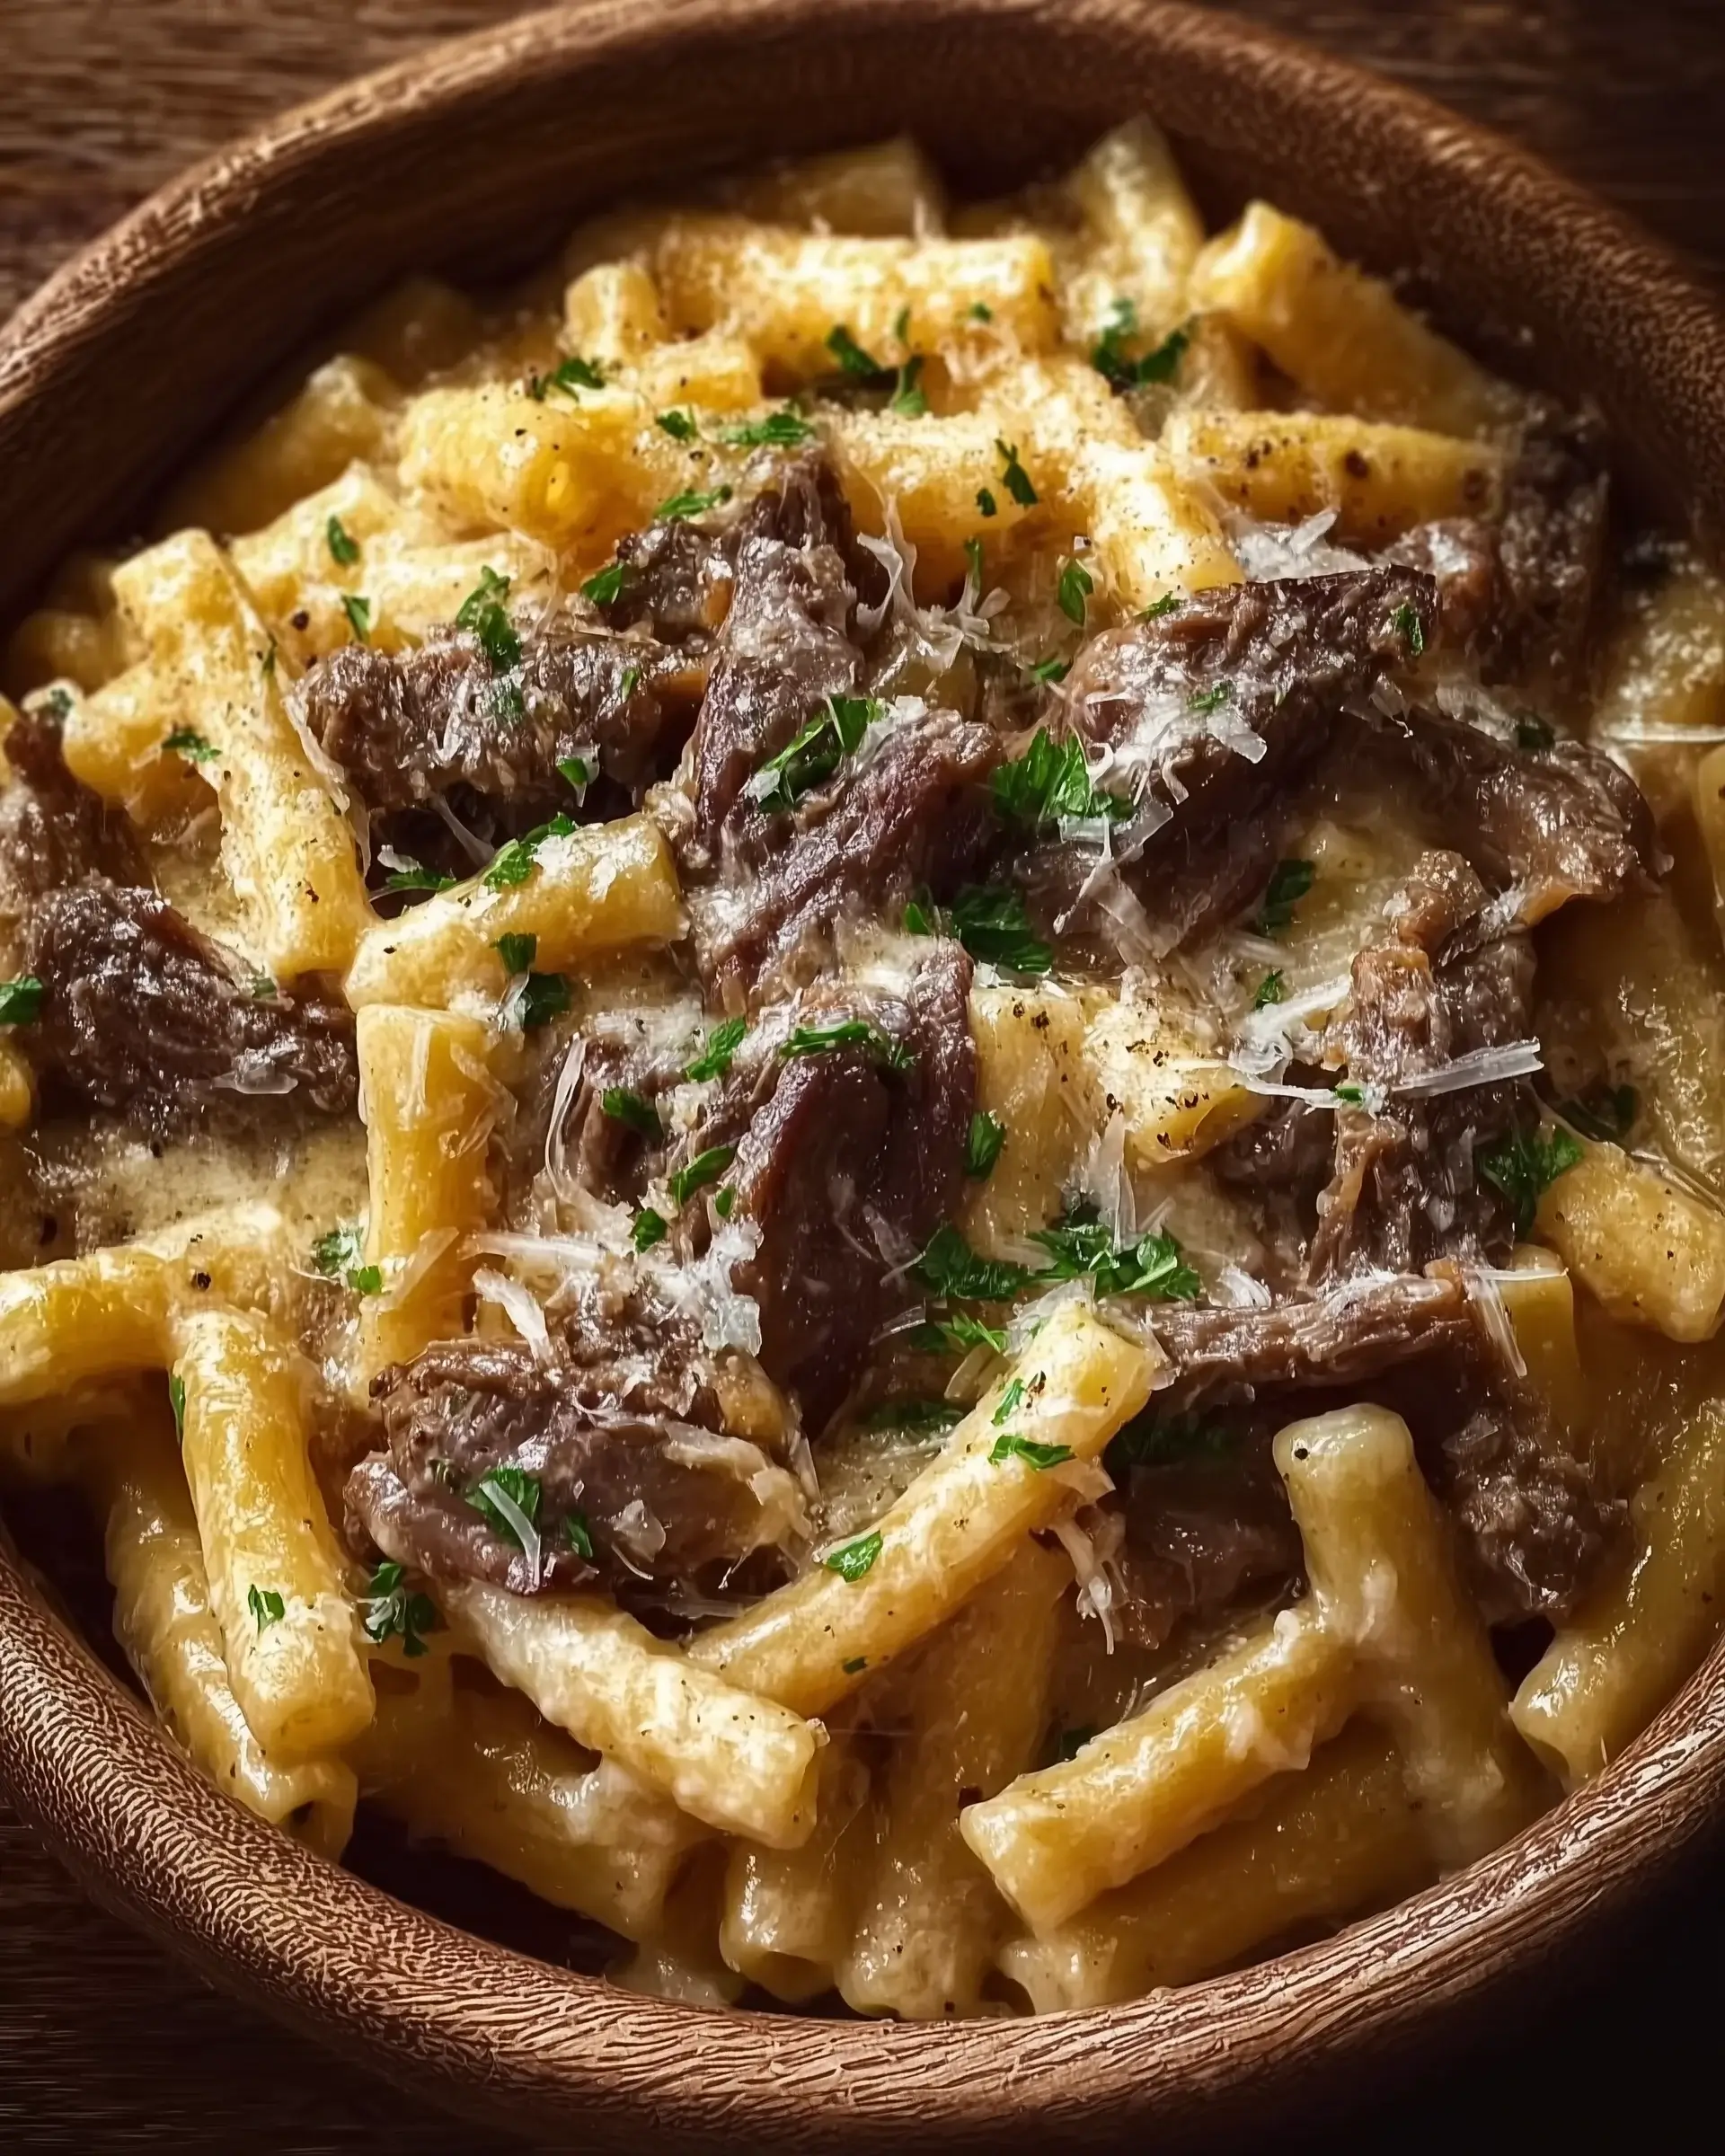
Step 5: Combine Pasta and Sauce
Now, it’s time to bring it all together!
Add the cooked fettuccine to the skillet, tossing it in the creamy sauce.
Make sure every strand is coated beautifully.
If it seems dry, add a bit more of that reserved pasta water until you reach your desired creaminess.
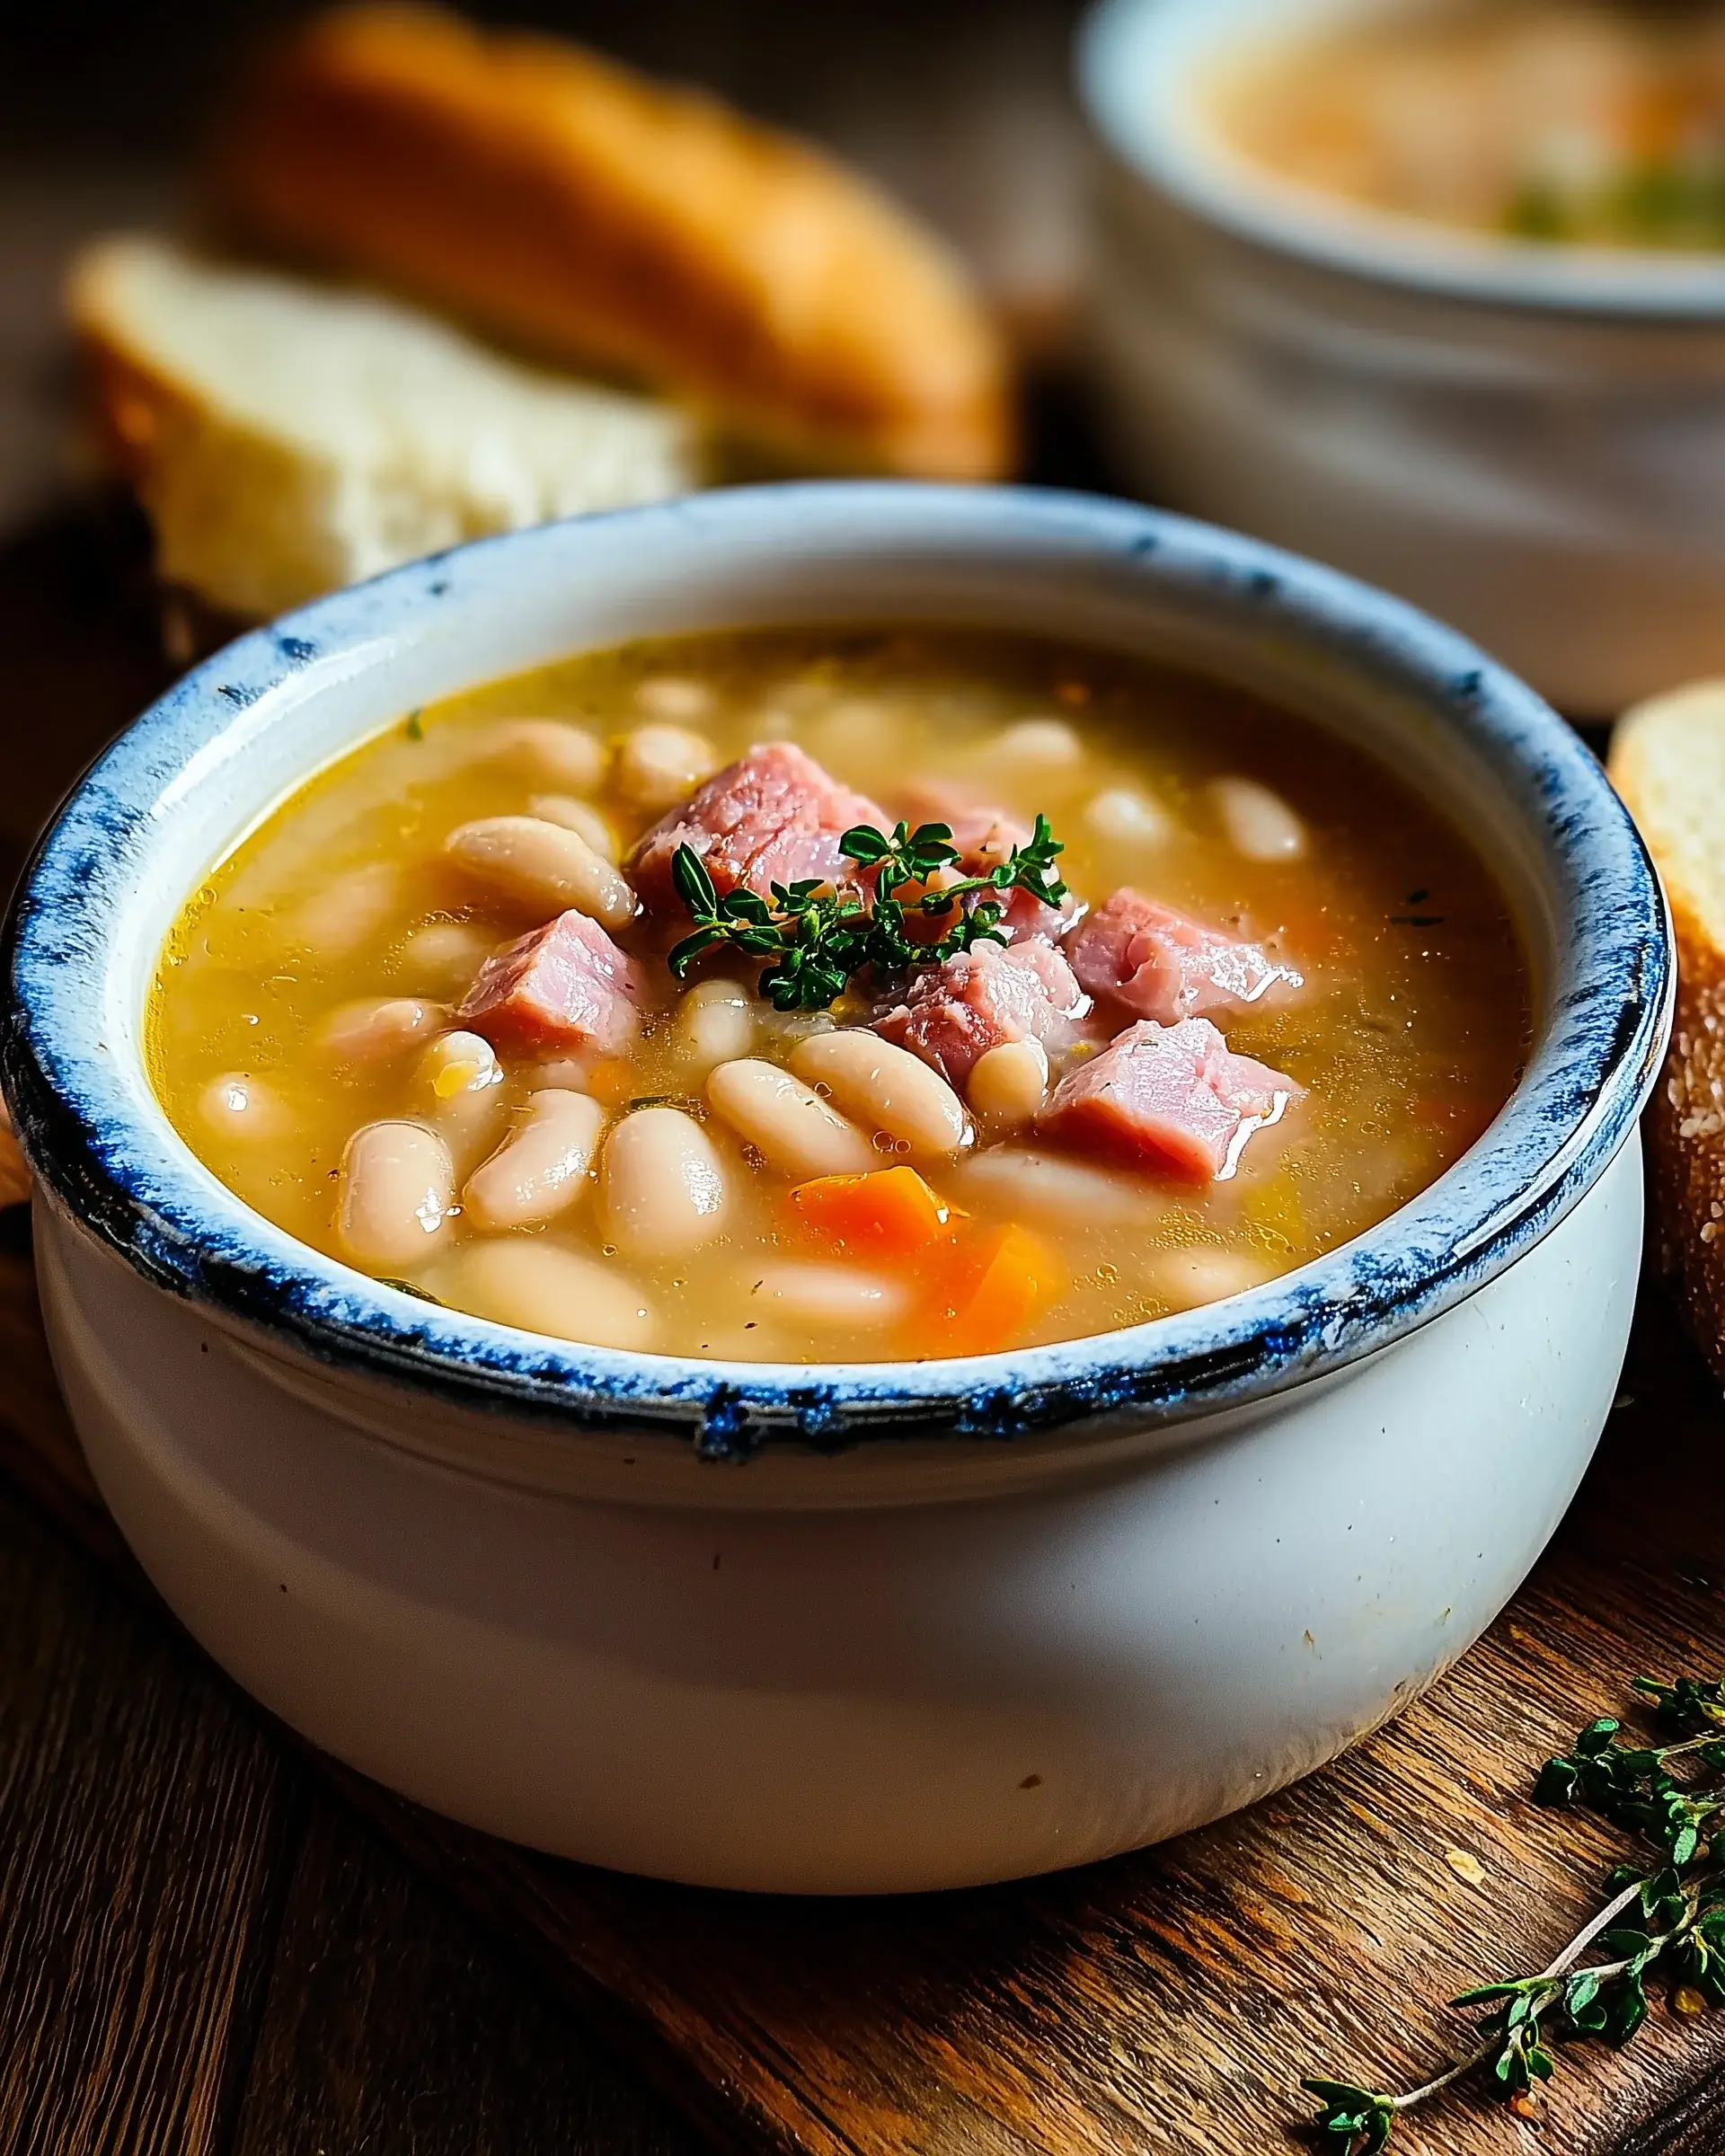
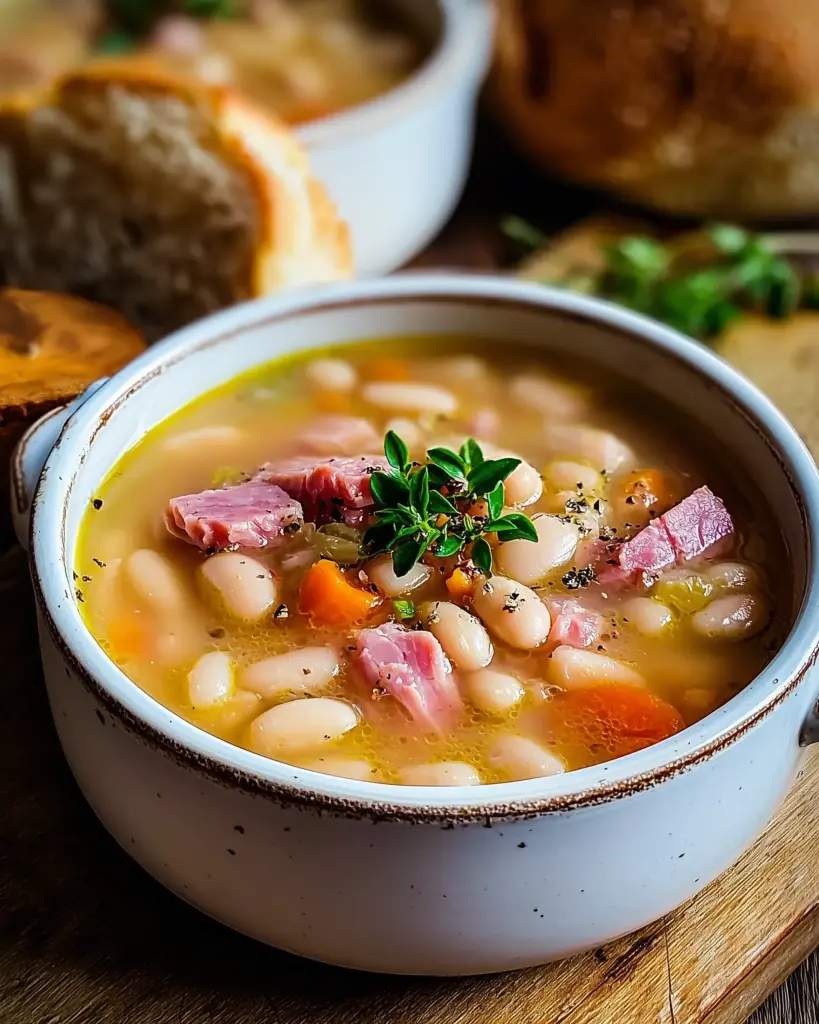
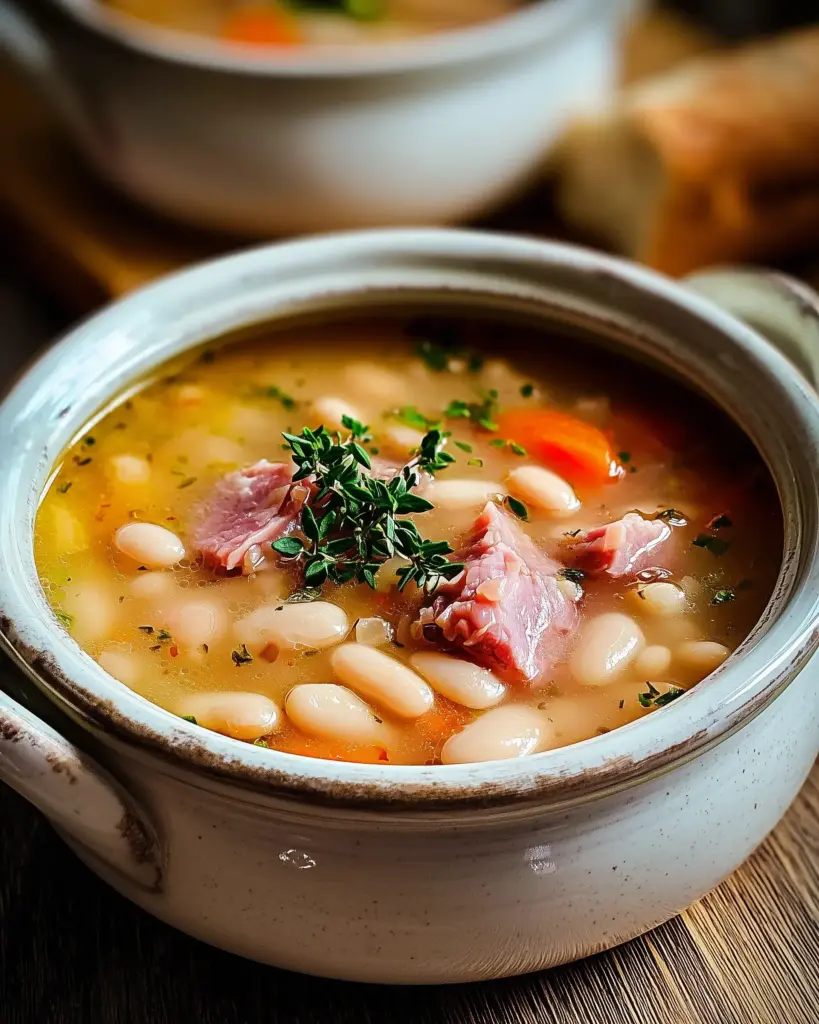
Serve it hot, garnished with fresh parsley for that extra touch of flavor and color.

Tips for Success
- Always salt your pasta water generously; it’s the first layer of flavor.
- Don’t rush the browning of the beef; it adds depth to the dish.
- Use freshly minced garlic for the best flavor; pre-minced can lose its punch.
- Adjust the creaminess of the sauce with reserved pasta water as needed.
- Garnish with parsley just before serving for a fresh touch.
Equipment Needed
- Large pot: For boiling the fettuccine. A Dutch oven works well too.
- Skillet: A non-stick skillet is ideal for browning the beef and making the sauce.
- Wooden spoon: Perfect for stirring and breaking up the beef.
- Measuring cups: For accurate ingredient measurements, though you can eyeball it if you’re confident!
- Colander: To drain the pasta easily.
Variations
- Vegetarian Option: Swap the ground beef for lentils or mushrooms for a hearty, meatless dish.
- Spicy Kick: Add diced jalapeños or a splash of hot sauce to the sauce for an extra layer of heat.
- Herb Infusion: Experiment with fresh herbs like basil or thyme for a fragrant twist.
- Cheesy Delight: Mix in different cheeses like mozzarella or goat cheese for a unique flavor profile.
- Low-Carb Version: Use zucchini noodles or spaghetti squash instead of fettuccine for a lighter meal.
Serving Suggestions
- Garlic Bread: Serve with warm, buttery garlic bread for a classic pairing.
- Salad: A fresh Caesar or mixed greens salad adds a crisp contrast.
- Wine: Pair with a glass of red wine, like Chianti, to enhance the flavors.
- Presentation: Serve in shallow bowls, garnished with extra parsley and Parmesan.
FAQs about Creamy Garlic Beef Pasta
Can I use a different type of pasta?
Absolutely! While fettuccine is a classic choice, you can use any pasta you prefer. Penne, rigatoni, or even spaghetti work wonderfully with the creamy sauce.
How can I make this dish healthier?
For a lighter version of Creamy Garlic Beef Pasta, consider using ground turkey or chicken instead of beef. You can also substitute heavy cream with half-and-half or a plant-based cream for fewer calories.
Can I prepare this dish in advance?
Yes! You can cook the pasta and sauce separately, then combine them just before serving. This way, you can enjoy a fresh meal without the last-minute rush.
What can I add for extra flavor?
Feel free to toss in some sautéed vegetables like spinach, bell peppers, or mushrooms. They not only add flavor but also boost the nutritional value of your Creamy Garlic Beef Pasta.
How do I store leftovers?
Store any leftovers in an airtight container in the fridge for up to three days. Reheat gently on the stove, adding a splash of water or cream to revive the sauce’s creaminess.
Final Thoughts
Cooking Creamy Garlic Beef Pasta is more than just preparing a meal; it’s about creating a moment of joy.
The rich, creamy sauce enveloping the tender fettuccine and savory beef brings comfort to the table, making it a dish everyone will love.
Whether you’re sharing it with family or enjoying a quiet night in, this recipe is a reminder that good food can elevate any day.
So, roll up your sleeves, embrace the process, and savor every bite.
Trust me, this delightful dinner idea will quickly become a staple in your kitchen!
Creamy Garlic Beef Pasta: A Delightful Dinner Idea!
Ingredients
Method
- Cook the fettuccine pasta according to package instructions in a large pot of salted boiling water. Drain and set aside, reserving 1/2 cup of pasta water.
- In a large skillet, heat the olive oil over medium heat. Add the ground beef and cook until browned, breaking it up with a spoon, about 5-7 minutes. Drain excess fat if necessary.
- Stir in the minced garlic, Italian seasoning, and red pepper flakes (if using). Cook for an additional 1-2 minutes until the garlic is fragrant.
- Reduce the heat to low and pour in the heavy cream, stirring to combine. Add the Parmesan cheese and mix until melted and creamy.
- Season with salt and pepper to taste. If the sauce is too thick, add a little reserved pasta water until desired consistency is reached.
- Add the cooked fettuccine to the skillet, tossing to coat the pasta in the creamy sauce.
- Serve immediately, garnished with chopped parsley.
Nutrition
Notes
- For a lighter version, substitute ground turkey or chicken for the beef and use half-and-half instead of heavy cream.
- Add vegetables like spinach, mushrooms, or bell peppers to the skillet for extra flavor and nutrition.