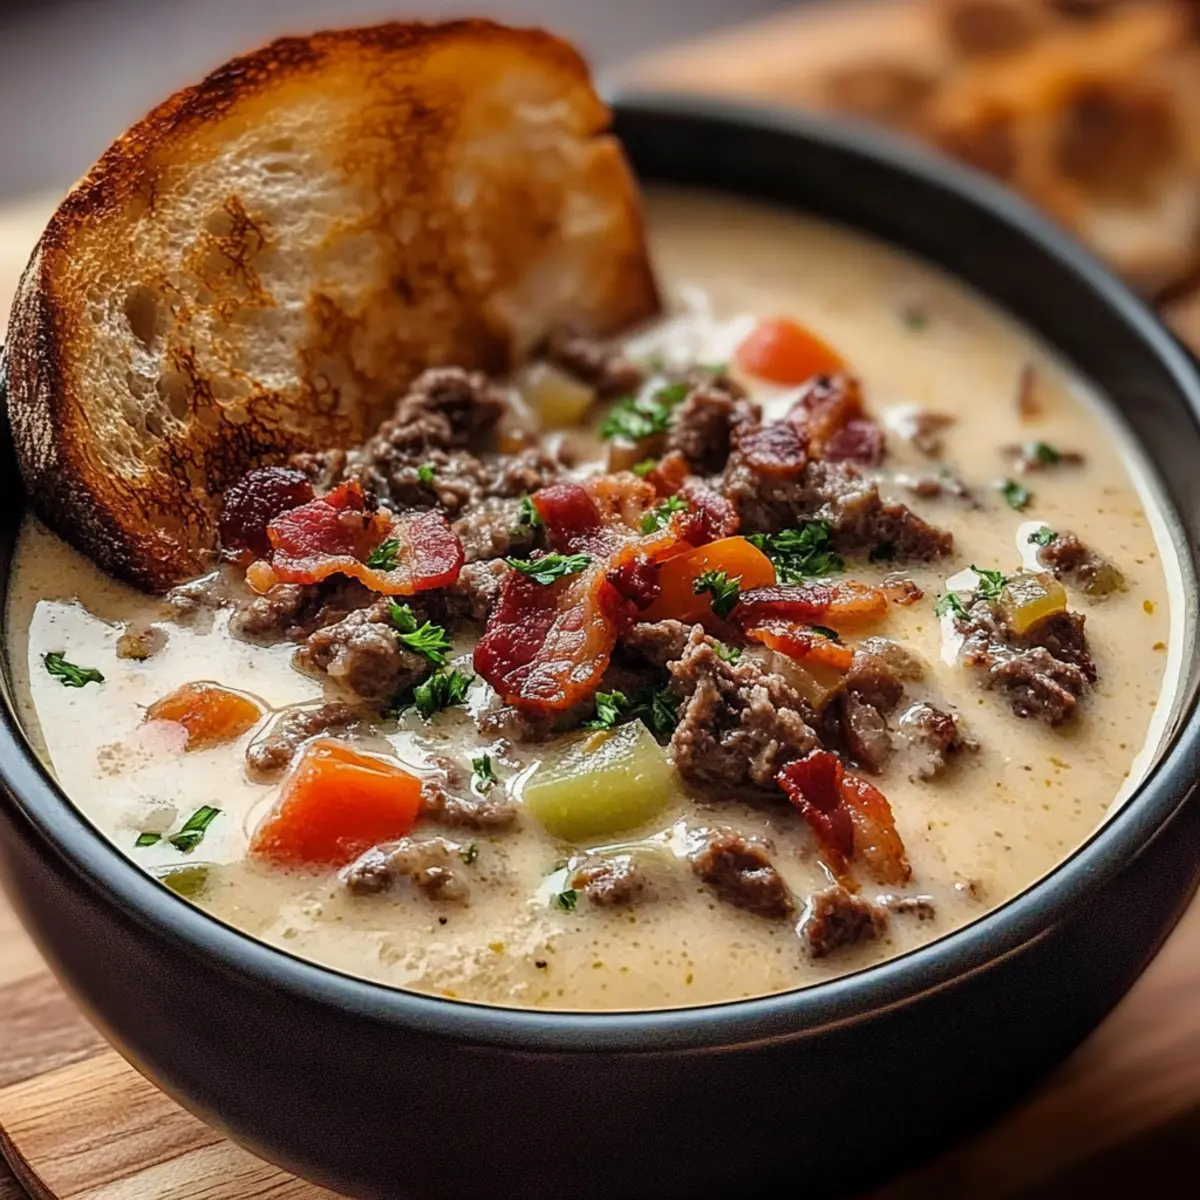
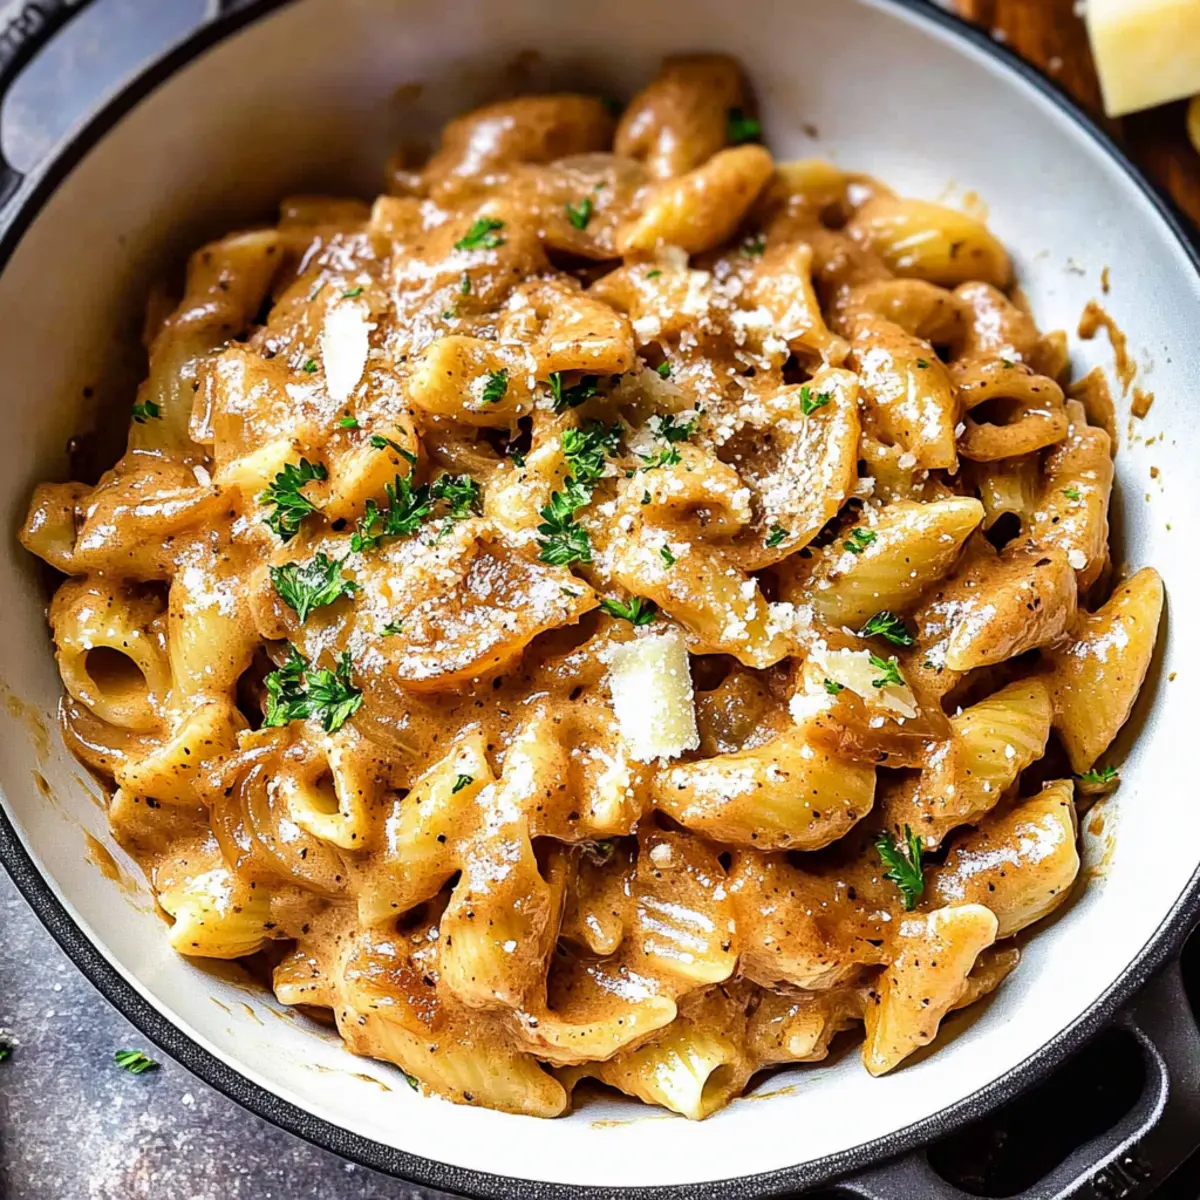
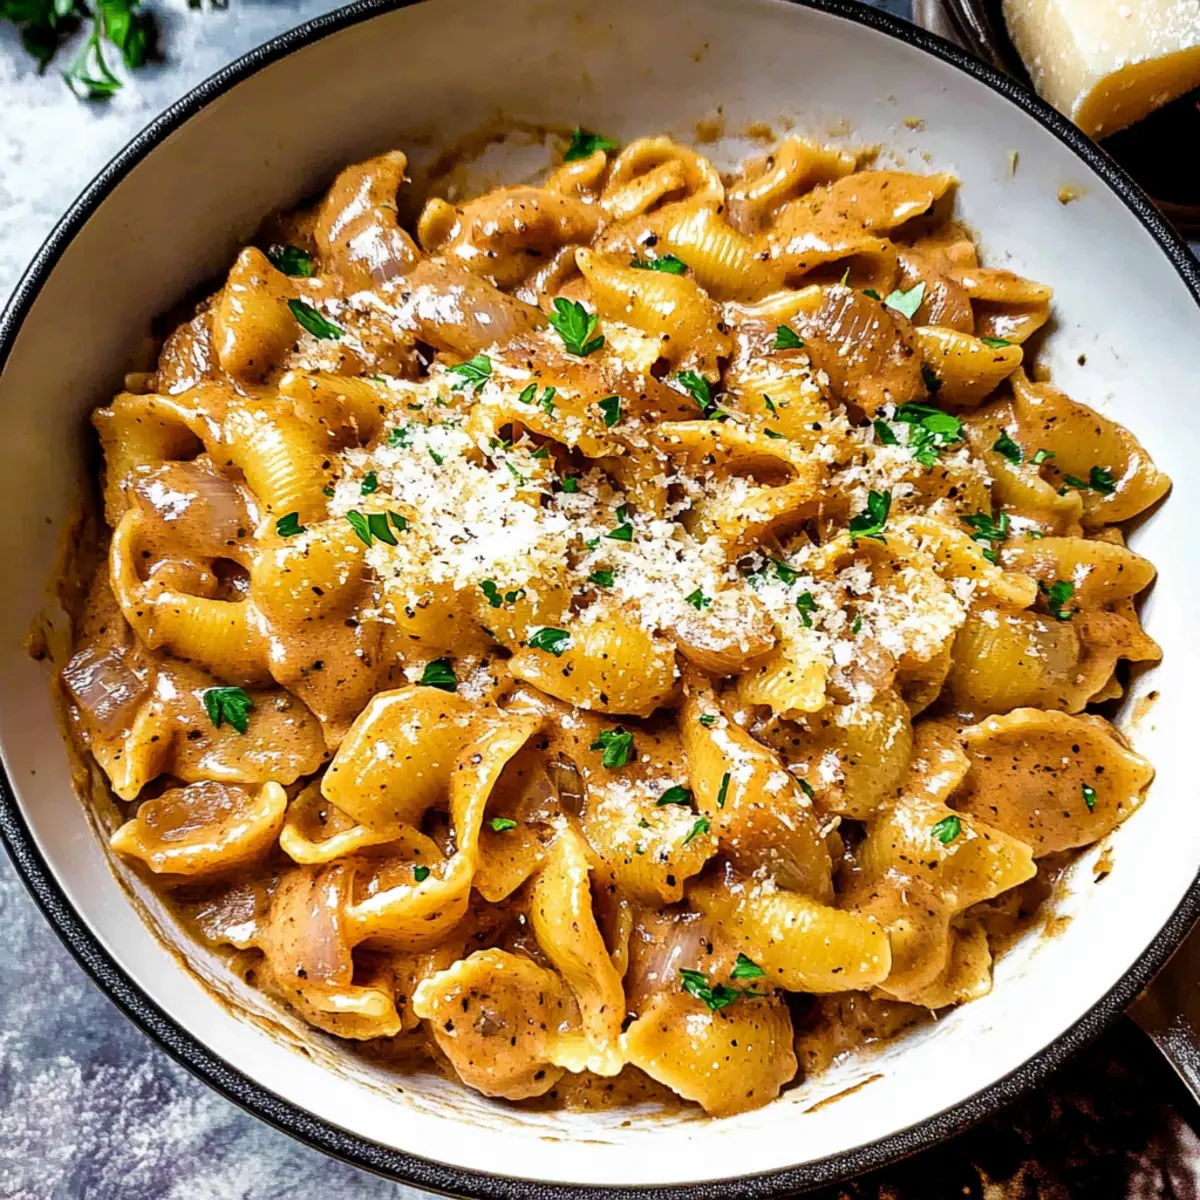
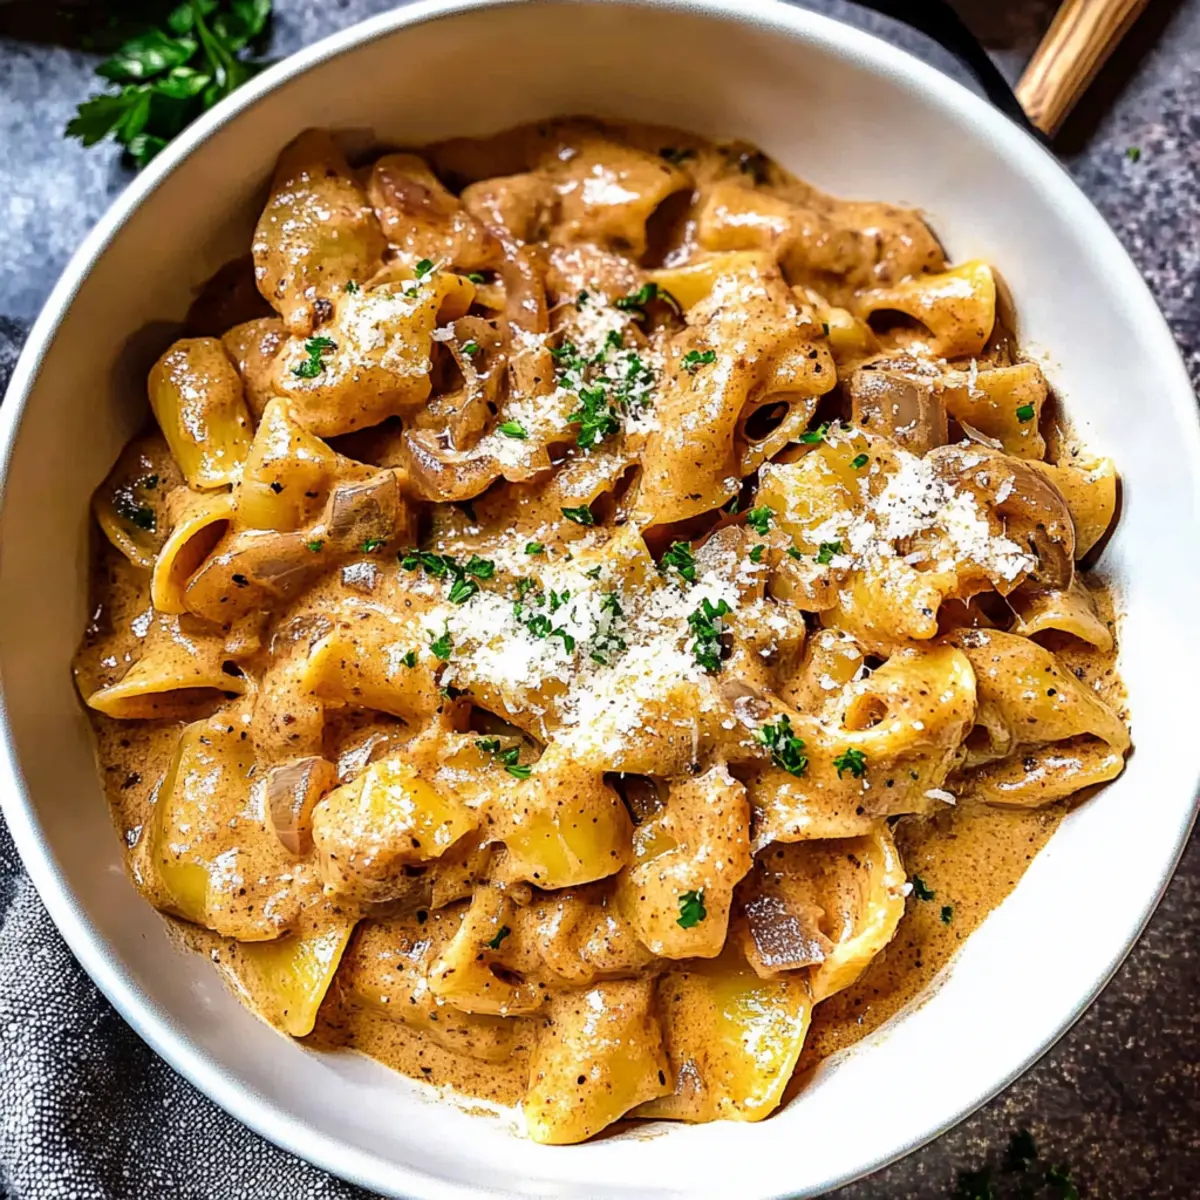
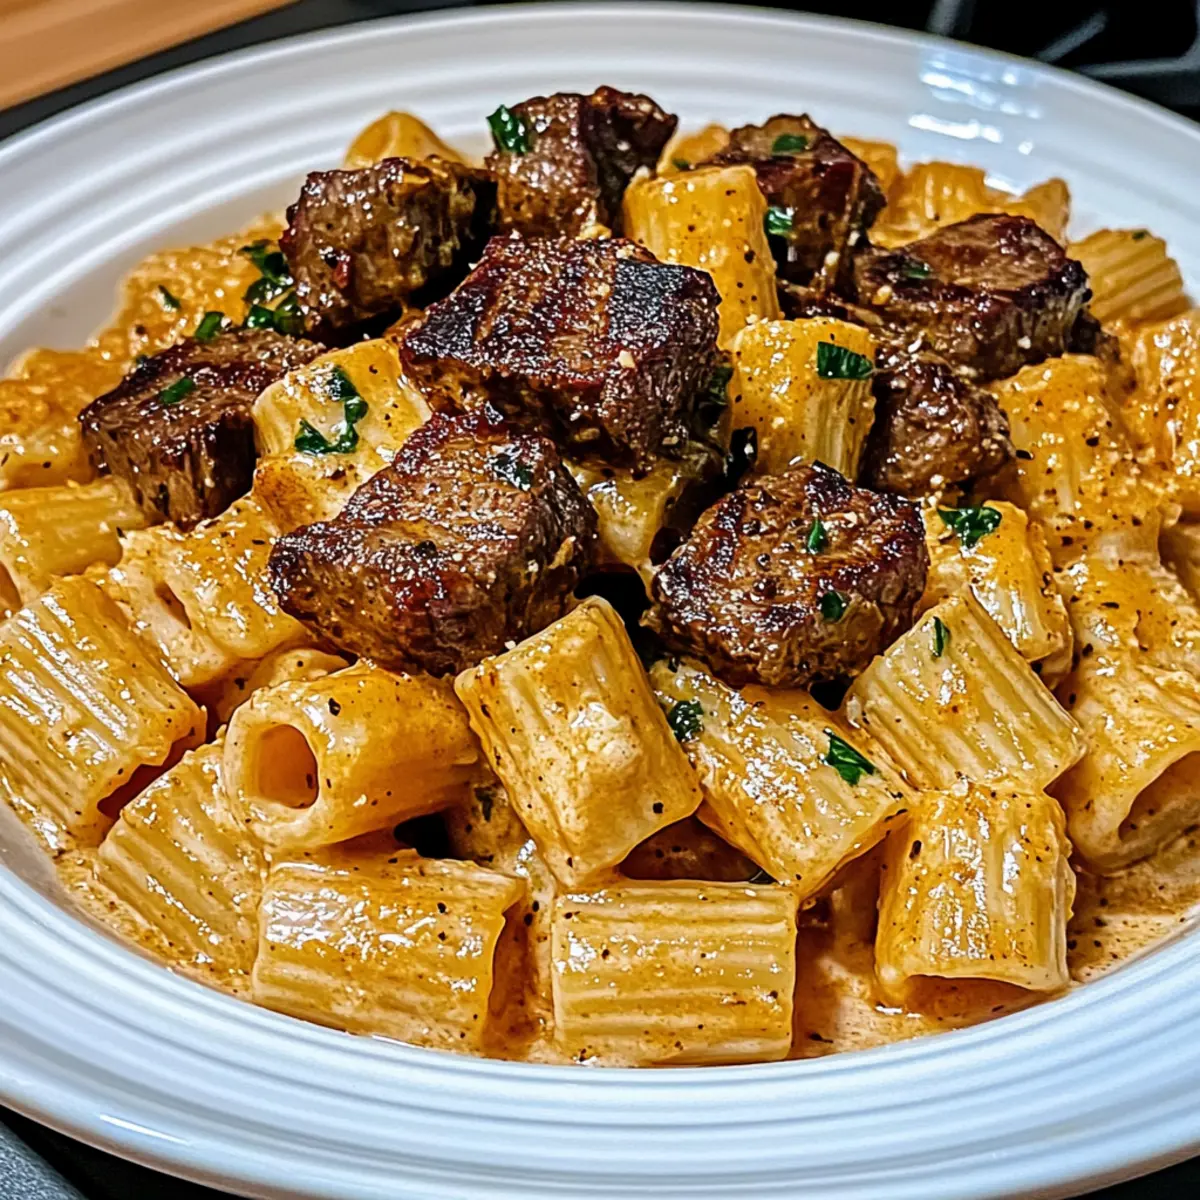
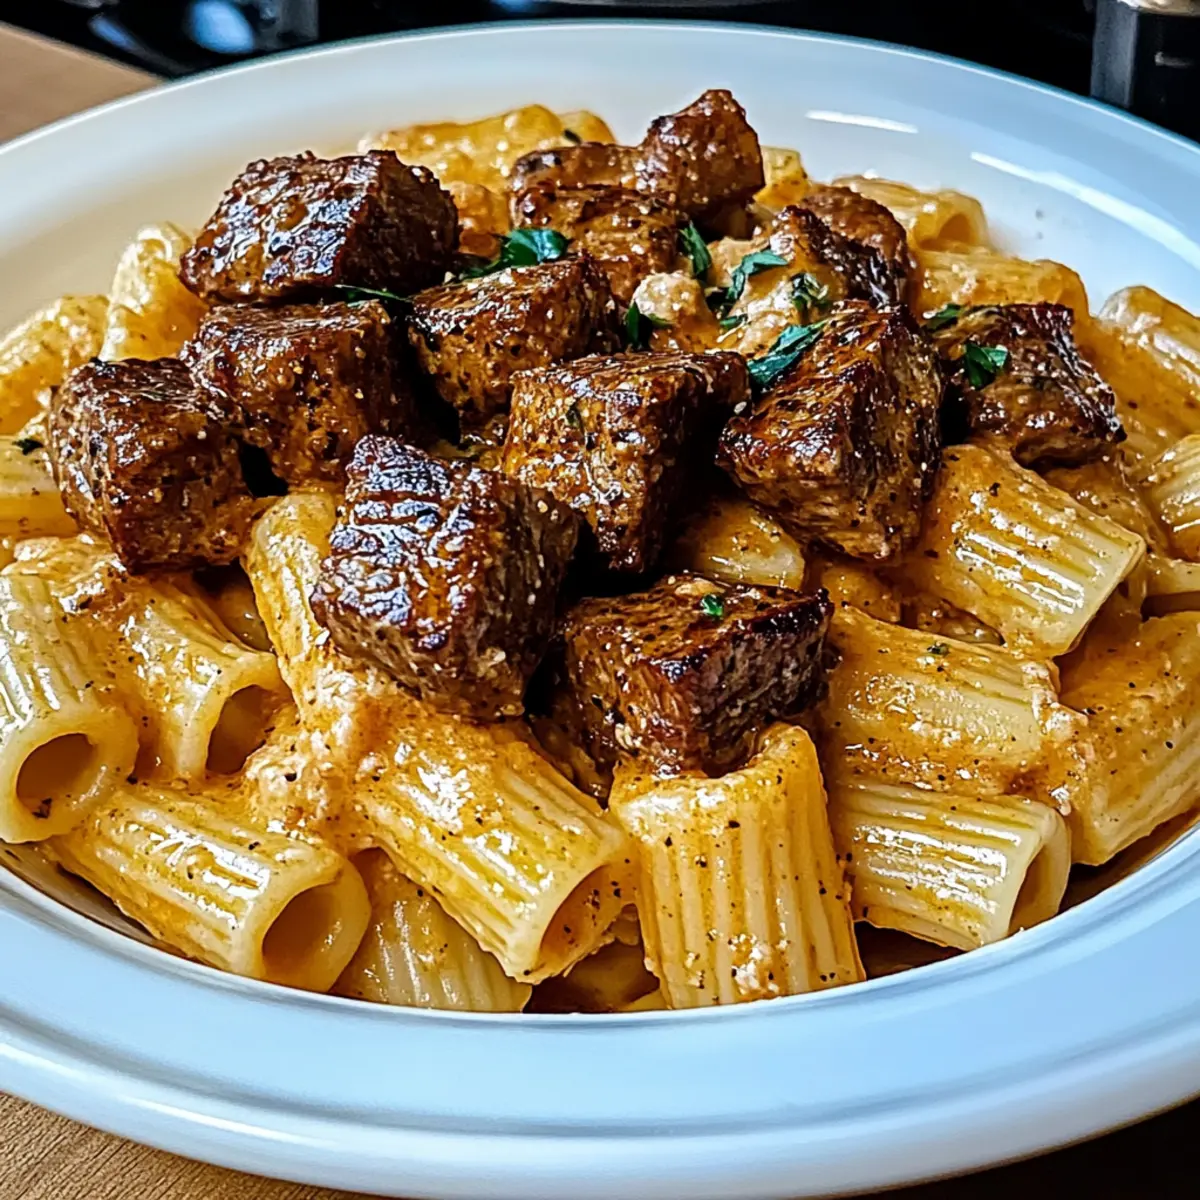
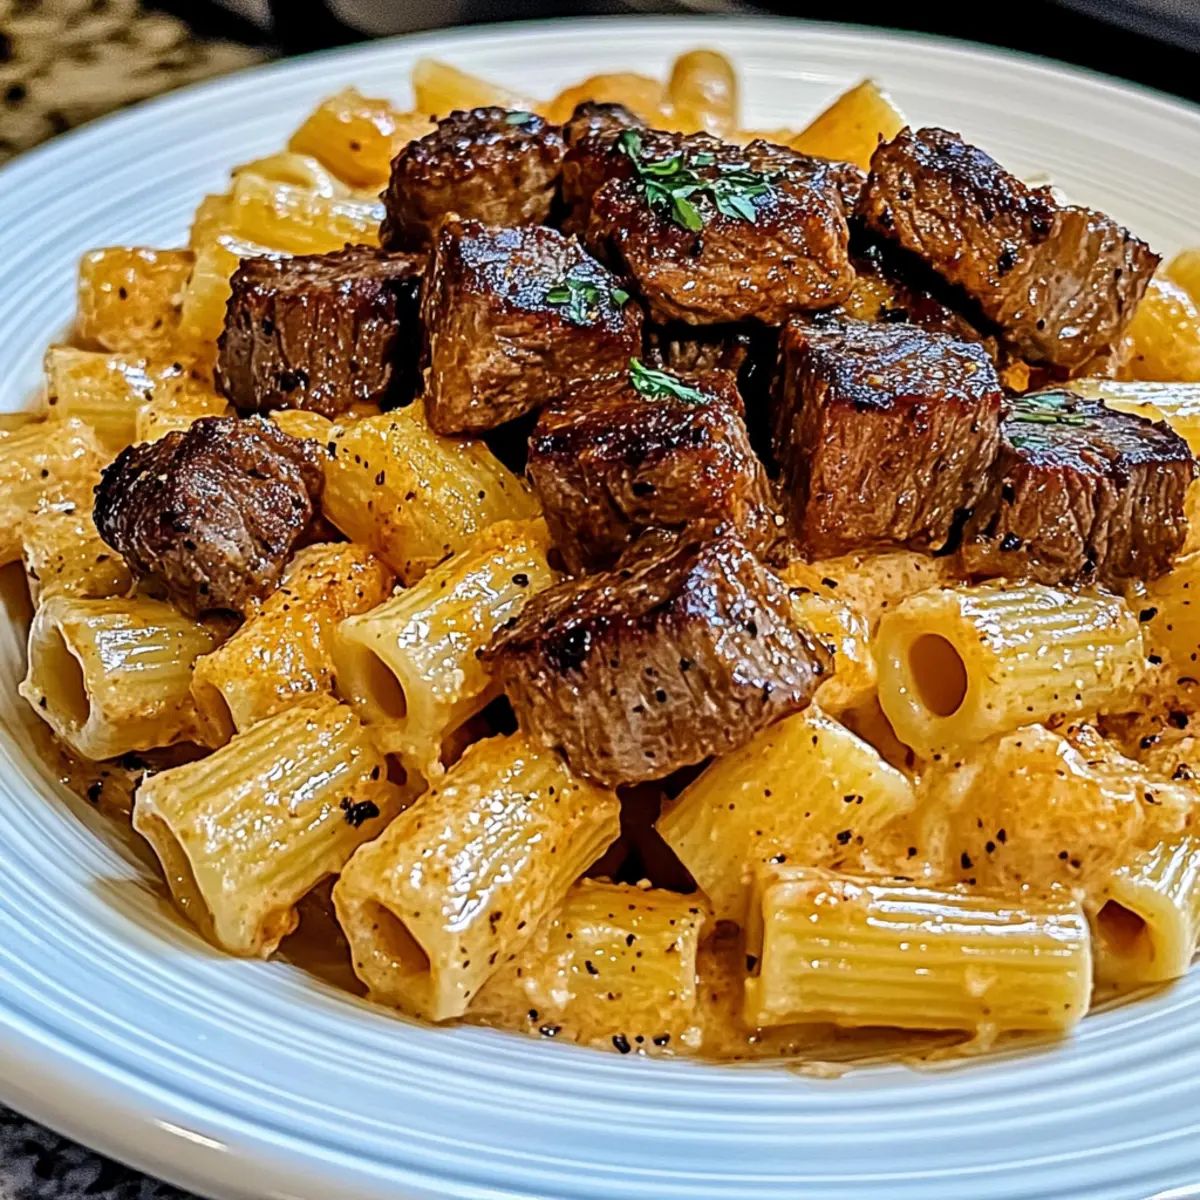
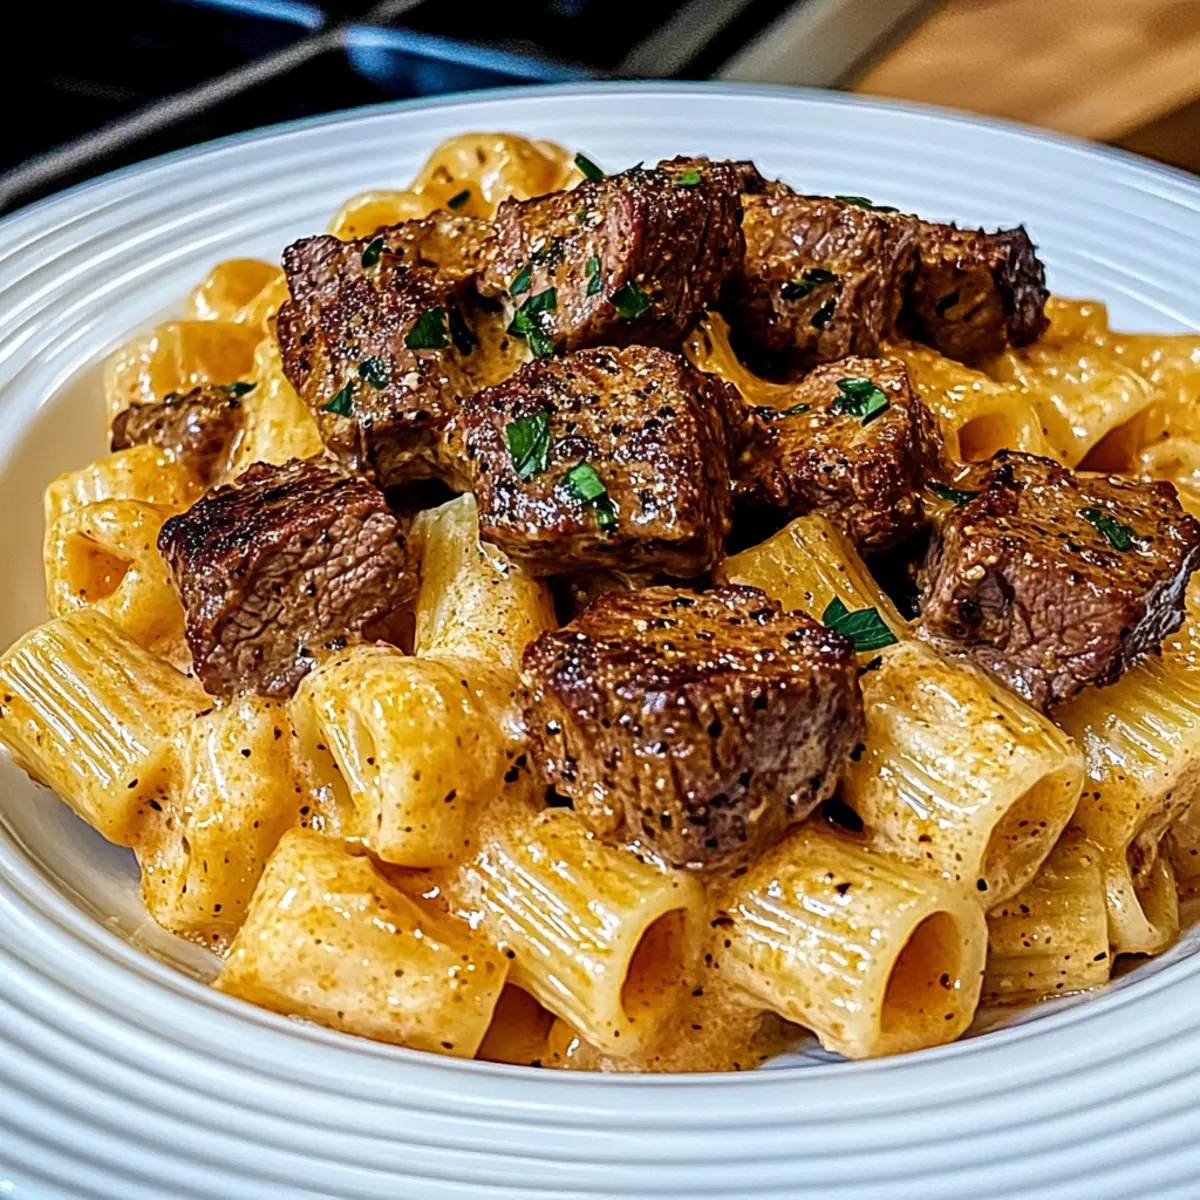
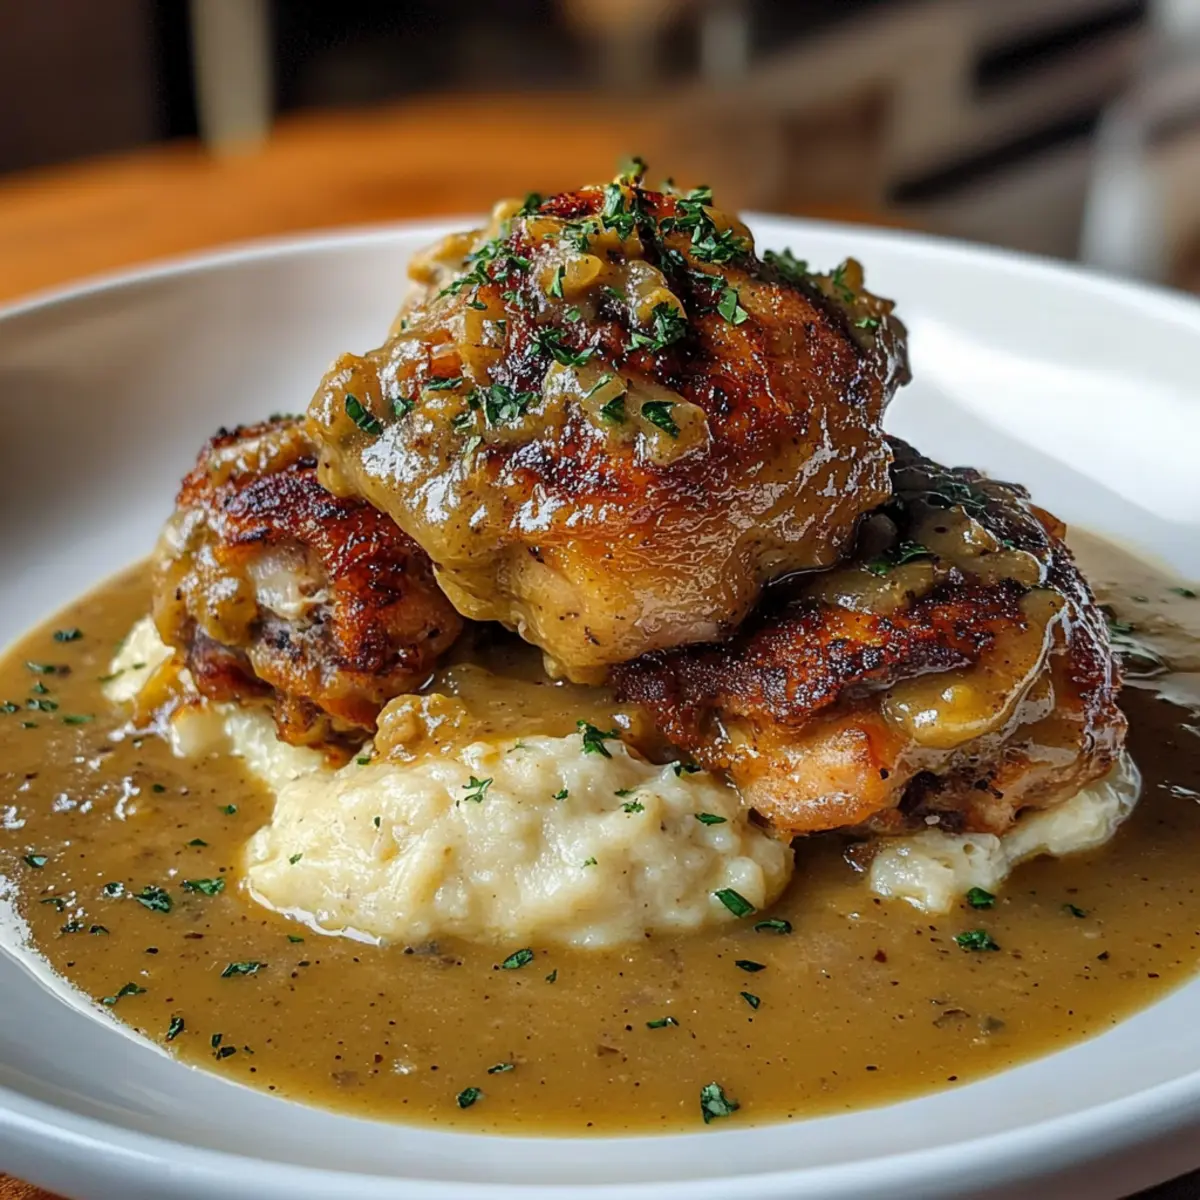
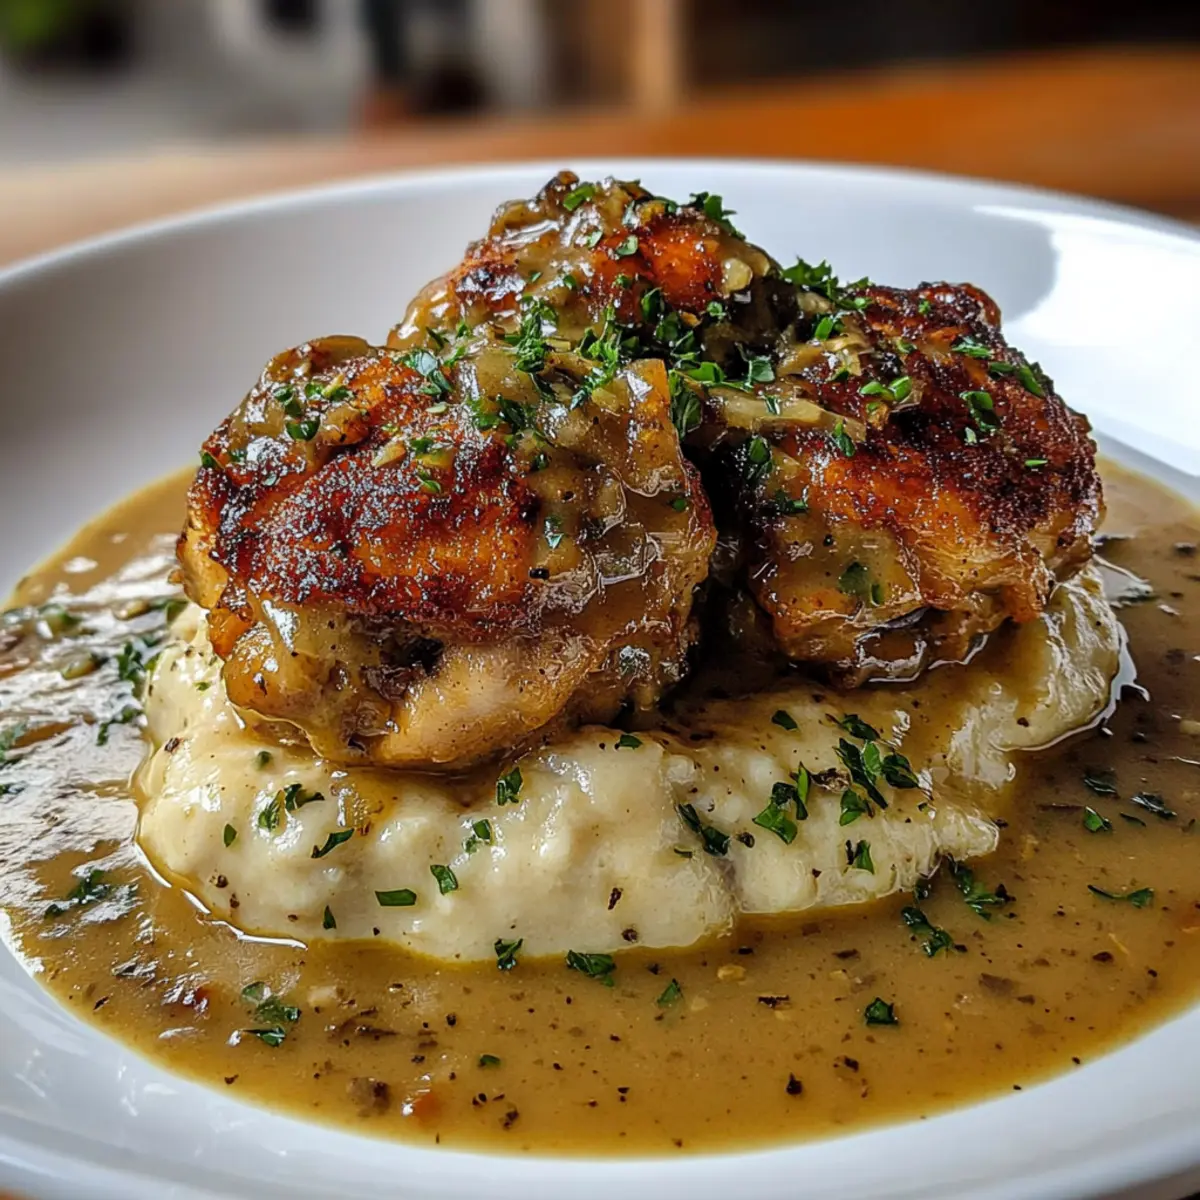
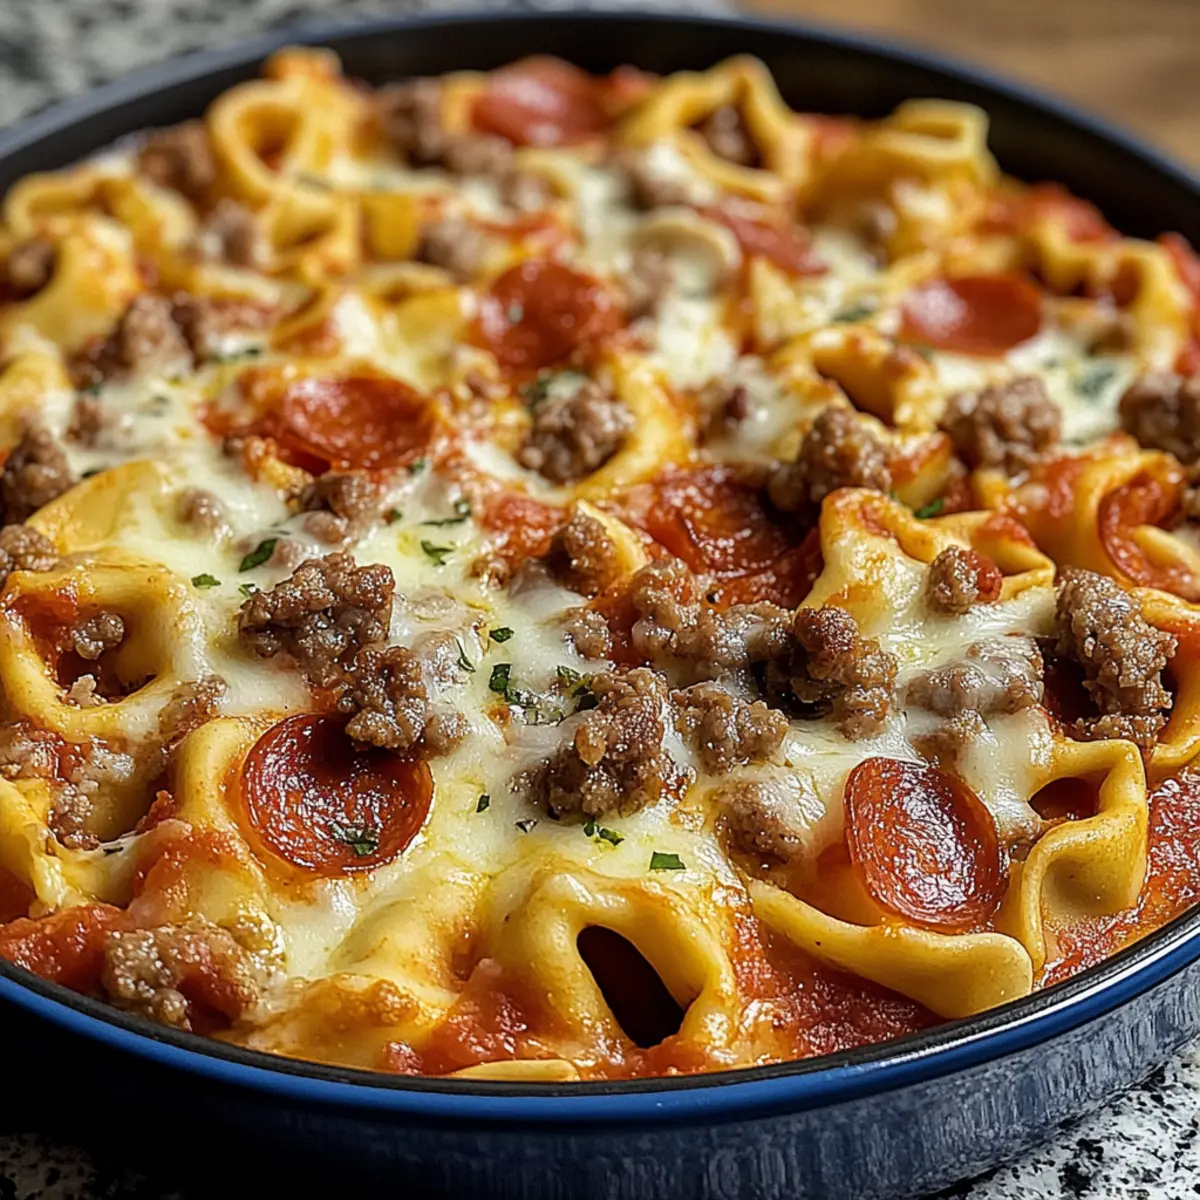
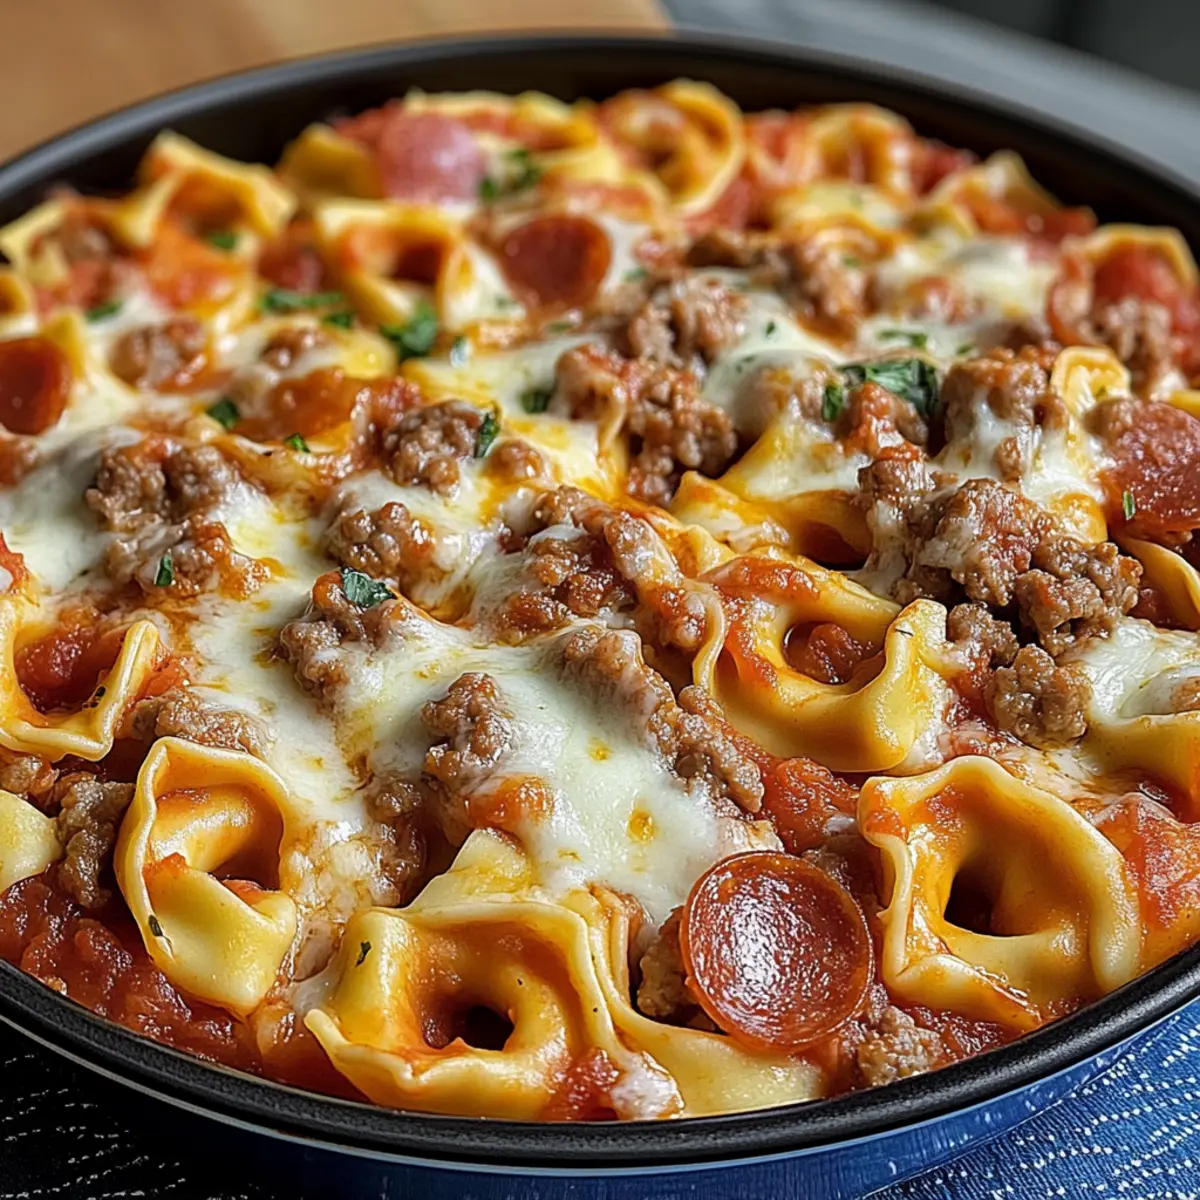
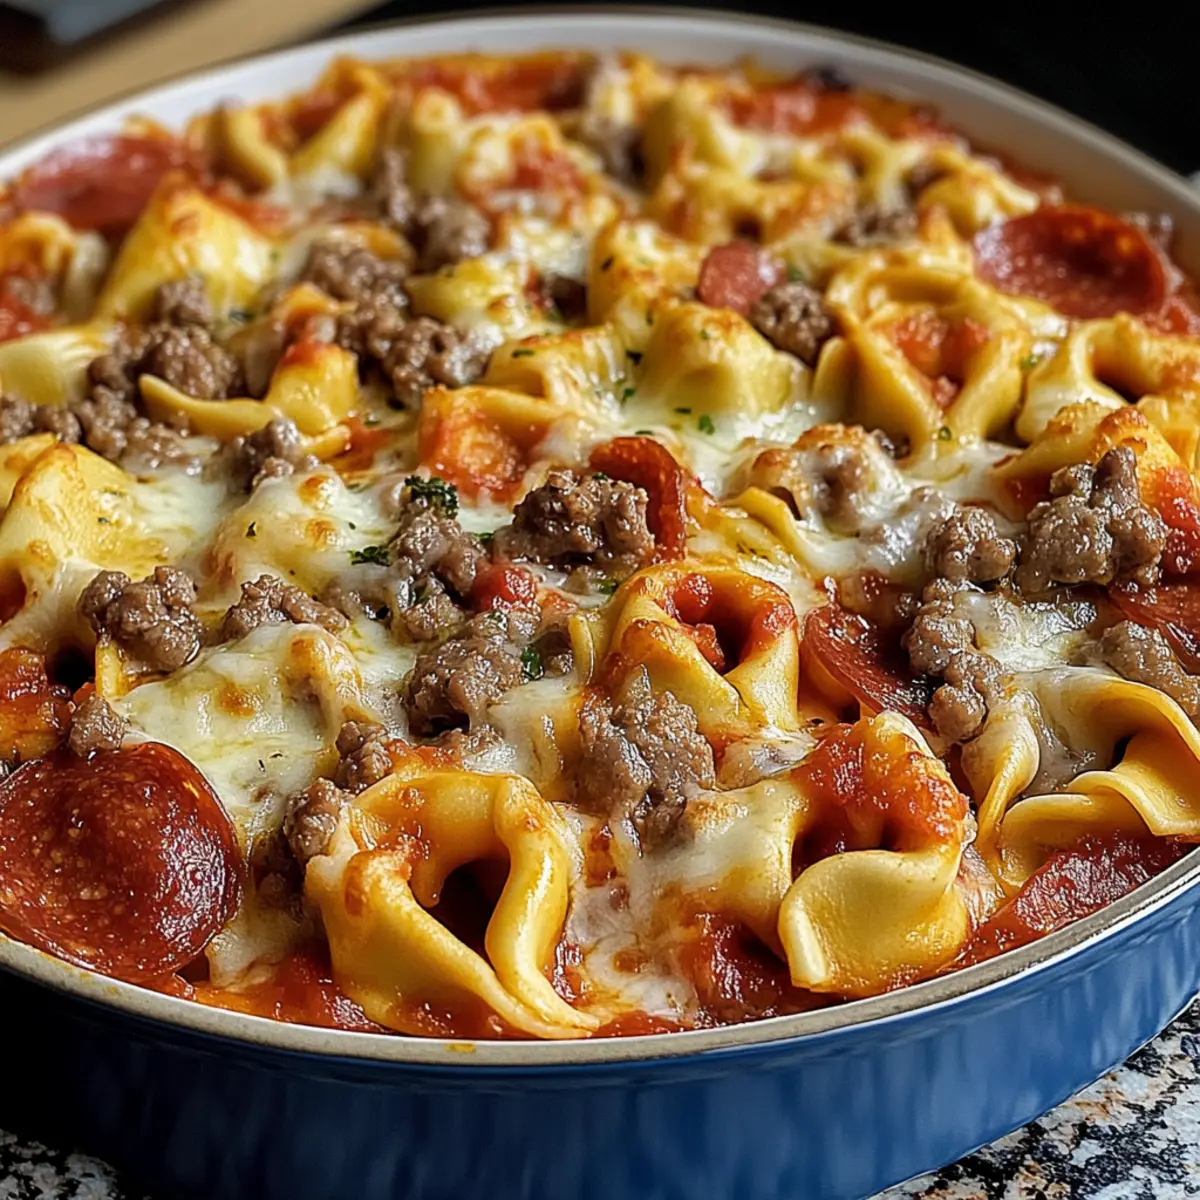
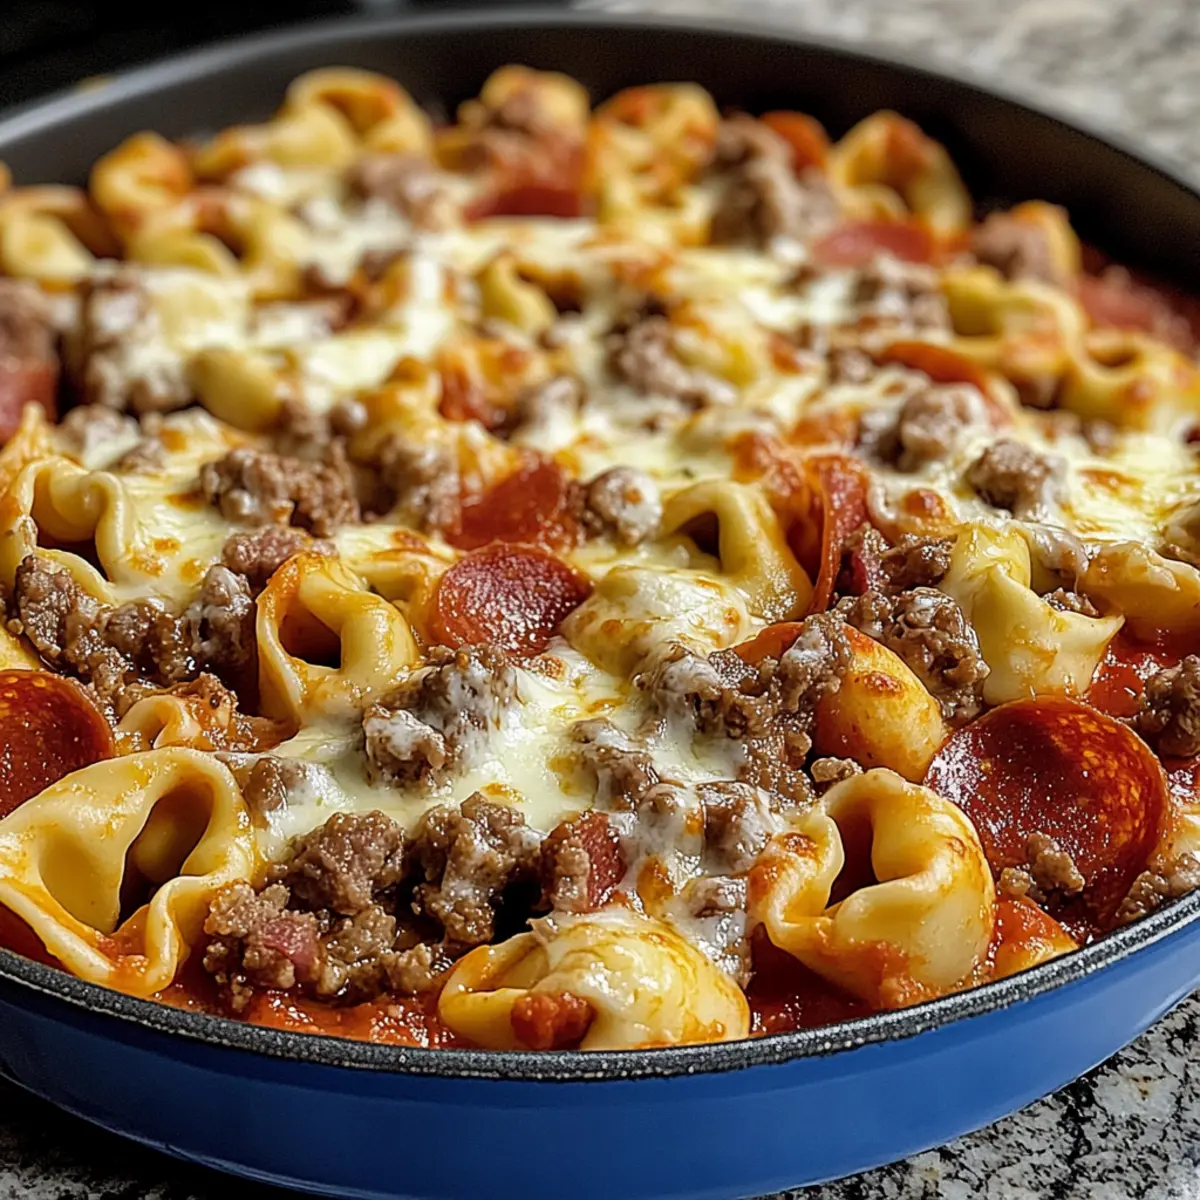
As I rummaged through my pantry, I stumbled upon a pack of tortellini that whispered culinary adventures. The moment inspired me to merge my love for pizza with this delightful pasta, resulting in my Meat Lovers Pizza Tortellini—a dish reminiscent of cozy nights filled with laughter and comfort. This hearty creation is perfect for busy weeknights or family gatherings, presenting all the indulgent flavors of a classic meat lover’s pizza, wrapped in creamy mozzarella and a savory sauce. Best of all, it’s a crowd-pleaser that comes together quickly, ensuring you won’t be slaving in the kitchen for hours. Are you ready to dive into this comforting fusion that’ll make everyone ask for seconds?
What makes this dish a must-try?
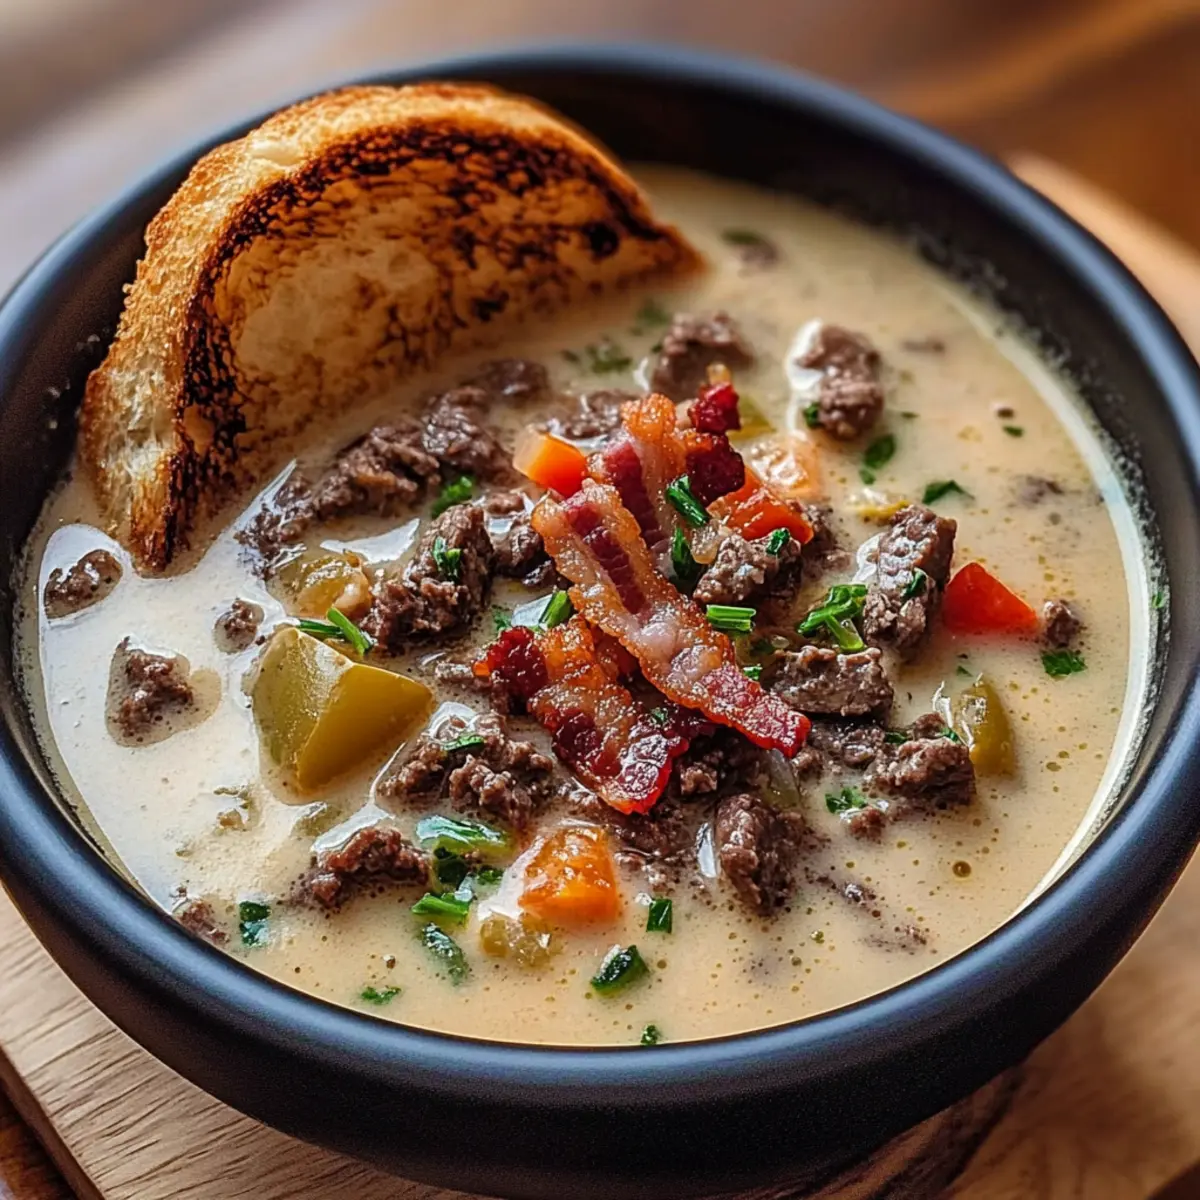
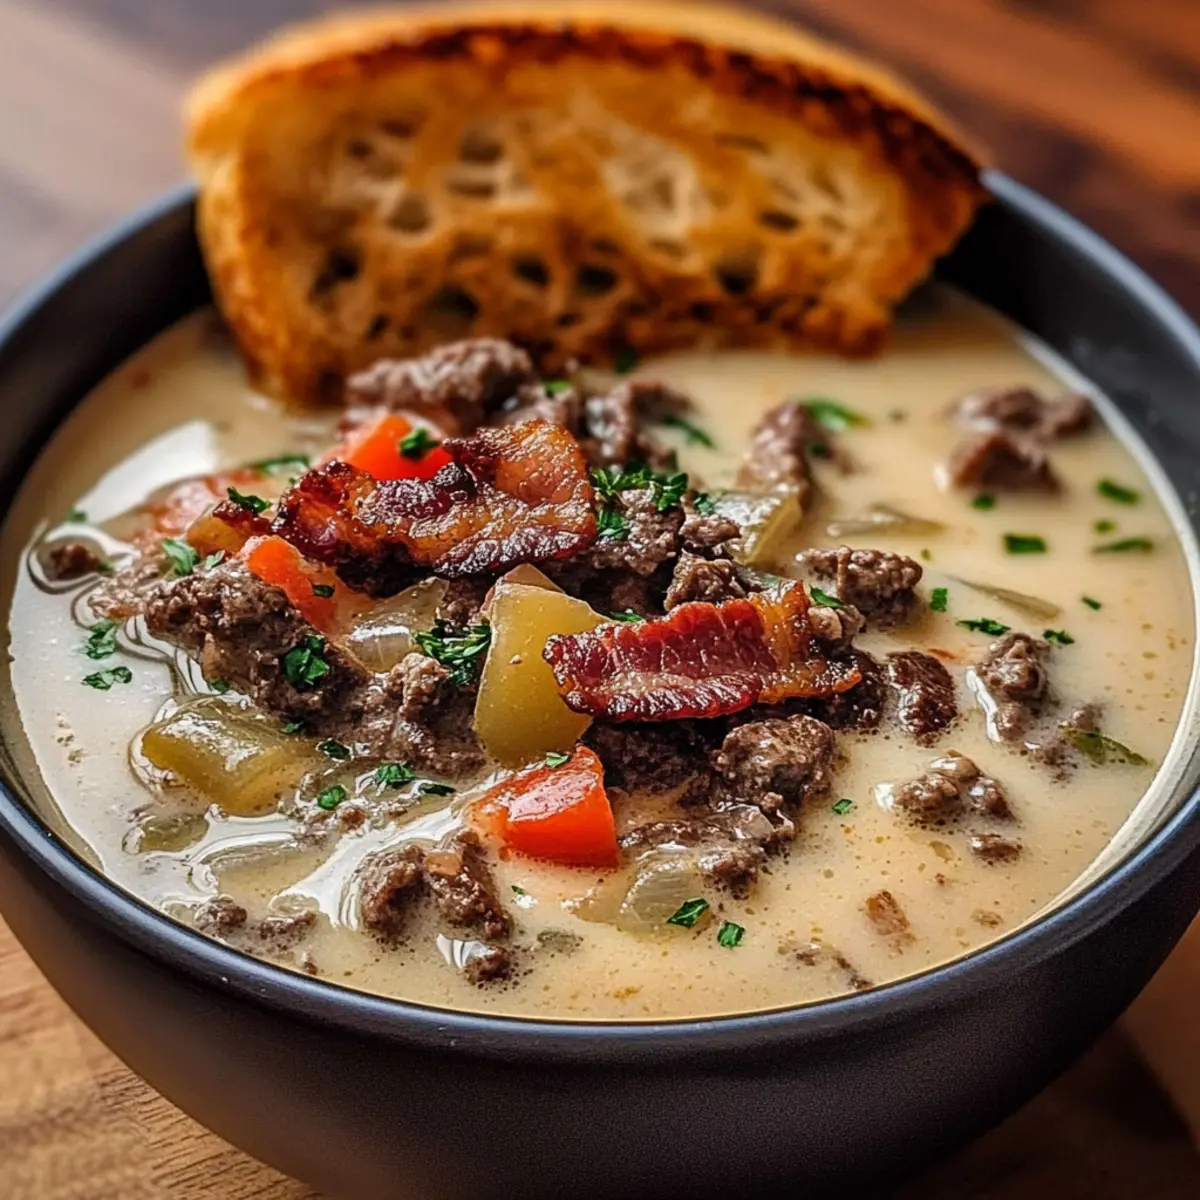
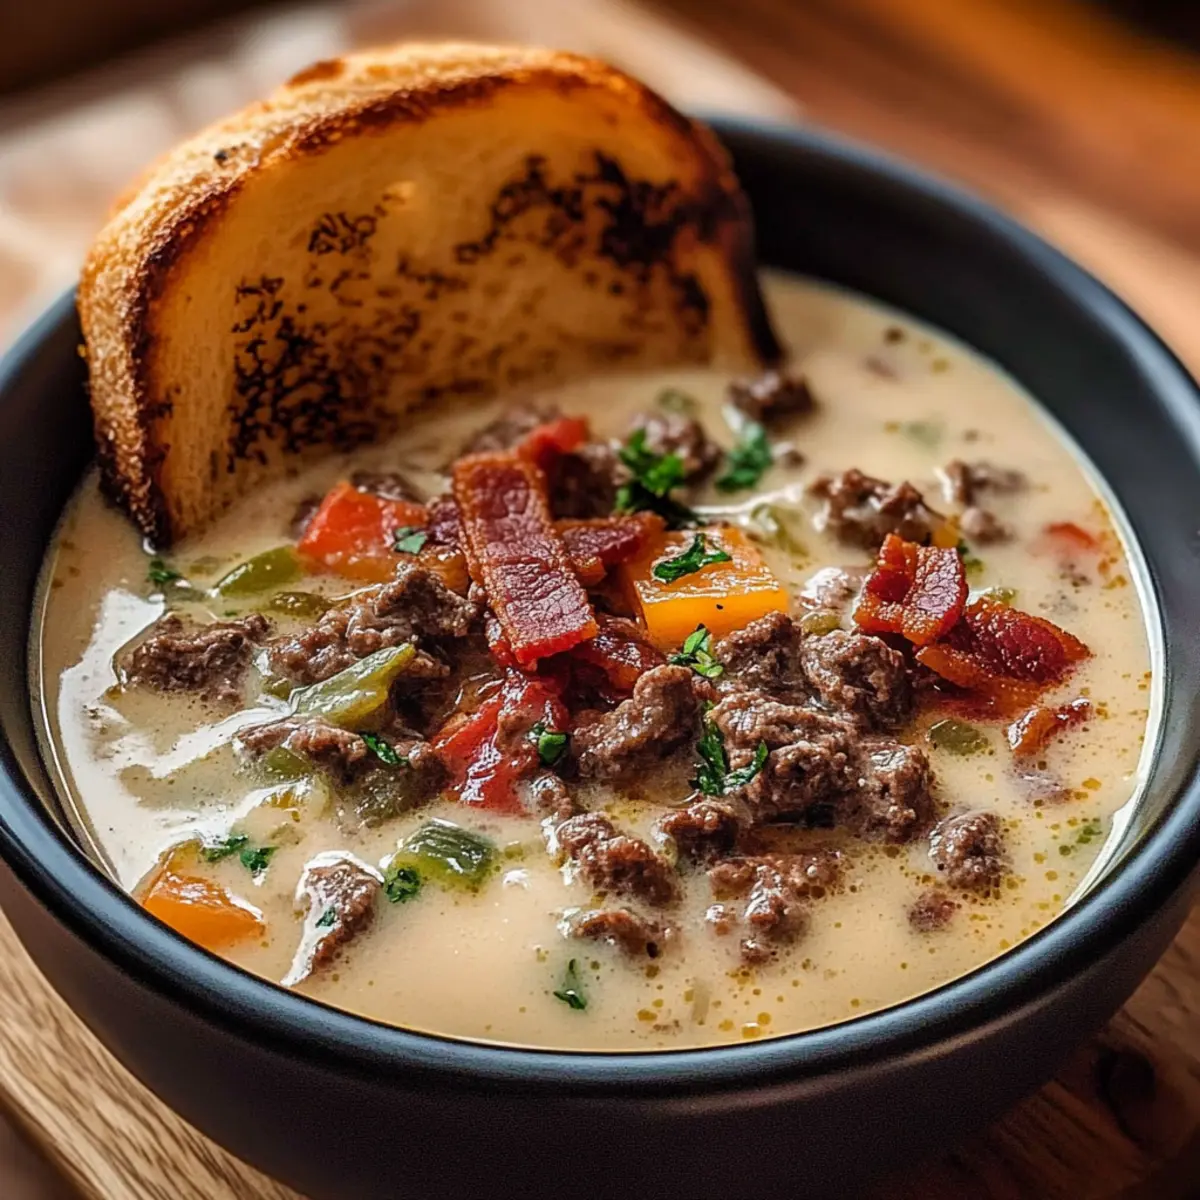
Satisfying Comfort: This Meat Lovers Pizza Tortellini wraps all your favorite pizza toppings in one hearty dish that’s sure to warm your soul.
Quick Assembly: Perfect for busy weeknights; it all comes together in under an hour, so you can savor precious family time without the fuss.
Flavor Explosion: With a blend of robust meats, rich mozzarella, and zesty pizza sauce, every bite delivers a delicious punch reminiscent of your go-to pizzeria.
Versatile Options: Feel free to customize with your choice of meats or veggies, making it a great way to use up leftovers or cater to your family’s tastes.
Crowd Favorite: This dish isn’t just food; it sparks joy and brings everyone to the table, just like the beloved Sausage Tortellini Soup or the irresistible Korean BBQ Meatballs.
Embrace comfort food at its best with this delightful fusion!
Meat Lovers Pizza Tortellini Ingredients
For the Tortellini
• Tortellini Pasta – The base of the dish providing structure; substitute with any pasta shape if desired.
For the Meaty Mixture
• Italian Ground Sausage – Adds robust, spicy flavor; lean ground turkey can substitute for a lighter option.
• Ground Beef – Provides hearty richness; can be replaced with ground turkey or chicken for a lighter choice.
• Cooked Chopped Bacon – Adds a crispy, smoky element; pancetta serves as a good alternative.
• Sliced Pepperoni – Classic pizza topping for additional flavor; any deli meats like salami can be used as a substitute.
For the Aromatics
• Yellow Onion – Adds sweetness and depth; shallots can also be used.
• Minced Garlic – Infuses the dish with aroma and taste; fresh minced garlic is preferred, but garlic powder can work in a pinch.
• Italian Seasoning – Enhances the savory profile; use a mix of dried basil, oregano, and thyme if unavailable.
For the Sauce and Cheese
• Olive Oil – For sautéing vegetables and meat, enhancing flavor; vegetable or canola oil can be used instead.
• Pizza Sauce – Forms the flavor base; enhances moisture; tomato sauce or marinara can be used instead.
• Mozzarella Cheese – Melts beautifully for a gooey texture; substitute with provolone or a blend of Italian cheeses.
Step‑by‑Step Instructions for Meat Lovers Pizza Tortellini
Step 1: Cook the Tortellini
In a large pot, bring water to a boil and season it with salt. Add the tortellini and cook according to package instructions, usually about 3-5 minutes until al dente. Once cooked, drain and set aside in a large mixing bowl, ensuring they don’t stick together as you prepare the meat mixture.
Step 2: Prepare the Meat Mixture
In a large skillet, heat 2 tablespoons of olive oil over medium heat. Add chopped yellow onion and sauté for 3-4 minutes until softened and translucent. Then, add the ground beef and Italian sausage, cooking for 6-8 minutes until browned. Stir in minced garlic and Italian seasoning, letting the flavors meld and draining any excess grease from the mixture.
Step 3: Combine and Simmer
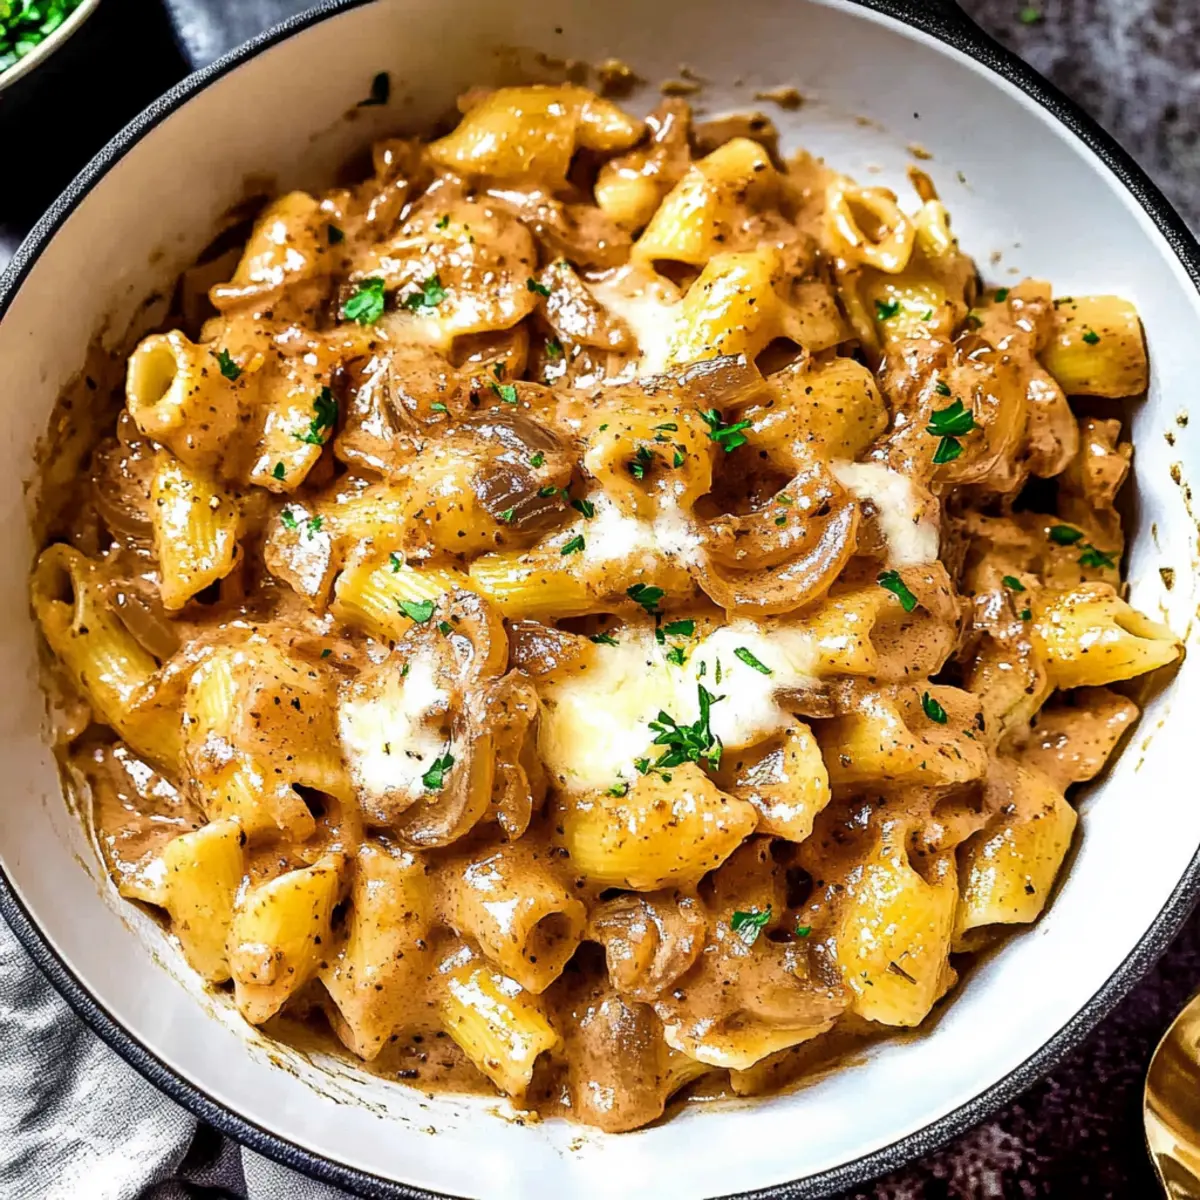
Pour the pizza sauce over the sautéed meat mixture, stirring well to ensure everything is coated. Gently fold in the cooked tortellini until evenly mixed. Reduce the heat to low and let the mixture simmer for about 5 minutes, allowing the flavors to meld together beautifully into a hearty filling for your Meat Lovers Pizza Tortellini.
Step 4: Top and Melt
Preheat your broiler. Transfer the tortellini mixture into a baking dish and sprinkle a generous layer of mozzarella cheese on top, followed by the sliced pepperoni. Place the dish under the broiler for about 3-5 minutes, keeping an eye on it until the cheese is melted and bubbly, creating a deliciously gooey topping.
Step 5: Serve
Once the cheese is beautifully melted and bubbling, remove the dish from the oven. Allow it to cool for a couple of minutes before serving. For a fresh touch, garnish with chopped herbs like basil or parsley, if desired, and dive into your scrumptious Meat Lovers Pizza Tortellini while it’s hot and comforting.
Make Ahead Options
These Meat Lovers Pizza Tortellini are perfect for busy home cooks looking to save time during the week! You can prepare the meat mixture (including the sautéed onions, ground beef, sausage, garlic, and pizza sauce) up to 24 hours in advance, storing it in an airtight container in the refrigerator. Additionally, the tortellini can be cooked and cooled in advance, then refrigerated for up to 3 days. When you’re ready to serve, simply reheat the meat mixture gently on the stovetop, fold in the tortellini, transfer to a baking dish, and sprinkle with mozzarella and pepperoni before broiling. This way, you’ll preserve the creamy texture and rich flavors, ensuring every bite of your Meat Lovers Pizza Tortellini tastes just as delicious as when freshly made!
What to Serve with Meat Lovers Pizza Tortellini?
To create a cozy family dinner experience, consider these delightful pairings that enhance the rich flavors of the dish.
-
Garlic Bread: This buttery, crispy delight complements the cheesy tortellini, making each bite even more indulgent. The garlic’s warmth brings an aromatic charm to your meal.
-
Crisp Green Salad: A refreshing salad, tossed with zesty vinaigrette, balances the richness of the tortellini. It adds a crunchy texture and a burst of freshness to each plate.
-
Roasted Vegetables: Seasonal veggies like zucchini and bell peppers, roasted until caramelized, offer a savory contrast to the hearty pasta. A sprinkle of herbs elevates their natural flavors.
-
Homemade Pesto: Drizzling pesto over servings adds vibrant herbal notes that harmonize beautifully with the meaty layers of the dish. It’s a colorful, flavorful addition that enhances every bite.
-
Steamed Broccoli: Lightly steamed broccoli offers a nutritious side that pairs well with the rich tortellini. Its gentle crunch and bright color make the plate visually appealing.
-
Sweet Iced Tea: For a refreshing drink, serve sweet iced tea. Its subtle sweetness and cooling qualities perfectly complement the savory notes of the Meat Lovers Pizza Tortellini.
-
Chocolate Chip Cookies: End your meal on a sweet note with warm chocolate chip cookies. The gooey, sugary goodness is the perfect finale, inviting smiles around the table.
Expert Tips for Meat Lovers Pizza Tortellini
-
Perfect Pasta: Ensure you don’t overcook the tortellini. Aim for al dente for the best texture in your Meat Lovers Pizza Tortellini.
-
Flavor Boost: Sauté the onions until they caramelize for a deeper, richer flavor. This small step makes a big difference in taste.
-
Mix It Up: Feel free to swap or add in your favorite meats or veggies. This versatility lets you customize your Meat Lovers Pizza Tortellini to suit your family’s preferences.
-
Cheesy Top: For an extra golden layer of cheese, broil for just a couple of minutes but watch closely to prevent burning.
-
Storage Secrets: Store leftovers in an airtight container and enjoy them within 3-4 days to savor that delicious flavor while it’s still fresh!
Meat Lovers Pizza Tortellini Variations
Delight in the flexibility of this recipe and discover how to tailor every delicious bite to your taste.
- Dairy-Free: Substitute mozzarella with vegan cheese or nutritional yeast for a creamy, flavorful finish.
- Veggie Boost: Add fresh spinach or kale for a nutritious touch that enhances the overall flavor.
- Spicy Kick: Mix in some crushed red pepper flakes or jalapeños for an exciting heat that elevates your dish.
- No-Meat Option: Use plant-based crumbles in place of meat for a satisfying vegetarian twist.
- Pasta Variety: Swap tortellini for penne or rigatoni; this change creates a delightful texture and pasta experience.
- Herb Infusion: Garnish with fresh basil or parsley before serving to add brightness and a pop of color.
- Cheesy Paradise: Layer different cheeses like cheddar or fontina for a unique melty experience that your family will love.
- Extra Crisp: Top with crushed potato chips or crispy onions just before serving for an unexpected crunch.
With these variations, your Meat Lovers Pizza Tortellini goes from comforting classic to customizable masterpiece. For additional family favorites, check out the comforting Onion Soup Meatloaf or stick with the irresistible essence of Apart Nduja Meatball Sliders. Enjoy the journey of flavor!
How to Store and Freeze Meat Lovers Pizza Tortellini
Fridge: Keep leftover Meat Lovers Pizza Tortellini in an airtight container for up to 3-4 days. This helps maintain its flavor and texture, ready for another comforting meal.
Freezer: For longer storage, cool the dish completely, then transfer it to a freezer-safe container. It can be frozen for up to 2-3 months.
Reheating: When ready to enjoy, thaw overnight in the fridge and reheat in the oven or microwave until heated through, ensuring the cheesy goodness melts perfectly.
Airtight Storage: Always use airtight containers for both fridge and freezer storage to prevent freezer burn and loss of flavor, ensuring every bite is as delightful as the first.
Meat Lovers Pizza Tortellini Recipe FAQs
How do I choose the right tortellini for this dish?
Absolutely! When selecting tortellini, look for fresh or frozen varieties filled with cheese or your favorite meat. If those aren’t available, any type of pasta, such as penne or rotini, can also work as a base, though you’ll need to adjust cooking times based on the pasta shape used.
What’s the best way to store leftovers of Meat Lovers Pizza Tortellini?
Store your leftover Meat Lovers Pizza Tortellini in an airtight container in the refrigerator for up to 3-4 days. Make sure it cools to room temperature before sealing to avoid condensation, which can make it soggy.
Can I freeze Meat Lovers Pizza Tortellini, and how should I do it?
Yes, you can! To freeze, allow your dish to cool completely, then transfer it into a freezer-safe container or a heavy-duty freezer bag. It can be stored in the freezer for up to 2-3 months. When you’re ready to enjoy it again, thaw it overnight in the refrigerator and reheat it until bubbly in the oven or microwave.
What if my tortellini turns out mushy?
Very! If your tortellini becomes mushy, it’s likely overcooked. To avoid this in the future, stick to the package instructions for cooking time. After draining, ensure to mix it gently with the meat and sauce to prevent it from breaking apart. If you find yourself with mushy tortellini, consider adding a layer of fresh ingredients like a sprinkle of fresh herbs or an additional cheese topping to add texture and flavor.
Are there any dietary restrictions I should consider with this dish?
Absolutely! While this Meat Lovers Pizza Tortellini is rich and hearty, it’s essential to note that it contains meat and dairy, making it unsuitable for vegetarians or vegans. For those with allergies, you can substitute ingredients such as GF tortellini for gluten intolerance or plant-based cheese for dairy sensitivities. Always check labels if you’re using store-bought sauces or ingredients to ensure they meet dietary needs.
How can I enhance the flavor of my Meat Lovers Pizza Tortellini further?
To enhance the dish, consider adding sautéed bell peppers, mushrooms, or spinach for extra nutrients and flavor. You can also increase the amount of Italian seasoning or sprinkle fresh parmesan on top before serving for that extra zing. Remember, customization is key, so feel free to experiment with your favorite flavors!
Savory Meat Lovers Pizza Tortellini for Cozy Family Nights
Ingredients
Equipment
Method
- In a large pot, bring water to a boil and season it with salt. Add the tortellini and cook according to package instructions, usually about 3-5 minutes until al dente. Once cooked, drain and set aside in a large mixing bowl.
- In a large skillet, heat 2 tablespoons of olive oil over medium heat. Add chopped yellow onion and sauté for 3-4 minutes until softened. Then, add the ground beef and Italian sausage, cooking for 6-8 minutes until browned. Stir in minced garlic and Italian seasoning, letting the flavors meld.
- Pour the pizza sauce over the sautéed meat mixture, stirring well to ensure everything is coated. Gently fold in the cooked tortellini until evenly mixed. Reduce the heat to low and let the mixture simmer for about 5 minutes.
- Preheat your broiler. Transfer the tortellini mixture into a baking dish and sprinkle a generous layer of mozzarella cheese on top. Place the dish under the broiler for about 3-5 minutes, until the cheese is melted and bubbly.
- Remove the dish from the oven and cool for a few minutes before serving. Garnish with chopped herbs like basil or parsley if desired.