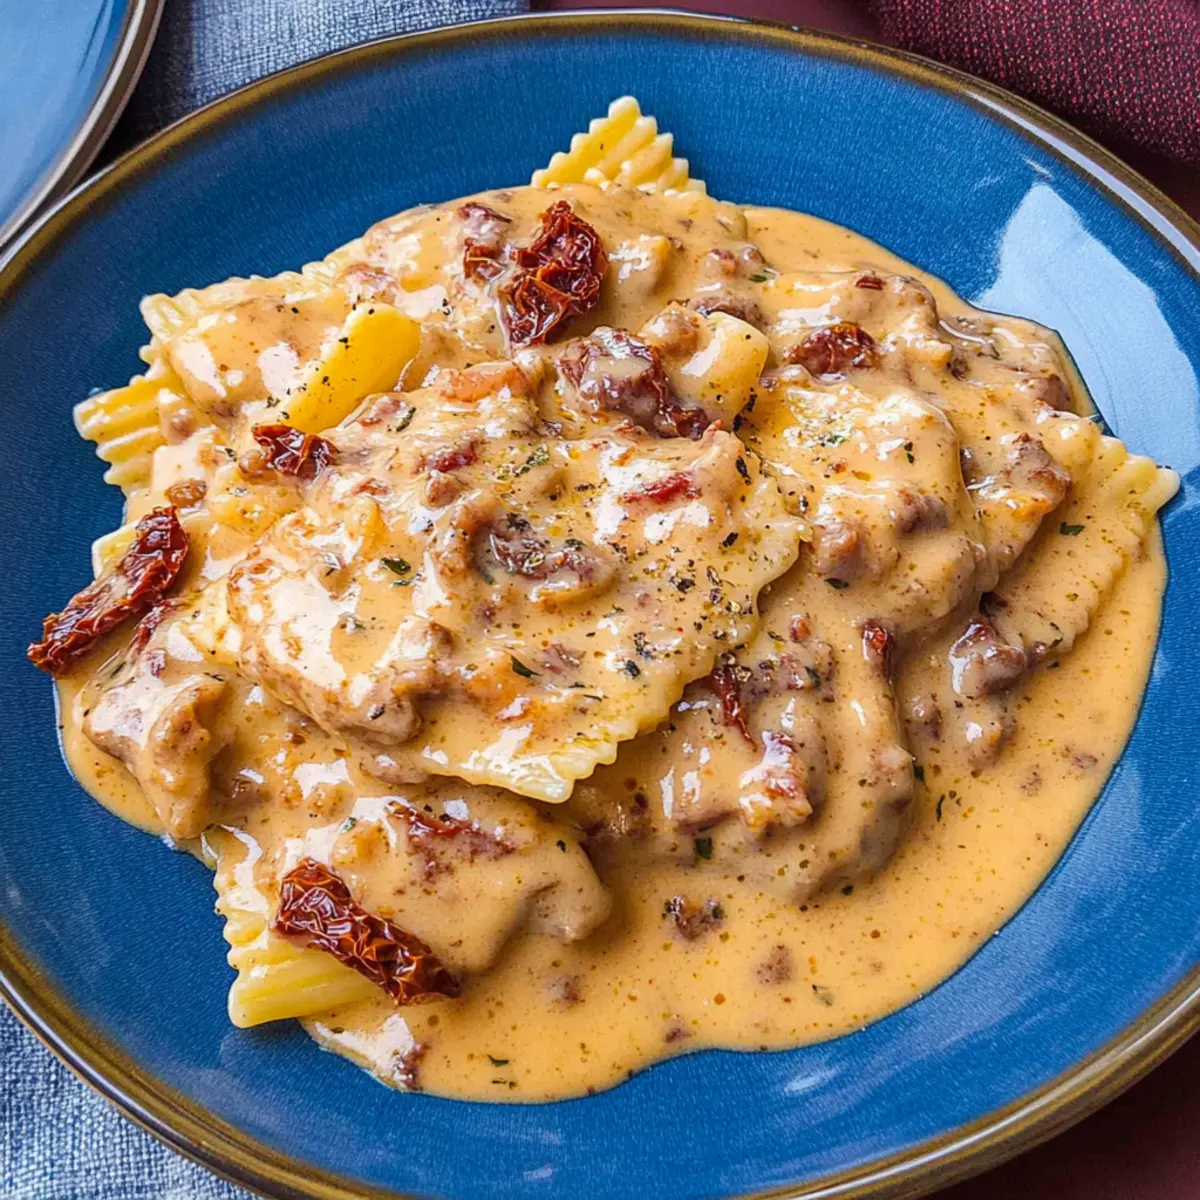
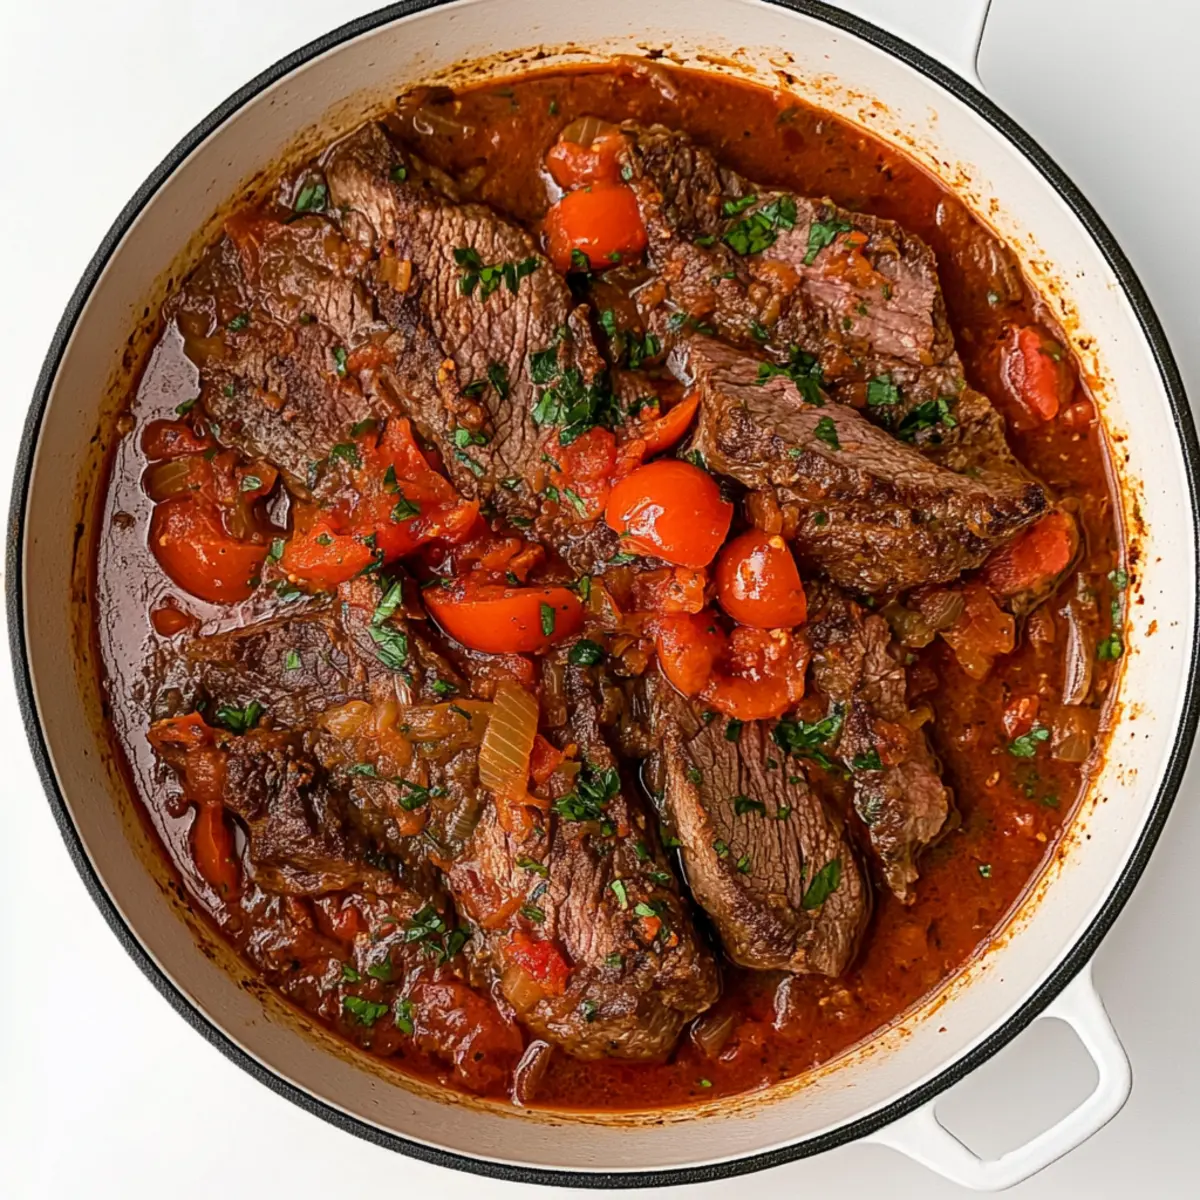
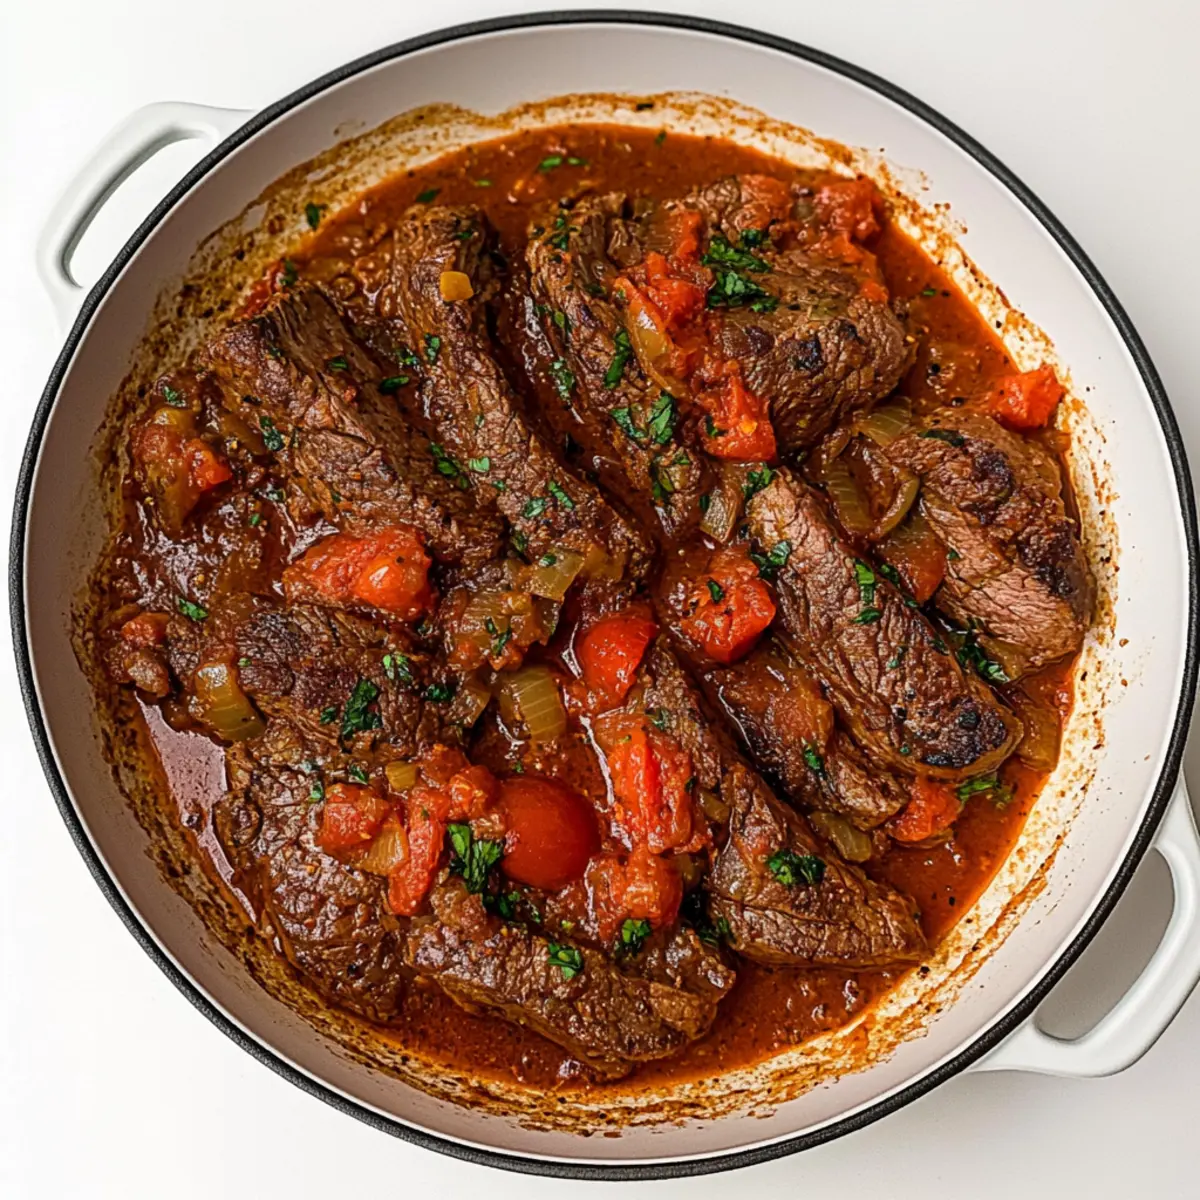
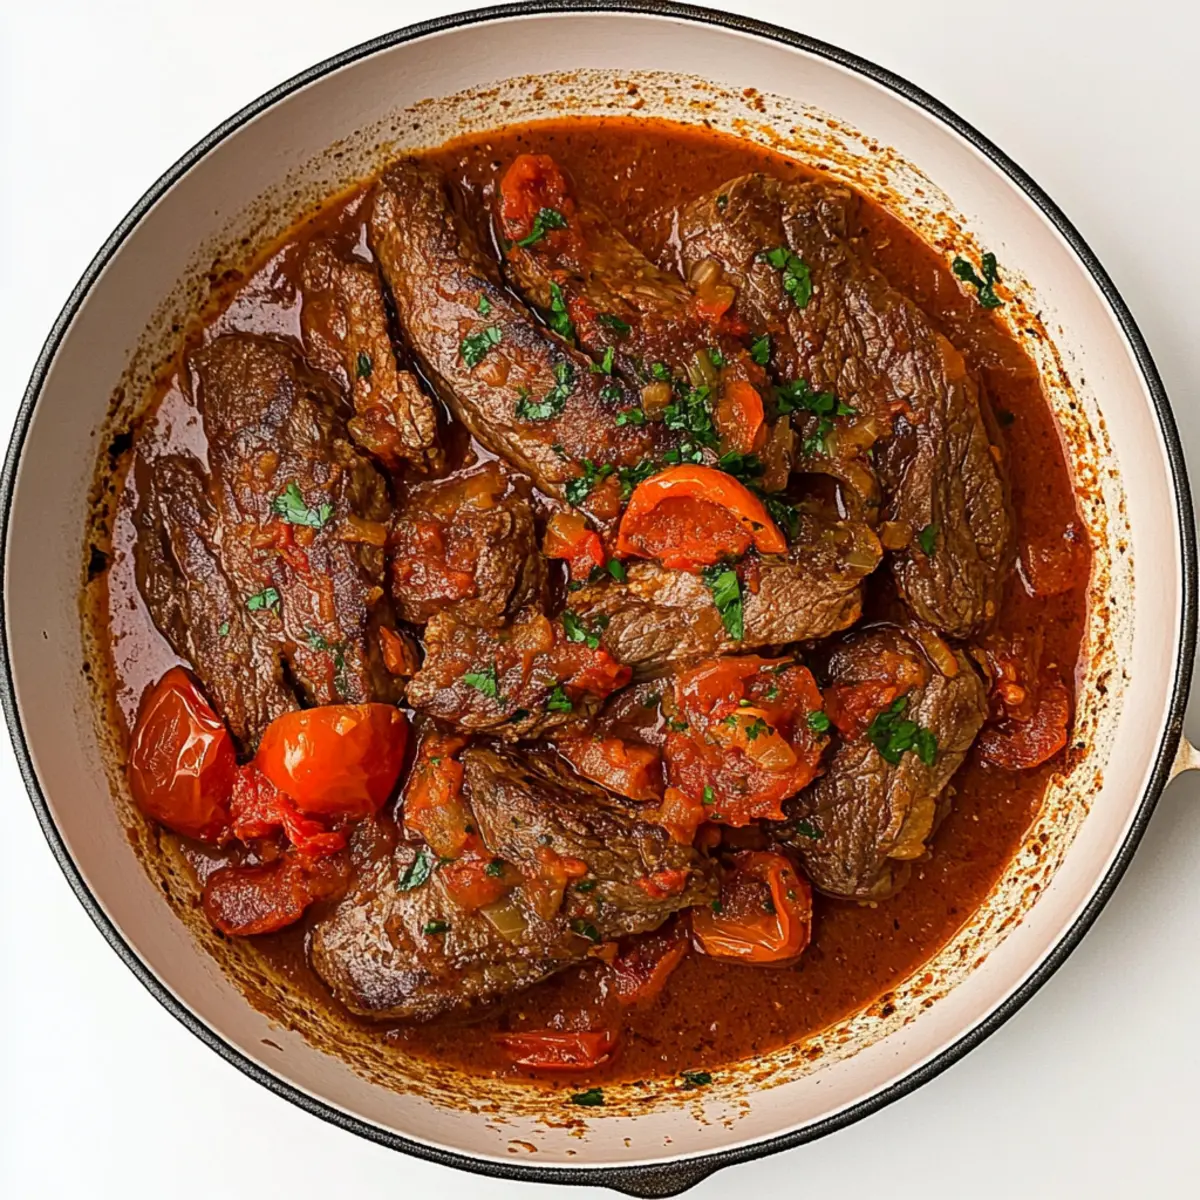
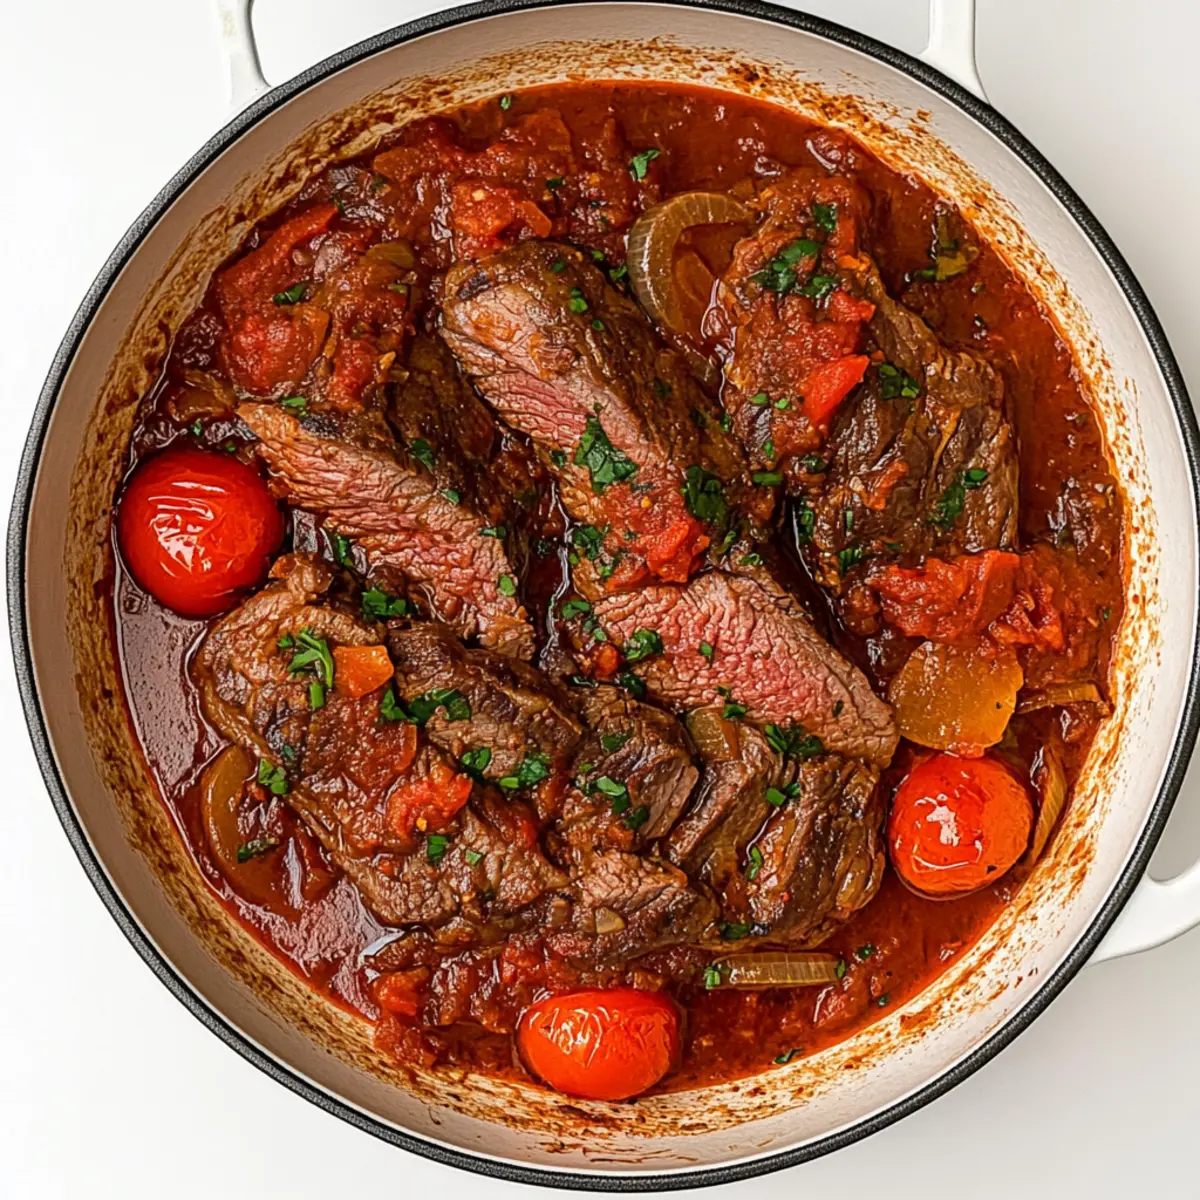
The scent of sizzling steak wafting through the kitchen is enough to make anyone’s mouth water. Today, I’m thrilled to share a recipe for Carne en Bistec, a beloved Colombian classic that has quickly become a family favorite in my home. This dish combines juicy flank steak with a vibrant tomato and onion sauce, creating a comforting meal that comes together in just under 30 minutes. Perfect for those busy weeknight dinners, it’s not only quick to prepare but also a sure hit with even the pickiest of eaters. Serve it alongside rice and avocado for the ultimate comforting experience. Are you ready to bring a taste of Colombia to your table? Let’s dive into this delicious recipe!
Why is Carne en Bistec a Must-Try?
Quick Preparation: This recipe is ideal for busy weeknights, coming together in just under 30 minutes.
Flavor Explosion: Juicy flank steak, combined with a rich tomato and onion sauce, brings comfort and depth to every bite.
Family Favorite: Even the pickiest eaters won’t resist the hearty flavors of this Colombian classic.
Customizable Options: Feel free to add bell peppers or top with an egg for a delightful twist!
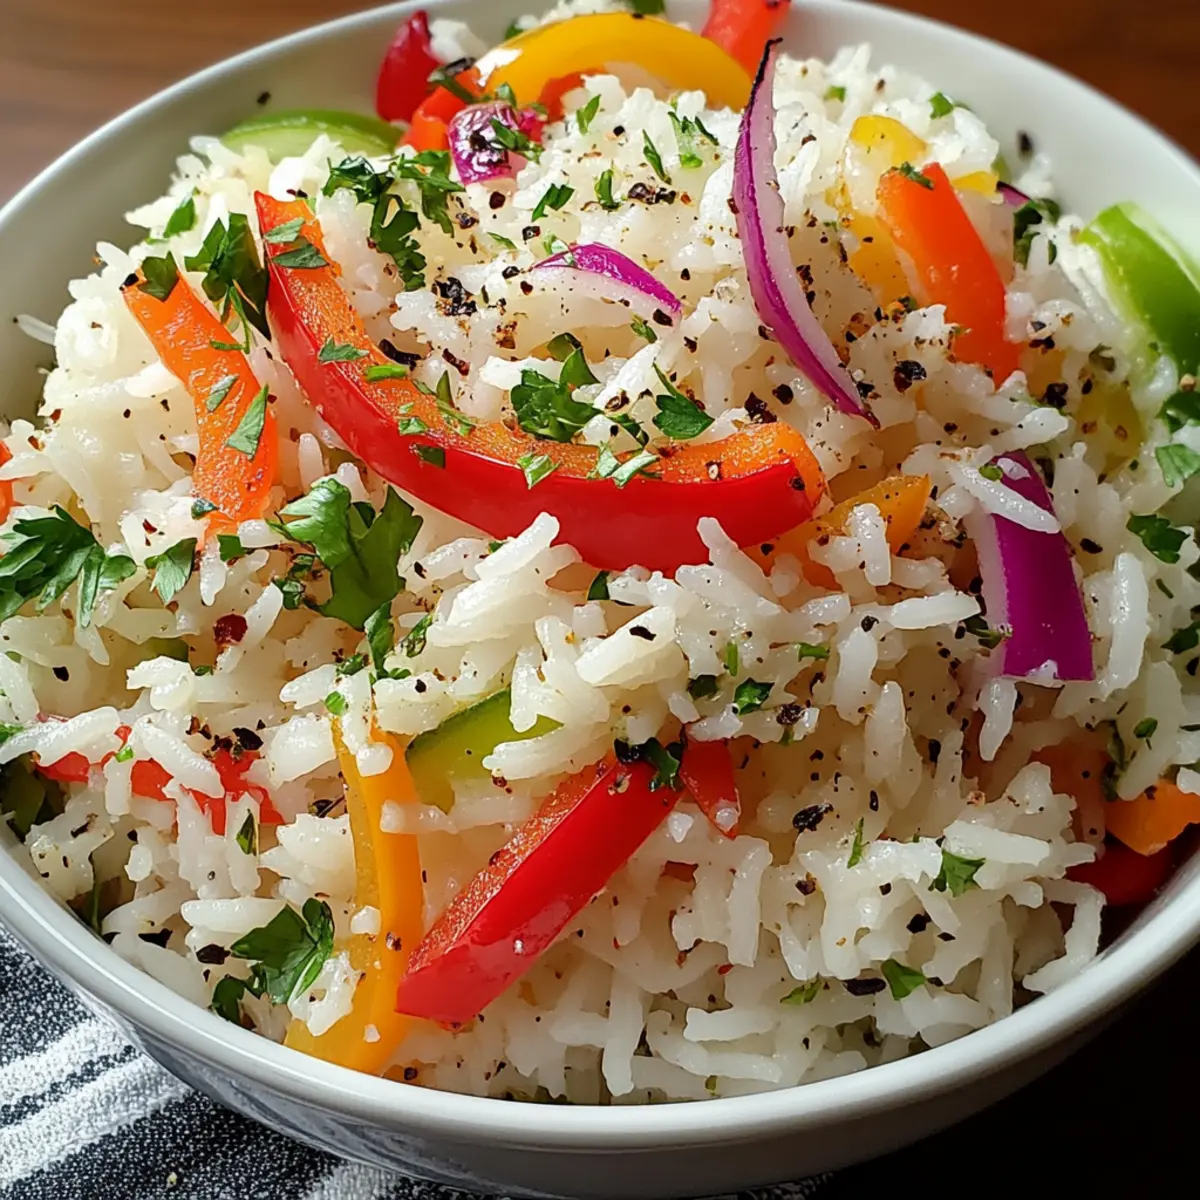
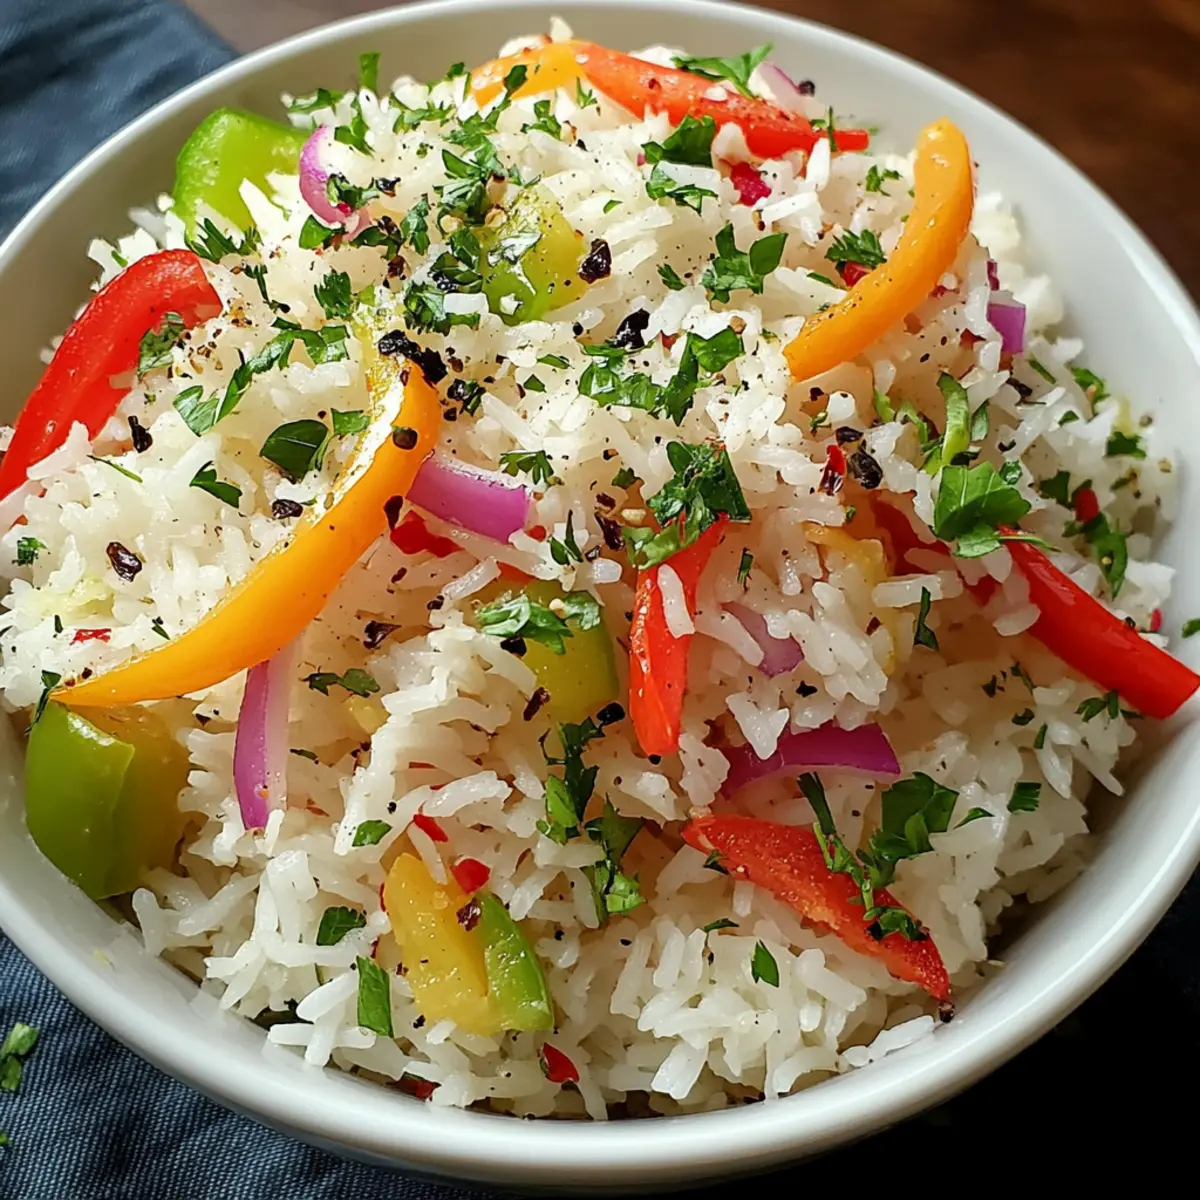
Serve with Style: Pair it with rice and avocado for a well-rounded meal that looks as good as it tastes.
Give this dish a chance and explore more Colombian delights with our other recipes.
Carne en Bistec Ingredients
For the Steak
• Flank Steak – The heart of this dish; slice it thin against the grain for unbeatable tenderness.
• Salt – Essential for enhancing flavor; adjust to your preference.
• Ground Cumin – Offers a warm, earthy note that deepens the taste.
For the Sauce
• Dried Oregano – This adds aromatic herbalities that vibrantly complement the steak.
• Red Wine Vinegar – Balances richness with a hint of acidity.
• Onion – Sweetens the sauce; opt for yellow or white varieties for the best results.
• Tomato (or Diced Tomatoes) – Fresh or canned, they contribute a necessary tangy sweetness.
For the Braising Liquid
• Beef Broth – This forms the luscious base of your sauce; adjust the amount for desired thickness.
• Pepper – Add to taste for that extra seasoning kick.
So, gather these simple yet flavorful ingredients and get ready to whip up a glorious plate of Carne en Bistec that embodies the comforting essence of Colombian cuisine!
Step‑by‑Step Instructions for Quick and Flavorful Carne en Bistec: A Colombian Classic
Step 1: Prepare the Steak
Pat the flank steak dry with paper towels and slice it thinly against the grain, aiming for about ¼” thickness. In a bowl, combine the sliced steak with salt, dried oregano, ground cumin, and red wine vinegar, ensuring the meat is evenly coated. Let it marinate for 10 minutes to absorb all those wonderful flavors while you prepare your skillet.
Step 2: Sear the Steak
Heat a heavy skillet over medium-high heat and add a splash of oil. Once the oil is shimmering, carefully place the marinated steak pieces into the skillet, avoiding overcrowding. Sear the steak for about 3 minutes per side until beautifully browned, then remove it from the skillet and set aside to keep it juicy and tender.
Step 3: Cook the Onions
Lower the heat to medium-low and add sliced onions to the same skillet, allowing them to soften and become translucent, which should take about 5 minutes. Stir occasionally to prevent sticking, and enjoy the aroma as the onions release their natural sweetness, setting a delicious base for your Carne en Bistec.
Step 4: Make the Sauce
Add the tomatoes, some salt, pepper, and beef broth to the skillet with sautéed onions. Scrape the bottom of the pan with a wooden spoon to release any delicious browned bits. Bring the mixture to a gentle simmer, allowing the flavors to meld together for about 2-3 minutes, creating a vibrant sauce for your Colombian steak.
Step 5: Braise the Steak
Return the seared steak along with its juices back into the skillet, stirring to combine. Cover the skillet with a lid and reduce the heat to low. Let it cook for about 10 minutes, allowing the carne en bistec to soak up the rich flavors of the sauce and achieve that ideal tender texture.
Step 6: Adjust the Sauce Consistency
After braising, check the sauce; if it’s too thin for your liking, remove the lid and cook uncovered for a few more minutes. This will help thicken the sauce to a luscious consistency. Once done, serve your delectable Carne en Bistec immediately over a bed of fluffy rice, alongside avocado slices for the perfect comfort meal.
What to Serve with Quick and Flavorful Carne en Bistec?
Elevate your dining experience with some delightful sides that perfectly complement the rich flavors of this beloved Colombian classic.
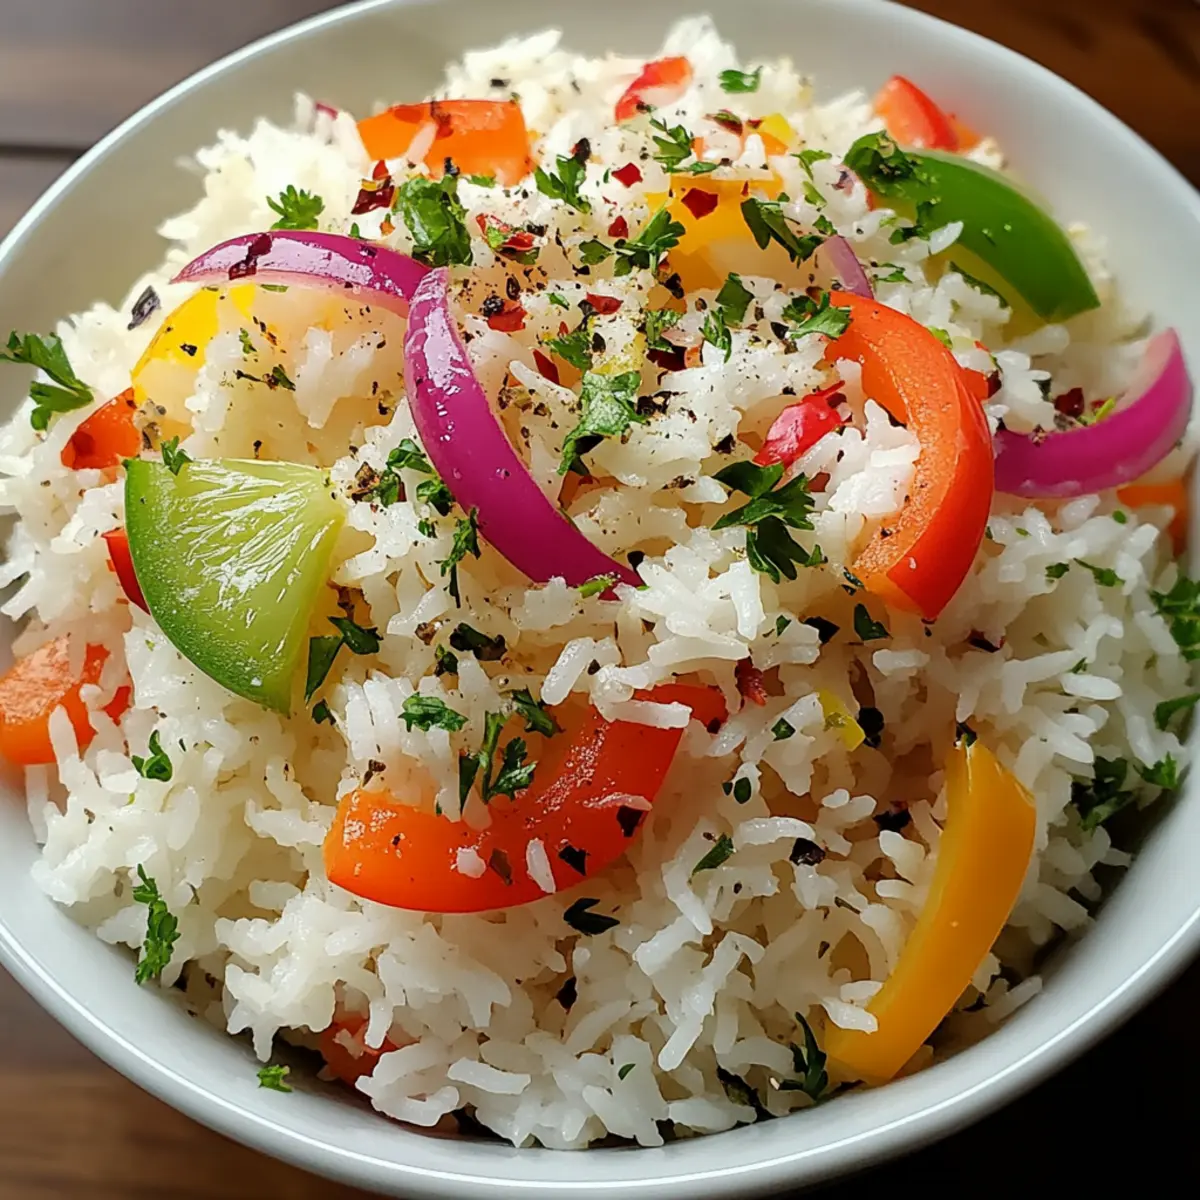
- Fluffy White Rice: Provides a neutral base that soaks up the savory tomato and onion sauce, making every bite satisfying.
- Creamy Avocado Slices: Their cool, creamy texture contrasts beautifully with the warm steak, adding a fresh element to your plate.
- Fresh Salsa or Pico de Gallo: Bright and zesty, this is an excellent way to introduce brightness and freshness that balances the richness of the meat.
- Maduros (Fried Sweet Plantains): Their natural sweetness enhances the savory flavors, offering a comforting touch that elevates the meal to the next level.
- Colombian Arepas: These delicious, corn-based patties are perfect for mopping up any extra sauce, making them a must-have addition to your dining table.
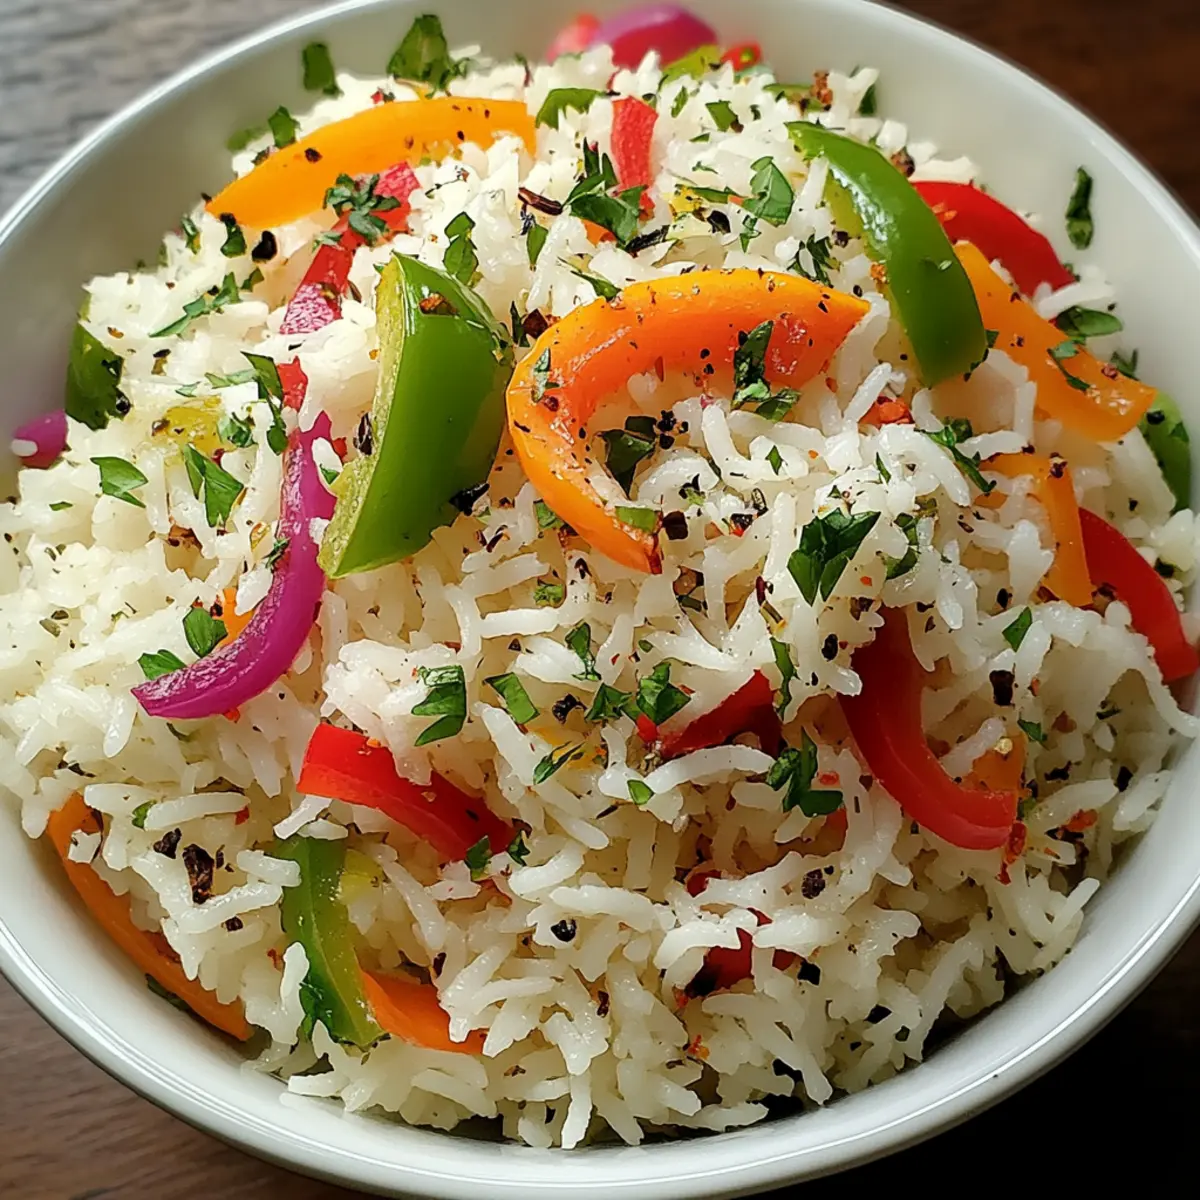
- Zucchini or Bell Pepper Stir-Fry: Tossed with garlic and herbs, these sautéed veggies add both color and healthfulness, creating a vibrant plate.
- Chilled Beverages: Light, fruity drinks such as a refreshing lemonade or Colombian coffee are perfect choices to wash down the hearty flavors, enhancing the overall experience.
- Flan for Dessert: End the meal on a sweet note with this creamy caramel custard, adding just the right touch of indulgence after a savory dish.
Make Ahead Options
Preparing Carne en Bistec is a breeze, especially when you make it ahead of time! You can marinate the flank steak with salt, oregano, cumin, and vinegar up to 24 hours in advance, allowing those flavors to deepen. Additionally, you can slice the onions and tomatoes and store them in airtight containers in the refrigerator for up to 3 days. When you’re ready to cook, simply follow the remaining steps, starting from searing the marinated steak. This way, you’ll have a comforting Colombian dish ready in minutes, just as delicious but with far less effort on busy weeknights!
How to Store and Freeze Carne en Bistec
Fridge: Store leftover Carne en Bistec in an airtight container for up to 2 days. Reheat gently on the stovetop or in the microwave, ensuring it’s warmed through.
Freezer: For longer storage, freeze Carne en Bistec in a freezer-safe container for up to 3 months. Thaw overnight in the fridge before reheating for best results.
Reheating: To retain moistness, reheat on low heat, adding a splash of beef broth if needed to revive the sauce. Enjoy your comfort food at its best!
Serving Suggestions: Consider pairing reheated carne en bistec with fresh rice and sliced avocado for a lovely meal, just like the first time you enjoyed this Colombian classic!
Variations & Substitutions for Carne en Bistec
Customize your Carne en Bistec to delight your taste buds even more! Let your creative spirit shine in the kitchen!
- Steak Swap: Try sirloin or skirt steak for a slightly different flavor profile, making each bite a new experience.
- Spice it Up: Add chopped jalapeños or crushed red pepper for that extra kick, warming your favorite comfort dish to new heights.
- Veggie Boost: Toss in bell peppers for a colorful and nutritious addition that complements the savory sauce beautifully.
- Egg Topping: Serve your carne with a fried egg on top for a delightful twist, reminiscent of the traditional Carne Bistec a Caballo, adding a creamy richness to the dish.
- Healthier Options: Substitute flank steak with grilled chicken or even firm tofu for a lighter take, inviting everyone to enjoy this classic.
- Herb Infusion: Fresh cilantro or parsley sprinkled just before serving elevates the dish with a burst of freshness, creating a feast for the senses.
- Sauce Variation: Blend in a tablespoon of capers for a touch of tanginess in your sauce, enhancing the overall depth of flavors.
- Authentic Touch: For an extra Colombian flavor, add a dash of Worcestershire sauce to the braising liquid, deepening the umami!
Feel inspired to make these variations and explore countless delectable experiences with your Carne en Bistec. Don’t forget to check our other recipes for more culinary explorations!
Expert Tips for Carne en Bistec
-
Slice Cold: Slice flank steak when cold from the fridge; it’s much easier and results in uniform pieces for even cooking.
-
Marinate Wisely: Allow the steak to marinate for at least 10 minutes. This helps the flavors infuse deeply, enhancing the overall taste of your Carne en Bistec.
-
Perfecting the Sear: Ensure your skillet is hot enough before adding the steak. A good sear locks in juices, giving you that tender texture everyone loves.
-
Choose Fresh Ingredients: Whenever possible, opt for fresh tomatoes. They provide a brighter flavor than canned, making your sauce even more delicious.
-
Adjusting Thickness: If the sauce is too thin after braising, simply remove the lid and let it simmer uncovered for a few extra minutes until it reaches your desired consistency.
Enjoy making your Carne en Bistec with these handy tips and elevate your cooking experience!
Carne en Bistec Recipe FAQs
How do I choose the right steak for Carne en Bistec?
Absolutely! For Carne en Bistec, flank steak is the best choice as it’s tender and flavorful. Look for steak that is bright red with minimal dark spots. Make sure the meat is well-marbled, as this will enhance its juiciness. If you prefer, you can also use sirloin or skirt steak for a different flavor profile.
What’s the best way to store leftovers?
Leftover Carne en Bistec can be stored in an airtight container in the refrigerator for up to 2 days. To keep it fresh and flavorful, make sure to allow it to cool completely before sealing. When reheating, I recommend doing so gently on the stovetop or in the microwave to prevent dryness.
Can I freeze Carne en Bistec?
Yes, you can freeze Carne en Bistec! Just place it in a freezer-safe container and it will keep well for up to 3 months. To freeze, let the dish cool completely, then divide it into portions for easier thawing. When you’re ready to enjoy it, thaw overnight in the refrigerator before reheating on low heat to retain its juicy texture.
What if my sauce is too thin?
If your sauce turns out too thin after braising, don’t worry! Simply remove the lid from your skillet and let it simmer over low heat uncovered for an additional 5-10 minutes. This will help evaporate excess liquid and thicken the sauce. You can also add a bit of cornstarch mixed with water as a thickening agent if necessary.
Are there any dietary considerations I should keep in mind?
Great question! If you have gluten allergies, ensure that the beef broth and any hidden ingredients you use are gluten-free. Additionally, if cooking for pets, refrain from sharing leftovers that contain onions or excessive seasoning, as they can be harmful to animals. Always adapt the recipe to suit your dietary needs!
Can I customize the ingredients?
The more the merrier! You can easily add bell peppers or jalapeños for a bit of kick! If you like your Carne en Bistec with an egg on top, try the variation known as Carne Bistec a Caballo. Feel free to experiment and tailor it to your taste!
Savory Carne en Bistec: Colombian Comfort in 30 Minutes
Ingredients
Equipment
Method
- Pat the flank steak dry and slice thinly against the grain. Combine with salt, oregano, cumin, and vinegar in a bowl. Marinate for 10 minutes.
- Heat a heavy skillet over medium-high heat and add oil. Sear the marinated steak for about 3 minutes per side until browned, then remove from skillet.
- Lower the heat and add sliced onions to the skillet. Sauté for about 5 minutes until translucent.
- Add tomatoes, salt, pepper, and beef broth to the skillet. Simmer for 2-3 minutes, scraping the bottom for browned bits.
- Return the seared steak with its juices to the skillet. Cover and braise on low heat for about 10 minutes.
- Check the sauce; if too thin, simmer uncovered for a few extra minutes. Serve over rice with avocado.