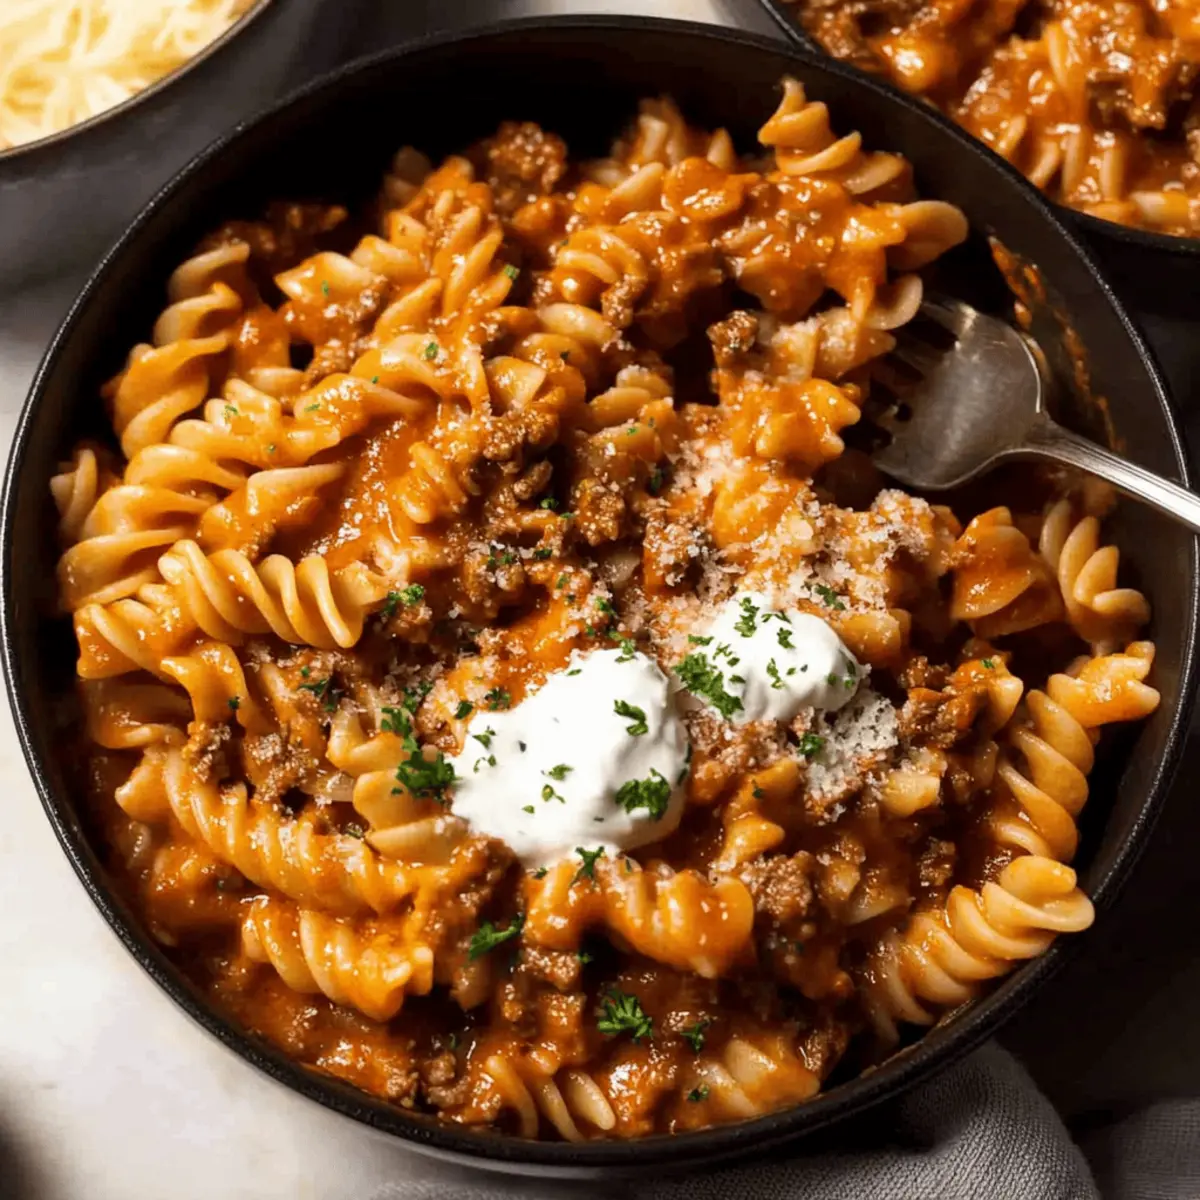
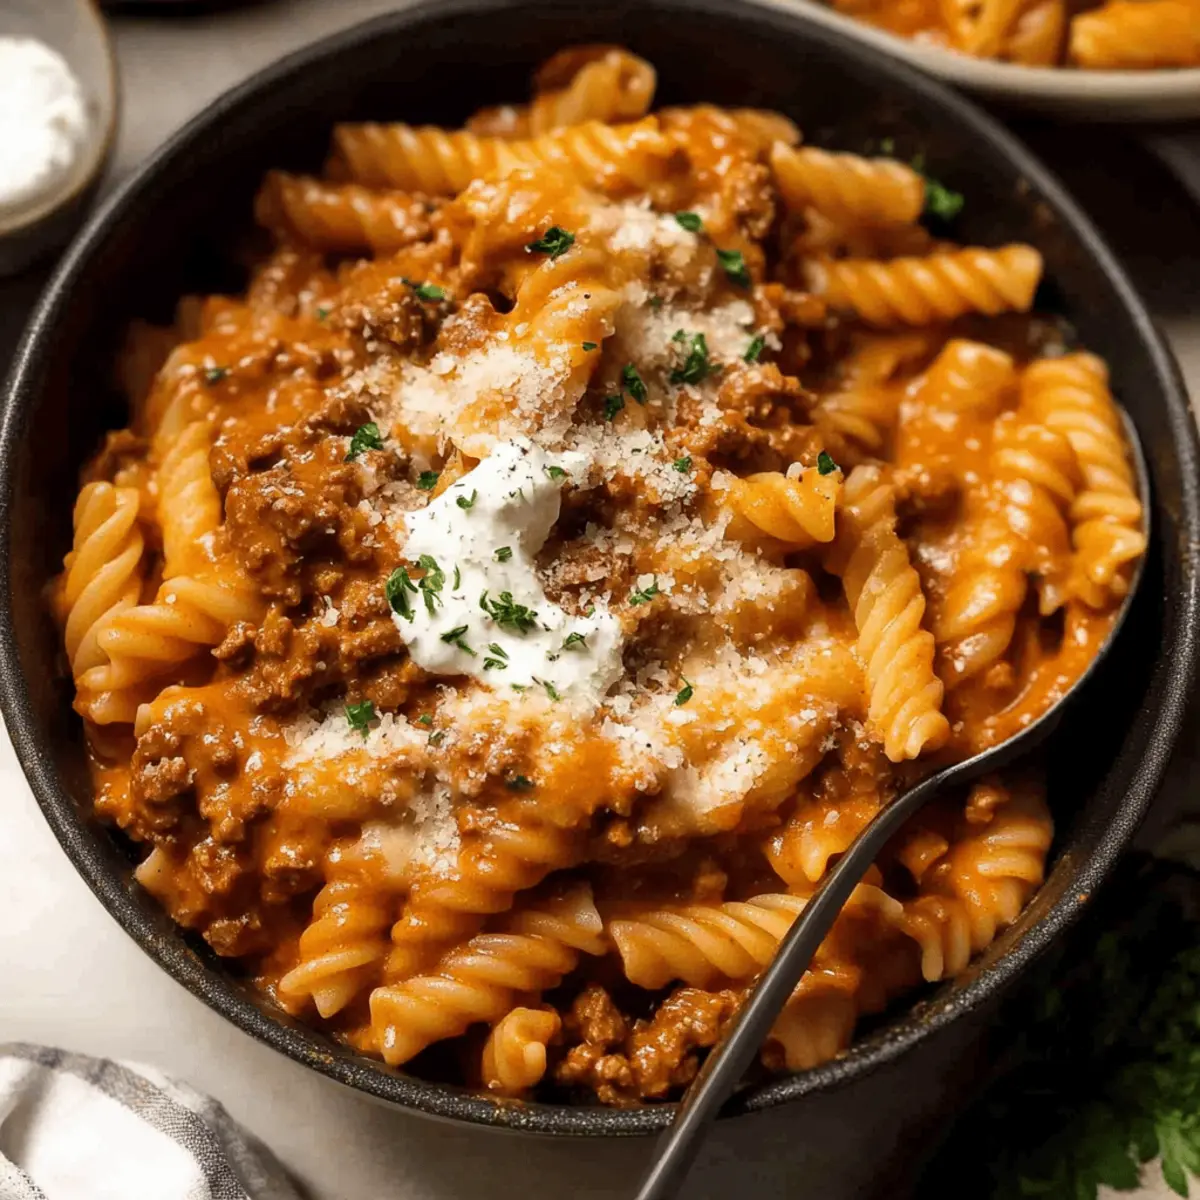
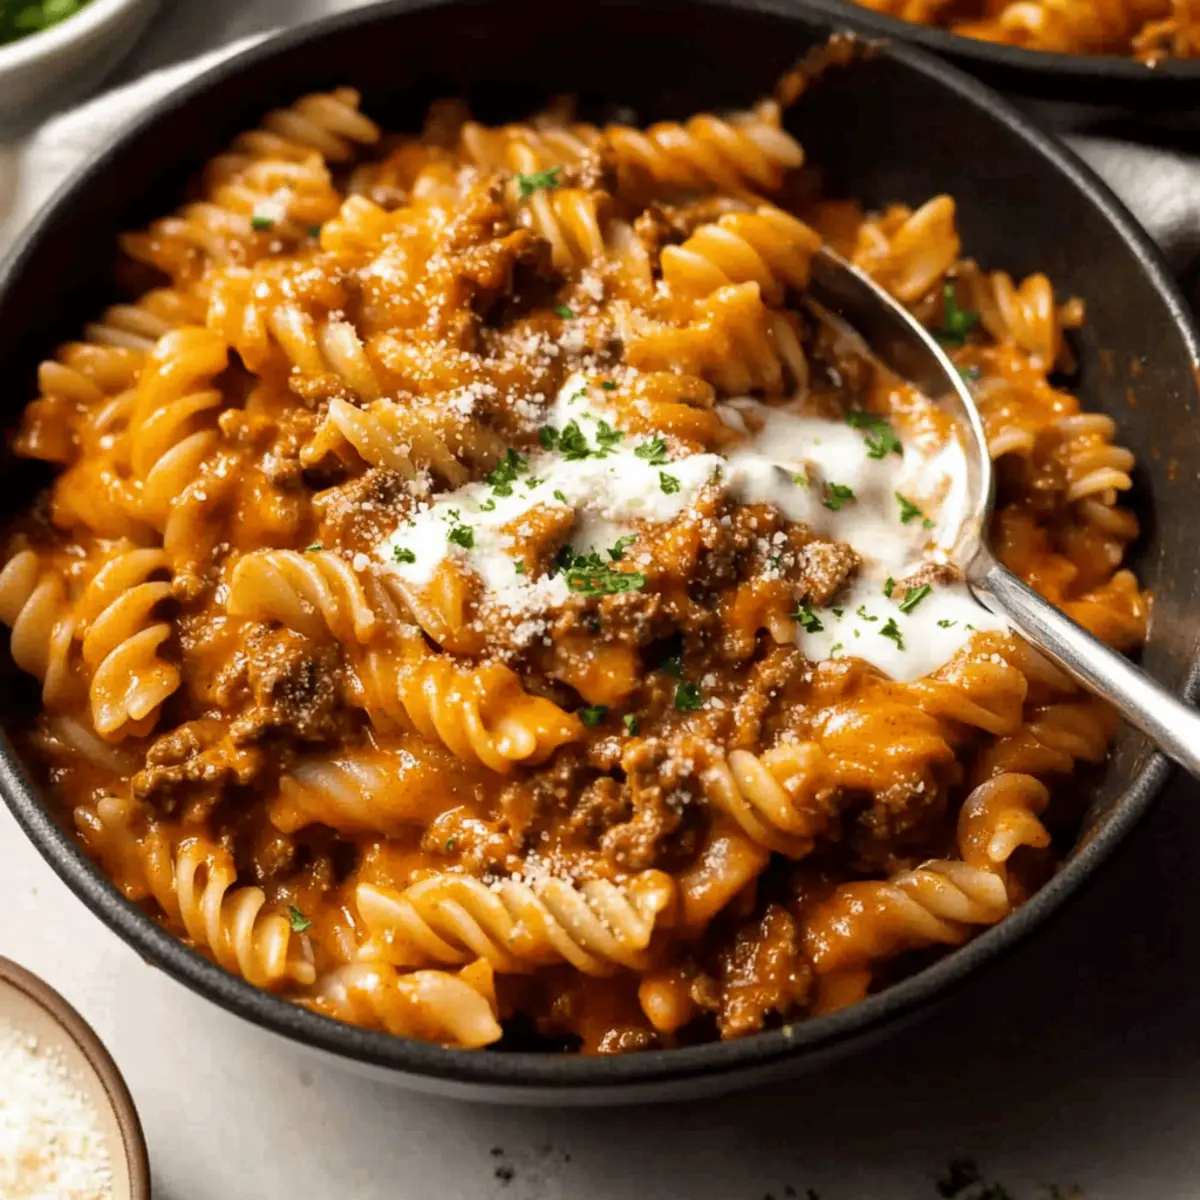
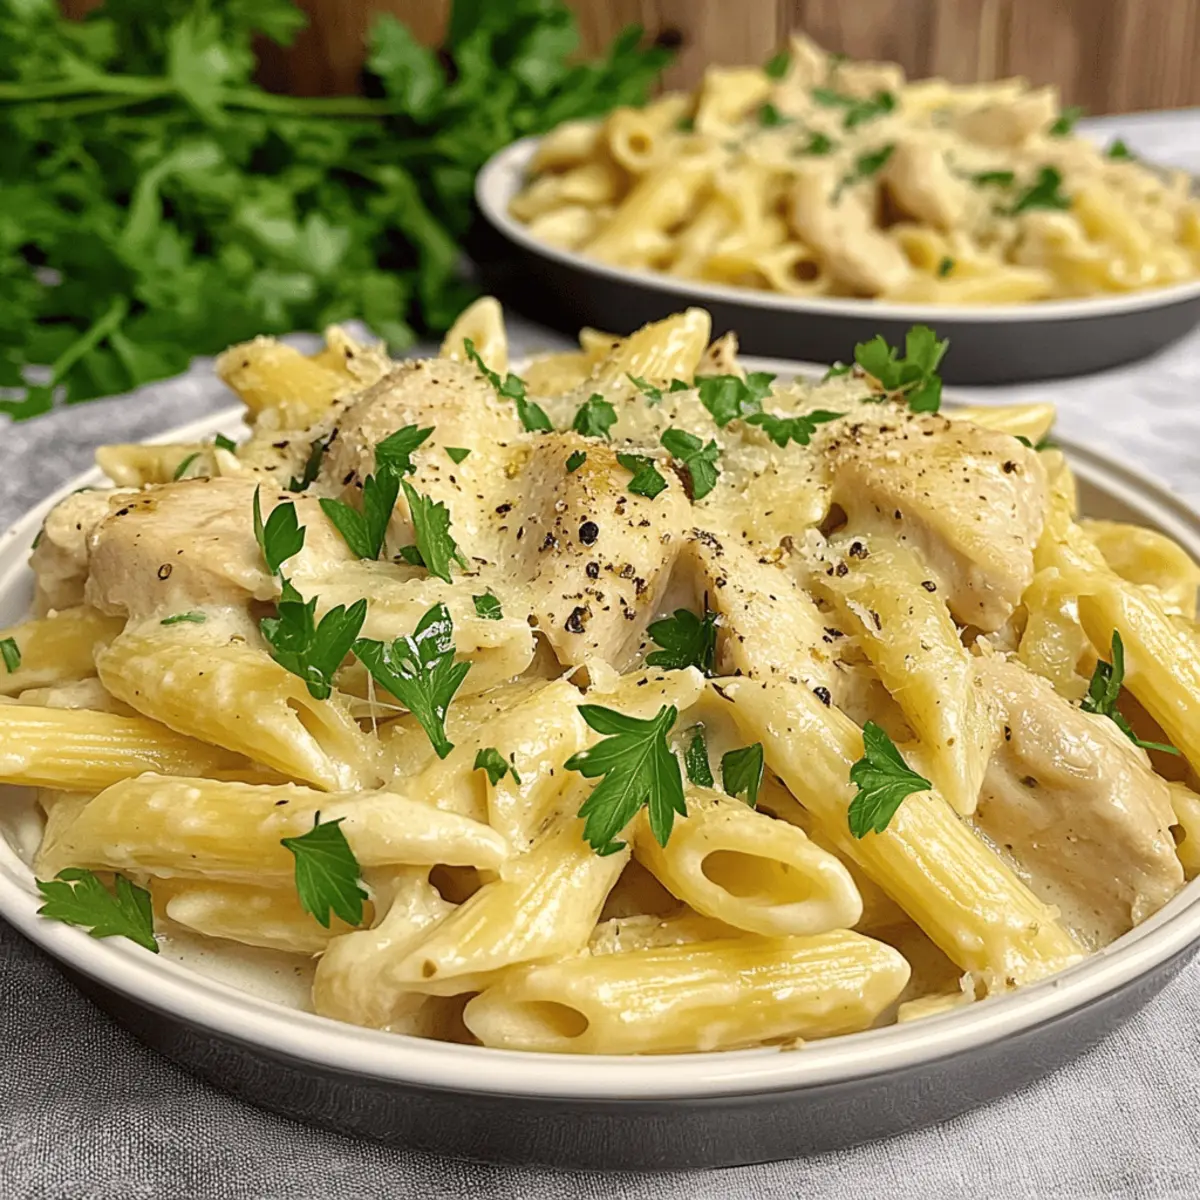
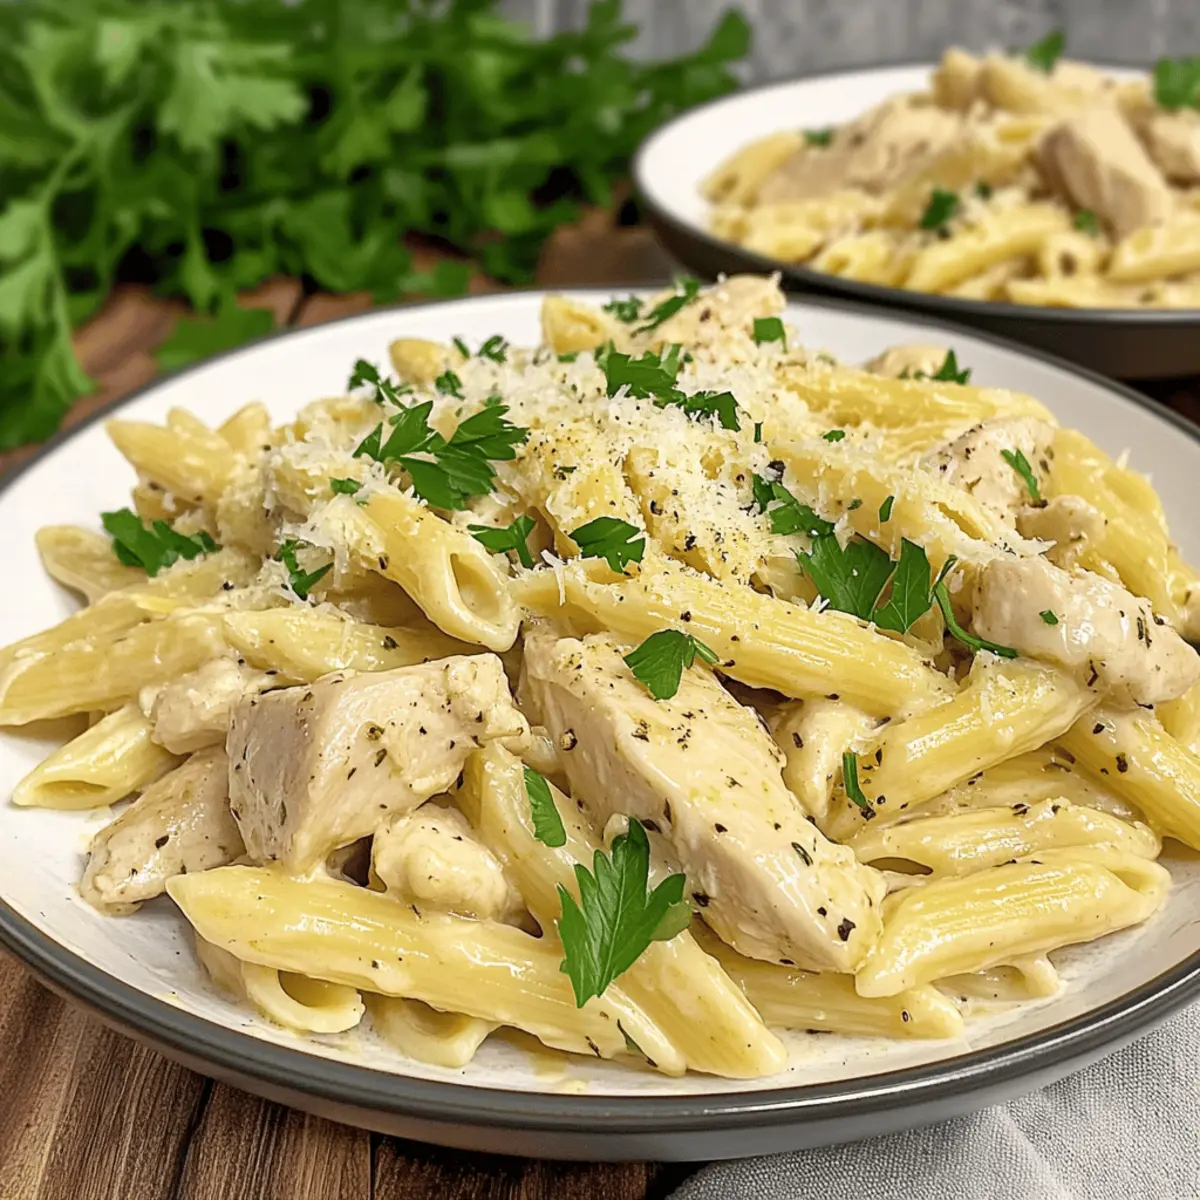
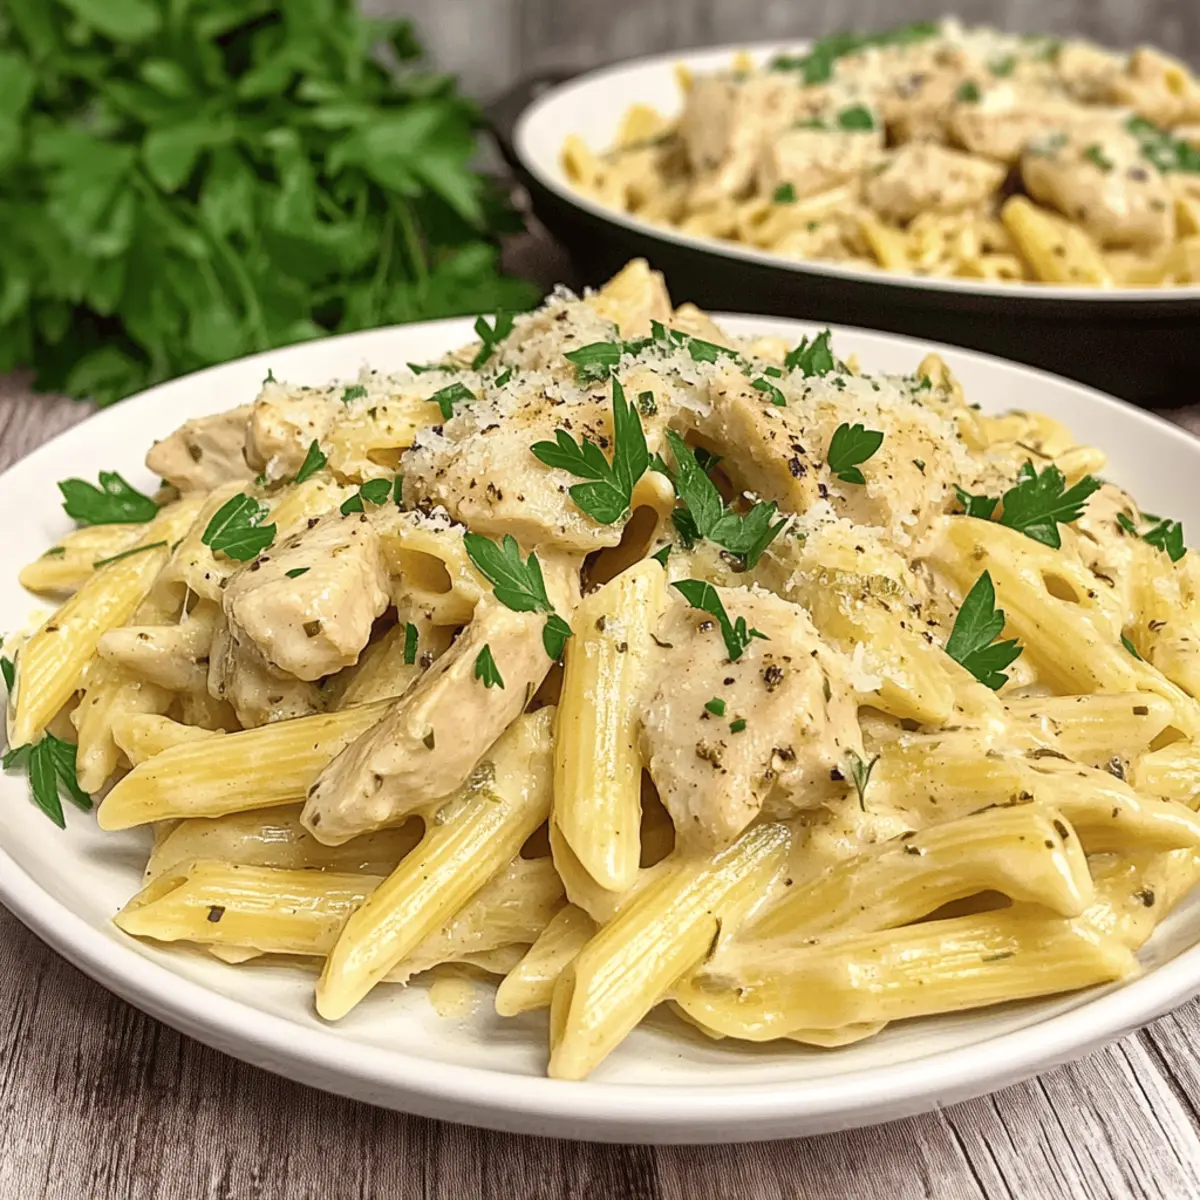
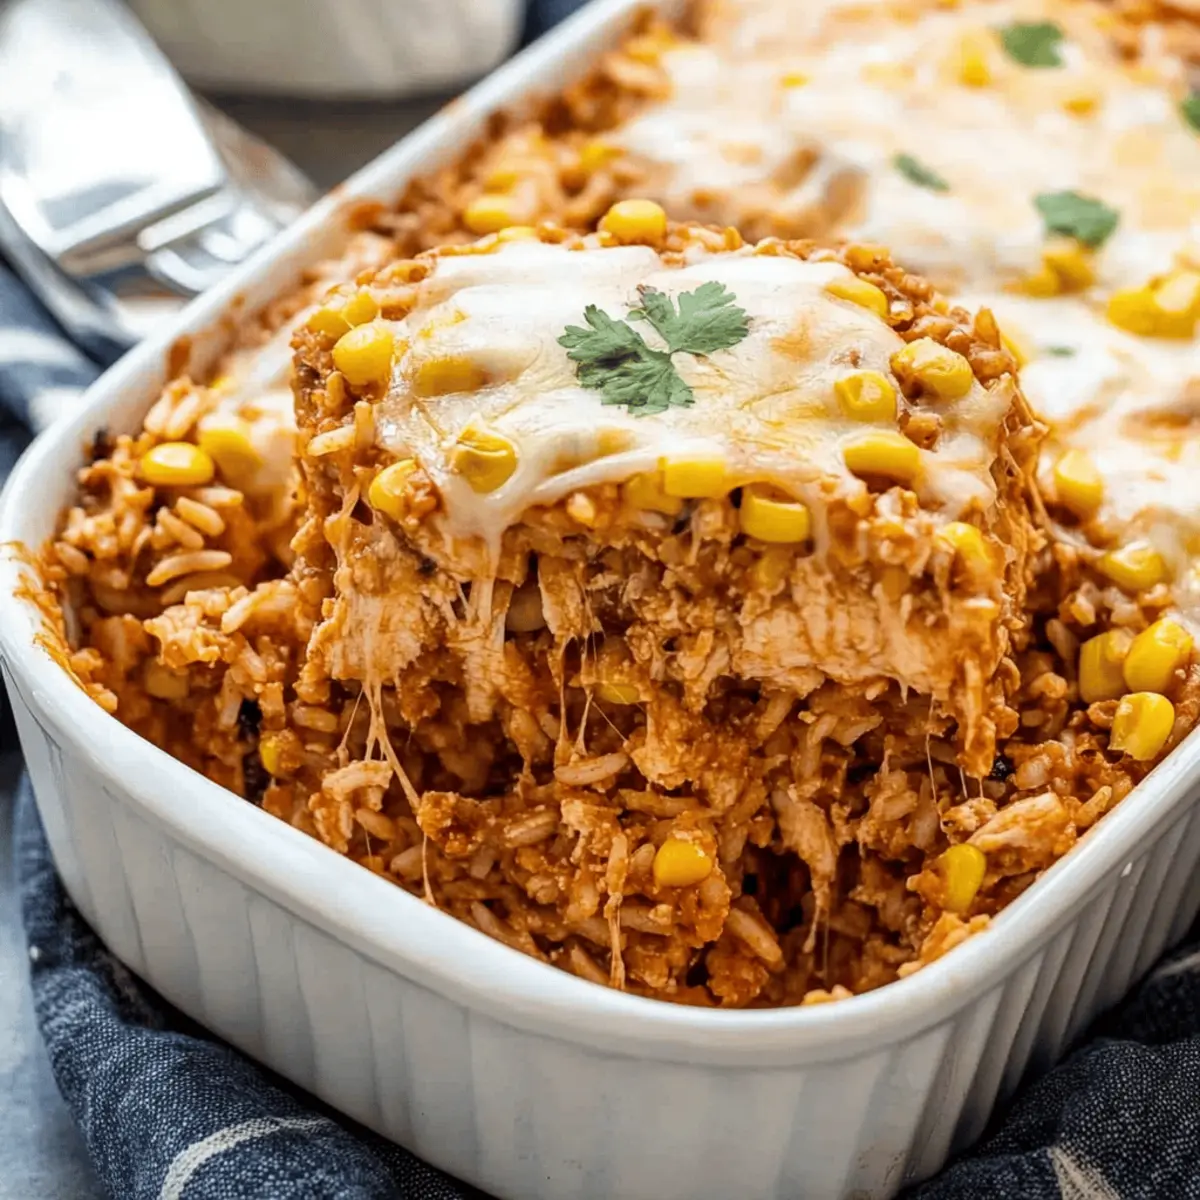
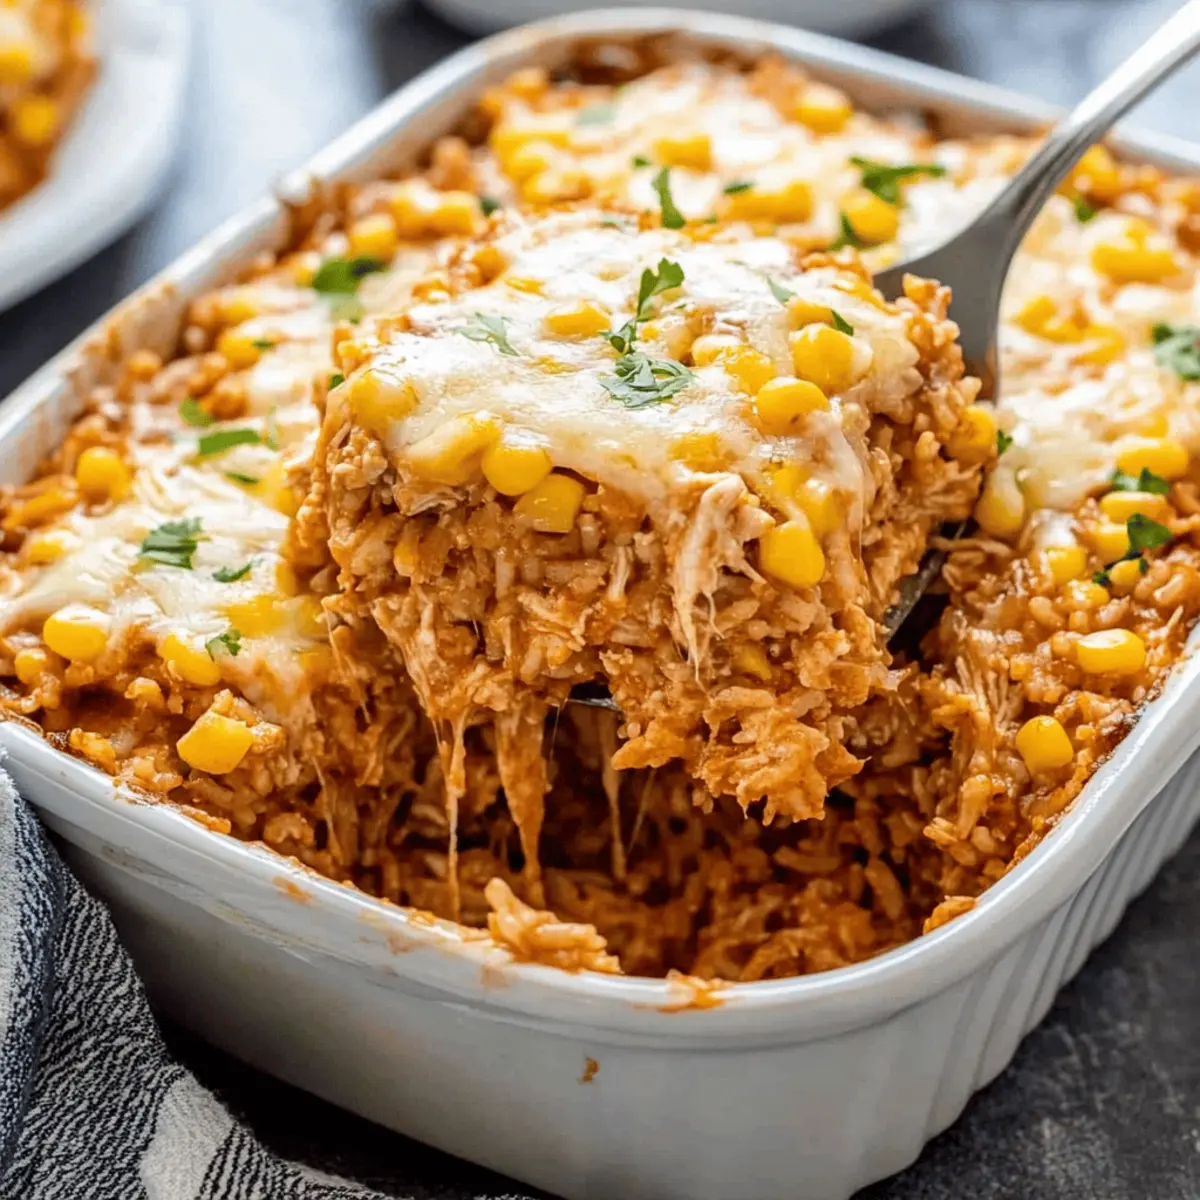
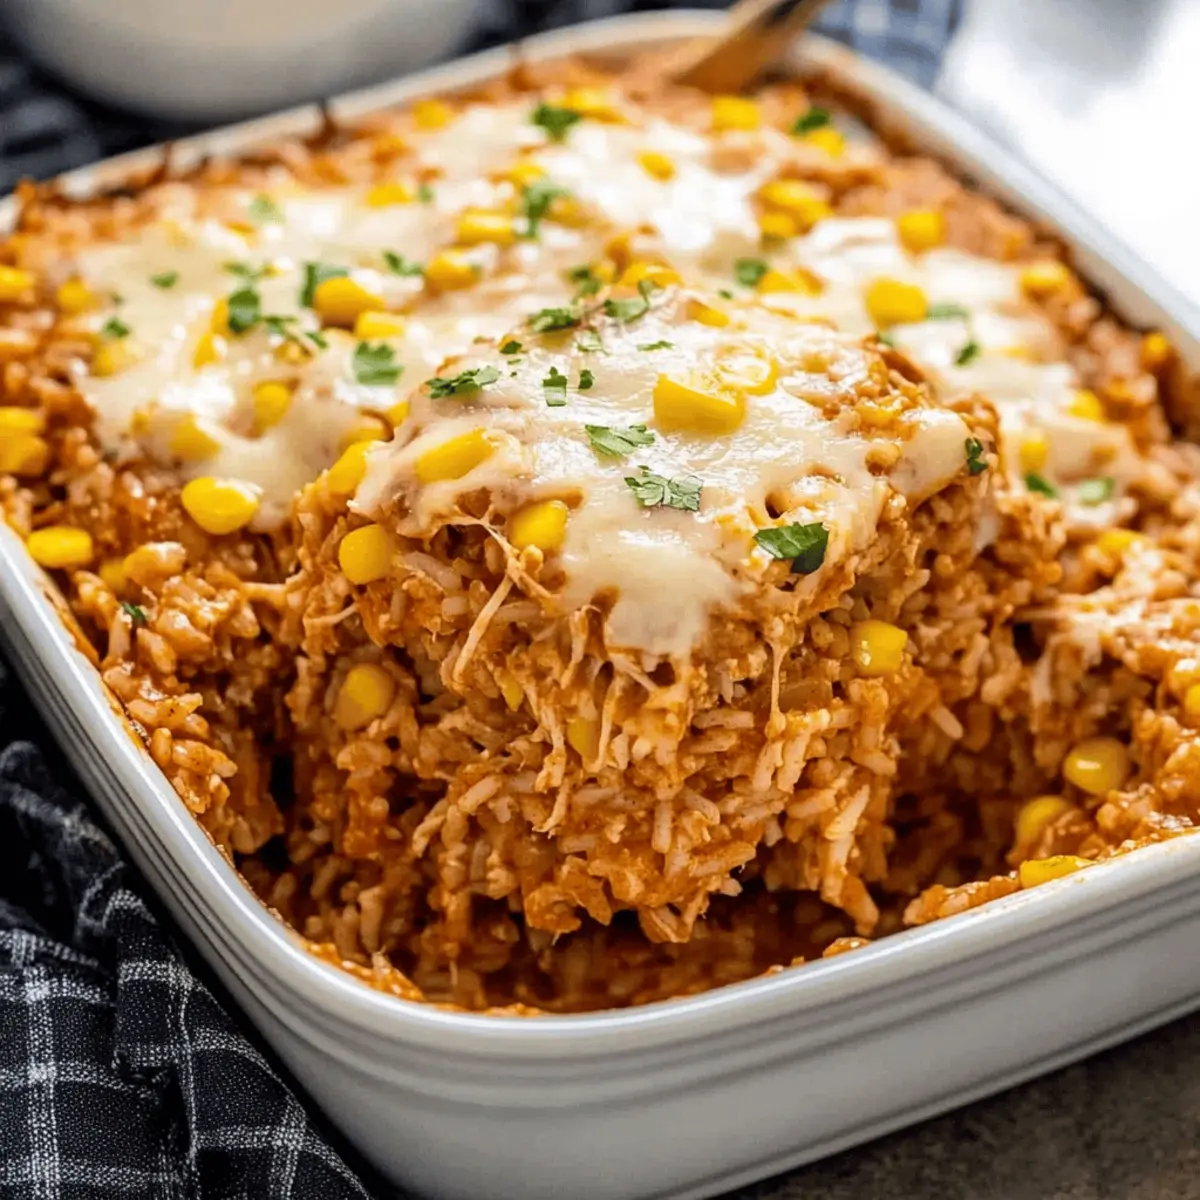
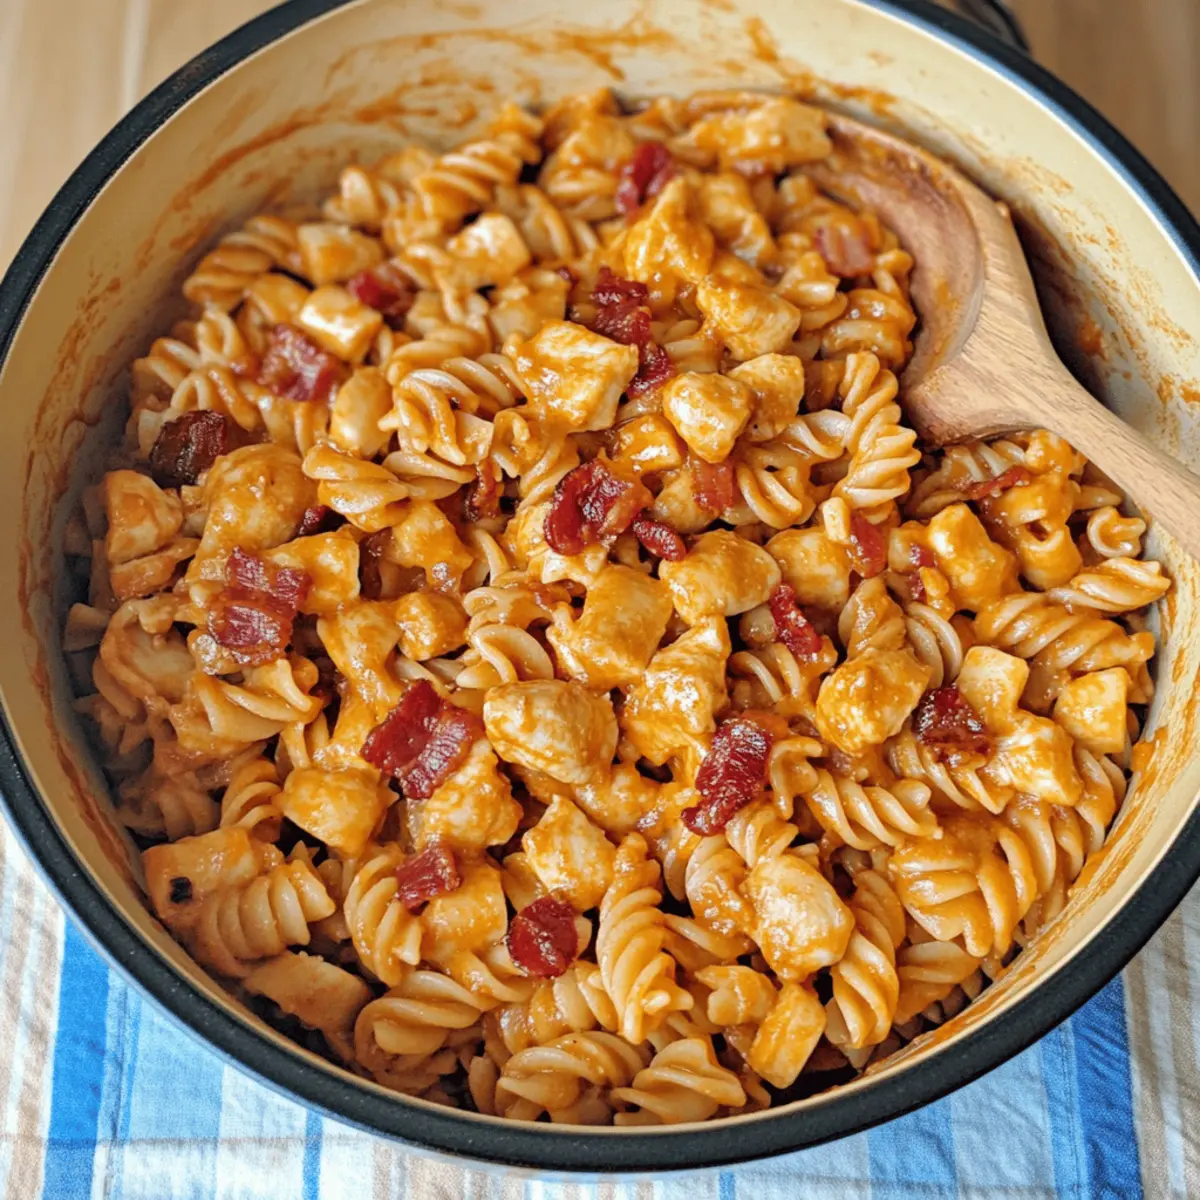
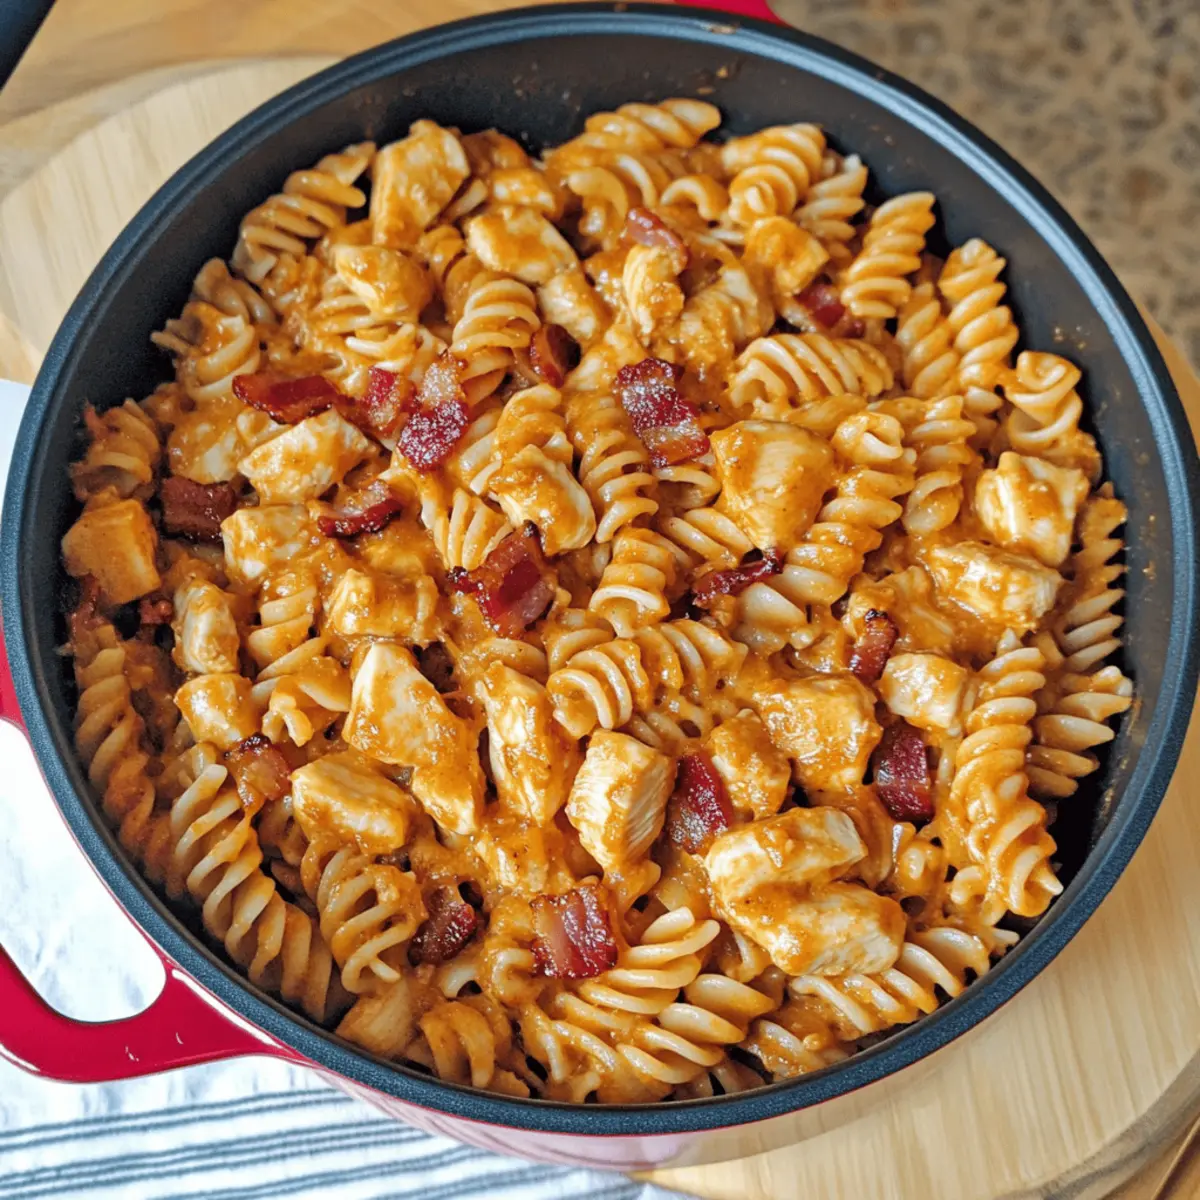
The mingling scents of smoky barbecue and sizzling bacon transported me back to carefree summer cookouts with family. Today, I’m excited to share my One-Pot Lightened Up Barbecue Chicken Pasta, a dish that wonderfully marries those nostalgic flavors into a simple, hearty meal. As a passionate home chef, I love recipes that not only promise deliciousness but also prioritize ease—this one pot meal brings both to the table! With just 442 calories per serving, it’s a fantastic option for a quick weeknight dinner that won’t leave you feeling heavy. Plus, the cleanup is a breeze! Ready to dive into a bowl of creamy, cheesy goodness? Let’s get cooking!
Why Is One-Pot Cooking a Game Changer?
Convenience at Its Finest: One-Pot meals like this One-Pot Barbecue Chicken Pasta require minimal prep and clean-up, making dinner a breeze after a long day.
Nostalgic Flavors: The smoky barbecue paired with crispy bacon and creamy cheese brings back those wonderful summer cookout memories that everyone loves.
Lightened Up Delight: Enjoy all the flavors without the guilt—at just 442 calories per serving, this dish fits perfectly into a balanced meal plan.
Customizable Goodness: Feel free to add your favorite vegetables or swap out proteins; this recipe easily adapts to your family’s preferences!
Family-Friendly Appeal: It’s a surefire hit at the dinner table, pleasing both picky eaters and adventurous foodies alike, making mealtime enjoyable for everyone.
Quick & Delicious: In under 30 minutes, you can have a wholesome meal on the table, freeing up time for family fun or relaxation.
One-Pot Barbecue Chicken Pasta Ingredients
For the Pasta
• Whole Wheat Pasta (such as Barilla Whole Grain Rotini) – This serves as the heart of the dish, offering a wholesome base to soak up all those delicious flavors.
For the Chicken
• Boneless, Skinless Chicken Breasts – Cut into bite-size chunks, providing a lean protein source; you can also use thighs for added moisture.
• Center Cut Bacon – Provides that savory, smoky flavor; swap with turkey bacon for a lighter touch.
For the Aromatics
• Medium Onion – Adds sweetness and texture; for a milder taste, you can use shallots instead.
• Garlic Cloves – Infuses the dish with aromatic goodness; fresh garlic is best for optimal flavor.
For the Broth and Sauces
• Low Sodium Chicken Broth – Adds moisture and depth; feel free to substitute with vegetable broth for a vegetarian option.
• Skim Milk – Contributes creaminess without the extra fat; almond milk can be used for a dairy-free version.
• Barbecue Sauce (e.g., Stubbs Original) – Delivers that sweet and smoky essence; homemade barbecue sauce offers more control over ingredients.
For Additional Flavor
• Garlic Powder – Boosts the flavor depth; fresh garlic could be used—just adjust to taste!
• Black Pepper – Adds warmth and spice; freshly ground black pepper offers the best flavor.
• Paprika – Provides a mild sweetness and vibrant color; smoked paprika gives a deeper flavor profile.
• Crushed Red Pepper Flakes – Adds a hint of heat; if you prefer milder flavors, feel free to omit.
• Petite Diced Tomatoes – Bring acidity and sweetness; fire-roasted diced tomatoes can elevate the taste even more.
For the Topping
• 50% Reduced Fat Sharp Cheddar – Adds creaminess and tang; mozzarella or pepper jack can substitute for a different twist.
With these ingredients, you’re all set to create a delightful One-Pot Barbecue Chicken Pasta that will warm your heart and satisfy your taste buds!
Step‑by‑Step Instructions for One-Pot Barbecue Chicken Pasta
Step 1: Cook Bacon
In a 5 QT Dutch oven over medium heat, cook chopped center cut bacon until crispy, about 5-7 minutes. Use a slotted spoon to transfer the bacon to a paper towel-lined plate to drain excess grease. Carefully discard the remaining grease from the pot, leaving just enough to flavor the next steps.
Step 2: Prepare Chicken
In a small bowl, mix together salt, black pepper, garlic powder, and paprika. Take your bite-sized chunks of boneless, skinless chicken breasts and coat them evenly with the seasoning mix. This will enhance the flavor of your One-Pot Barbecue Chicken Pasta, ensuring each bite is delicious.
Step 3: Sear Chicken
In the same pot, heat 1 tablespoon of olive oil over medium-high heat. Add the seasoned chicken pieces and sear until they are browned and cooked through, approximately 6-8 minutes. Once done, transfer the chicken to a plate and cover it with foil to keep warm while preparing the rest of the dish.
Step 4: Sauté Aromatics
Reduce the heat to medium, and add your chopped medium onion to the pot. Sauté for about 3-4 minutes or until the onion is softened and translucent. Then, add in minced garlic and cook for an additional 30-60 seconds, just until fragrant, creating a beautiful aromatic base for your pasta.
Step 5: Combine and Cook Pasta
Pour in the low sodium chicken broth, skim milk, petite diced tomatoes, crushed red pepper flakes, and whole wheat pasta into the pot. Stir well to combine all the ingredients, then bring the mixture to a boil. Once boiling, cover the pot, reduce the heat to medium-low, and simmer for 12-14 minutes until the pasta is tender, stirring occasionally to prevent sticking.
Step 6: Finish Dish
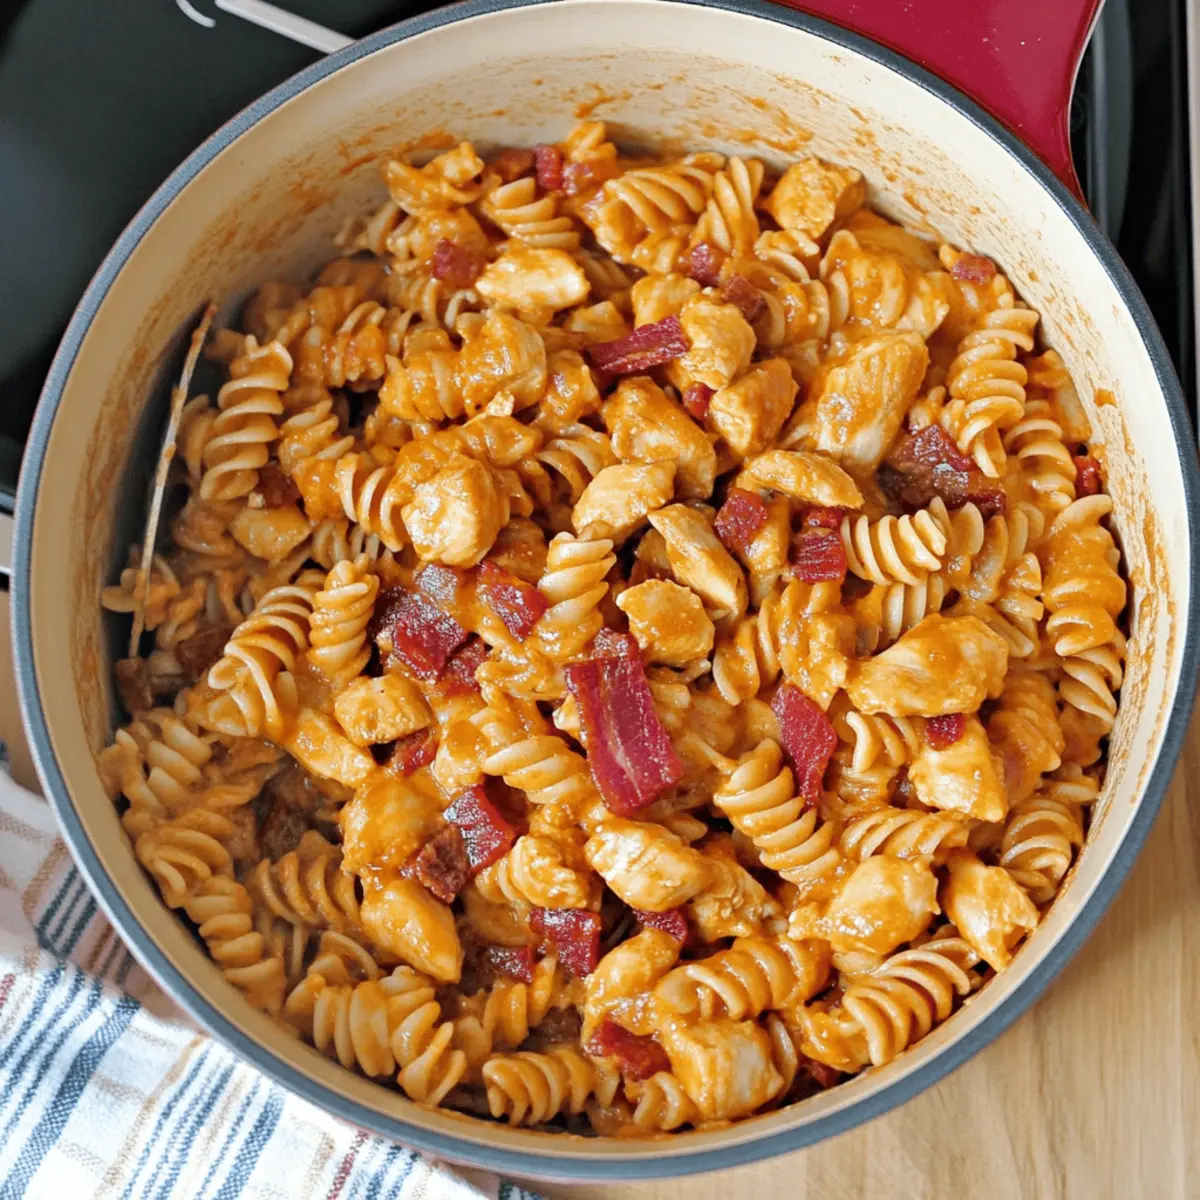
After the pasta is cooked, add the reserved cooked chicken, barbecue sauce, half of the reduced-fat sharp cheddar, and crispy bacon to the pot. Stir gently over low heat for about 1-2 minutes until the cheese has melted and everything is heated through, making your One-Pot Barbecue Chicken Pasta creamy and delicious.
One-Pot Barbecue Chicken Pasta Variations
Feel free to let your creativity shine and tweak this delightful dish to suit your taste buds!
-
Quick Prep: Substitute chicken with shredded rotisserie chicken for lightning-fast prep. Just add it at the end to warm through and enjoy a stress-free dinner!
-
Veggie Boost: Add bell peppers or spinach to enhance nutrition and color. These veggies bring a fresh crunch and a pop of color to your pasta.
-
Pasta Adventure: Experiment with different pasta types like penne or farfalle for varied texture and flavor. Each pasta brings its unique character to the dish.
-
Spicy Kick: For those who love heat, toss in some fresh chopped jalapeños instead of red pepper flakes. Feel the warmth in every delicious bite!
-
Dairy-Free Delight: Swap skim milk with almond or coconut milk to make the dish dairy-free without sacrificing creaminess. This keeps it light yet satisfying!
-
Flavorful Chicken: Use marinated grilled chicken instead of plain chicken for an extra layer of flavor. Each bite will burst with deliciousness!
-
Smoky Twist: Try adding smoked paprika instead of regular paprika for a deeper flavor profile. This subtle change creates an even more delightful smoky essence.
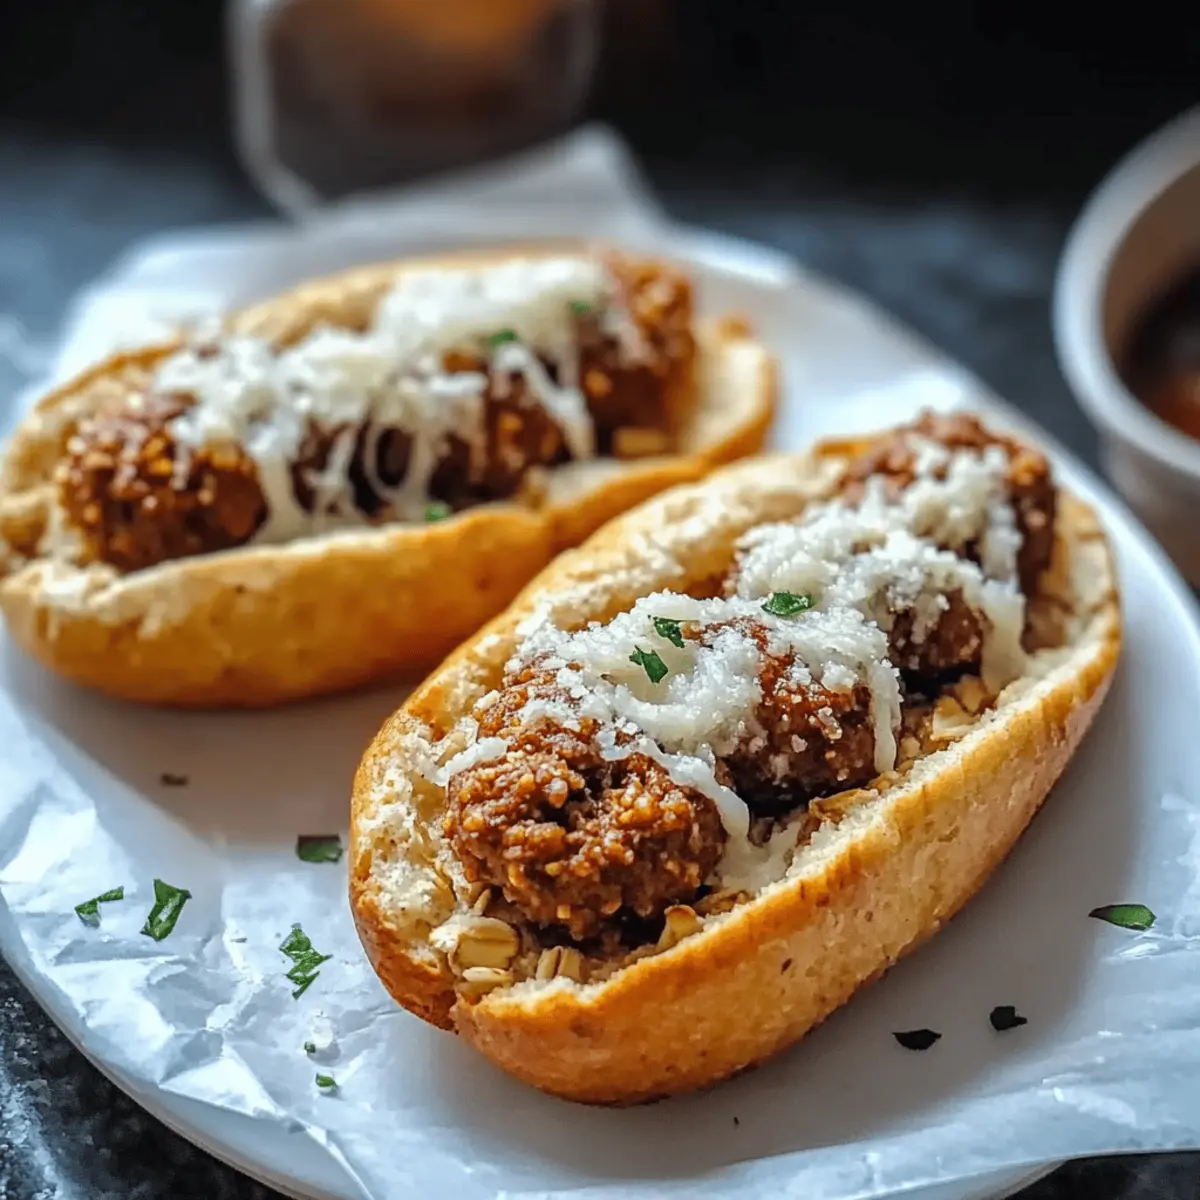
Explore these variations to make your One-Pot Barbecue Chicken Pasta uniquely yours. And don’t forget, if you’re looking for more comforting recipes, check out my Tuscan Chicken Soup or my BBQ Chicken Grilled Cheese Sandwich for more family-favorite meals!
What to Serve with One-Pot Barbecue Chicken Pasta
Enhancing your dining experience can be as simple as adding a few complementary sides and desserts to this hearty dish.
-
Garlic Bread: This warm, buttery bread is perfect for mopping up the creamy barbecue sauce, adding a delightful crunch.
-
Caesar Salad: Crisp romaine, tangy dressing, and crunchy croutons create a refreshing contrast to the rich flavors of the pasta.
-
Steamed Broccoli: Bright green broccoli adds a fresh, vibrant touch, balancing the hearty pasta with a nutritious side.
-
Coleslaw: A cool, tangy slaw can add a contrast in both temperature and texture, bringing a vibrant crunch to the meal.
-
Corn on the Cob: Sweet corn complements the smoky barbecue flavors, rounding out the meal with its natural sweetness—perfect for summer nights!
-
Iced Tea: A refreshing glass of iced tea brings a thirst-quenching element that pairs beautifully with the savory pasta.
-
Chocolate Chip Cookies: For dessert, these warm, gooey cookies provide a comforting touch, echoing the sweetness found in the barbecue sauce.
Each pairing brings its own unique flavor profile, enhancing your dinner experience with this comforting One-Pot Barbecue Chicken Pasta.
How to Store and Freeze One-Pot Barbecue Chicken Pasta
Fridge: Store leftovers in an airtight container in the fridge for up to 3 days. Make sure to let the dish cool before sealing to maintain freshness.
Freezer: For longer storage, freeze One-Pot Barbecue Chicken Pasta in a freezer-safe container for up to 3 months. Thaw overnight in the fridge before reheating.
Reheating: Reheat in the microwave or on the stovetop, adding a splash of broth if it appears dry. Heat until warmed through for a comforting meal anytime.
Airtight Tips: Always label your containers with the date to keep track of freshness and avoid any confusion when reaching for a warm, delicious dinner!
Expert Tips for One-Pot Barbecue Chicken Pasta
-
Cook Bacon Well: Ensure crispy bacon creates a flavorful base. If undercooked, it can lead to a chewy texture.
-
Perfectly Seasoned Chicken: Coat chicken evenly with the spice mix to avoid bland bites—this enhances the overall taste of your One-Pot Barbecue Chicken Pasta.
-
Monitor Pasta Simmer: Stir occasionally while it simmers to prevent sticking. This keeps the pasta perfectly tender without clumping.
-
Substitutions Are Key: Feel free to swap out proteins or add veggies for a personalized dish—this keeps the recipe fresh and exciting every time!
-
Check Doneness: Make sure both the chicken and pasta are fully cooked before serving to guarantee a safe and satisfying meal.
Make Ahead Options
This One-Pot Barbecue Chicken Pasta is perfect for meal prep enthusiasts! You can chop the vegetables and season the chicken up to 24 hours in advance, storing them in airtight containers in the refrigerator to keep them fresh. The bacon can also be pre-cooked and refrigerated to enhance the smoky flavor. When you’re ready to serve, simply follow the cooking steps, starting from sautéing the aromatics, and then add the prepped components. This not only saves time but also allows the dish to develop even more flavor. Rest assured, it will still be just as delicious and comforting after your thoughtful prep!
One-Pot Barbecue Chicken Pasta Recipe FAQs
What type of pasta works best for this recipe?
Whole wheat pasta, like Barilla Whole Grain Rotini, is an excellent choice as it provides a wholesome base that soaks up all the delicious flavors. If you prefer, gluten-free pasta can also be used as a substitute for a gluten-free option.
How long can I store leftovers?
You can store leftover One-Pot Barbecue Chicken Pasta in an airtight container in the fridge for up to 3 days. Make sure to let the dish cool before sealing to help maintain its freshness!
Can I freeze this dish?
Absolutely! For longer storage, freeze the One-Pot Barbecue Chicken Pasta in a freezer-safe container for up to 3 months. To enjoy later, simply thaw the dish overnight in the fridge and reheat using the microwave or stovetop, adding a splash of broth if it appears dry.
What should I do if my pasta sticks together during cooking?
If your pasta sticks, make sure to stir occasionally while it simmers. It’s also crucial to ensure you’re cooking in adequate liquid—if the pasta absorbs too much broth, it can clump together. Adding a little more broth during cooking can help prevent sticking!
Are there any dietary considerations I should be aware of?
Yes, if you’re cooking for someone with dietary restrictions, you can easily make adjustments. Substitute center cut bacon with turkey bacon for a lighter option, use almond milk instead of skim milk for dairy-free needs, and choose vegetable broth to keep it vegetarian. Always double-check labels to avoid allergens!
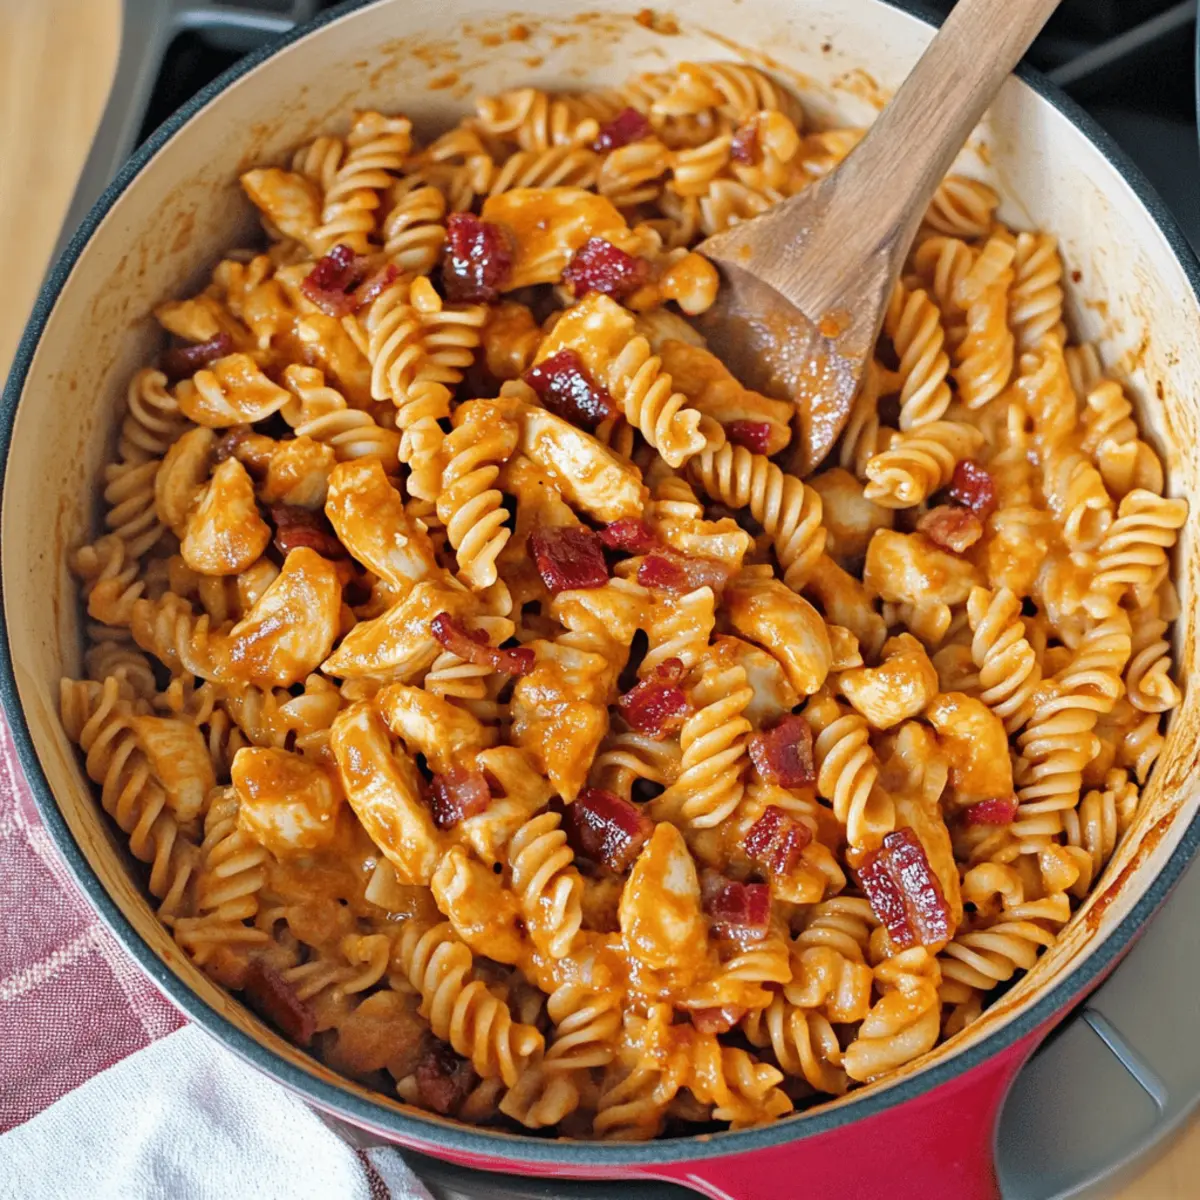
One-Pot Barbecue Chicken Pasta for Ultimate Comfort Food
Ingredients
Equipment
Method
- In a 5 QT Dutch oven over medium heat, cook chopped center cut bacon until crispy, about 5-7 minutes. Use a slotted spoon to transfer the bacon to a paper towel-lined plate to drain excess grease.
- In a small bowl, mix together salt, black pepper, garlic powder, and paprika. Coat the bite-sized chunks of chicken with the seasoning mix.
- In the same pot, heat 1 tablespoon of olive oil and sear the seasoned chicken until browned and cooked through, about 6-8 minutes. Transfer to a plate and cover with foil.
- Add chopped onion to the pot and sauté for 3-4 minutes until softened. Add in minced garlic and cook for an additional 30-60 seconds until fragrant.
- Pour in chicken broth, skim milk, petite diced tomatoes, crushed red pepper flakes, and whole wheat pasta. Stir to combine, bring to a boil, cover, reduce heat to medium-low, and simmer for 12-14 minutes until pasta is tender.
- Add reserved cooked chicken, barbecue sauce, half of the cheddar, and crispy bacon to the pot. Stir gently and heat over low for 1-2 minutes until cheese is melted.