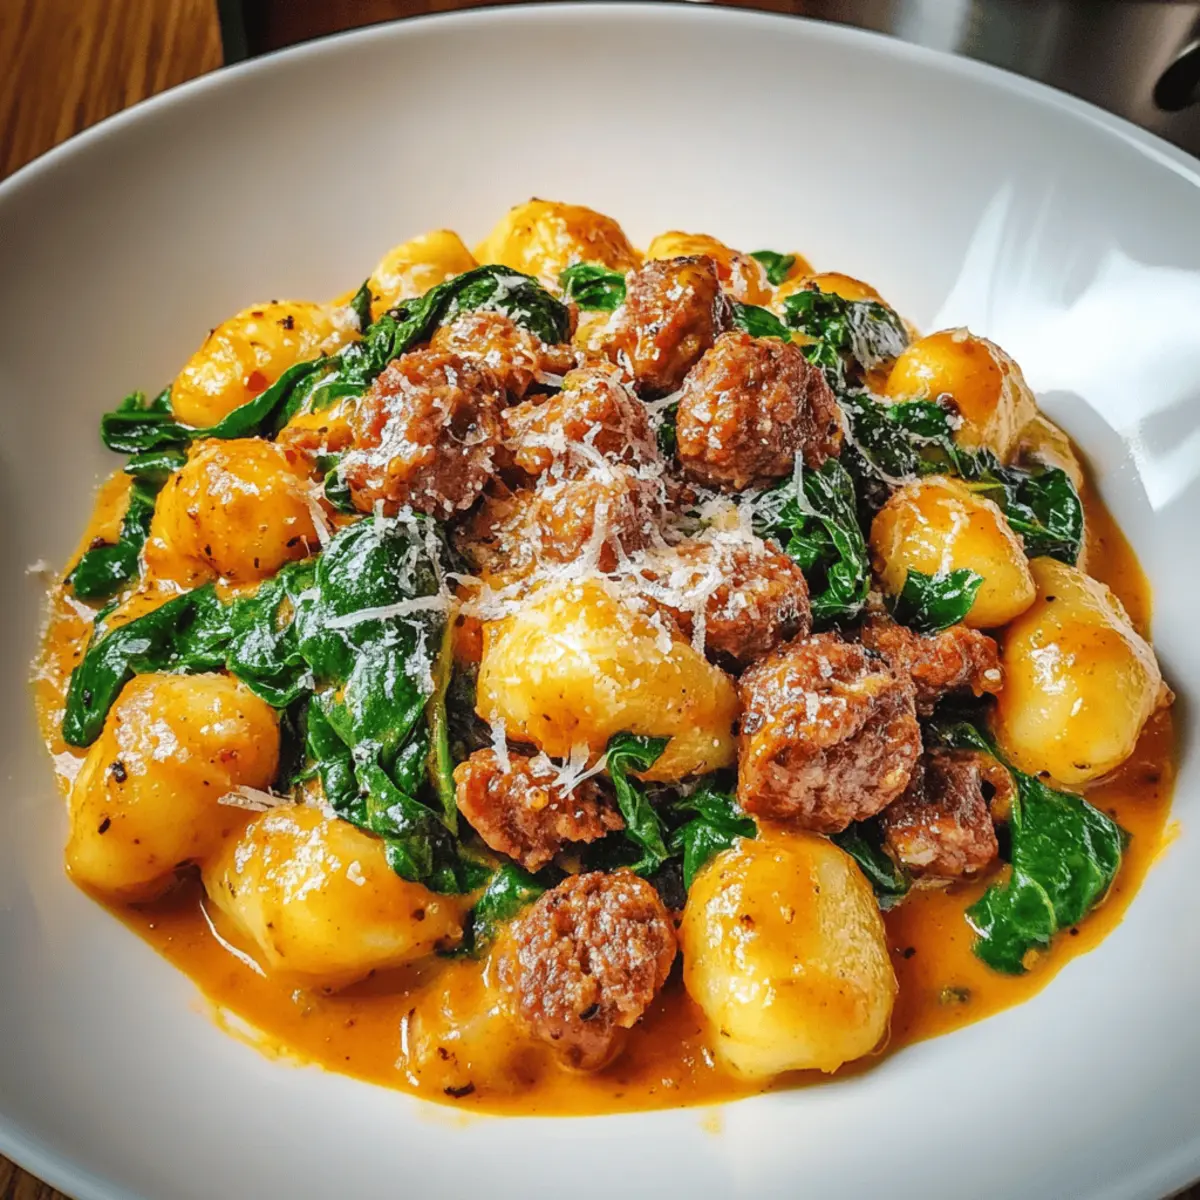
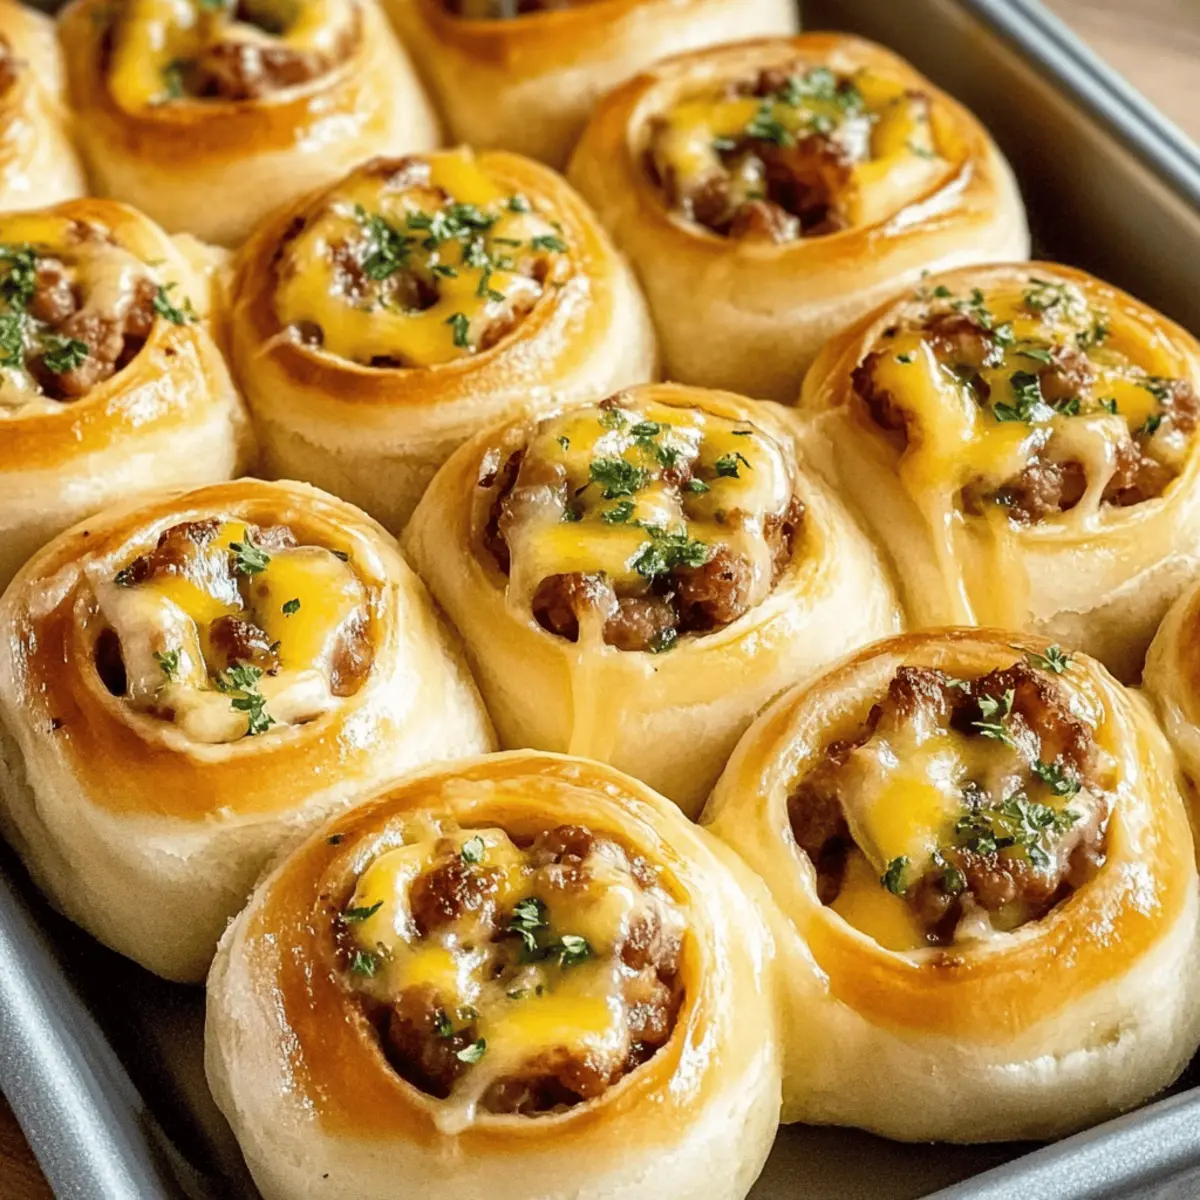
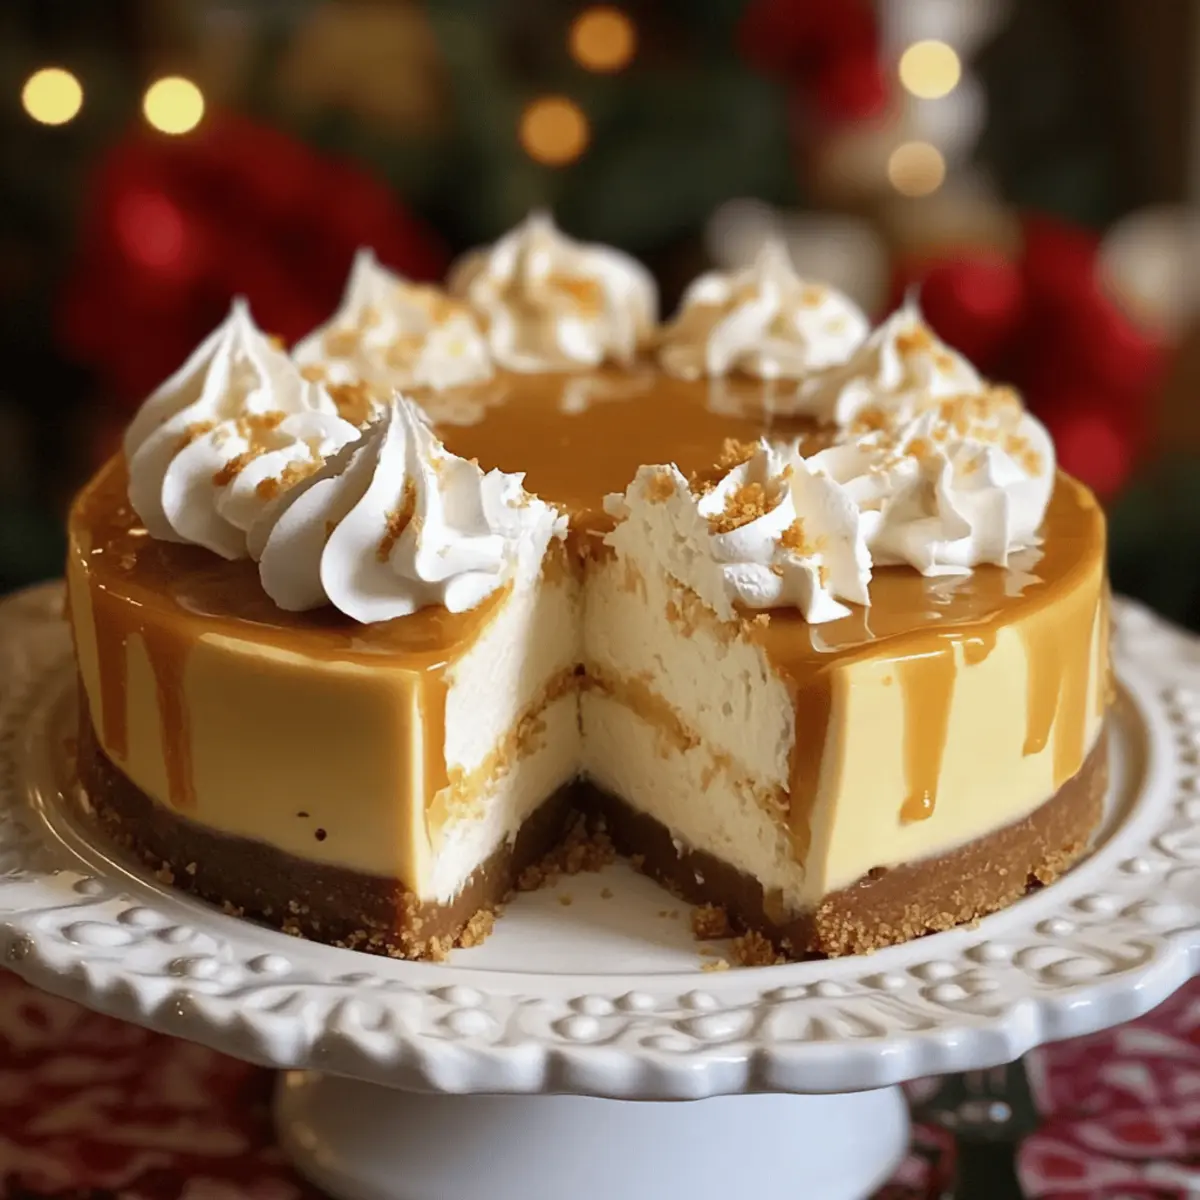
As the aroma of spices and creamy pumpkin fills the kitchen, I can’t help but feel that comforting embrace of fall. Today, I’m thrilled to share my Marry Me Pumpkin Chicken Pasta recipe—an enchanting dish that brings warmth and cheer to any weeknight dinner. With its rich, velvety sauce and tender chicken, this creamy pasta not only captures the essence of the season but does so in just 30 minutes! Perfect for lovers of cozy meals and great for those busy evenings when you want to impress—this recipe is a true crowd-pleaser. Whether you’re looking to savor a delightful family dinner or share a little romance over candlelight, this pasta is bound to spark joy and satisfaction at your table. Are you ready to dive into this autumnal delight? Let’s get cooking!
Why is This Pasta Recipe So Special?
Simplicity: You’ll love how quick and easy this recipe is, making it perfect for a weeknight dinner in just 30 minutes!
Creamy Indulgence: The rich pumpkin sauce is both comforting and decadent, a delicious way to embrace the flavors of fall.
Flavorful Combinations: With tender chicken, aromatic garlic, and a whisper of herbs, each bite is a delightful taste experience that will impress your family and friends.
Versatile Options: Customize your meal by swapping chicken for shrimp or experiment with different pasta shapes to keep it exciting every time.
Crowd-Pleaser: This dish is not only a hit with adults but also a great choice for kids, making it a perfect family favorite. Pair it with a fresh side salad or some warm garlic bread for a complete meal, just like I suggest in my BLT Chicken Salad recipe for a refreshing crunch!
Marry Me Pumpkin Chicken Pasta Ingredients
For the Pasta
• Pasta (Spaghetti, Linguine, or Bucatini) – Choose your favorite for the perfect base that holds the creamy sauce beautifully.
For the Chicken
• Boneless, Skinless Chicken Breasts – The main protein; thighs can be used for extra richness if preferred.
• Salt and Pepper – Essential seasonings to enhance the chicken’s flavor before cooking.
• Olive Oil – Ideal for searing the chicken; vegetable oil works as a good substitute.
For the Sauce
• Salted Butter – Adds richness to the sauce; unsalted can be used but adjust salt accordingly.
• Garlic (Minced) – Infuses the sauce with aromatic depth, enhancing overall flavor.
• Chicken Broth – The liquid base; vegetable broth can be a great alternative for a vegetarian version.
• Dried Thyme – Provides herbal notes; feel free to use fresh thyme for an extra kick.
• Dried Sage – Complements the pumpkin flavor perfectly; rosemary can be swapped in a pinch.
• Crushed Red Pepper Flakes – Adds a gentle heat; adjust to taste or omit for a milder version.
• Canned Pumpkin Purée – Gives the sauce its creamy texture and delicious fall flavor; butternut squash purée is a great alternative.
• Heavy Cream – Ensures creaminess in the sauce; half-and-half can lighten it up if desired.
• Grated Parmesan Cheese – Adds a salty, nutty flavor; Pecorino is a tasty substitute for a sharper taste.
• Grated Mozzarella Cheese – Melts beautifully into the sauce for extra creaminess; omit for a dairy-free version.
For Garnish
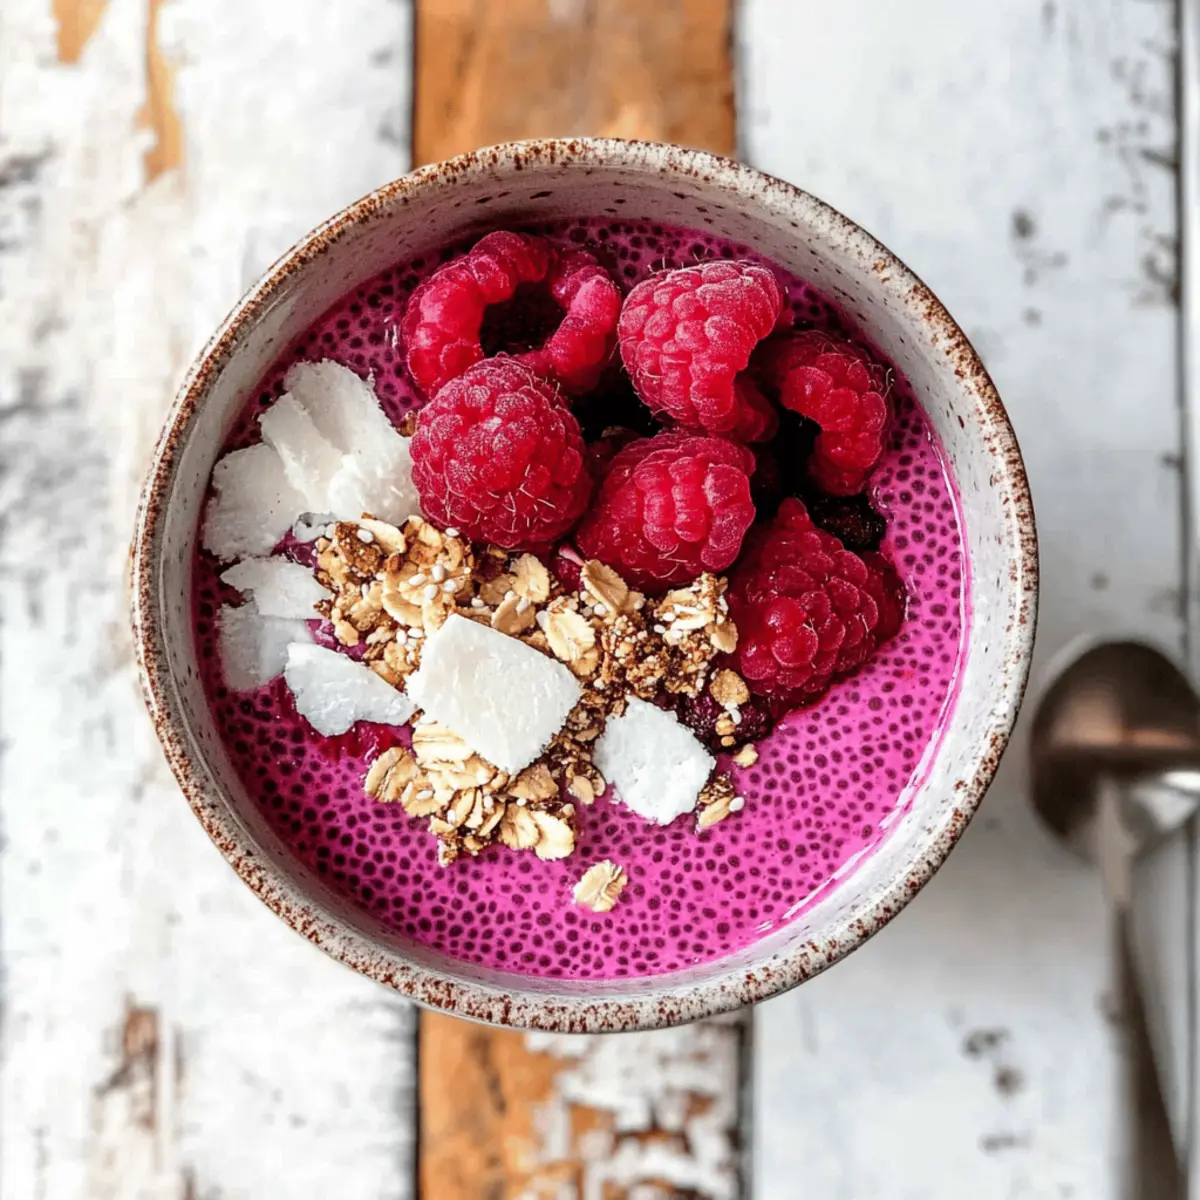
• Chopped Fresh Parsley or Microgreens – Brightens the dish and adds a splash of color to your table.
This Marry Me Pumpkin Chicken Pasta is the comfort food you’ve been looking for, ready to warm your heart and your home!
Step‑by‑Step Instructions for Marry Me Pumpkin Chicken Pasta
Step 1: Sear Chicken
Begin by seasoning the boneless, skinless chicken breasts with salt and pepper to enhance their natural flavor. In a large skillet, heat 2 tablespoons of olive oil over medium-high heat. Once hot, add the chicken to the pan and sear for 5-6 minutes on each side until golden brown and cooked through. Remove the chicken from the pan and let it rest on a cutting board for 10 minutes, allowing the juices to settle.
Step 2: Cook Pasta
While the chicken rests, bring a large pot of salted water to a boil. Add your choice of pasta—spaghetti, linguine, or bucatini—and cook according to package instructions until al dente, which usually takes around 8-10 minutes. Once done, drain the pasta and quickly toss it with a drizzle of olive oil to prevent sticking. Set the pasta aside to keep it warm.
Step 3: Sauté Garlic
In the same skillet used for searing the chicken, reduce the heat to medium and add 2 tablespoons of salted butter. Allow the butter to melt completely, then add minced garlic to the pan, sautéing it for about 1 minute or until fragrant. Stir constantly to prevent the garlic from burning, as you want to capture its aromatic depth to elevate your Marry Me Pumpkin Chicken Pasta.
Step 4: Make Sauce
Pour in 1 cup of chicken broth while scraping up any browned bits from the pan with a wooden spoon. Bring the mixture to a gentle simmer, then add 1 teaspoon of dried thyme, 1 teaspoon of dried sage, and a pinch of crushed red pepper flakes. Whisk in 1 cup of canned pumpkin purée and 1 cup of heavy cream, stirring until well-combined. Taste the sauce and adjust the seasoning with salt and pepper as desired.
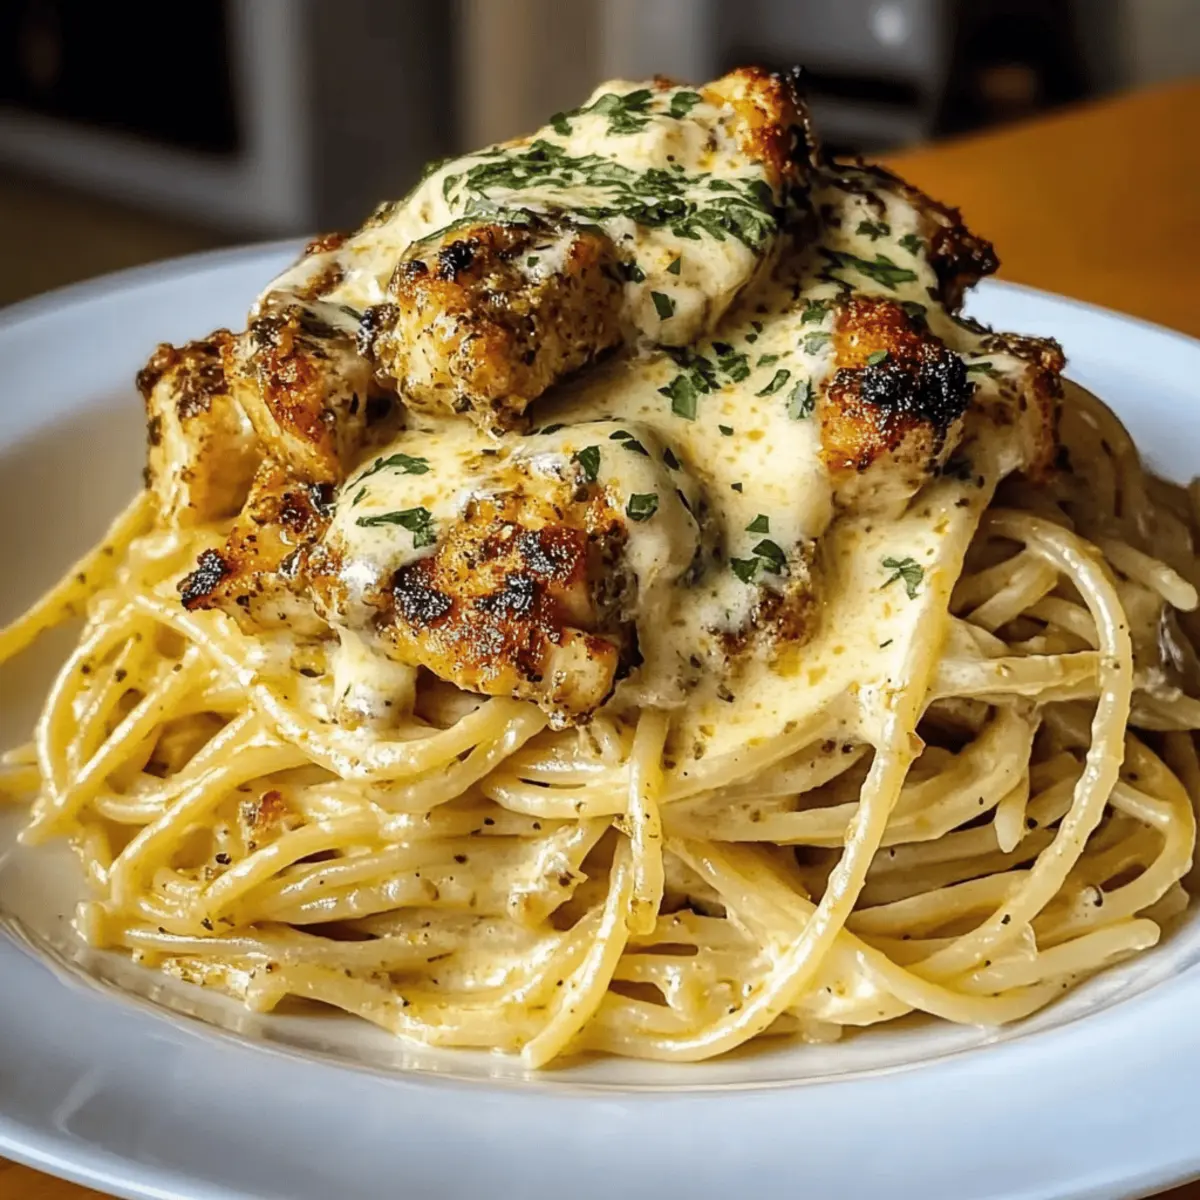
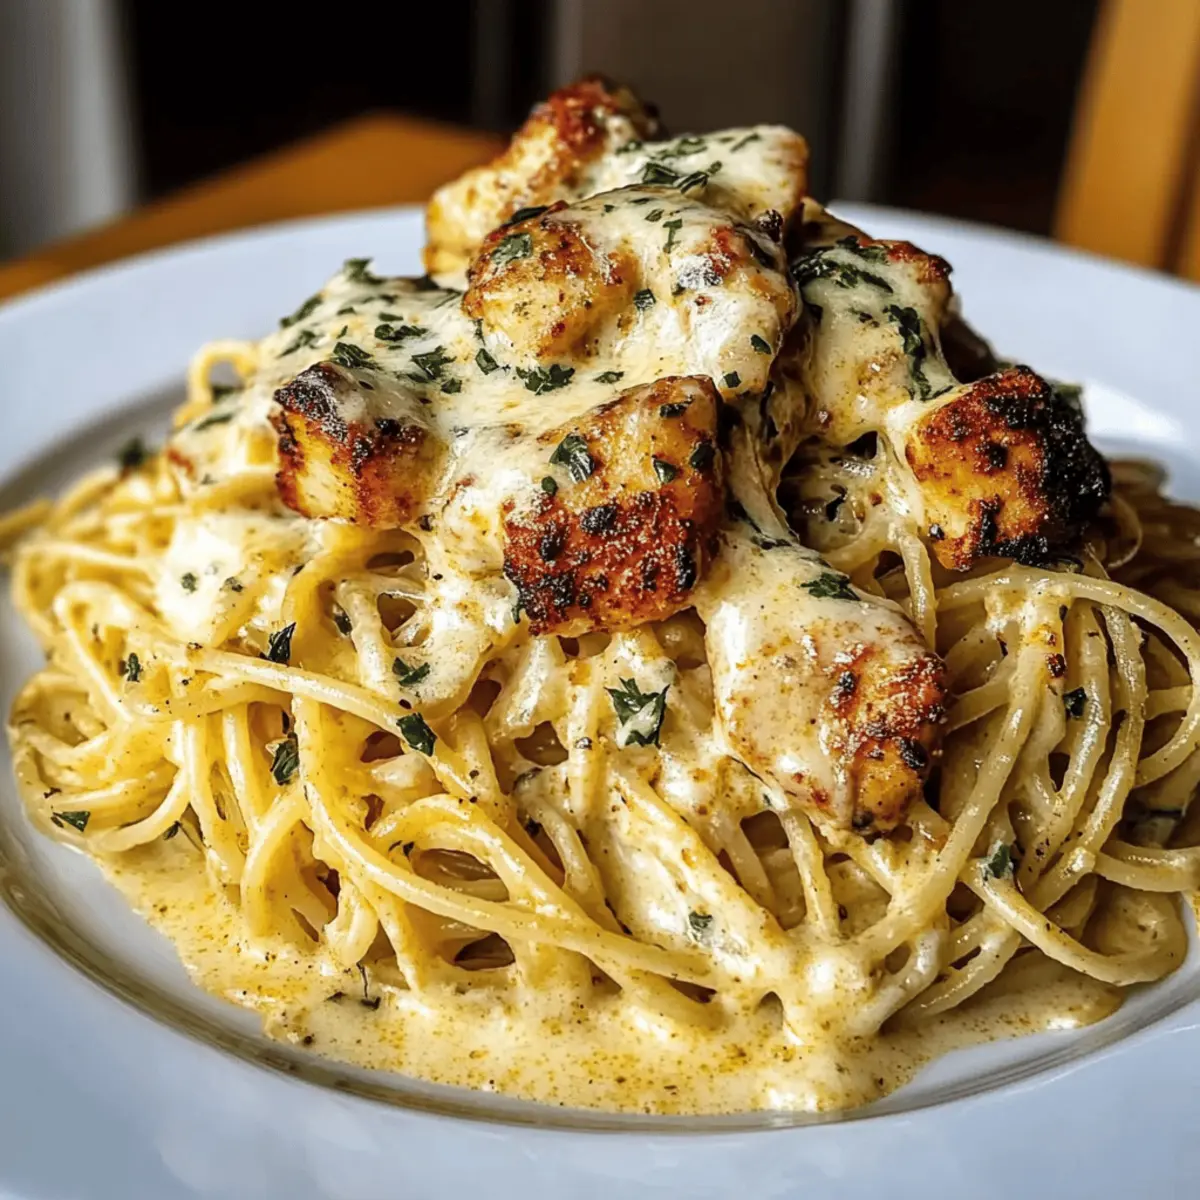
Step 5: Combine
After the sauce has thickened slightly, return the cooked pasta and sliced seared chicken to the skillet. Gently toss everything together for 2-3 minutes over low heat, ensuring the pasta is fully coated with the creamy pumpkin sauce and the chicken is heated through. This step is crucial for allowing all the flavors in your Marry Me Pumpkin Chicken Pasta to meld perfectly.
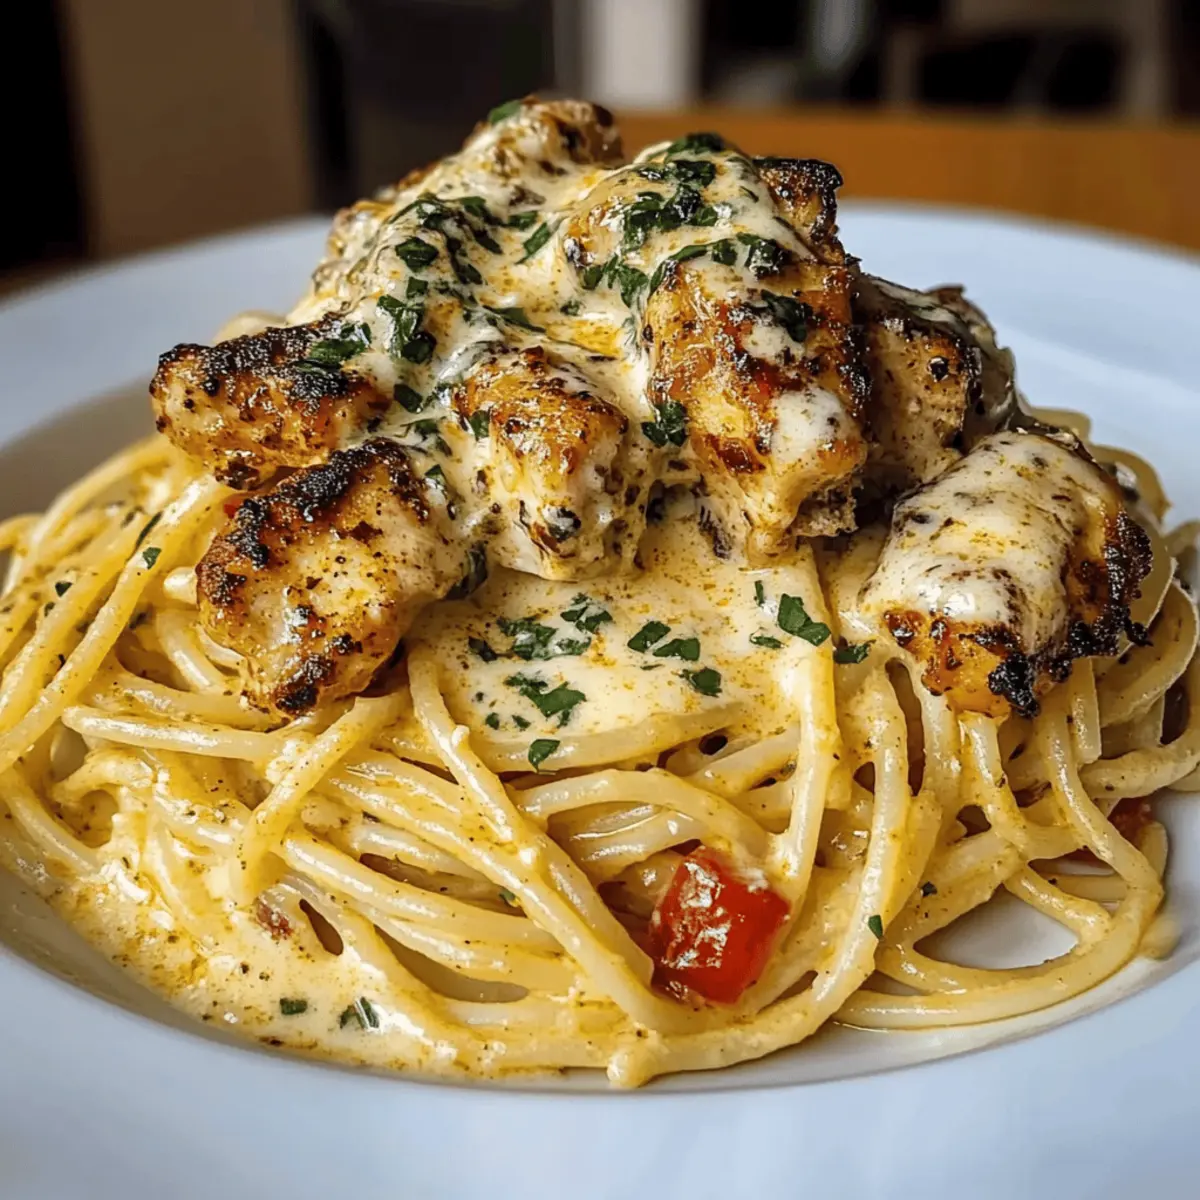
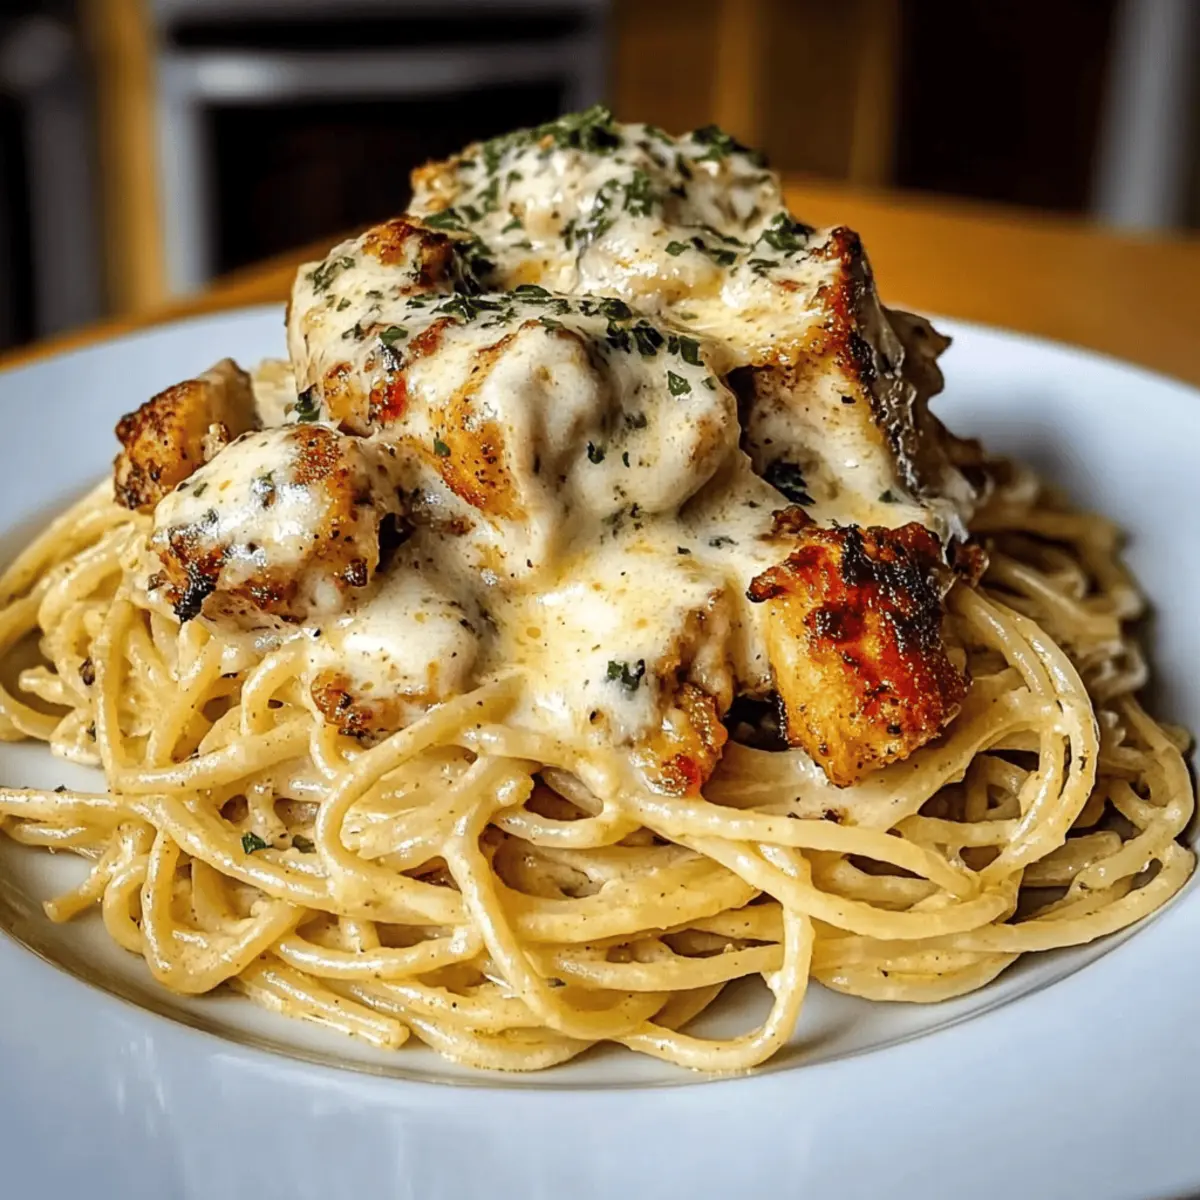
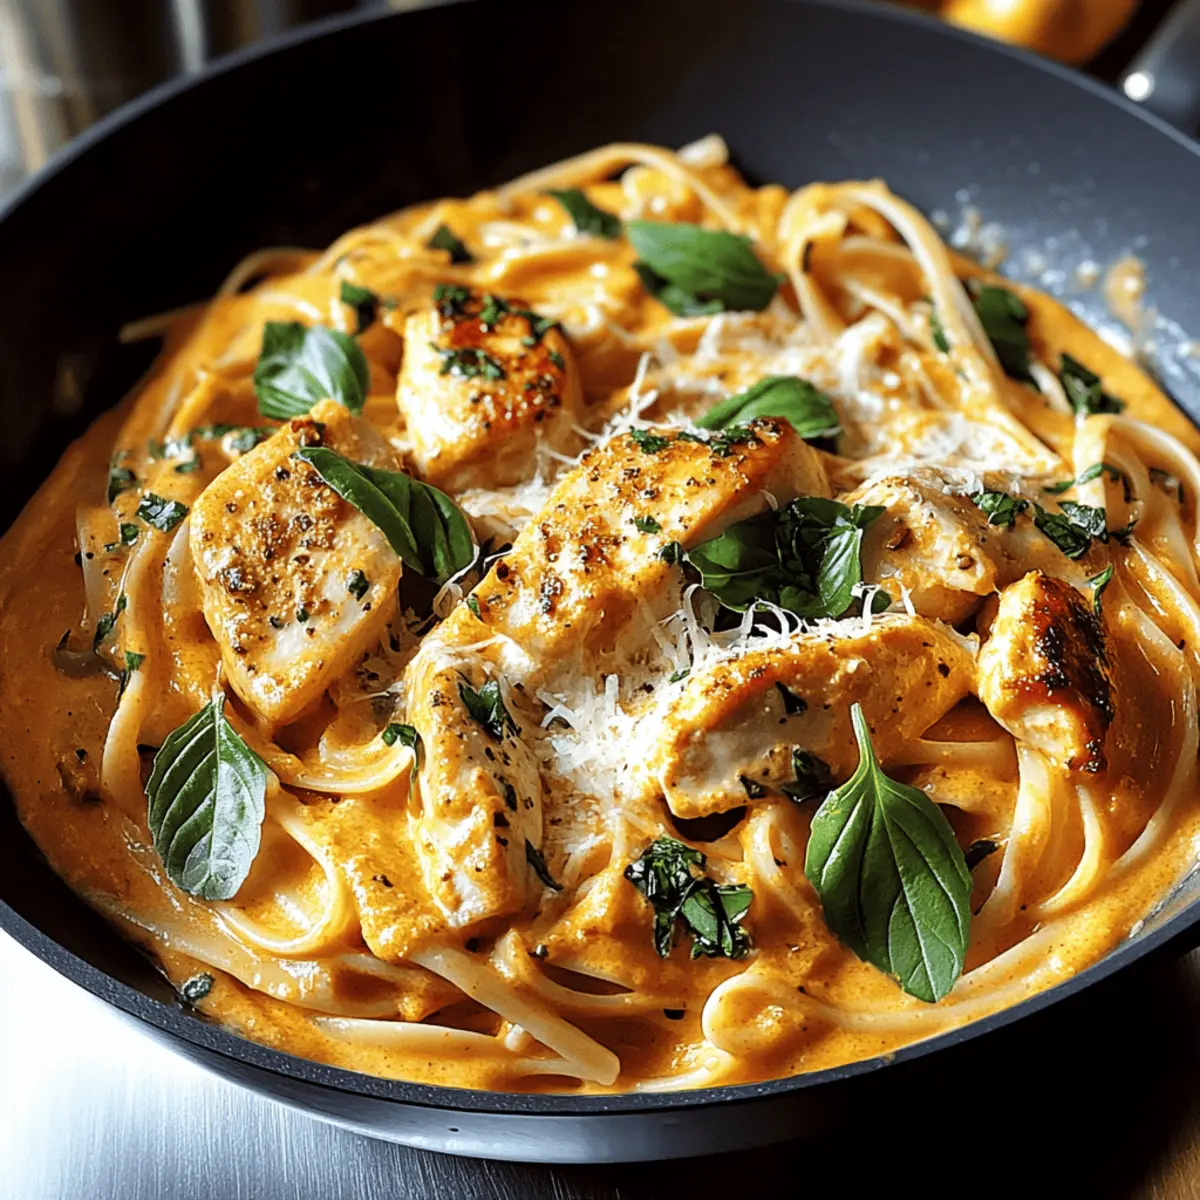
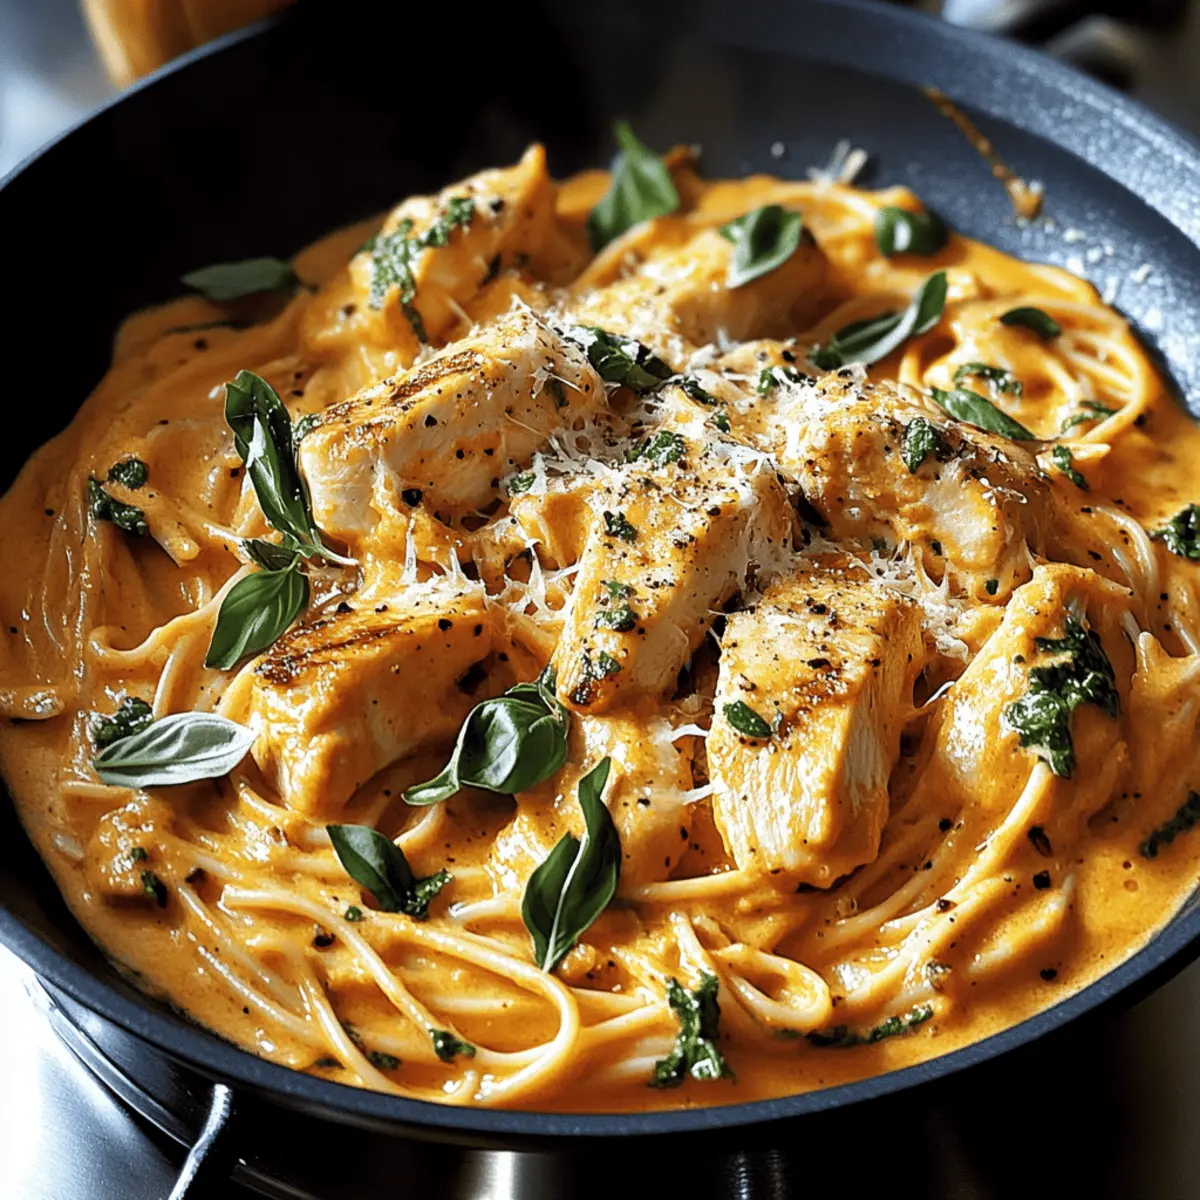
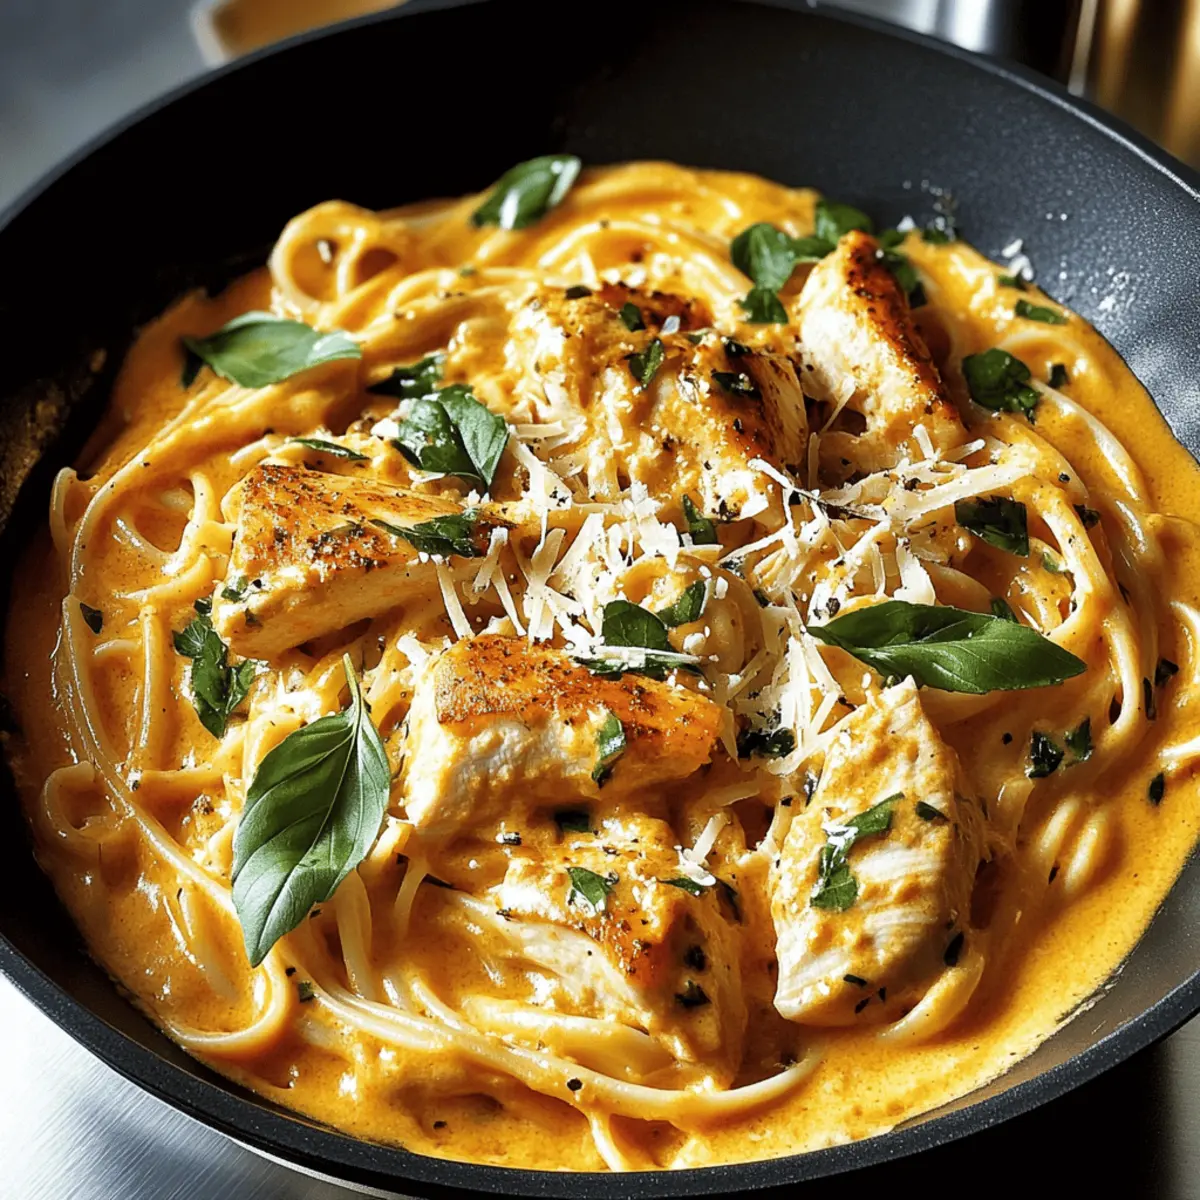
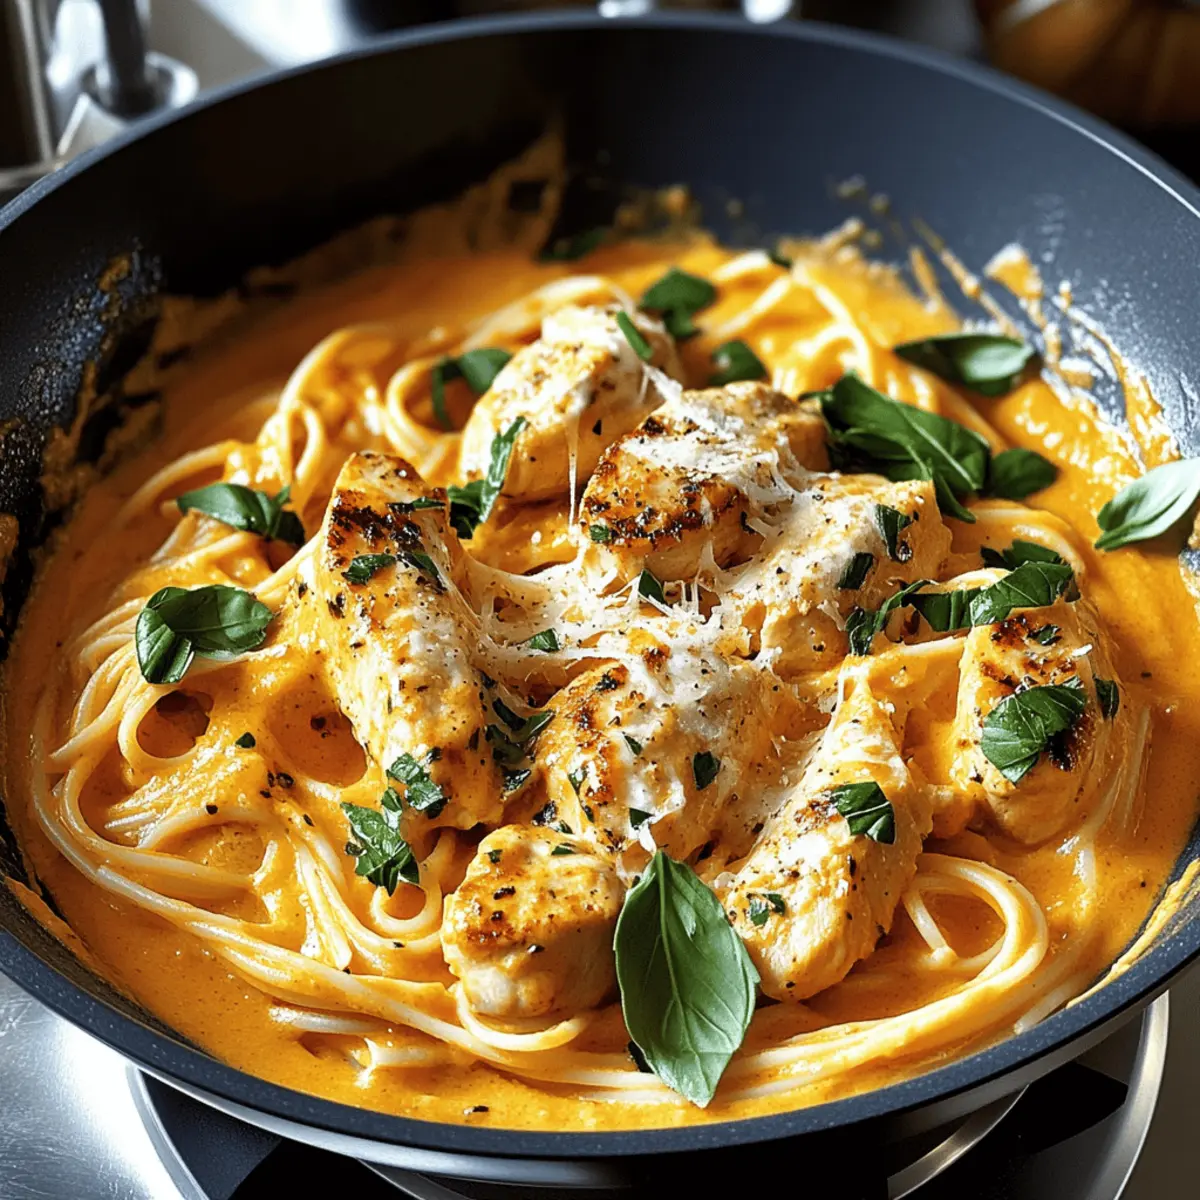
Step 6: Serve and Garnish
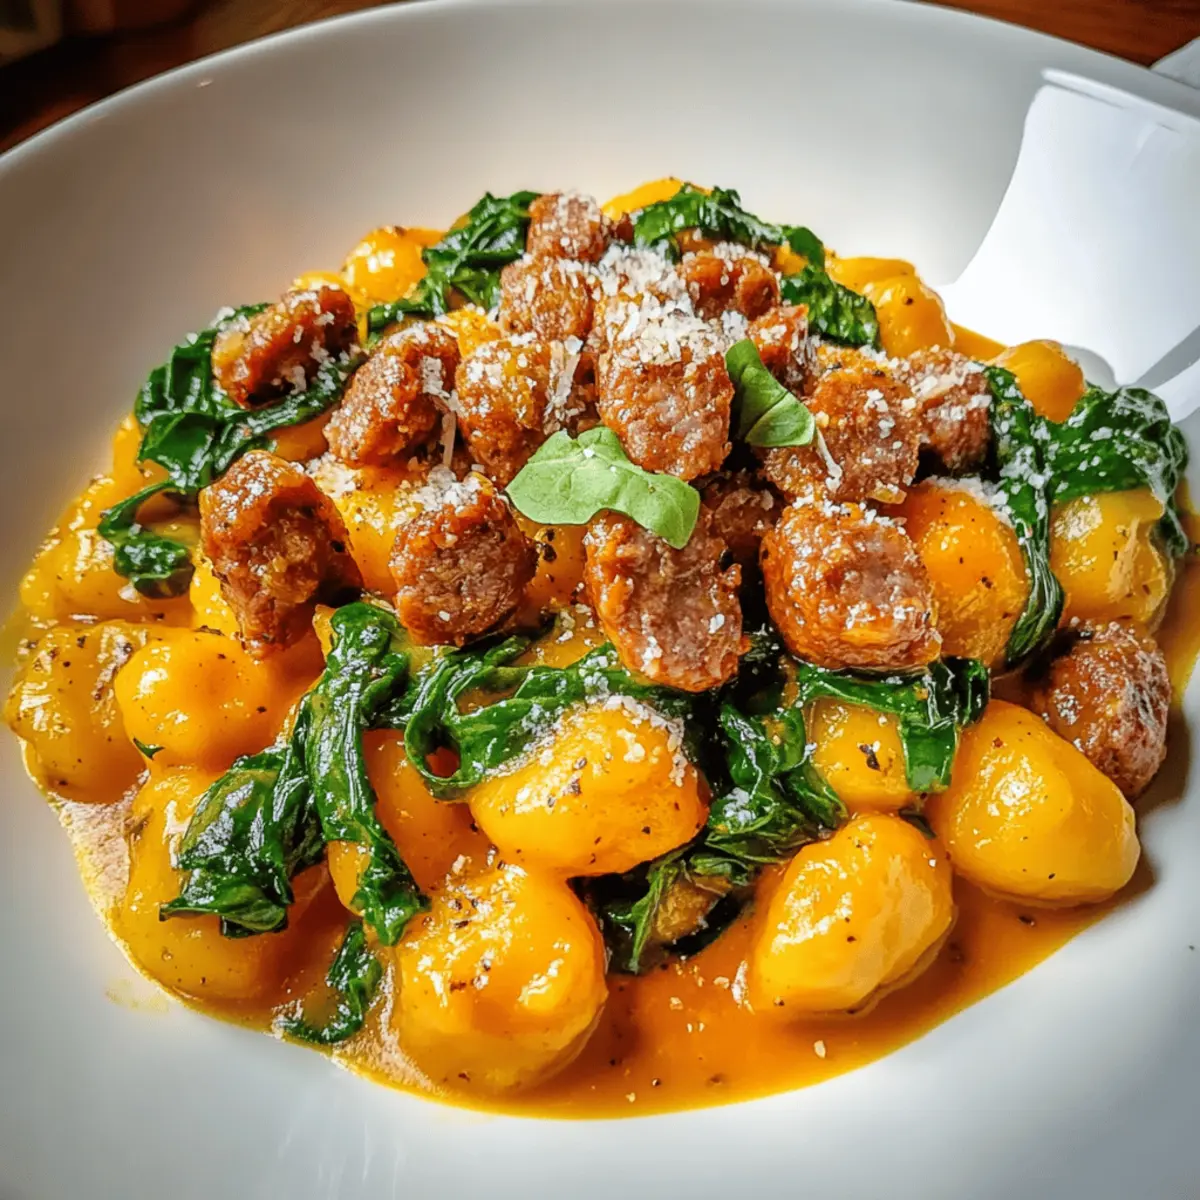
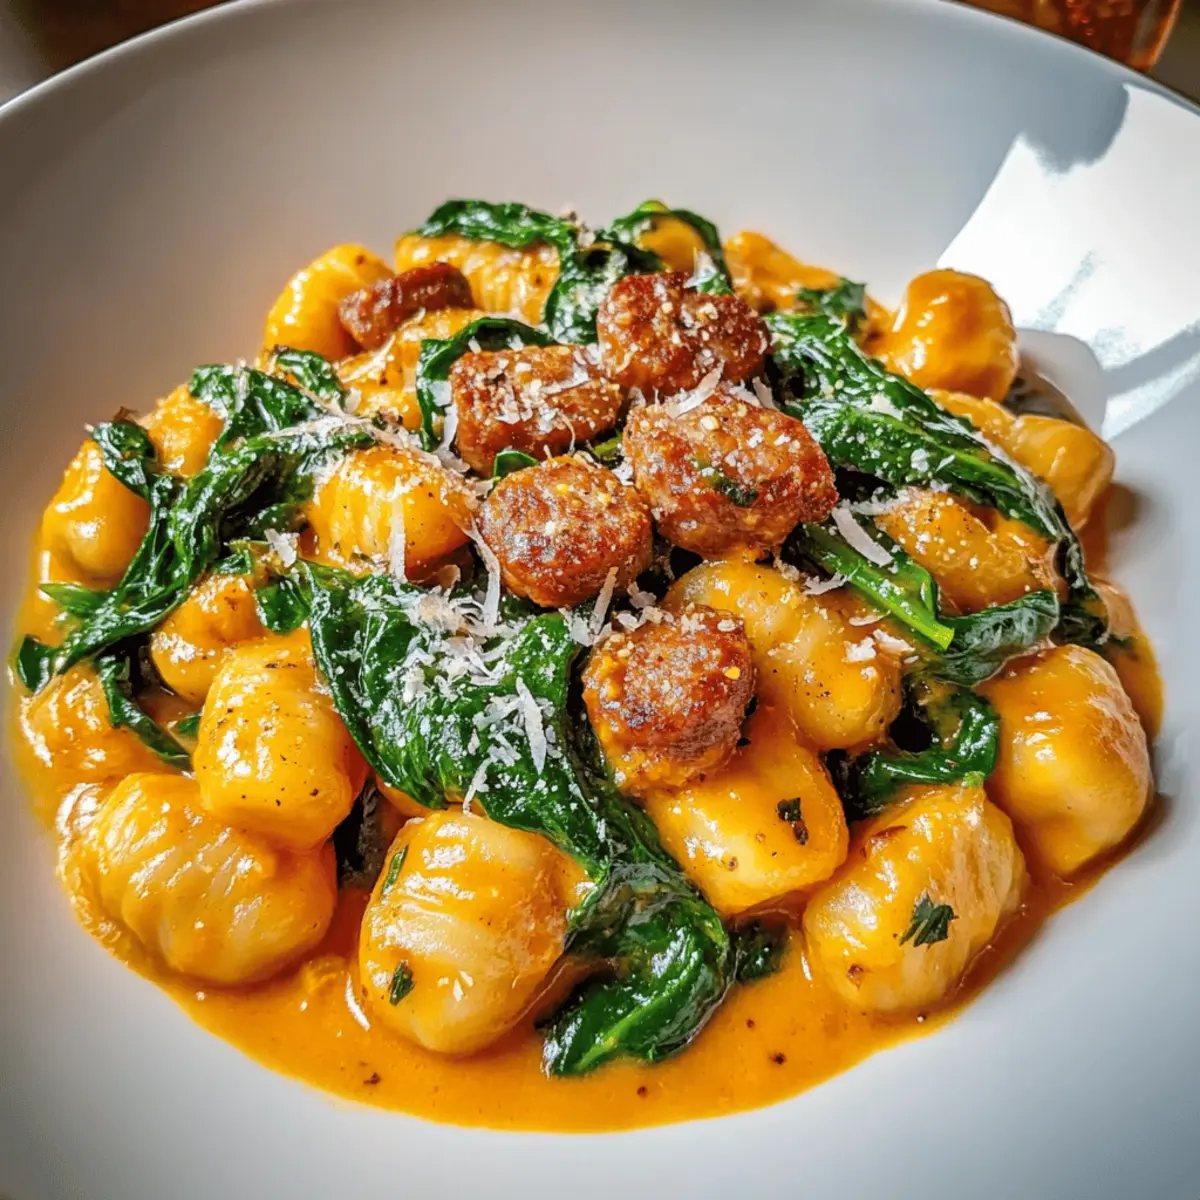
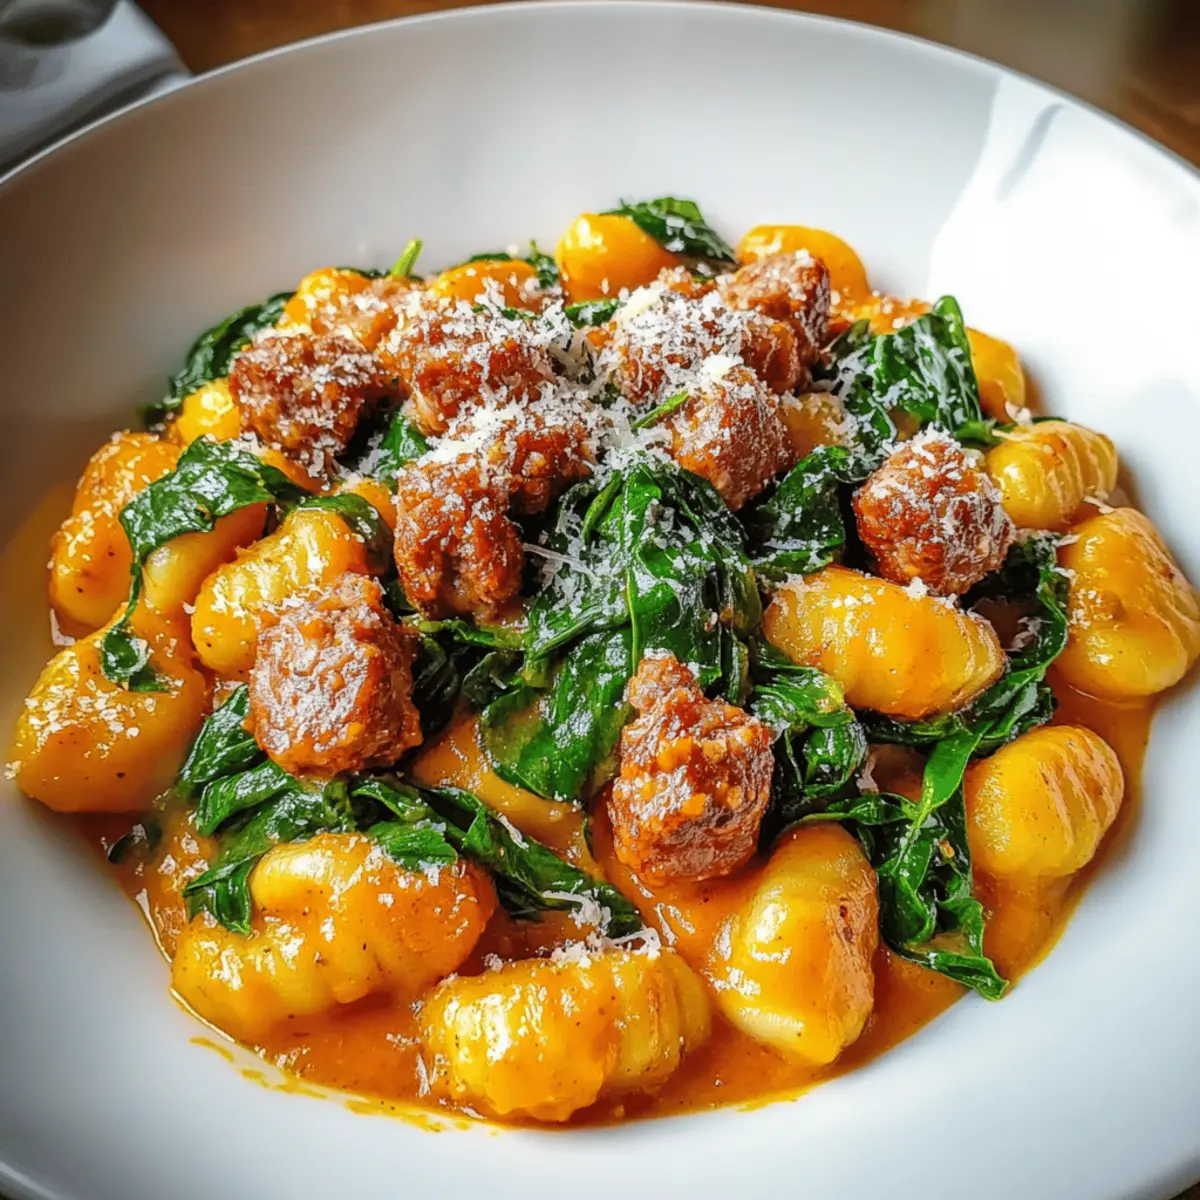
Once everything is well incorporated, remove the skillet from heat. Serve the Marry Me Pumpkin Chicken Pasta immediately, garnishing each plate with a sprinkle of grated Parmesan cheese and chopped fresh parsley or microgreens for a pop of color. This final touch not only beautifies the dish but also adds a fresh flavor that ties this comforting meal together beautifully.
What to Serve with Creamy Marry Me Pumpkin Chicken Pasta
As you relish the warm and flavorful embrace of creamy pumpkin chicken pasta, consider these delightful side dishes to complete your meal experience.
-
Garlic Bread:
A warm, buttery side that adds a crunchy texture, perfect for soaking up the delicious sauce. -
Mixed Green Salad:
Crisp greens tossed in a light vinaigrette provide a refreshing contrast to the creamy richness of the pasta. -
Roasted Brussels Sprouts:
Caramelized and slightly crispy, these add a savory note that complements the sweetness of the pumpkin. -
Butternut Squash Soup:
A seasonal favorite that echoes the flavors of the pasta, bringing extra warmth and comfort to the table. -
Crispy Sage Potatoes:
Golden and salty, these potatoes offer a delightful crunch and play beautifully with the pasta’s creamy components. -
Chardonnay:
A glass of chilled Chardonnay enhances the dish with its fruity notes, balancing the richness of the meal.
Each of these pairings elevates your dining experience, making your evening more special and memorable. Enjoy!
Make Ahead Options
These Marry Me Pumpkin Chicken Pasta preparations are perfect for busy weeknights, allowing you to save time while still delivering a comforting meal! You can prepare the creamy pumpkin sauce and cook the chicken up to 3 days in advance; simply refrigerate each component in airtight containers. When you’re ready to serve, cook your pasta fresh, as it holds up better and offers a perfect texture. To ensure the sauce stays rich and delicious, gently reheat it on the stove, adding a splash of chicken broth if needed. Combining everything just before serving will give you that delightful taste and aroma, making this dish just as satisfying and inviting!
Marry Me Pumpkin Chicken Pasta Variations
Feel free to make this delightful recipe your own by trying out these exciting variations!
-
Dairy-Free: Substitute heavy cream and cheeses with coconut milk and nutritional yeast for a creamy, non-dairy alternative. You’ll still get that comforting texture without any dairy!
-
Veggie Boost: Toss in fresh spinach or roasted red peppers for added nutrition and vibrant color. These vegetables not only enhance the dish but also add layers of flavor that will surprise and delight.
-
Spicy Kick: Add diced jalapeños or a splash of hot sauce to the sauce for a spicy twist that warms the soul. This adjustment works wonders to tantalize your taste buds, ideal for those who love a little heat.
-
Pasta Swap: Use whole wheat or gluten-free pasta for a healthier or diet-friendly option. Not only does this cater to different dietary needs, but it also changes up the overall texture of the dish.
-
Shrimp or Tofu: Swap out chicken for shrimp or tofu to create a delightful seafood or plant-based version. Either option brings a unique flavor profile that transforms the pasta in a whole new way.
-
Herb Infusion: Try using fresh herbs like basil or sage instead of dried thyme and sage for a bolder, fresher flavor. The aromatic quality of fresh herbs can elevate this dish into an elegant feast for special occasions.
-
Nutty Flavor: Add toasted pine nuts or walnuts on top for a crunchy texture and nutty flavor. This step not only enhances the dish’s appeal but also adds healthy fats and the perfect crunchy contrast to the creamy pasta.
Pair your creative dish with a light side, like a fresh spinach salad, or a comforting soup such as Tuscan Chicken Soup, to complement the flavors and expand your feast! Enjoy the culinary adventure!
Storage Tips for Marry Me Pumpkin Chicken Pasta
Room Temperature: Store leftovers at room temperature for no more than 2 hours after cooking to maintain freshness.
Fridge: Keep the Marry Me Pumpkin Chicken Pasta in an airtight container in the fridge for up to 3 days. Reheat gently on the stove or microwave until warmed through.
Freezer: For longer storage, freeze in a sealed, freezer-safe container for up to 3 months. Thaw overnight in the fridge before reheating for the best texture.
Reheating: When reheating, add a splash of chicken broth or water to the pasta to restore creaminess, then heat on low until warmed, stirring occasionally.
Tips for the Best Marry Me Pumpkin Chicken Pasta
-
Quality Ingredients: Use fresh, high-quality chicken and seasonal pumpkin purée for maximum flavor; it truly makes a difference in your Marry Me Pumpkin Chicken Pasta.
-
Proper Searing: Ensure the pan is hot before adding chicken; this creates a lovely crust and enhances flavor. Avoid overcrowding the pan to ensure even cooking.
-
Watch the Pasta: Cook your pasta al dente—this helps it absorb the sauce better without becoming mushy. Remember, it will continue to cook when added to the sauce.
-
Adjust Seasonings: Don’t hesitate to taste your sauce as you cook! Adjust salt, pepper, and spices to suit your palate, elevating your Marry Me Pumpkin Chicken Pasta to perfection.
-
Thicker Sauce Tip: For a creamier, thicker sauce, let it simmer a bit longer. This allows the flavors to develop and the sauce to cling beautifully to the pasta.
-
Garnishing Love: Don’t skip the garnishes! Fresh parsley or microgreens not only add color but also enhance the visual appeal and freshness of the finished dish.
Marry Me Pumpkin Chicken Pasta Recipe FAQs
How do I choose the best pumpkin for this recipe?
For the best results, opt for canned pumpkin purée, which offers consistent flavor and texture. If you prefer fresh pumpkin, look for small, sugar pumpkins or pie pumpkins, which are sweeter and creamier. Avoid larger carving pumpkins, as they tend to be more watery and less flavorful.
What is the best way to store leftover Marry Me Pumpkin Chicken Pasta?
Absolutely! Store your leftovers in an airtight container in the fridge for up to 3 days. If you plan to reheat, it’s best to warm them on the stove over low heat to preserve the creamy texture. You can also add a splash of chicken broth to help restore the sauce’s richness.
Can I freeze Marry Me Pumpkin Chicken Pasta?
Yes, you can! To freeze, portion the pasta into airtight, freezer-safe containers and label them. It stays fresh for up to 3 months. When you’re ready to enjoy it again, thaw overnight in the fridge and reheat gently on the stove, adding a touch of cream or broth to make it creamy again.
What should I do if the sauce is too thick?
Very! If your sauce turns out too thick, simply add a little chicken broth or water—start with a couple of tablespoons—while reheating to achieve your desired consistency. Stir gently to combine, and it will loosen right up!
Are there any dietary considerations for Marry Me Pumpkin Chicken Pasta?
Of course! For a gluten-free version, swap regular pasta for your favorite gluten-free alternative. To make it vegetarian, replace the chicken with sautéed mushrooms or a plant-based protein source, and use vegetable broth instead of chicken broth. Always check labels for any hidden allergens, especially with cheese and creamy ingredients.
What if my chicken isn’t cooking evenly?
That’s an important point! Ensure your skillet is hot enough before adding the chicken to achieve a good sear. If the pieces are overcrowded in the pan, they might steam instead of sear. Cook them in batches if necessary, and always check for doneness using a meat thermometer; it should read 165°F (74°C) to ensure safety.
Creamy Marry Me Pumpkin Chicken Pasta to Warm Your Heart
Ingredients
Equipment
Method
- Season the chicken breasts with salt and pepper. Heat the olive oil in a large skillet over medium-high heat. Sear the chicken for 5-6 minutes on each side until golden brown. Remove and let rest for 10 minutes.
- Bring a large pot of salted water to a boil. Cook the pasta according to package instructions until al dente, usually 8-10 minutes. Drain and toss with olive oil.
- In the same skillet, melt the salted butter, then add minced garlic and sauté for about 1 minute until fragrant.
- Pour in the chicken broth, scrape up any browned bits. Add thyme, sage, and crushed red pepper. Whisk in pumpkin purée and heavy cream, stir until combined and season to taste.
- Return the pasta and sliced chicken to the skillet. Toss for 2-3 minutes over low heat to coat everything in sauce.
- Serve immediately, garnished with grated Parmesan and chopped parsley or microgreens.