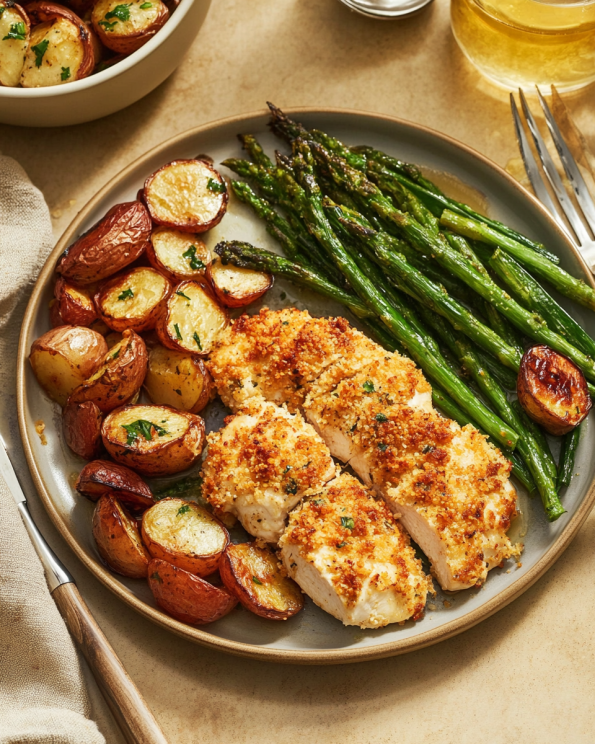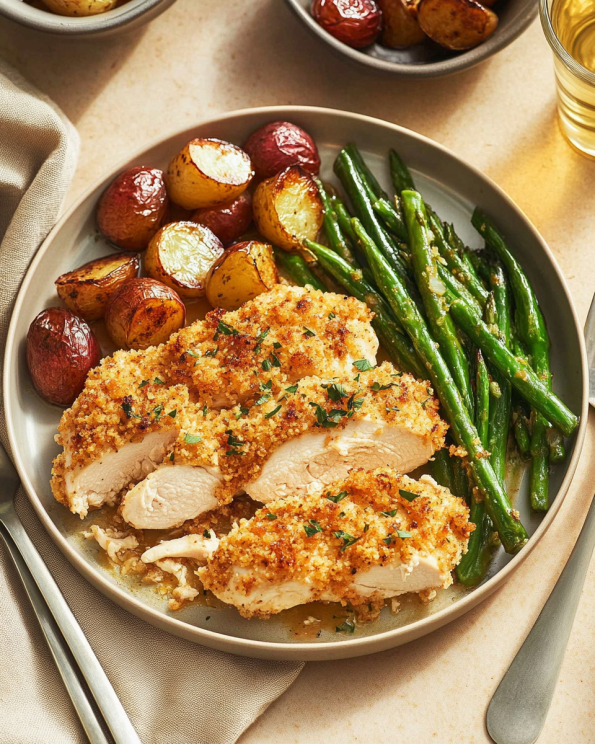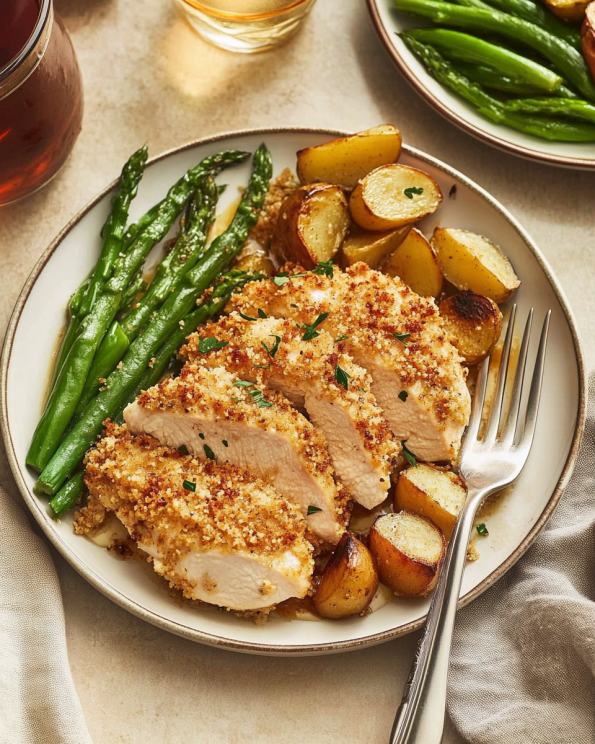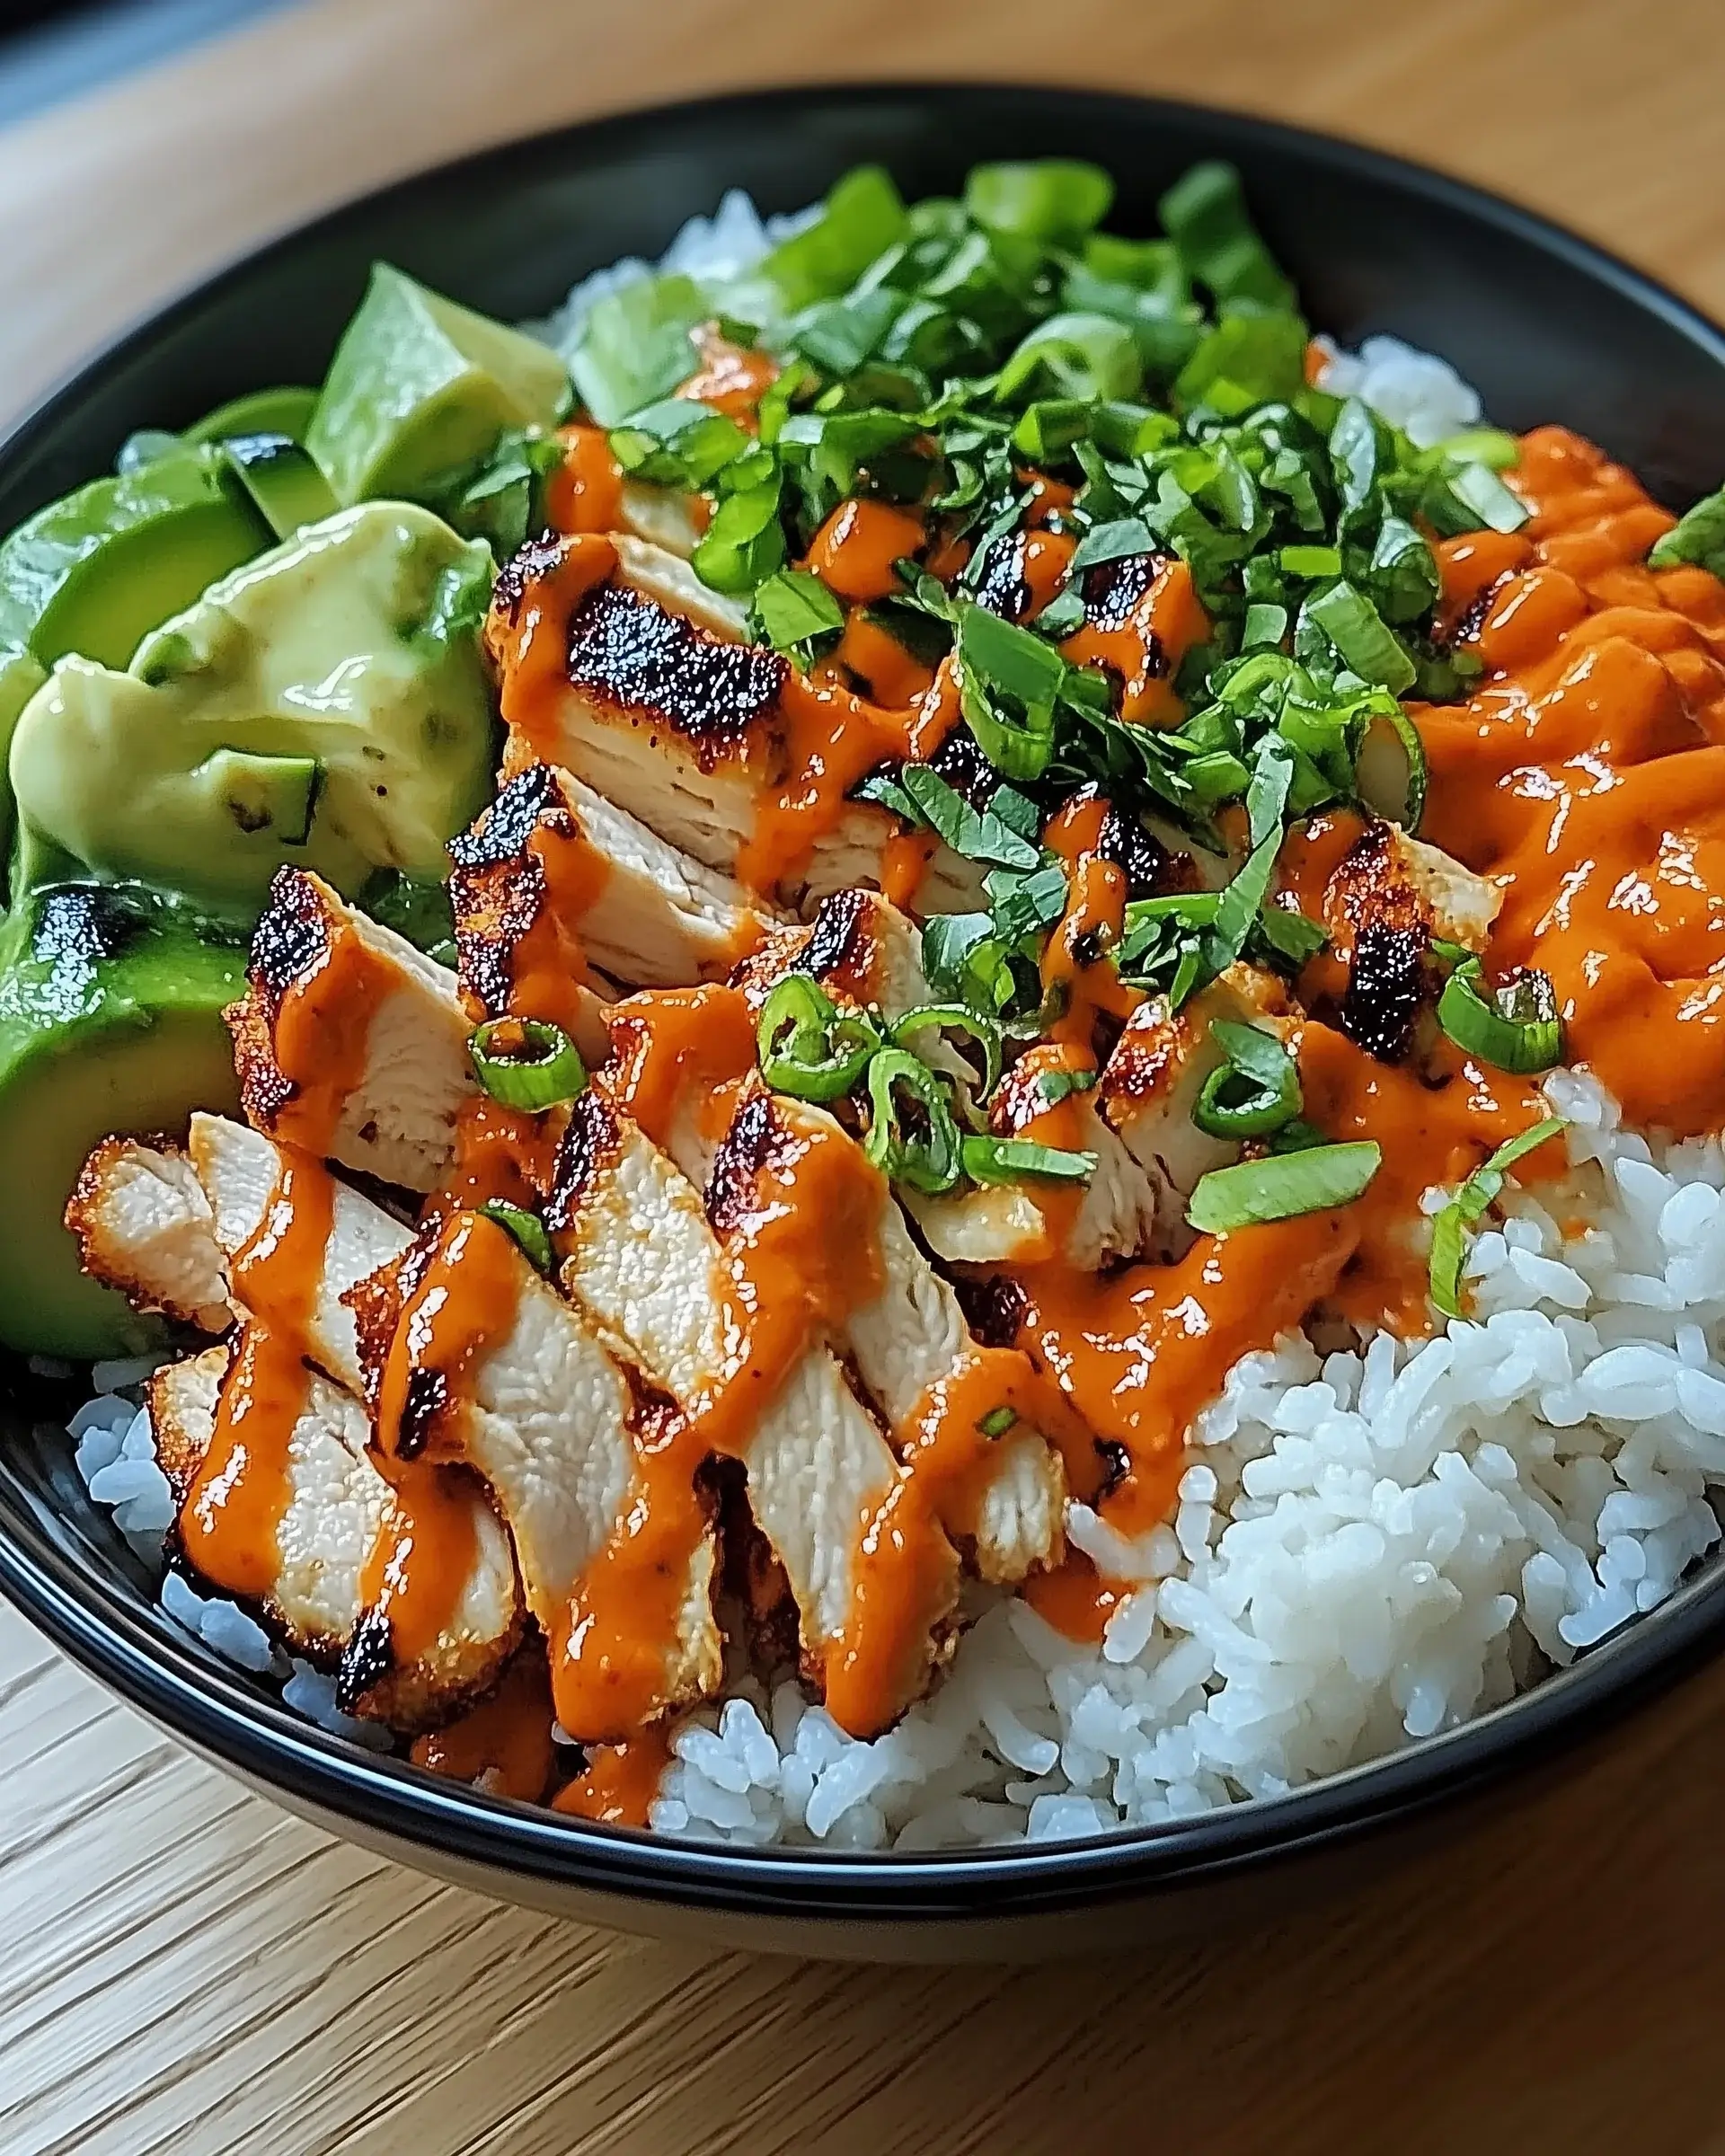
Introduction to Sweet and Savory Teriyaki Chicken
Cooking can sometimes feel like a race against the clock, especially on those busy weeknights. That’s where my Sweet and Savory Teriyaki Chicken comes in, a dish that’s not only quick to whip up but also bursting with flavor. I remember the first time I made this recipe; the aroma filled my kitchen, and my family couldn’t wait to dig in. It’s perfect for impressing loved ones or simply treating yourself after a long day. With tender chicken thighs coated in a rich teriyaki sauce, this meal is sure to become a favorite in your home.
Why You’ll Love This Sweet and Savory Teriyaki Chicken
This Sweet and Savory Teriyaki Chicken is a game-changer for your dinner routine. It’s incredibly easy to make, taking just a few minutes of prep and a quick cook time. The balance of sweet and savory flavors will have your taste buds dancing. Plus, it’s versatile enough to please picky eaters and impress guests alike. You’ll find yourself making this dish again and again!
Ingredients for Sweet and Savory Teriyaki Chicken
Gathering the right ingredients is the first step to creating a delicious Sweet and Savory Teriyaki Chicken. Here’s what you’ll need:
- Boneless, skinless chicken thighs: These are juicy and tender, perfect for soaking up the teriyaki sauce.
- Soy sauce: The backbone of the marinade, providing that essential umami flavor.
- Brown sugar: Adds sweetness and helps caramelize the chicken during cooking.
- Honey: Enhances the sweetness and gives a lovely glaze to the chicken.
- Minced garlic: A must-have for depth of flavor; it brings a savory punch.
- Minced ginger: Adds a warm, spicy note that complements the sweetness beautifully.
- Cornstarch: Used to thicken the sauce, giving it a luscious texture.
- Water: Helps dissolve the cornstarch and balance the sauce consistency.
- Sesame oil: Adds a nutty aroma and richness to the dish.
- Sesame seeds (optional): For garnish, they add a nice crunch and visual appeal.
- Green onions: Sliced for garnish, they provide a fresh, crisp contrast to the rich flavors.
For those looking to mix things up, you can substitute chicken thighs with chicken breasts or even tofu for a vegetarian option. If you want a spicy kick, consider adding red pepper flakes to the marinade. You can find the exact measurements for these ingredients at the bottom of the article, ready for printing!
How to Make Sweet and Savory Teriyaki Chicken
Now that you have your ingredients ready, let’s dive into the fun part: making your Sweet and Savory Teriyaki Chicken. Follow these simple steps, and you’ll have a delicious meal on the table in no time!
Step 1: Prepare the Marinade
Start by whisking together the soy sauce, brown sugar, honey, minced garlic, and minced ginger in a medium bowl. This marinade is the heart of your dish, so make sure it’s well combined. The sweet and savory notes will create a flavor explosion that your chicken will soak up beautifully.
Step 2: Marinate the Chicken
Next, place the chicken thighs in a large resealable plastic bag or a shallow dish. Pour the marinade over the chicken, ensuring every piece is coated. Seal the bag or cover the dish, then refrigerate for at least one hour. If you have time, letting it marinate overnight will deepen the flavors even more.
Step 3: Cook the Chicken
When you’re ready to cook, preheat your grill or a large skillet over medium-high heat. Remove the chicken from the marinade, but don’t toss that marinade just yet! Cook the chicken for about 6-7 minutes on each side, or until it reaches an internal temperature of 165°F. The sizzling sound as it cooks is music to any home cook’s ears!
Step 4: Thicken the Sauce
While the chicken is cooking, take the reserved marinade and pour it into a small saucepan. In a separate bowl, mix the cornstarch with water until smooth, then add it to the saucepan. Bring the mixture to a boil over medium heat, stirring constantly. In just 2-3 minutes, you’ll have a thick, glossy sauce that’s perfect for drizzling over your chicken.
Step 5: Serve and Enjoy
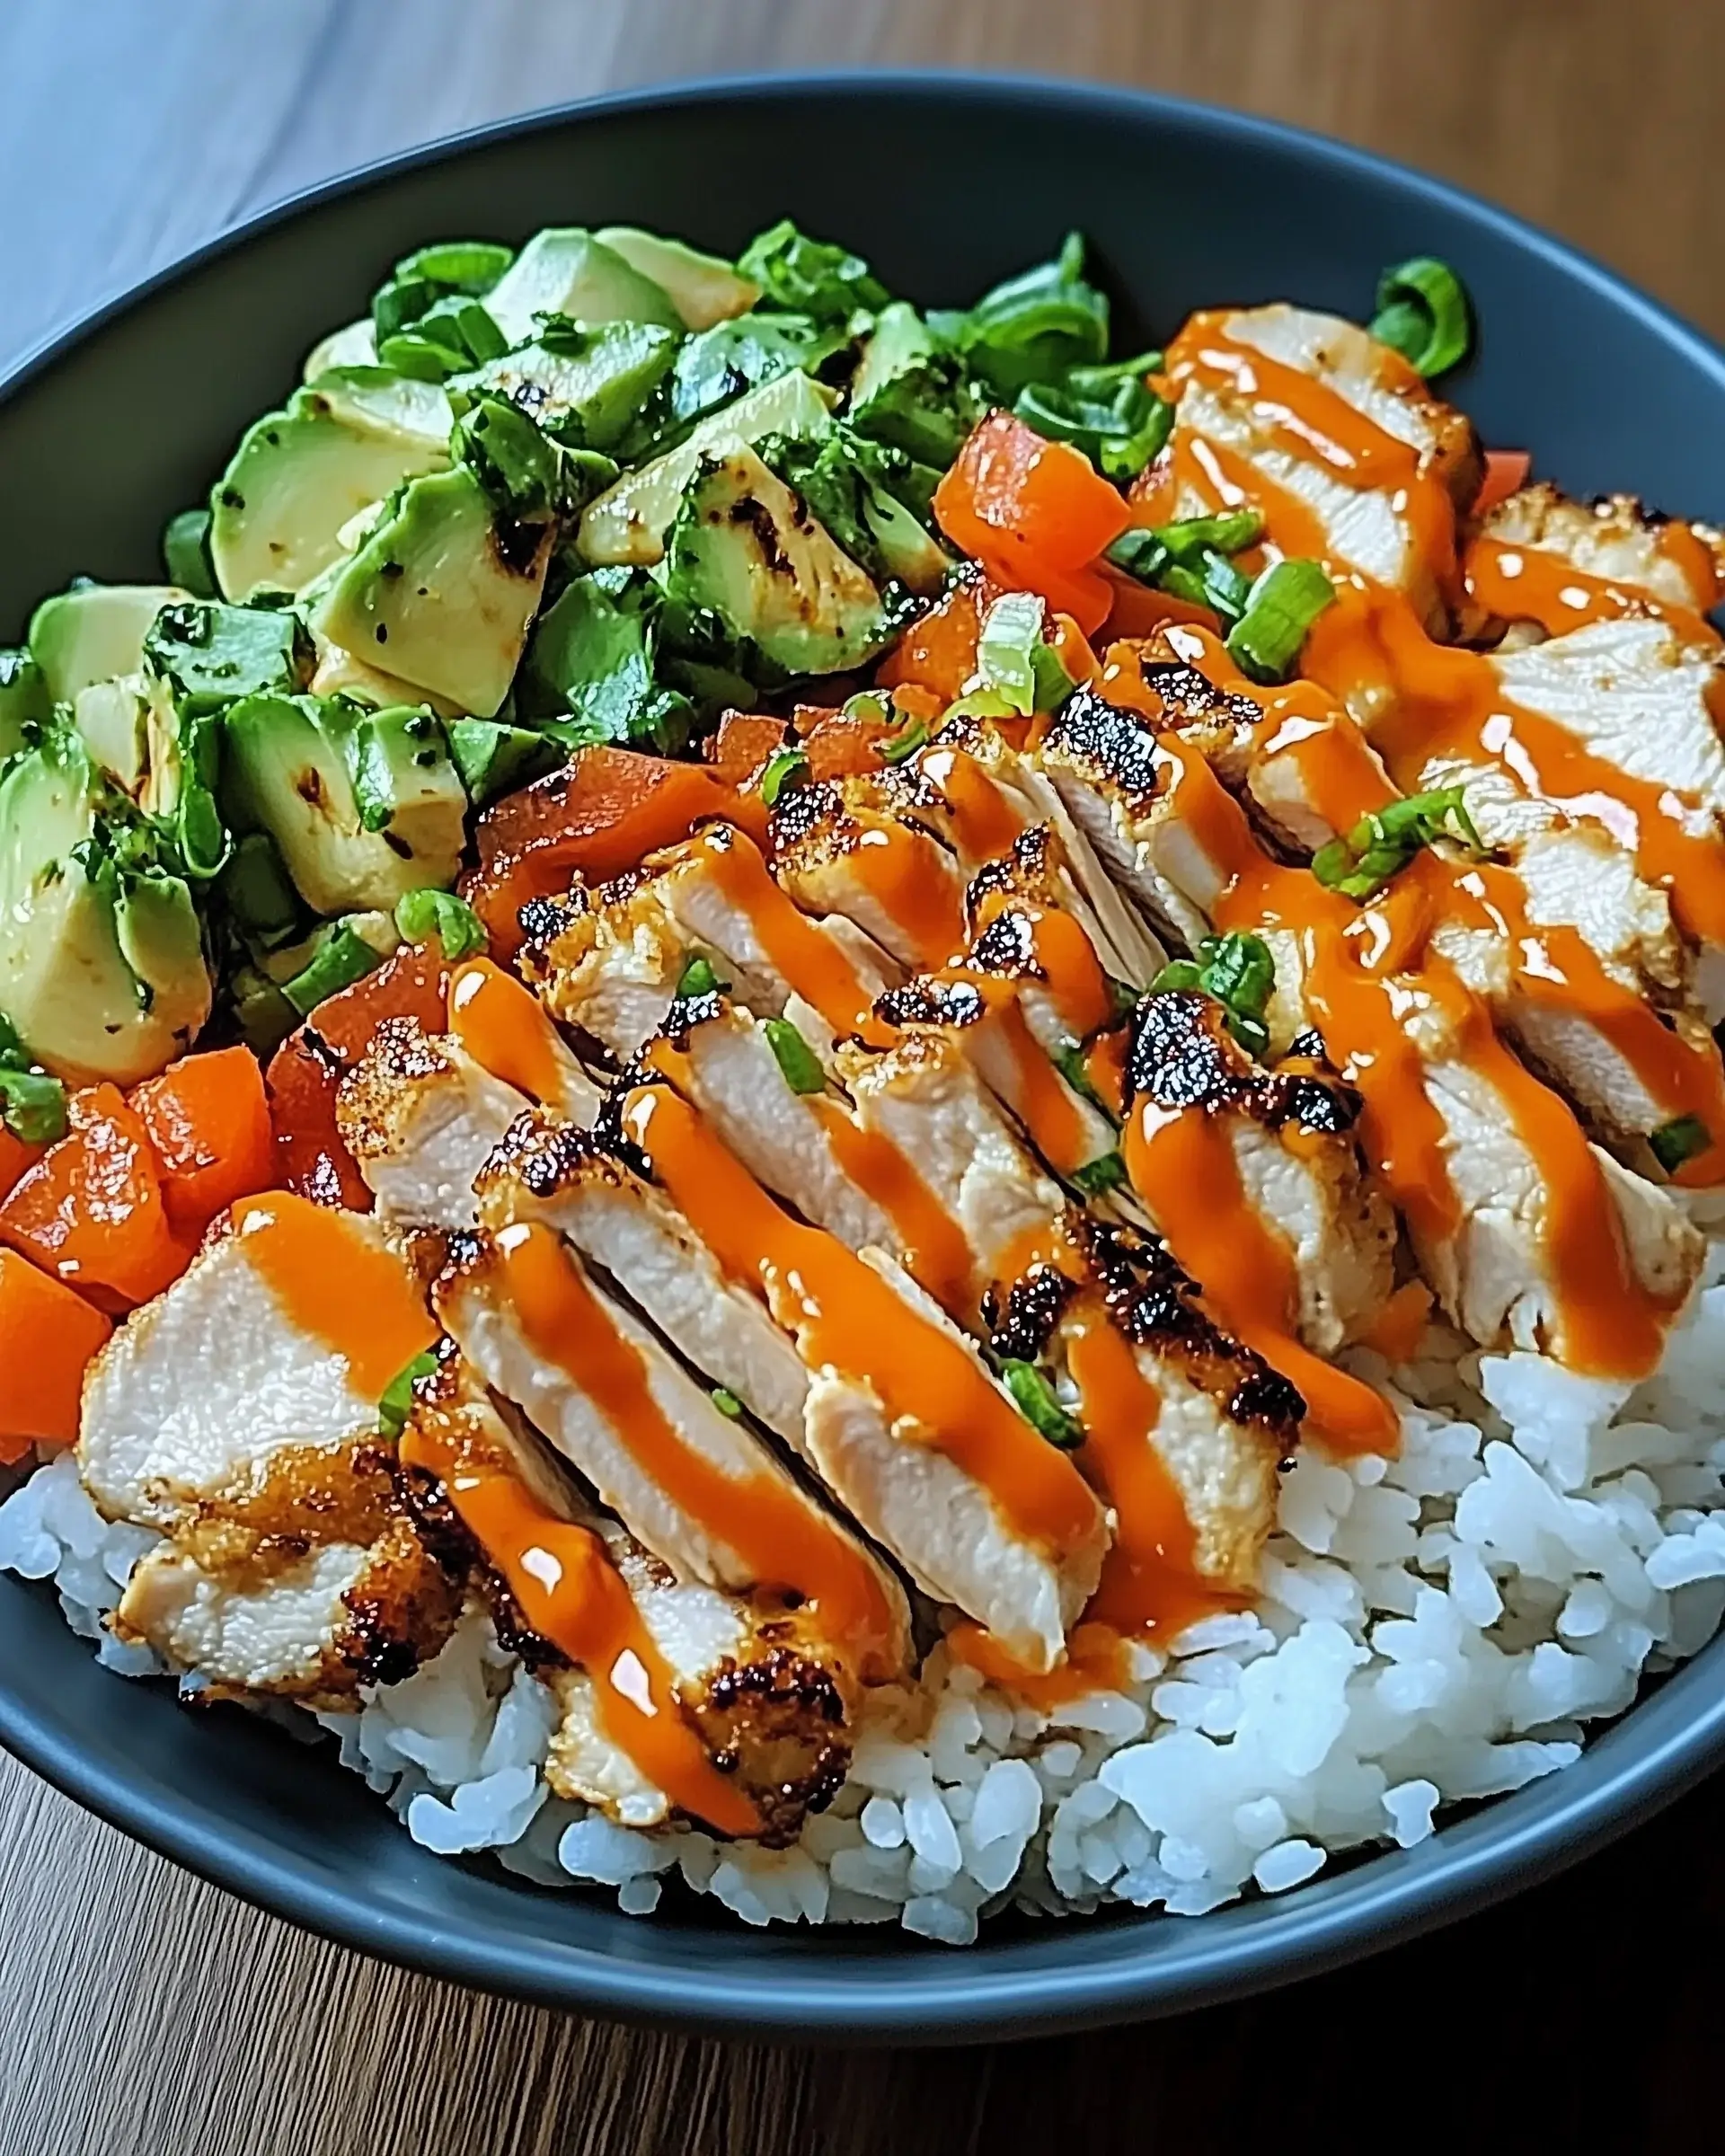
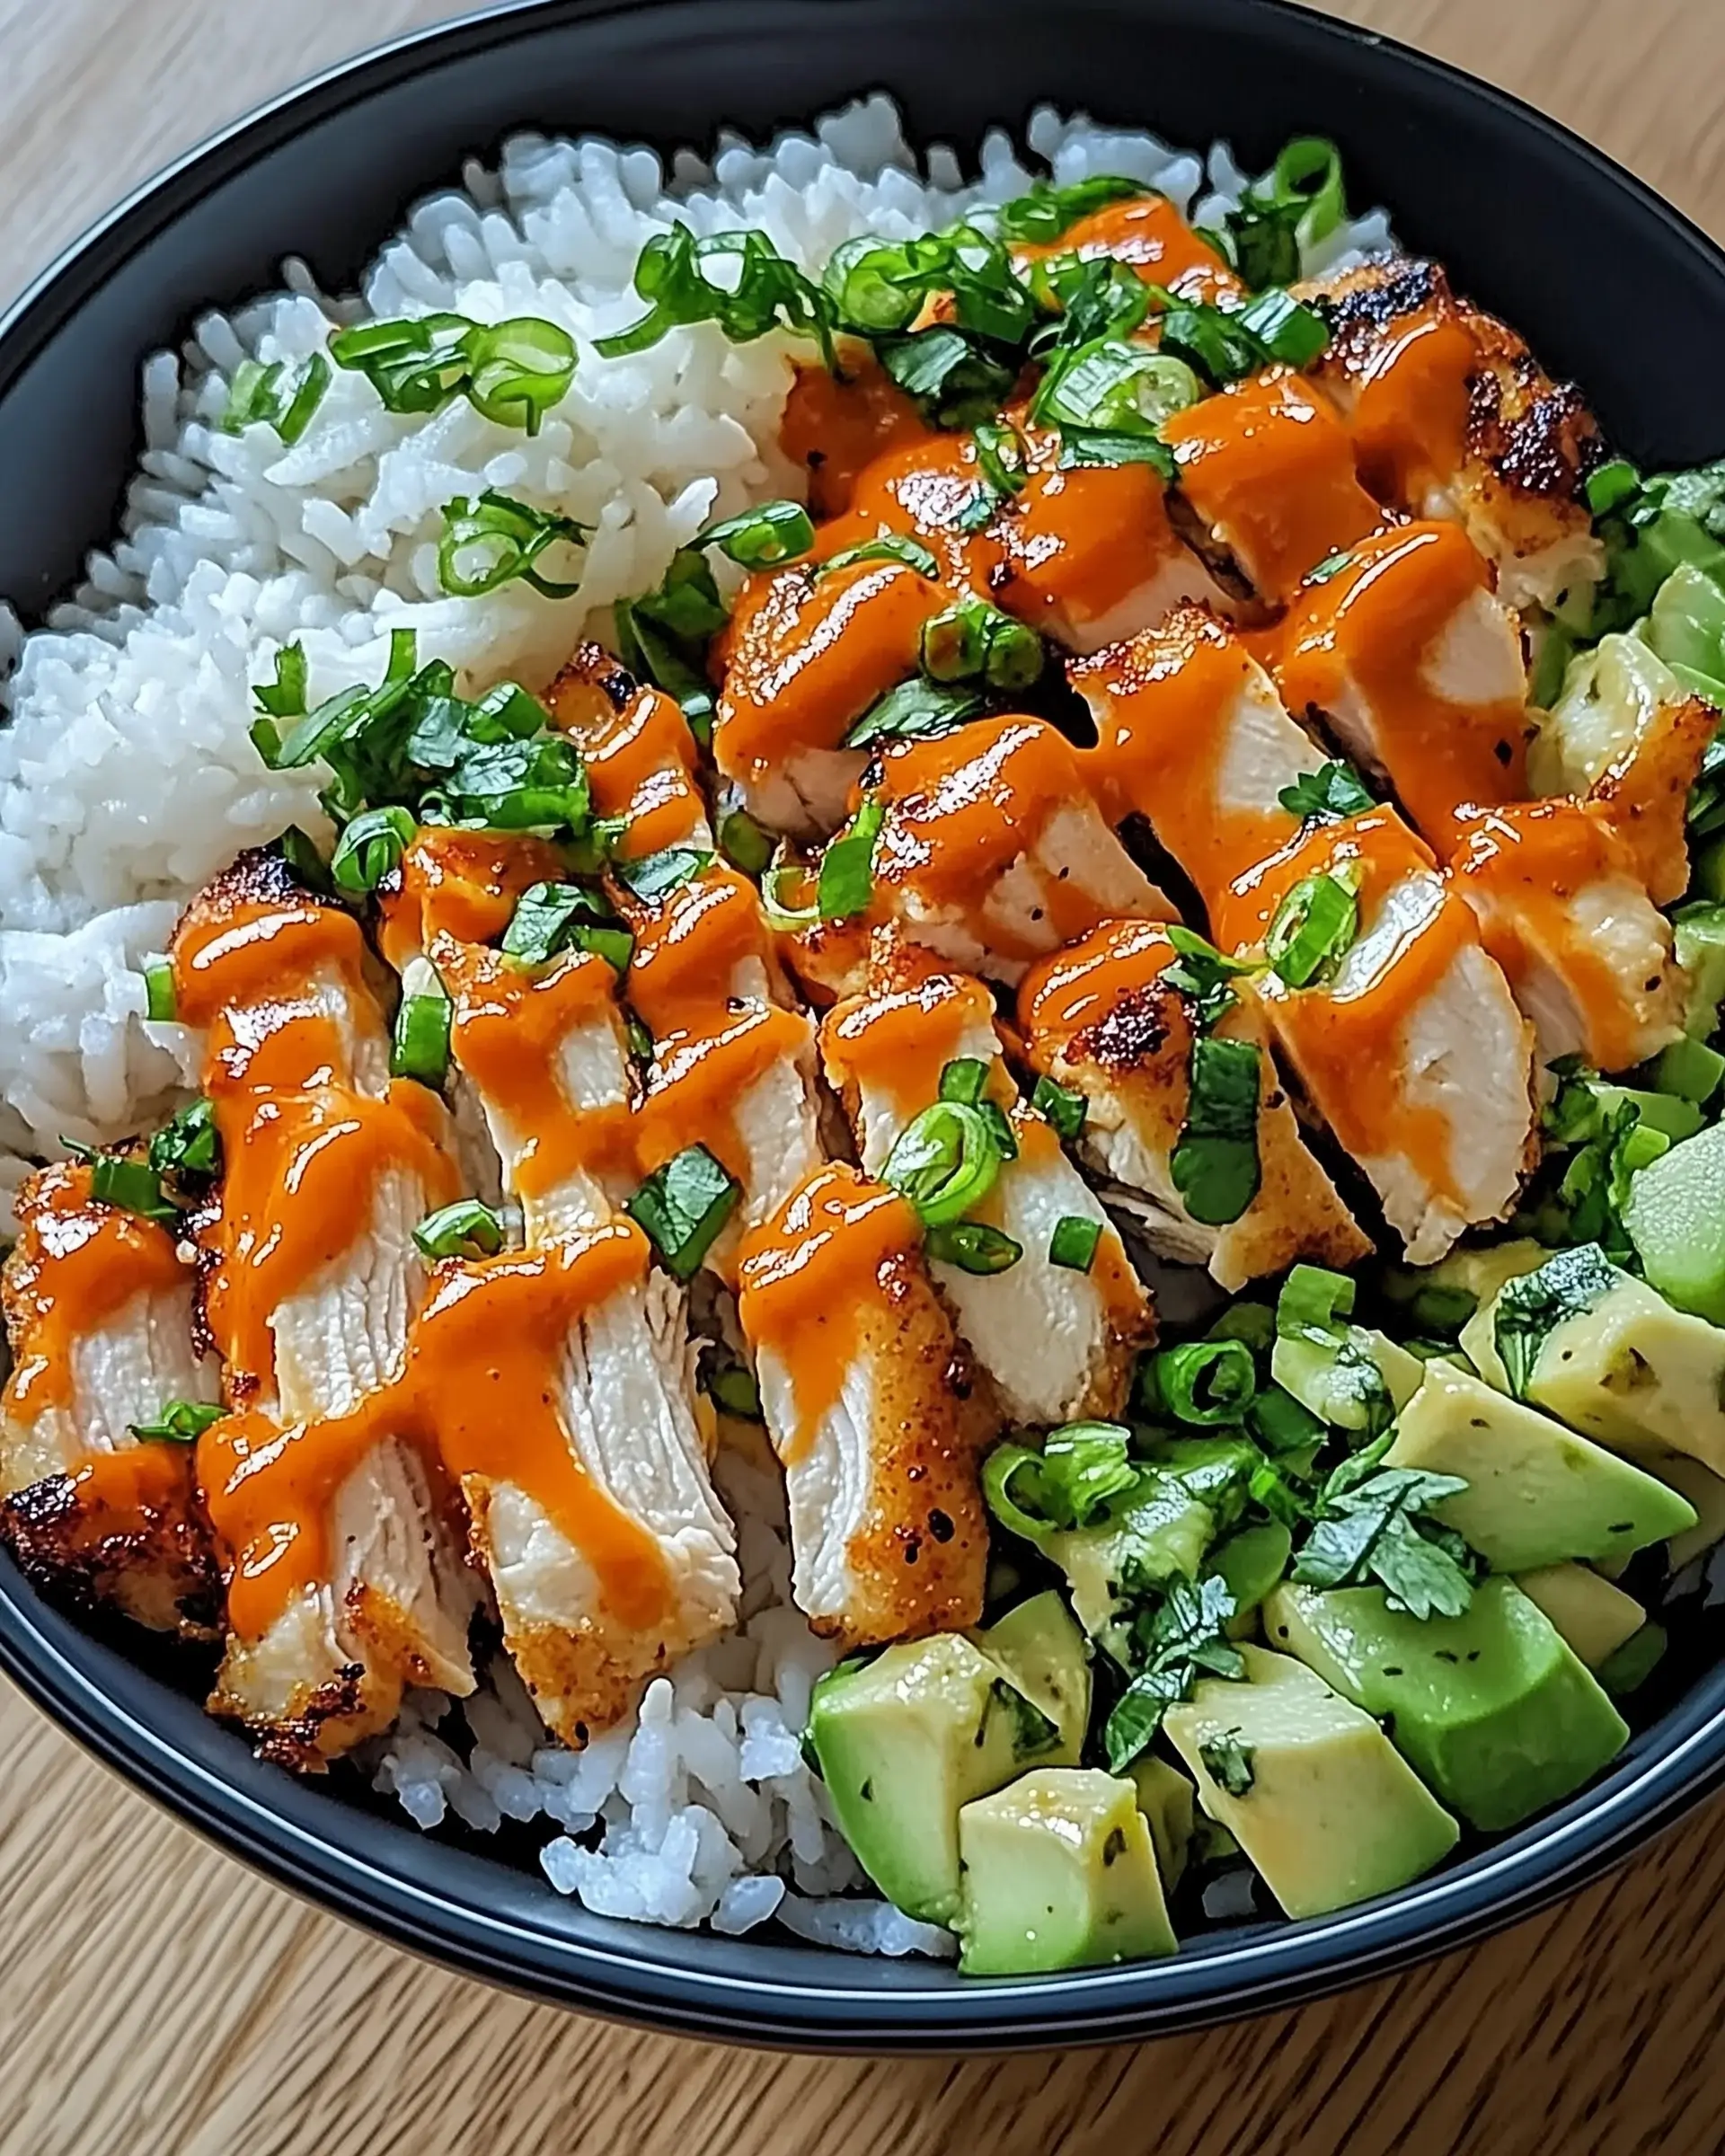
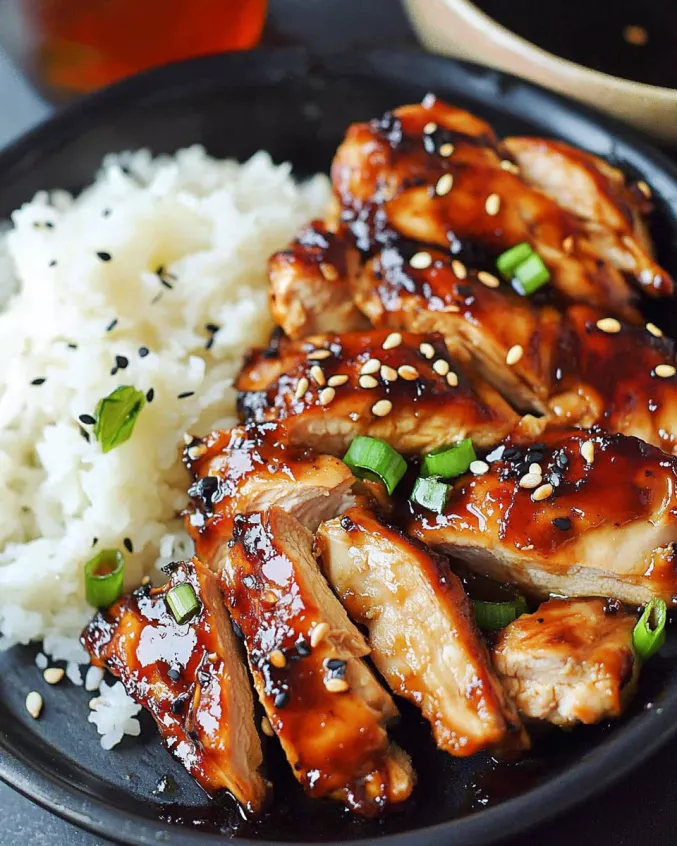
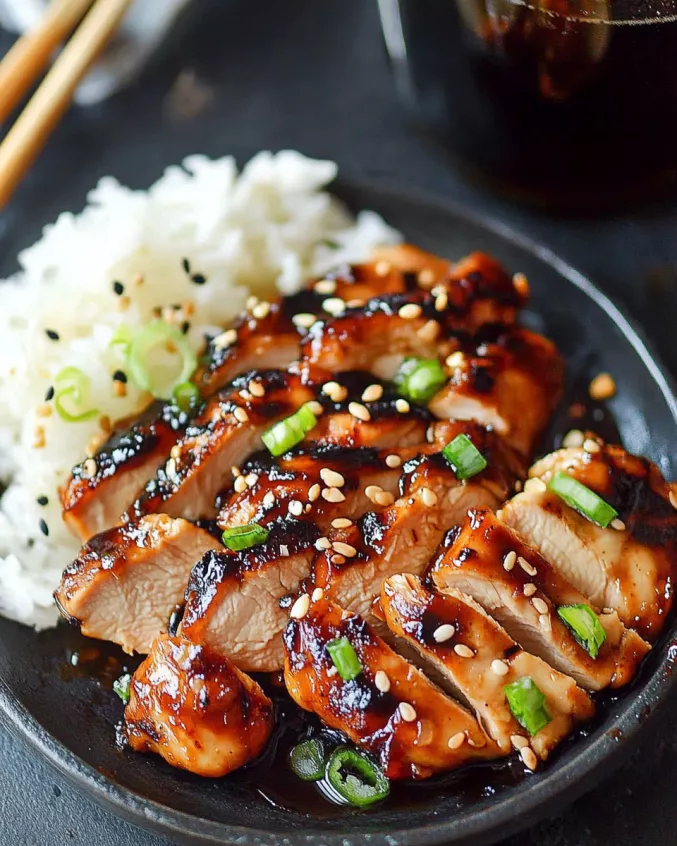
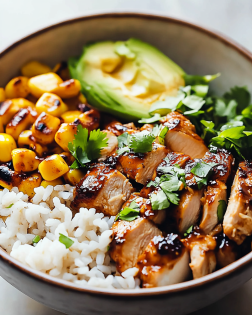
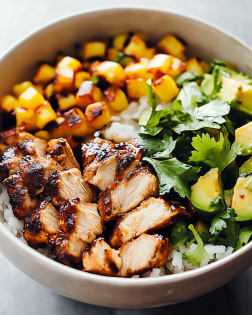
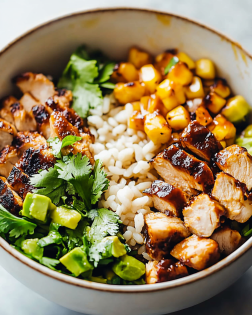
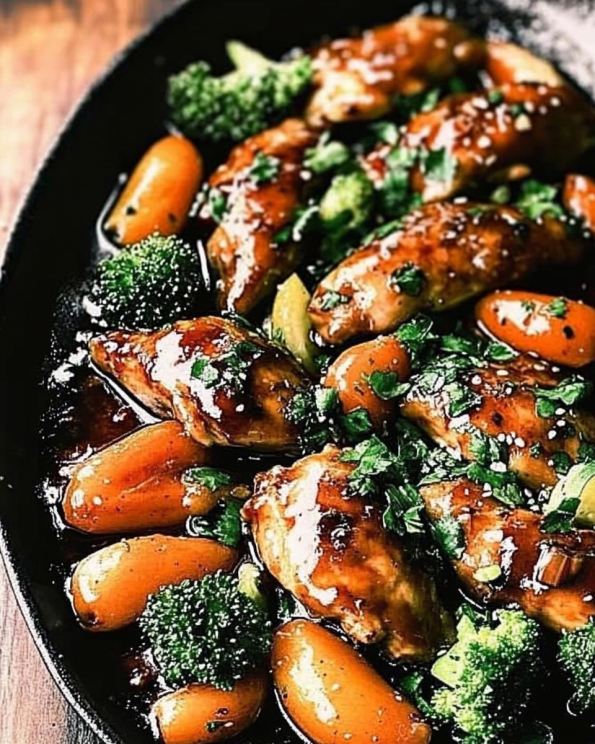
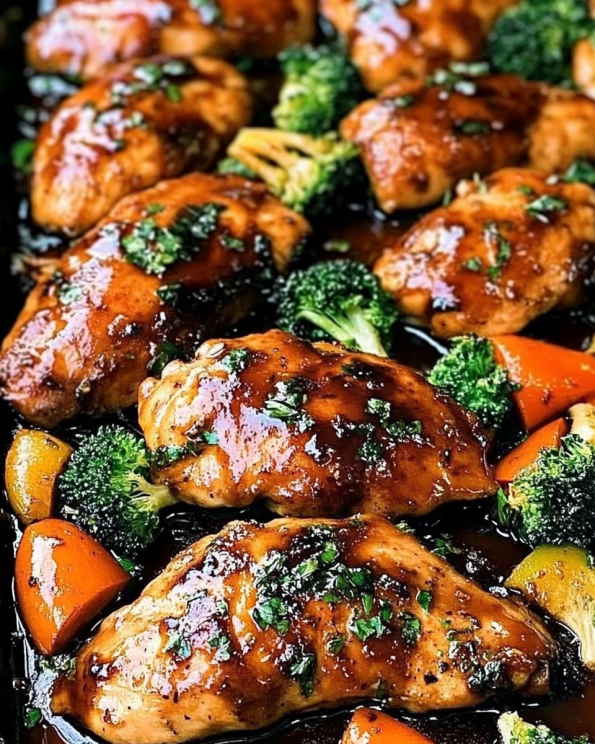
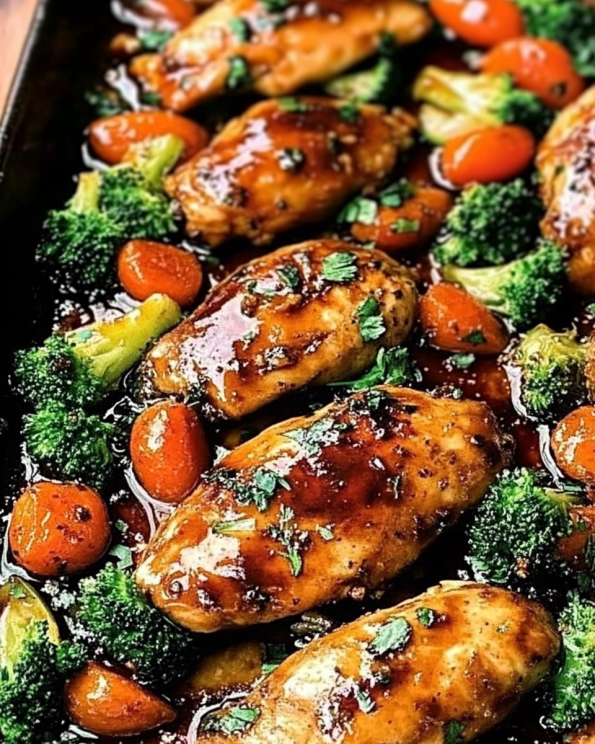
Once the chicken is cooked, let it rest for a few minutes before slicing. This helps keep it juicy. Drizzle the thickened teriyaki sauce over the sliced chicken, and don’t forget to garnish with sesame seeds and sliced green onions. Your Sweet and Savory Teriyaki Chicken is now ready to impress!
Tips for Success
- Always marinate the chicken for at least an hour; overnight is even better for flavor.
- Use a meat thermometer to ensure your chicken reaches 165°F for perfect doneness.
- Don’t skip the resting time after cooking; it keeps the chicken juicy.
- Feel free to customize the sauce with your favorite spices or add-ins.
- Serve with steamed rice or veggies for a complete meal.
Equipment Needed
- Grill or Skillet: Either works well; a grill adds a smoky flavor, while a skillet is great for indoor cooking.
- Medium Bowl: For mixing the marinade; any mixing bowl will do.
- Meat Thermometer: Ensures perfect chicken doneness; a simple knife can also check if juices run clear.
- Small Saucepan: For thickening the sauce; a small pot can be used as an alternative.
- Resealable Plastic Bag or Shallow Dish: For marinating; any container with a lid works too.
Variations
- Spicy Teriyaki Chicken: Add a teaspoon of red pepper flakes to the marinade for a fiery kick.
- Vegetarian Option: Substitute chicken thighs with firm tofu, marinating and cooking it the same way.
- Grilled Pineapple: Add slices of pineapple to the grill for a sweet, caramelized side that pairs perfectly.
- Teriyaki Chicken Bowls: Serve the chicken over rice or quinoa, topped with steamed veggies for a hearty meal.
- Low-Sodium Version: Use low-sodium soy sauce to reduce the salt content without sacrificing flavor.
Serving Suggestions
- Steamed Rice: A classic pairing that soaks up the delicious teriyaki sauce.
- Stir-Fried Vegetables: Colorful veggies add crunch and nutrition to your meal.
- Cold Beer: A light lager or pale ale complements the sweet and savory flavors.
- Presentation: Serve on a large platter, garnished with extra green onions and sesame seeds for a stunning look.
FAQs about Sweet and Savory Teriyaki Chicken
Can I use chicken breasts instead of thighs for this recipe?
Absolutely! While I love the juiciness of chicken thighs, chicken breasts can work just as well. Just keep an eye on the cooking time, as breasts may cook a bit faster.
How can I make this Sweet and Savory Teriyaki Chicken gluten-free?
To make this dish gluten-free, simply use tamari instead of regular soy sauce. It has a similar flavor profile and works perfectly in the marinade.
Can I prepare the teriyaki sauce in advance?
Yes! You can make the teriyaki sauce ahead of time and store it in the fridge for up to a week. Just reheat it before drizzling over your chicken.
What sides pair well with Sweet and Savory Teriyaki Chicken?
Steamed rice, stir-fried vegetables, or a fresh salad are fantastic options. They complement the flavors beautifully and make for a well-rounded meal.
Can I freeze the leftovers?
Definitely! Leftover teriyaki chicken can be frozen for up to three months. Just make sure to store it in an airtight container for the best results.
Final Thoughts
Cooking this Sweet and Savory Teriyaki Chicken is more than just preparing a meal; it’s about creating moments. The joy of watching your loved ones savor each bite, the laughter shared around the table, and the satisfaction of mastering a delicious recipe are priceless. This dish brings a delightful balance of flavors that can brighten any weeknight dinner or special occasion. Whether you’re a seasoned chef or just starting out, this recipe is a reminder that great food can be simple, fun, and incredibly rewarding. So, roll up your sleeves and enjoy the culinary adventure!
Sweet and Savory Teriyaki Chicken: A Delicious Recipe!
Ingredients
Method
- In a medium bowl, whisk together soy sauce, brown sugar, honey, minced garlic, and minced ginger until well combined.
- Place the chicken thighs in a large resealable plastic bag or a shallow dish and pour the marinade over the chicken. Seal the bag or cover the dish and refrigerate for at least 1 hour, or up to overnight for more flavor.
- Preheat your grill or a large skillet over medium-high heat. Remove the chicken from the marinade, reserving the marinade for later.
- Cook the chicken on the grill or in the skillet for about 6-7 minutes per side, or until the internal temperature reaches 165°F.
- While the chicken is cooking, pour the reserved marinade into a small saucepan. In a separate bowl, mix cornstarch and water until smooth, then add to the saucepan.
- Bring the marinade to a boil over medium heat, stirring constantly until it thickens, about 2-3 minutes.
- Once the chicken is cooked, remove it from the heat and let it rest for a few minutes before slicing.
- Drizzle the thickened teriyaki sauce over the sliced chicken and garnish with sesame seeds and sliced green onions before serving.
Nutrition
Notes
- For a spicy kick, add a teaspoon of red pepper flakes to the marinade.
- Substitute chicken thighs with chicken breasts or tofu for a different protein option.