A quick glance at my watch sparked an urgent realization—dinner was just around the corner and takeout wasn’t an option tonight. Thankfully, I had a secret weapon: my Easy 30-Minute Crispy Honey Garlic Chicken, a delightful dish that turns tender chicken thighs into a restaurant-worthy feast right from my kitchen. Not only does this Asian-inspired recipe promise a flavorful sticky glaze with just the right amount of heat, but it also transforms hectic weeknights into culinary triumphs in under half an hour. Perfect for those craving comfort food without the wait, this homemade takeout alternative is bound to become your go-to weeknight staple. Ready to dive into a dish that combines crispy goodness with a touch of sweetness? Let’s get cooking!
Why Choose Honey Garlic Chicken Tonight?
Speedy Preparation: This 30-minute recipe is perfect for busy evenings, giving you more time to unwind with your family.
Irresistible Glaze: The sticky honey garlic sauce provides a mouthwatering sweet and savory blend that will leave everyone wanting seconds.
Versatility: Enjoy it with hibachi-style fried rice or steamed veggies, making it adaptable to your taste preferences.
Crowd-Pleaser: This dish is sure to impress family and friends alike, similar to other favorites like Cheesy Garlic Chicken or Honey Garlic Salmon.
Healthy Alternative: Elevate your weeknight meals with this nutrient-packed recipe, high in protein yet customizable for dietary needs.
Honey Garlic Chicken Ingredients
-
For the Chicken
• Chicken Thighs – Juicy protein base. Substitution: Chicken breast can be used, but thighs give better flavor and tenderness.
• Kosher Salt & Black Pepper – Enhances overall flavor. Adjust to taste.
• Cornstarch – Adds crispiness to chicken when pan-frying. Important for achieving the desired texture; should not be omitted. -
For the Seasoning
• Garlic Powder – Adds depth and savory flavor without raw garlic texture. Can be swapped with fresh minced garlic if desired.
• Onion Powder – Provides an aromatic essence. Omit for a mild flavor.
• Smoked Paprika – Offers a subtle smokiness. Regular paprika may be used as an alternative.
• Sesame Oil – Enriches with nutty flavor and aroma. Substitute with vegetable oil for a milder taste. -
For the Sauce
• Honey – Primary sweetener in the sauce. Maple syrup could be a vegan alternative.
• Sweet Chili Sauce – Supplies sweetness and heat to the sauce. Sriracha or additional honey can substitute for heat.
• Soy Sauce – Adds saltiness and umami flavor. Low-sodium soy sauce may be used as a healthier option.
• Fresh Garlic – Enhances the sauce with robust flavor. Minced fresh garlic should be added carefully to avoid burning. -
For Serving
• Hibachi Rice or Preferred Sides – For serving. Can use any rice or vegetable sides of choice.
• Sesame Seeds & Chopped Scallions – Optional garnish for added texture and flavor.
Step‑by‑Step Instructions for Crispy Honey Garlic Chicken
Step 1: Marinate Chicken
Begin by placing the chicken thighs in a resealable bag. Add kosher salt, black pepper, garlic powder, onion powder, smoked paprika, and sesame oil. Seal the bag and shake it well to ensure the seasoning evenly coats the chicken. Let it marinate in the fridge for a minimum of 1 hour, or up to 1 day, allowing the flavors to permeate and tenderize the meat.
Step 2: Coat Chicken
Once marinated, remove the chicken from the fridge and sprinkle cornstarch over it. Close the bag again and shake vigorously to achieve an even coating of cornstarch on each piece. Let the chicken sit at room temperature for about 20 minutes before cooking. This step is vital for achieving that perfect crispy texture when you fry the chicken.
Step 3: Cook Chicken
Heat 2 tablespoons of oil in a large nonstick skillet over medium-high heat. Carefully place the coated chicken thighs in the hot skillet, allowing space between pieces to prevent steaming. Cook for 3-4 minutes on each side or until they are golden brown and crispy. Once cooked, transfer the chicken to a plate and set aside while you prepare the sauce.
Step 4: Prepare Sauce
In the same skillet, reduce the heat to medium and add honey, sweet chili sauce, soy sauce, and chopped fresh garlic. Stir everything together and let it simmer for about 4-5 minutes, until the sauce thickens and bubbles gently. This sticky honey garlic sauce will infuse the chicken with a deliciously sweet and savory flavor.
Step 5: Combine
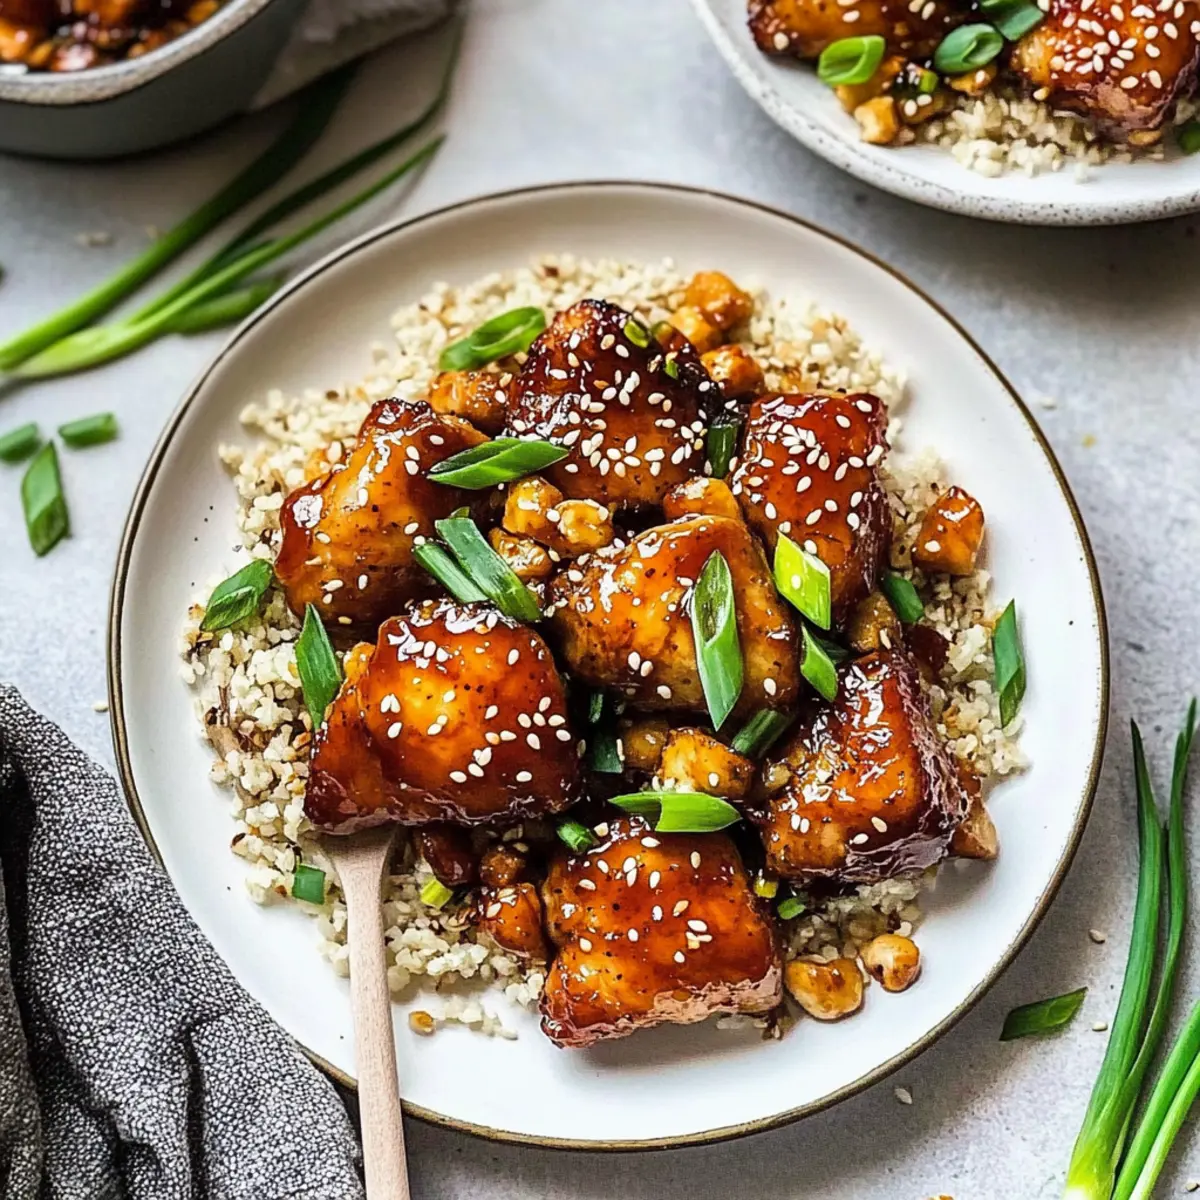
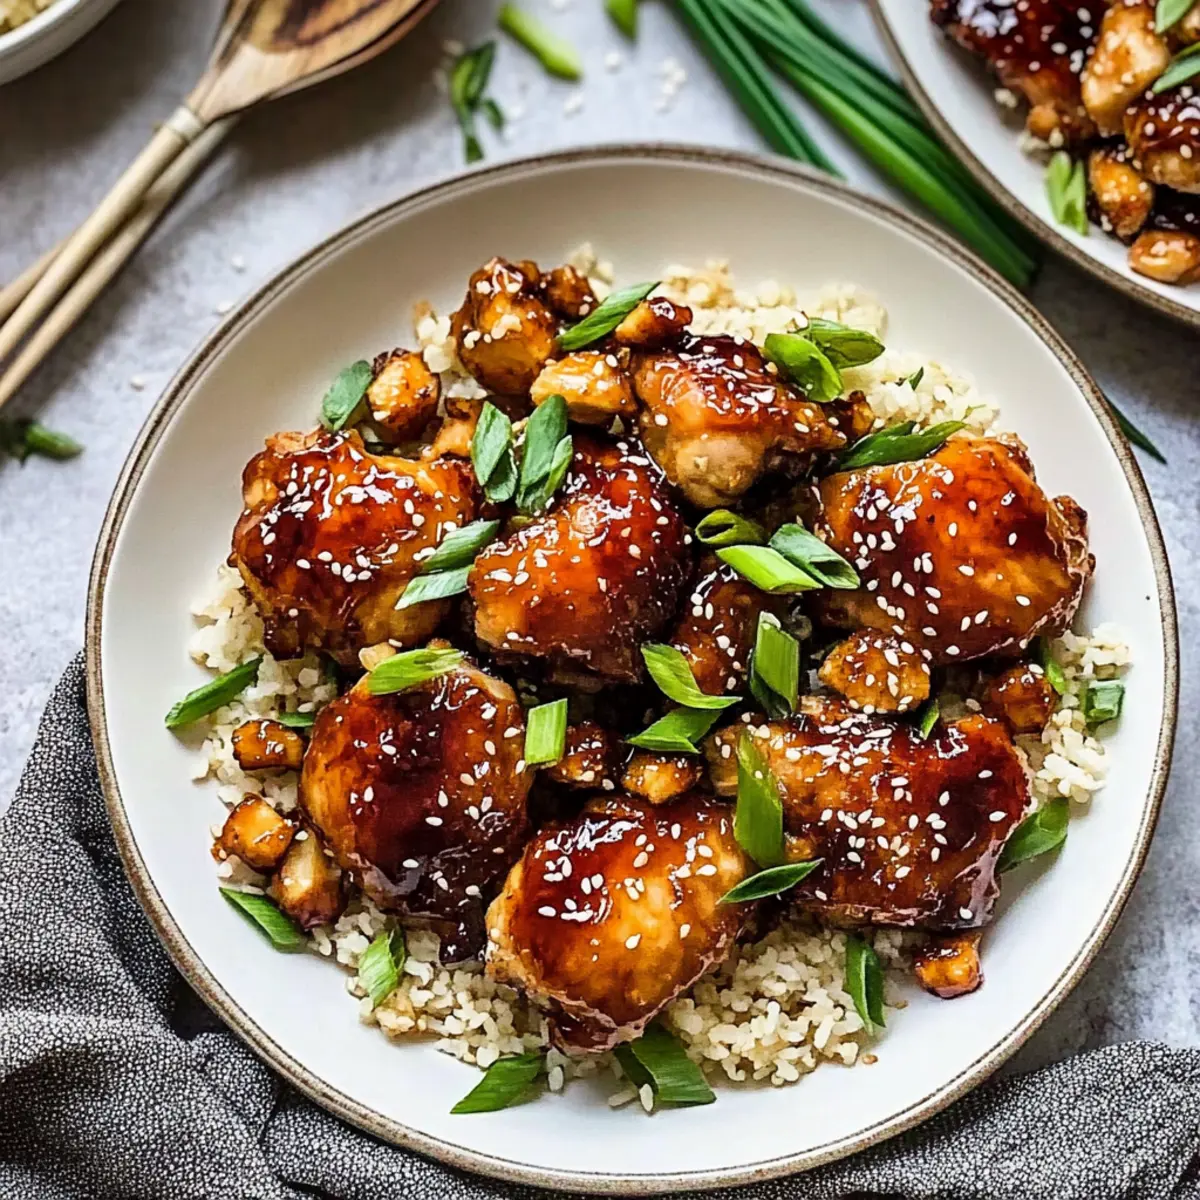
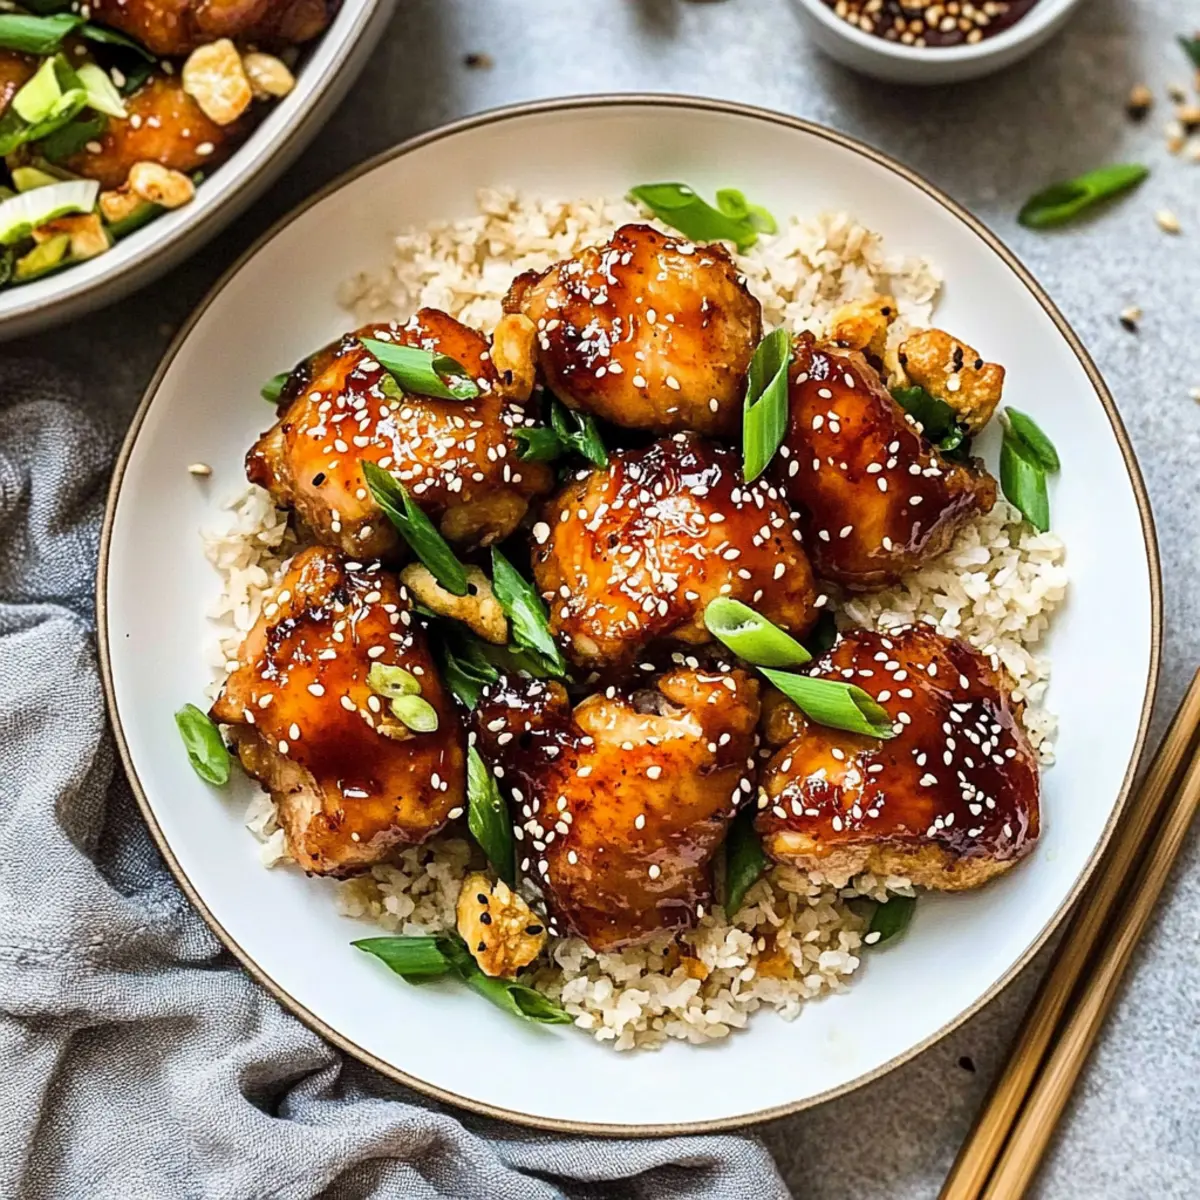
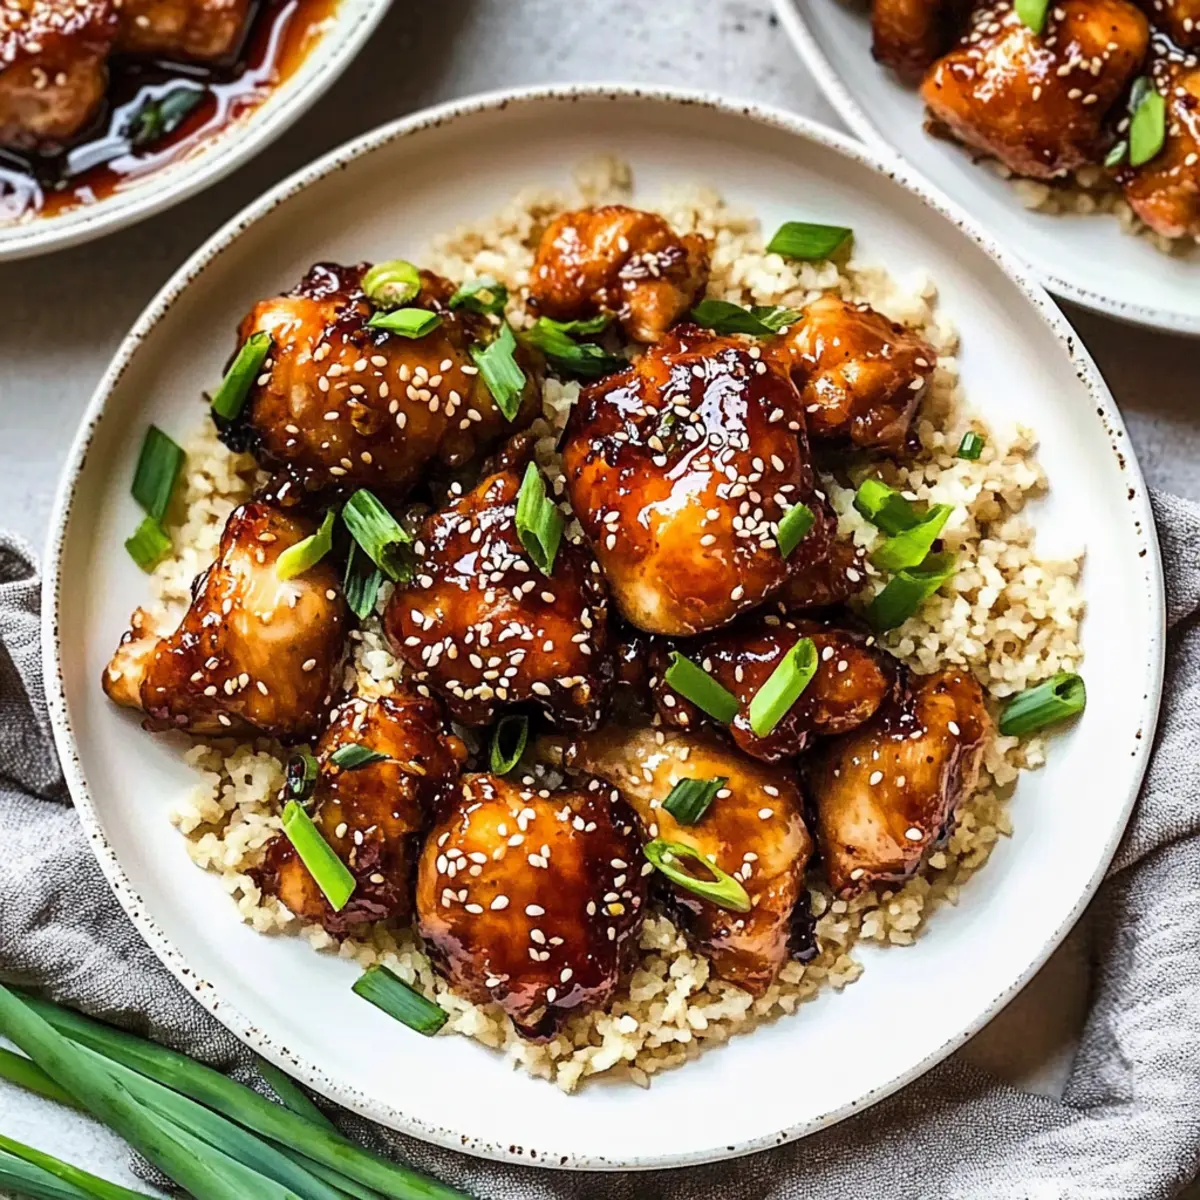
Return the browned chicken thighs to the skillet, tossing them in the thickened honey garlic sauce to coat thoroughly. Allow the chicken to cook in the sauce for an additional 1-2 minutes, making sure each piece is glistening and infused with flavor. Prepare to serve this delectable Crispy Honey Garlic Chicken hot, over hibachi fried rice or your favorite sides.
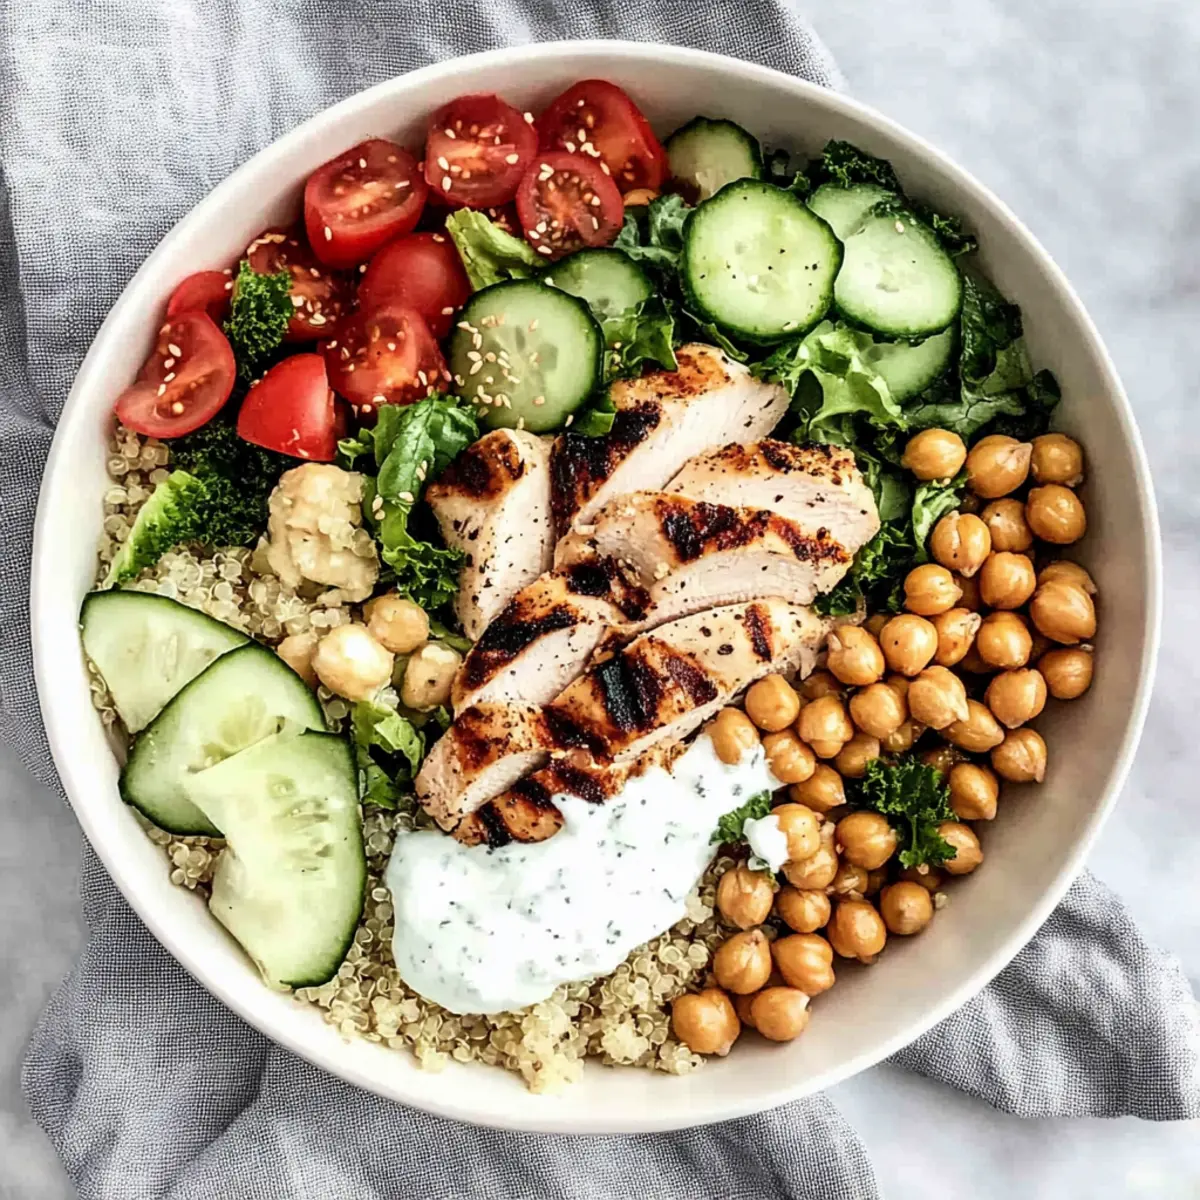
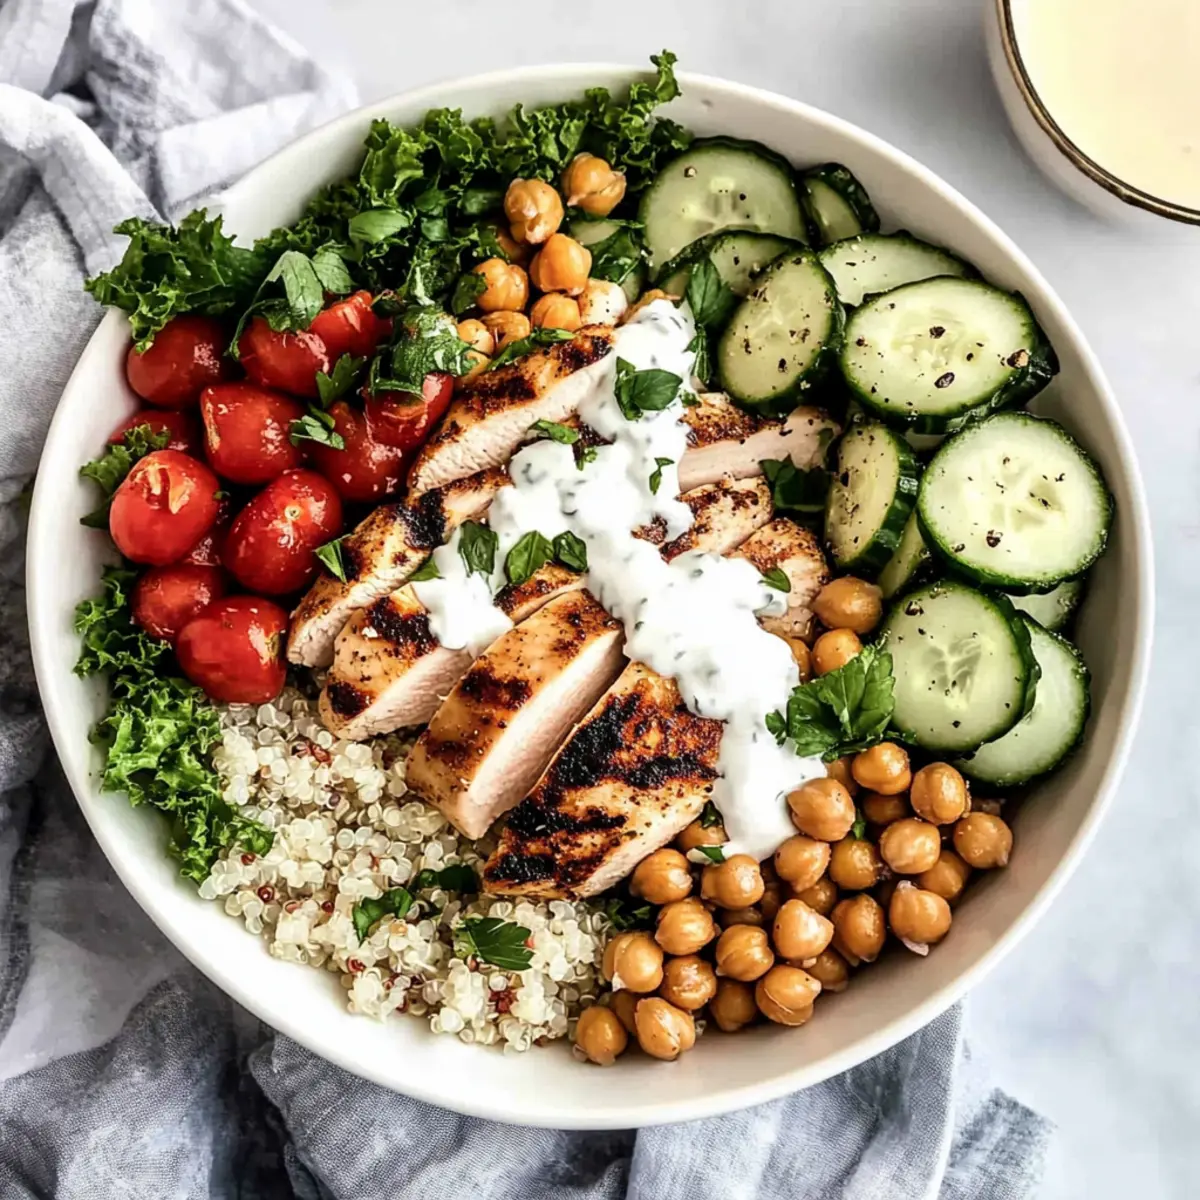
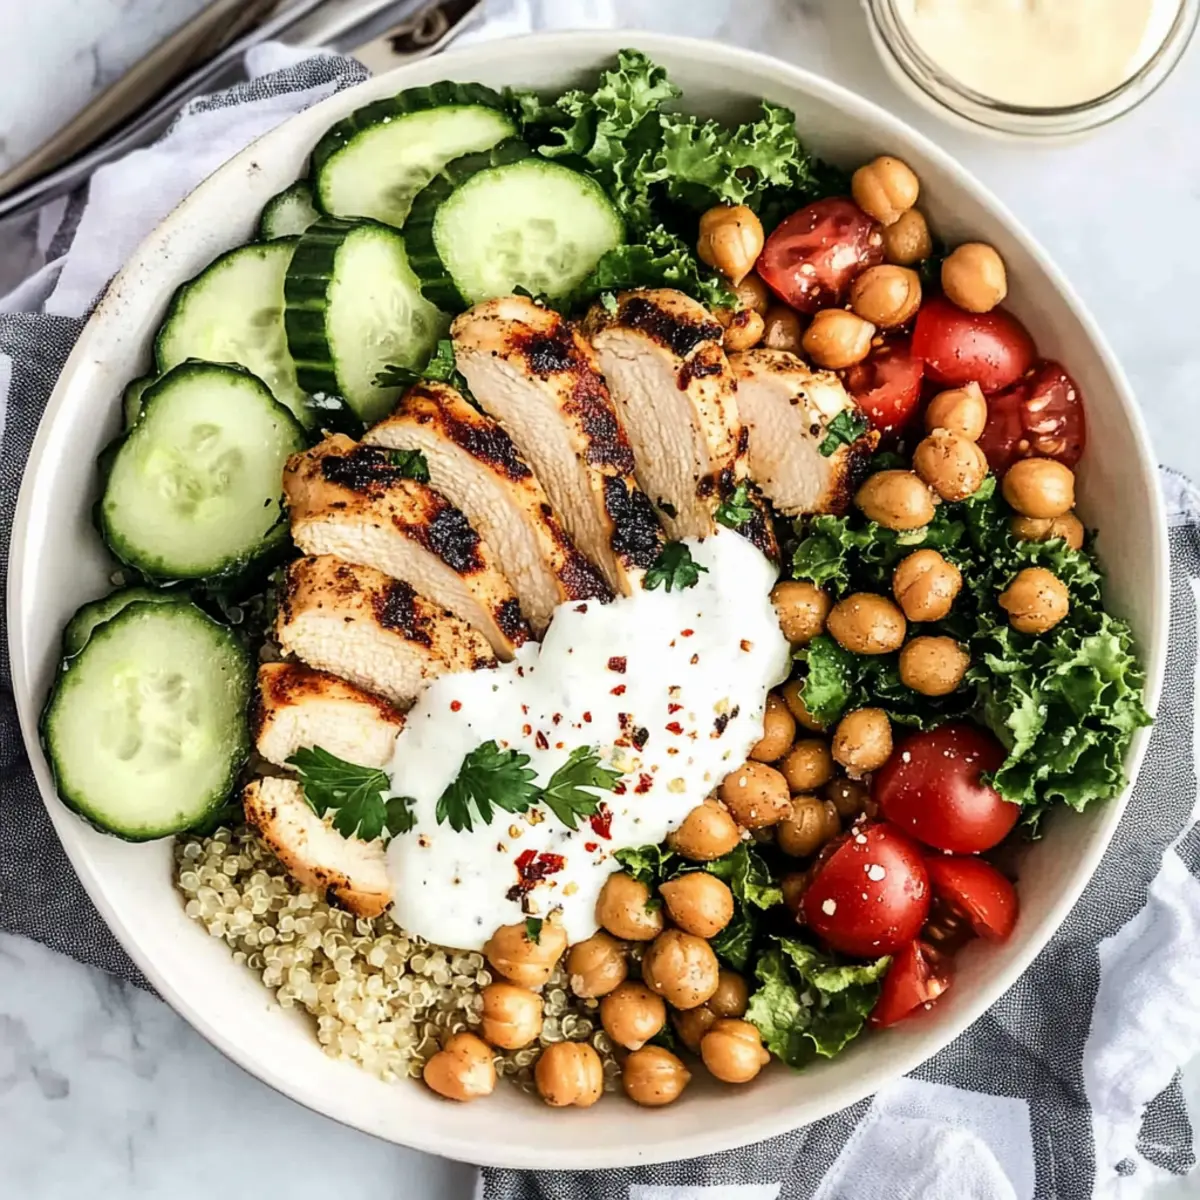
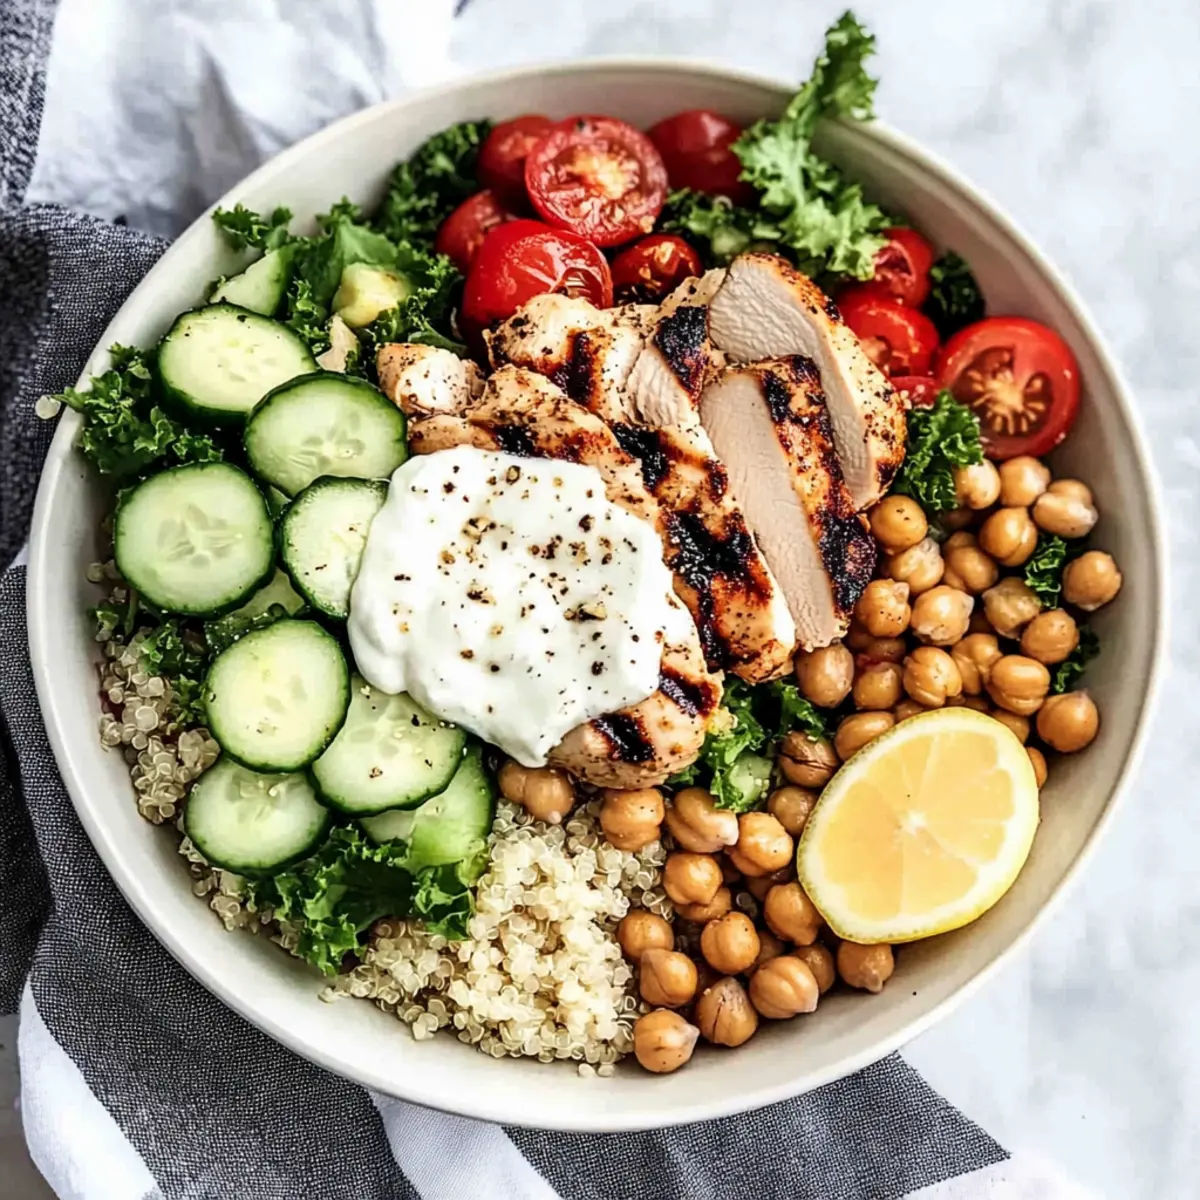
What to Serve with Crispy Honey Garlic Chicken
As you prepare this delightful dish, it’s time to think about how to complement those golden, sticky chicken thighs with sides that will round out your meal beautifully.
-
Hibachi Fried Rice: A perfect match, this savory rice absorbs the flavors of the honey garlic sauce, offering a satisfying base.
-
Steamed Broccoli: Crisp and vibrant, the bright green broccoli adds a refreshing contrast to the rich glaze of the chicken while providing a healthy touch.
-
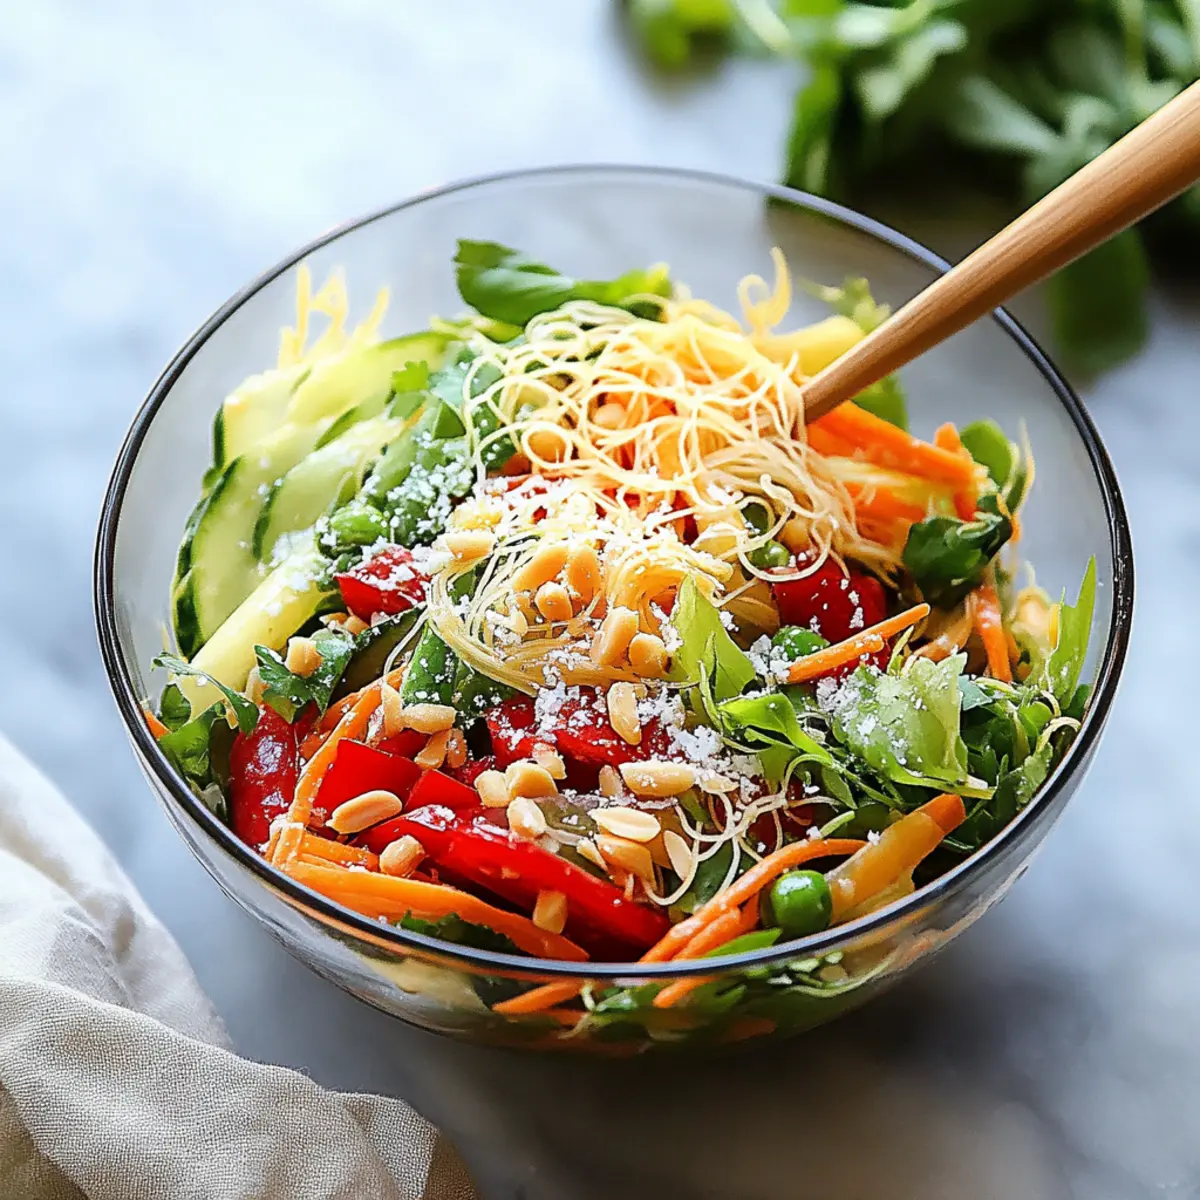
Asian Slaw: This crunchy side brings a variety of textures with a tangy sauce that balances the sweetness of the chicken, creating a delightful palate experience.
-
Garlic Noodles: Rich and buttery, these noodles take on the wonderful flavors of the chicken, making every bite a satisfying journey through Asian-inspired taste.
-
Cucumber Salad: Crisp, cool cucumber salad with a light vinaigrette adds a refreshing burst and brightens up the dish, providing a classic crunchy contrast.
-
Chilled Sake: For a complete dining experience, enjoy a glass of chilled sake. Its smoothness pairs wonderfully with the sweet-spicy tones of your honey garlic chicken.
-
Mango Sticky Rice: For dessert, indulge in a sweet contrast with this traditional favorite. The creaminess of the coconut and the sweetness of fresh mango create a perfect ending to your meal.
With these options, your Crispy Honey Garlic Chicken will transition from a simple dinner to an extraordinary experience, tantalizing both your spirit and your taste buds!
How to Store and Freeze Honey Garlic Chicken
Fridge: Store leftover Honey Garlic Chicken in an airtight container for up to 3 days. Make sure it’s completely cooled before sealing for best results.
Freezer: For longer storage, freeze portions in airtight containers or freezer bags for up to 2 months. Label with the date for easy tracking.
Reheating: Thaw overnight in the fridge before reheating. Warm in a skillet over medium heat for 5-7 minutes, adding a splash of water if needed to maintain moisture.
Avoid Soggy Chicken: To prevent sogginess, reheat the chicken instead of microwaving it; this helps preserve its crispy texture!
Make Ahead Options
These Crispy Honey Garlic Chicken preparations are perfect for busy home cooks looking to save time! You can marinate the chicken thighs in the flavorful seasoning blend up to 24 hours in advance, ensuring the meat is tender and infused with taste. Additionally, once coated with cornstarch, let the chicken rest for 20 minutes at room temperature before cooking to maintain crispiness. You can also prepare the sticky honey garlic sauce and store it in the refrigerator for up to 3 days. When you’re ready to eat, simply sauté the marinated chicken, add the sauce, and enjoy a delicious meal that feels fresh and homemade, making your weeknight dinners a breeze!
Honey Garlic Chicken Variations & Substitutions
Feel free to make this delicious dish your own with a few simple tweaks, enhancing both flavor and nutrition!
-
Vegetarian Swap: Substitute chicken thighs for tofu or tempeh, marinating just like the chicken for great flavor.
-
Gluten-Free Option: Use gluten-free soy sauce or tamari to make this dish safe for those avoiding gluten.
-
Spice It Up: For a fiery twist, add sliced fresh chilies or a touch of red pepper flakes to the sauce.
-
Different Flavors: Experiment with teriyaki sauce instead of sweet chili sauce for a unique spin on the original flavor.
-
More Crunch: Coat your chicken with panko breadcrumbs instead of cornstarch to achieve an even crunchier texture.
-
Added Greens: Toss in some broccoli or snap peas when simmering the honey garlic sauce to pack in more veggies and nutrition.
-
Sweet Substitution: If you’re out of honey, try agave nectar or brown sugar for a similar sweet profile in the sauce.
-
Side Swap: Serve your Honey Garlic Chicken over jasmine rice, or try it with cauliflower rice for a lower-carb option.
By considering these fun variations or substitutions, you can expand your cooking creativity! Serve it alongside fluffy hibachi-style fried rice or venture into other favorites like Garlic Chicken Gnocchi or Garlic Butter Baked Chicken for a well-rounded meal!
Expert Tips for Crispy Honey Garlic Chicken
Optimal Marinating Time: Allowing the chicken to marinate for at least 1 hour enhances flavor absorption. For the best results, overnight marination is ideal.
Cornstarch Coating: Don’t rush the cornstarch step; this is crucial for creating that irresistible crispy texture. Ensure even coating to avoid soggy spots.
Nonstick Skillet Advantage: Using a nonstick skillet helps prevent chicken from sticking, making both cooking and cleanup a breeze. It’s worth it!
Avoid Overcrowding: Cooking chicken in batches rather than overcrowding the skillet ensures each piece gets that perfect golden crust.
Adjust to Taste: Feel free to modify the sweetness and spice levels in the honey garlic sauce by adjusting the honey and sweet chili sauce amounts to suit your palate.
Garnish for Flair: Top your dish with sesame seeds and chopped scallions just before serving for added flavor and an appealing presentation—making your Honey Garlic Chicken a feast for the eyes too!
Crispy Honey Garlic Chicken Recipe FAQs
How do I choose the best chicken thighs for this recipe?
Absolutely! Look for chicken thighs that are plump and have a deep, pink color. Avoid any that have dark spots or an off smell. Fresh chicken should feel moist but not slimy, ensuring you’re starting with quality protein.
How should I store leftovers of my Honey Garlic Chicken?
For optimal freshness, place any leftover Honey Garlic Chicken in an airtight container, where it can be kept in the fridge for up to 3 days. Make sure the chicken has cooled down completely before sealing the container to avoid moisture buildup.
Can I freeze Crispy Honey Garlic Chicken?
Certainly! To freeze, allow the chicken to cool completely and then portion it into freezer-safe bags or airtight containers. You can freeze it for up to 2 months. Be sure to label the bags with the date for easy tracking.
What should I do if my chicken isn’t crispy?
If your chicken isn’t crispy, it might be due to overcrowding in the skillet during cooking. Make sure to give each piece enough space to brown evenly. If you notice sogginess after storage, reheating in a skillet rather than a microwave can help regain that desired crispiness.
Are there any dietary considerations for this recipe?
Very much so! If you have a soy allergy, consider using coconut aminos as a soy sauce substitute. For a gluten-free option, use gluten-free soy sauce or tamari. Additionally, if you’re looking for a vegan twist, you can substitute chicken with tofu or tempeh, and replace honey with maple syrup to cater to dietary preferences.
How can I tell when my chicken is fully cooked?
To ensure your chicken is fully cooked and safe to eat, the internal temperature should reach 165°F (75°C). Using a meat thermometer is the most accurate method. Additionally, the juices should run clear and not pink when you cut into the chicken. Follow these steps for perfect results every time!
Crispy Honey Garlic Chicken: Your New Go-To Weeknight Delight
Ingredients
Equipment
Method
- Begin by placing the chicken thighs in a resealable bag. Add kosher salt, black pepper, garlic powder, onion powder, smoked paprika, and sesame oil. Seal the bag and shake it well to ensure the seasoning evenly coats the chicken. Let it marinate in the fridge for a minimum of 1 hour, or up to 1 day.
- Once marinated, remove the chicken from the fridge and sprinkle cornstarch over it. Close the bag again and shake vigorously to achieve an even coating of cornstarch on each piece. Let the chicken sit at room temperature for about 20 minutes before cooking.
- Heat 2 tablespoons of oil in a large nonstick skillet over medium-high heat. Carefully place the coated chicken thighs in the hot skillet, allowing space between pieces to prevent steaming. Cook for 3-4 minutes on each side or until they are golden brown and crispy.
- In the same skillet, reduce the heat to medium and add honey, sweet chili sauce, soy sauce, and chopped fresh garlic. Stir everything together and let it simmer for about 4-5 minutes, until the sauce thickens and bubbles gently.
- Return the browned chicken thighs to the skillet, tossing them in the thickened honey garlic sauce to coat thoroughly. Allow the chicken to cook in the sauce for an additional 1-2 minutes before serving.