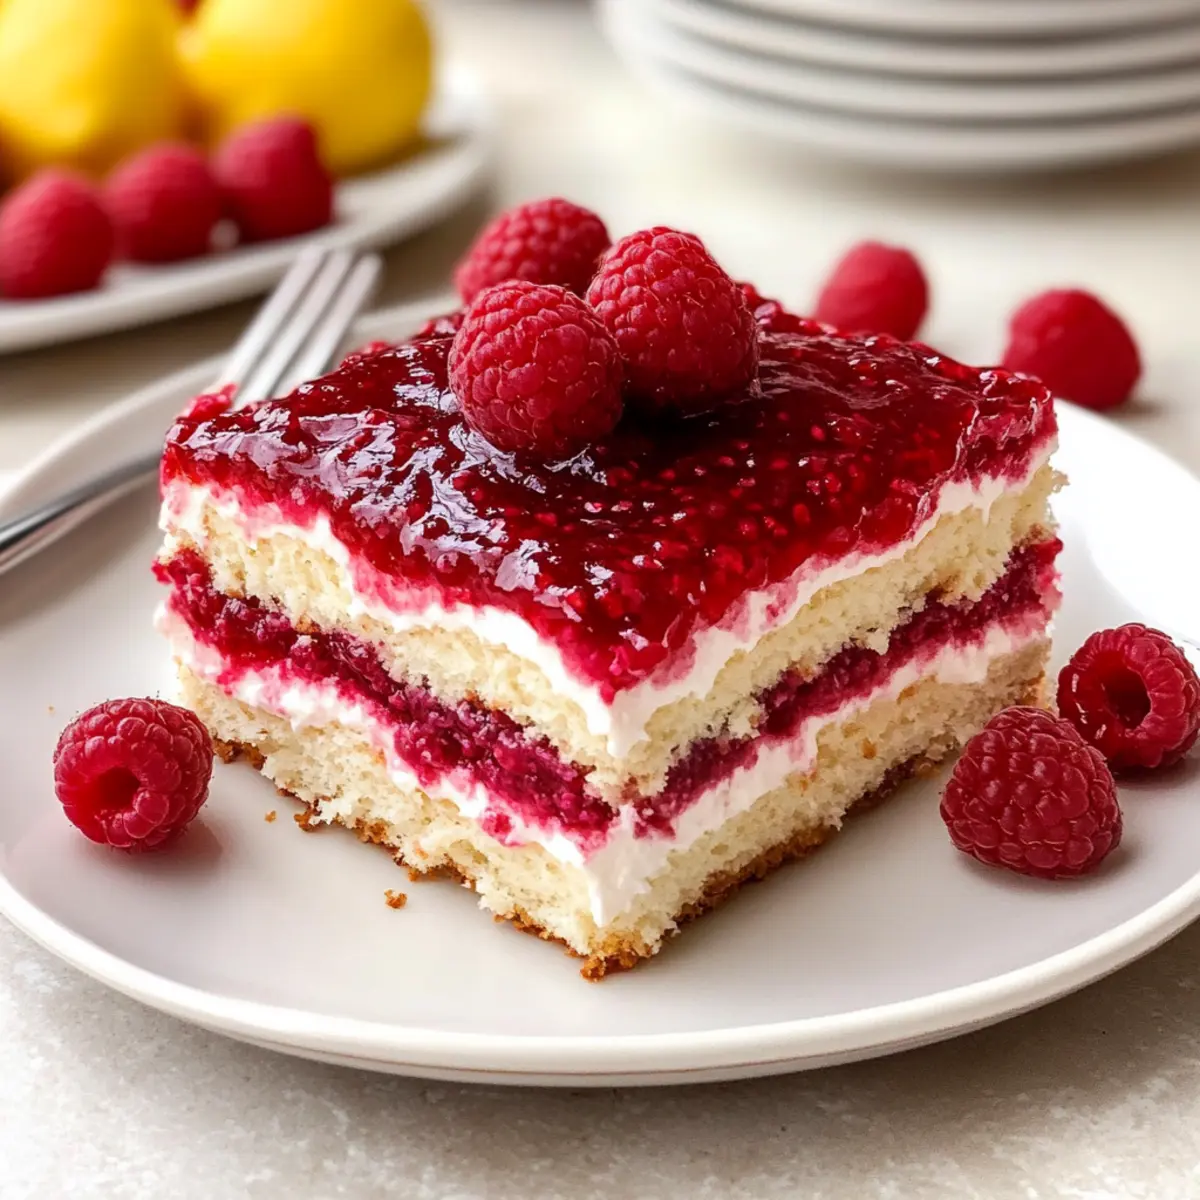
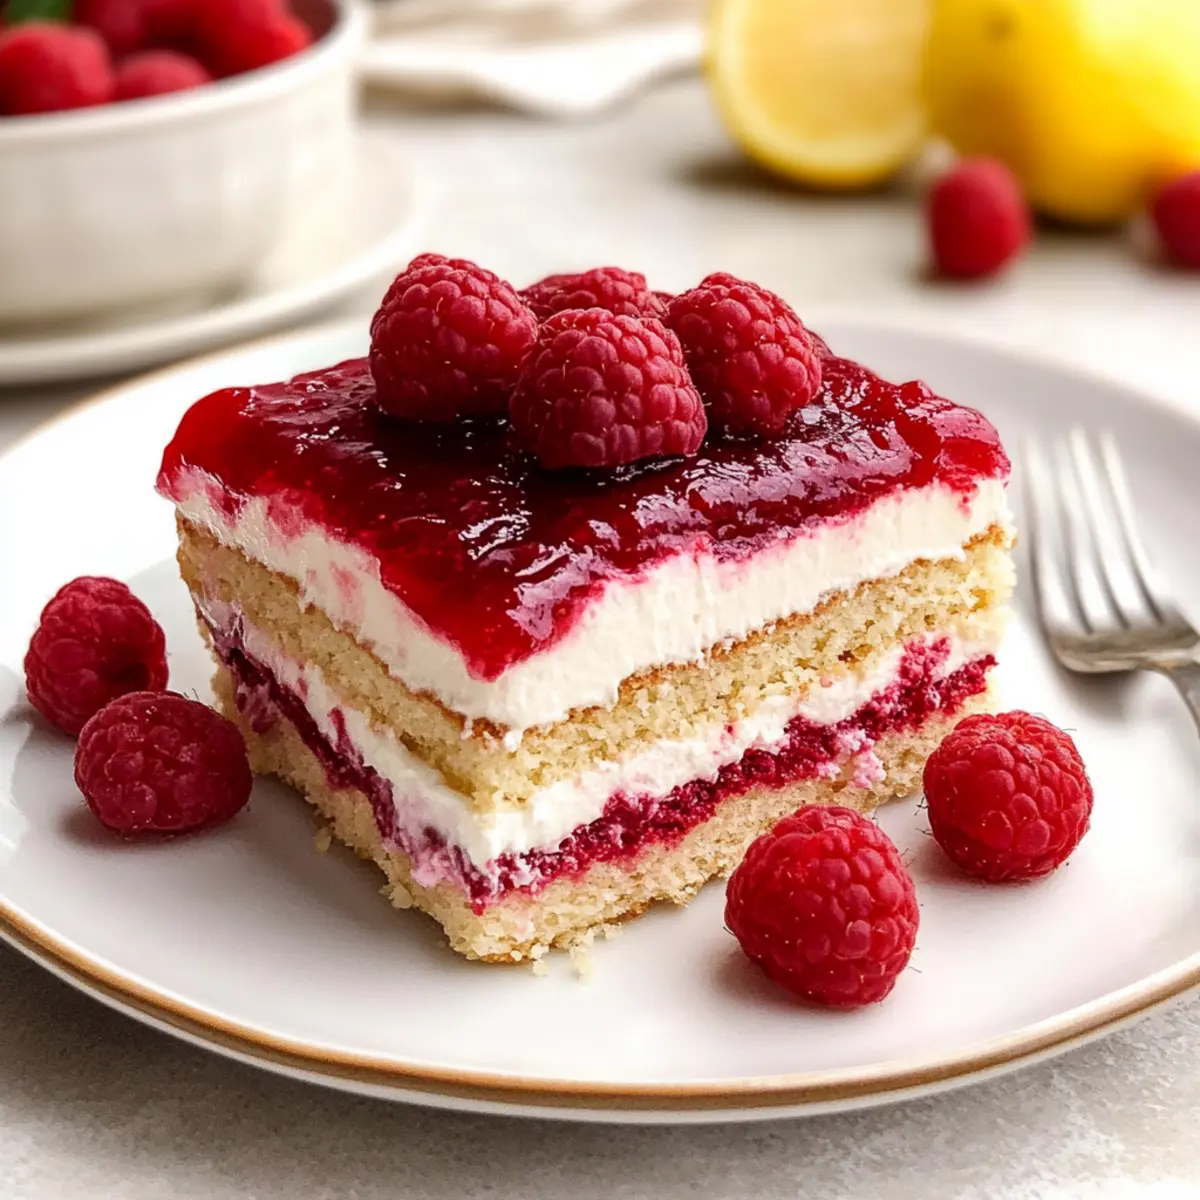
As I stood in my kitchen, the sweet scent of raspberries filled the air, whisking me away to a sun-kissed summer afternoon. This Fresh Raspberry Tiramisu is not just a dessert; it’s an elegant celebration of flavors that transforms the classic Italian dish into a fruity delight. With its sumptuous layers of creamy mascarpone and raspberry-soaked ladyfingers, this make-ahead treat is perfect for adding a touch of sophistication to any gathering. You’ll not only impress your guests with its stunning presentation but also enjoy the ease of preparation that allows you to savor precious moments with loved ones. Are you ready to elevate your dessert game and indulge in this luscious creation? Let’s dive in!
Why is this Tiramisu a must-try?
Irresistible flavors: A light yet decadent dessert where tart raspberries beautifully contrast with creamy mascarpone, creating an unforgettable taste experience.
Make-ahead convenience: Perfectly suited for busy schedules, this delightful treat can be prepared in advance, allowing you to focus on your guests.
Elegant presentation: Stunning layers of vibrant raspberry color will leave your guests in awe, making it a showstopper on any table.
Versatile variations: Easily customize with different fruits or flavors, whether you prefer strawberries or a chocolaty twist, making it suitable for every palate.
Crowd-pleaser: The combination of flavors and textures is guaranteed to win over friends and family, making this an instant favorite at any gathering.
Raspberry Tiramisu Ingredients
For the Raspberry Jam
• Frozen Raspberries – Primary flavor component for the jam; use fresh if available, but frozen works perfectly.
• Granulated Sugar – Sweetens the raspberry jam and syrup; can substitute with coconut sugar or sweetener of choice.
• Lemon Juice – Adds acidity to balance the sweetness; fresh is best, but bottled can be used in a pinch.
For the Mascarpone Filling
• Mascarpone Cheese – Main ingredient for the creamy layer; ensure it’s cold for better whipping.
• Powdered Sugar – Sweetens the mascarpone mixture; can use erythritol for a sugar-free option.
• Vanilla Paste – Enhances flavor; can substitute with vanilla extract.
• Heavy Cream – Adds richness and texture to the filling; use cold for best results.
For the Assembly
• Ladyfinger Cookies – Forms the structure of the tiramisu; ensure they are classic sponge fingers.
• Limoncello (optional) – Adds depth of flavor to the syrup; can be omitted or substituted with lemon extract.
For Decoration
• Fresh Raspberries & Lemon Slices – Adds visual appeal and freshness when serving.
Step‑by‑Step Instructions for Luscious Fresh Raspberry Tiramisu
Step 1: Make Raspberry Jam
In a medium saucepan, combine 2 cups of frozen raspberries, ¾ cup of granulated sugar, and 2 tablespoons of lemon juice over medium heat. Stir the mixture until it begins to bubble, then lower the heat and let it simmer for 23-25 minutes, stirring occasionally, until it thickens. Once done, remove it from heat and allow it to cool completely.
Step 2: Prepare Raspberry Syrup
In another small saucepan, bring 1 cup of water to a boil and add ½ cup of sugar along with 1 cup of raspberries. Let the mixture boil for 1 minute, then reduce to a simmer for 3 minutes. Remove from heat, strain the syrup through a fine mesh sieve, discarding solids, and let it cool at room temperature.
Step 3: Mix Mascarpone Filling
In a large mixing bowl, use a hand mixer to beat 1 cup of cold mascarpone cheese, ½ cup of powdered sugar, the juice from ½ a lemon, and 1 teaspoon of vanilla paste until fully combined. In a separate bowl, whip 1 cup of heavy cream until medium-stiff peaks form. Gently fold the whipped cream into the mascarpone mixture until well blended, keeping the creamy filling light and airy.
Step 4: Assemble Tiramisu
Grab a 9×9-inch baking dish and start by spooning in a layer of the mascarpone cream. Quickly dip ladyfinger cookies into the cooled raspberry syrup and layer them on top of the cream. Spread half of the prepared raspberry jam over the ladyfingers, followed by another layer of the mascarpone filling. Repeat the process, finishing with the remaining mascarpone layer.
Step 5: Chill to Set
Cover the assembled Fresh Raspberry Tiramisu with plastic wrap and place it in the refrigerator. Allow it to chill for at least 8 hours, or ideally overnight. This resting time ensures that flavors meld and the texture sets beautifully, making for a delightful dessert when it’s time to serve.
Step 6: Garnishing
Just before serving, spread any remaining raspberry jam over the top of the Tiramisu for a glossy finish. Optionally, you can garnish with fresh raspberries and lemon slices for an added touch of elegance. Slice and serve chilled, allowing each layer to shine in this luscious celebration of flavors.
Make Ahead Options
These Fresh Raspberry Tiramisu are perfect for meal prep enthusiasts! You can prepare the raspberry jam and syrup up to 3 days in advance, allowing for a rich depth of flavor to develop. The mascarpone filling can be mixed ahead of time and refrigerated for up to 24 hours before assembling. When you’re ready to serve, simply dip the ladyfinger cookies in the raspberry syrup, layer them with the mascarpone filling, and refrigerate the assembled tiramisu for at least 8 hours or overnight. To ensure the tiramisu remains just as delicious, store it airtight in the fridge and avoid overly soaking the ladyfingers to maintain their structure. Enjoy the convenience of this make-ahead dessert that impresses with minimal effort!
What to Serve with Fresh Raspberry Tiramisu
The perfect meal deserves the perfect company, and your taste buds are in for an unforgettable treat!
-
Whipped Cream: A dollop of freshly whipped cream enhances the dessert’s richness while adding a light, fluffy texture that complements its layers.
-
Sparkling Wine: A chilled Moscato or Prosecco brightens the palate, making each bite of tiramisu feel like a celebration.
-
Lemon Sorbet: Bring a refreshing twist with lemon sorbet, its lightness balancing the creaminess of the tiramisu beautifully.
-
Chocolate-Covered Strawberries: These sweet treats add an elegant touch and contrast the tart raspberry flavors, making them visually appealing.
-
Mini Fruit Tarts: Bright, colorful tarts filled with assorted fruits can amplify the vibrant raspberry notes while providing a delightful crunch.
-
Fresh Mint Tea: A soothing cup of mint tea cleanses the palate and adds a fragrant herbal note that enhances your dessert experience.
-
Dark Chocolate Shavings: Sprinkled atop each slice, they add a touch of bitterness that perfectly contrasts with the sweet and fruity layers.
-
Pistachio Biscotti: Crunchy and nutty, these delicious cookies provide a delightful texture contrast and a nutty flavor that pairs wonderfully with the tiramisu.
Variations & Substitutions for Fresh Raspberry Tiramisu
Feel free to let your creativity shine by customizing this dessert! Each variation adds a personal touch, making your tiramisu uniquely yours.
- Strawberries: Swap raspberries for fresh strawberries for a sweeter, yet equally luscious dessert.
- Chocolate Lovers: Incorporate cocoa powder into the mascarpone filling or use chocolate-flavored ladyfingers to satisfy your sweet tooth.
- No-Alcohol: Replace limoncello with a splash of extra lemon juice or lemon zest for a bright twist without alcohol.
- Dairy-Free: Use a dairy-free mascarpone alternative along with coconut cream for the filling for a deliciously creamy vegan dessert.
- Lemon Burst: Add more lemon juice or lemon zest to the mascarpone mixture for an extra zesty flavor that contrasts beautifully with the sweet raspberries.
- Nutty Crunch: Top your tiramisu with crushed almonds or pistachios for a delightful crunch that complements the creamy layers.
- Herbal Infusion: For an unexpected twist, incorporate fresh mint leaves or basil in the raspberry jam for a refreshing hint of herbal aroma.
- Spicy Heat: Add a pinch of cayenne pepper or chili powder to the mascarpone filling for a surprising kick that enhances the raspberry’s sweetness.
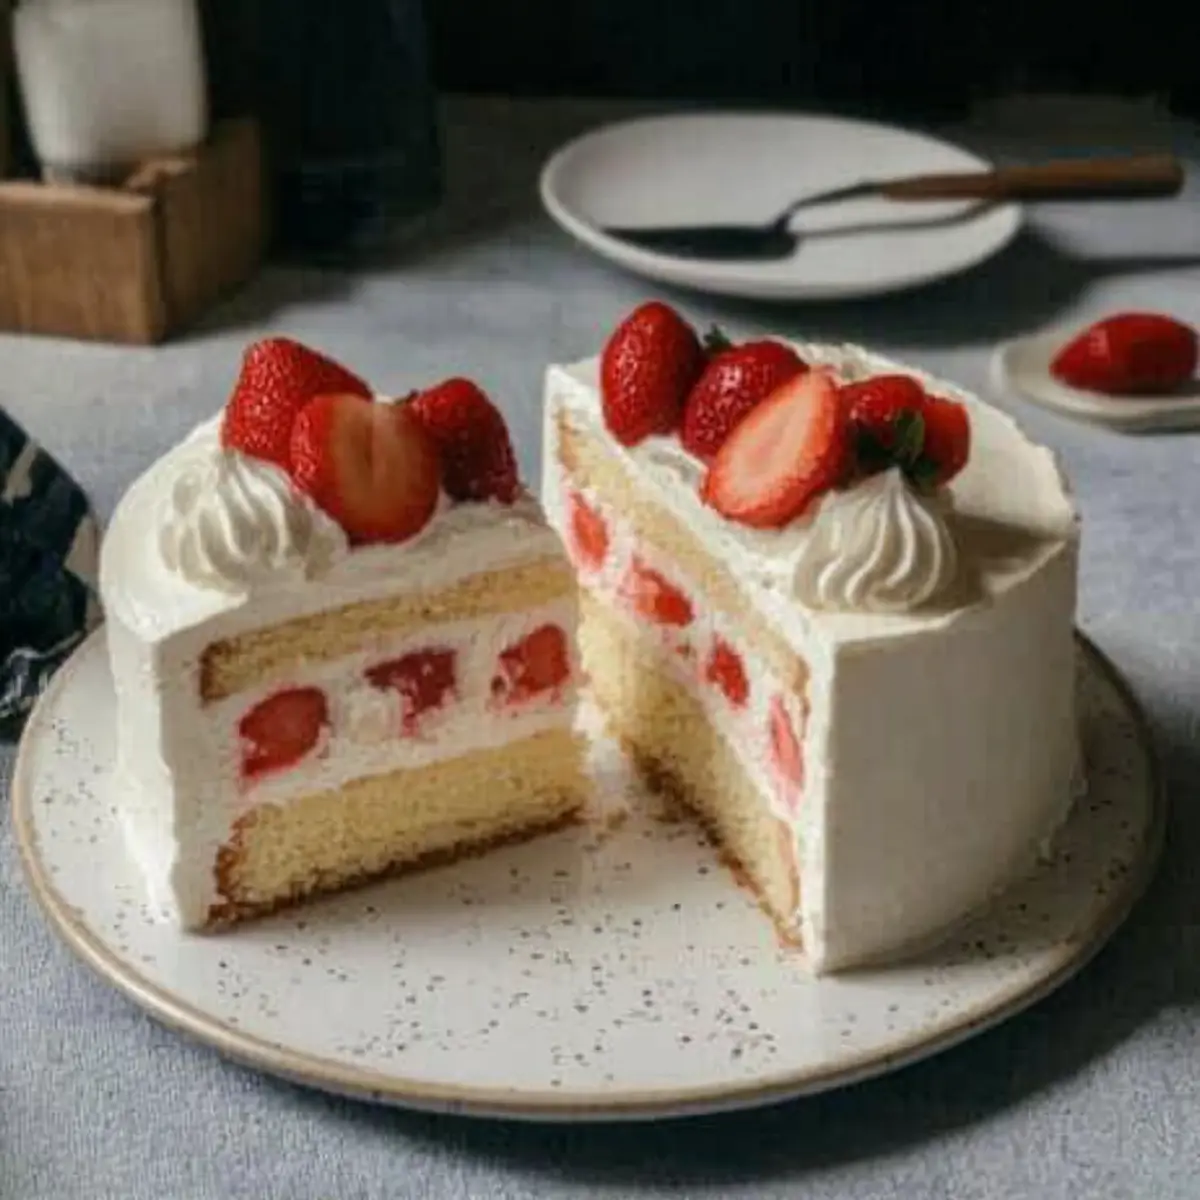
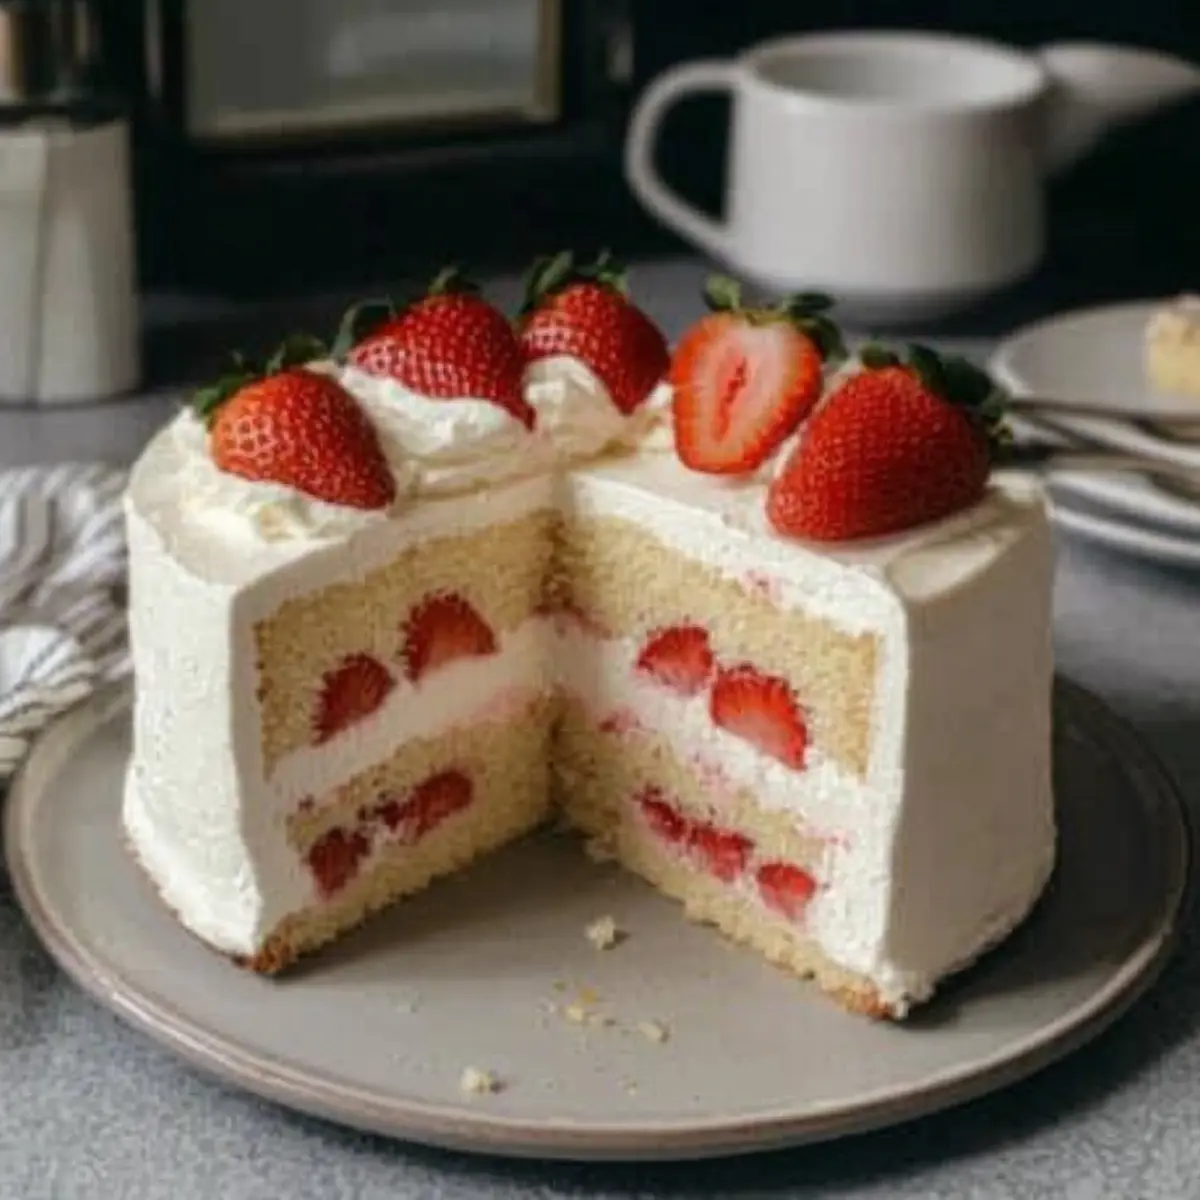
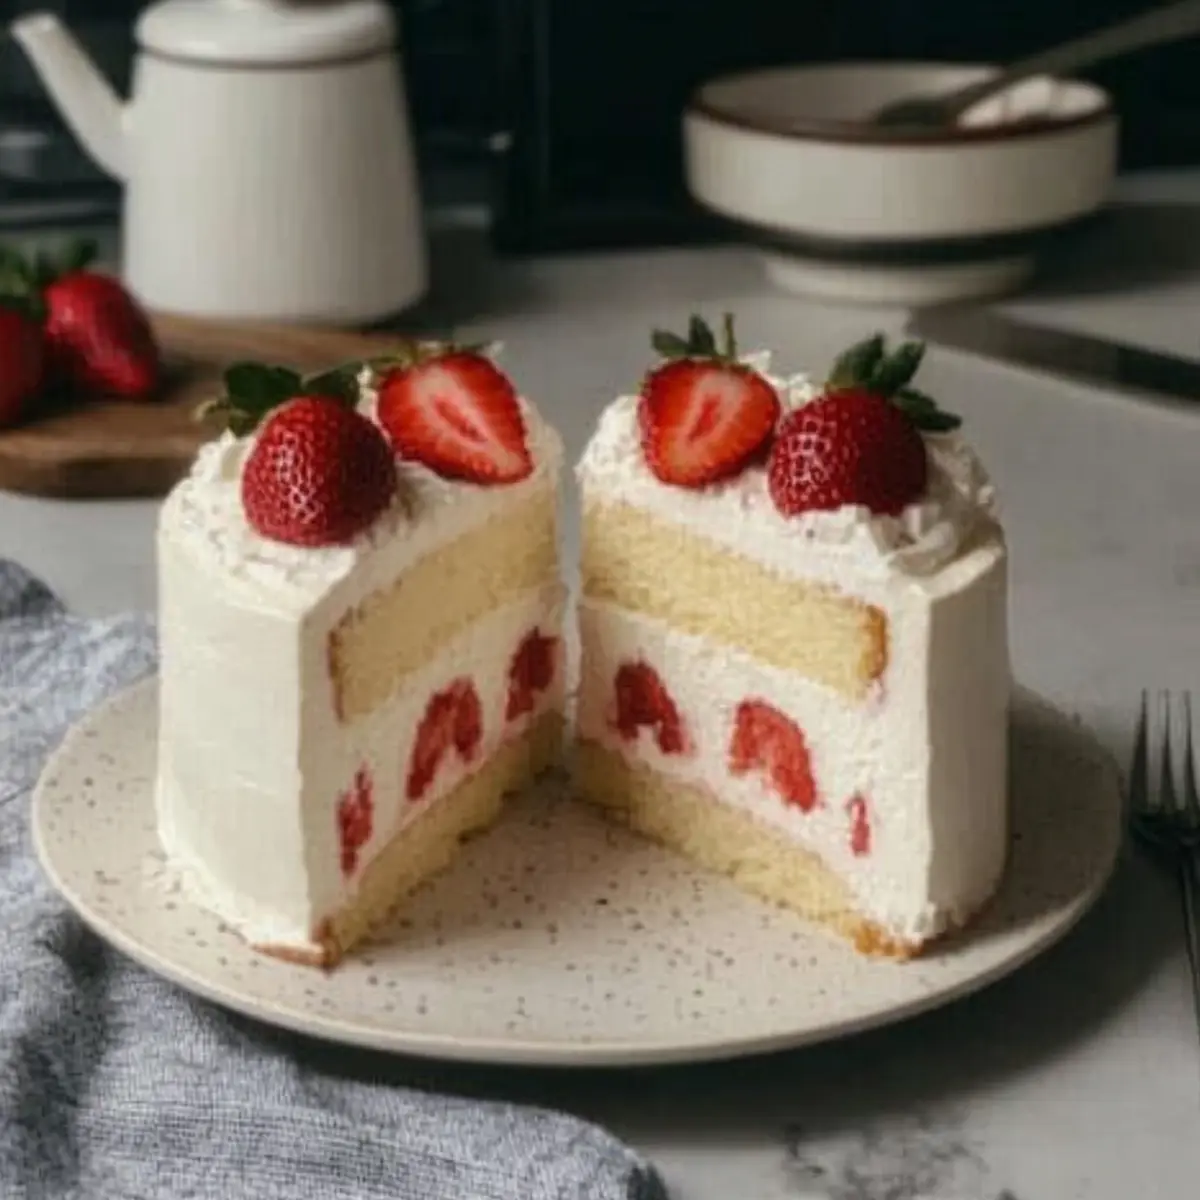
Feel free to explore these possibilities, and don’t hesitate to share your favorite spins on this delightful recipe. If you’re craving another fruity dessert, check out our Classic Strawberry Shortcake or get inspired with a Chocolate Mousse Cake for your next gathering!
Expert Tips for the Best Raspberry Tiramisu
-
Day Before Prep: Make your Fresh Raspberry Tiramisu the day before serving. This enhances flavors and allows the dessert to set perfectly, ensuring it’s ready when you are.
-
Proper Soaking: Dip ladyfinger cookies quickly in the raspberry syrup; do not soak them too long. This keeps the structure intact while infusing them with flavor.
-
Check Jam Consistency: To ensure the raspberry jam is perfect, run a finger through it on the back of a spoon. It should hold a line without running.
-
Chill for Texture: Allow the assembled tiramisu to chill for at least 8 hours or overnight for the best texture and flavor melding.
-
Easy Variations: Experiment with different berries or flavorings! Swap raspberries for strawberries or add a touch of cocoa powder for a chocolate twist.
-
Use Cold Ingredients: Ensure ingredients like mascarpone and heavy cream are cold before mixing. This helps achieve a fluffy and airy mascarpone filling in your raspberry tiramisu.
How to Store and Freeze Fresh Raspberry Tiramisu
Fridge: Store the Fresh Raspberry Tiramisu in the refrigerator for up to 4 days, covered with plastic wrap to prevent drying out. This dessert is best enjoyed chilled and fresh.
Freezer: For longer storage, freeze the assembled tiramisu without the raspberry jam layer for up to 1 month. Thaw in the fridge overnight before serving, and add the jam just before enjoying.
Reheating: Tiramisu is typically served cold; no reheating is necessary. Simply slice and serve directly from the fridge for a refreshing treat.
Freshness Tip: To maintain optimal flavor and texture, avoid adding the final raspberry layer until ready to serve. This keeps the dessert looking beautiful and tasting fresh!

Fresh Raspberry Tiramisu Recipe FAQs
Which raspberries should I use for the best flavor?
Absolutely! For the richest flavor, use fresh raspberries when in season. If not available, frozen raspberries work wonderfully and maintain that vibrant tartness.
How should I store my Fresh Raspberry Tiramisu?
To keep your tiramisu at its best, cover it with plastic wrap and store it in the refrigerator for up to 4 days. It’s best enjoyed chilled, so try to resist until serving!
Can I freeze my Raspberry Tiramisu?
Very! You can freeze the assembled tiramisu without the raspberry jam layer for up to 1 month. When ready to enjoy, thaw in the fridge overnight and add the jam just before serving to keep it fresh-looking.
What if my ladyfingers are too soggy?
No worries! If you find your ladyfingers are too mushy, try dipping them in the raspberry syrup for only a second to prevent them from getting too soaked. This keeps them firm and allows for better layering.
Are there any dietary considerations I should keep in mind?
Great question! If you’re considering allergies, this dessert contains dairy (mascarpone and heavy cream) and gluten (ladyfingers). For gluten-free options, you can find gluten-free ladyfingers or make your own!
How can I get the raspberry jam to the perfect consistency?
To ensure your raspberry jam thickness is just right, cook it until it coats the back of a spoon and holds a line when you run a finger through it. This typically takes about 23-25 minutes of simmering. If it becomes too thick, you can always add a splash of water to loosen it!

Irresistible Fresh Raspberry Tiramisu for Your Next Gathering
Ingredients
Equipment
Method
- In a medium saucepan, combine 2 cups of frozen raspberries, ¾ cup of granulated sugar, and 2 tablespoons of lemon juice over medium heat. Stir until it begins to bubble, then lower heat and let it simmer for 23-25 minutes, stirring occasionally, until it thickens. Remove from heat and allow it to cool completely.
- In another small saucepan, bring 1 cup of water to a boil and add ½ cup of sugar along with 1 cup of raspberries. Let it boil for 1 minute, then reduce to a simmer for 3 minutes. Remove from heat, strain the syrup through a fine mesh sieve, discarding solids, and let it cool at room temperature.
- In a large mixing bowl, use a hand mixer to beat 1 cup of cold mascarpone cheese, ½ cup of powdered sugar, the juice from ½ a lemon, and 1 teaspoon of vanilla paste until fully combined. In a separate bowl, whip 1 cup of heavy cream until medium-stiff peaks form. Gently fold the whipped cream into the mascarpone mixture until well blended.
- Grab a 9x9-inch baking dish and start by spooning in a layer of the mascarpone cream. Quickly dip ladyfinger cookies into the cooled raspberry syrup and layer them on top of the cream. Spread half of the prepared raspberry jam over the ladyfingers, followed by another layer of the mascarpone filling. Repeat the process, finishing with the remaining mascarpone layer.
- Cover the assembled Fresh Raspberry Tiramisu with plastic wrap and place it in the refrigerator. Allow it to chill for at least 8 hours, or ideally overnight.
- Just before serving, spread any remaining raspberry jam over the top of the Tiramisu for a glossy finish. Optionally, garnish with fresh raspberries and lemon slices.