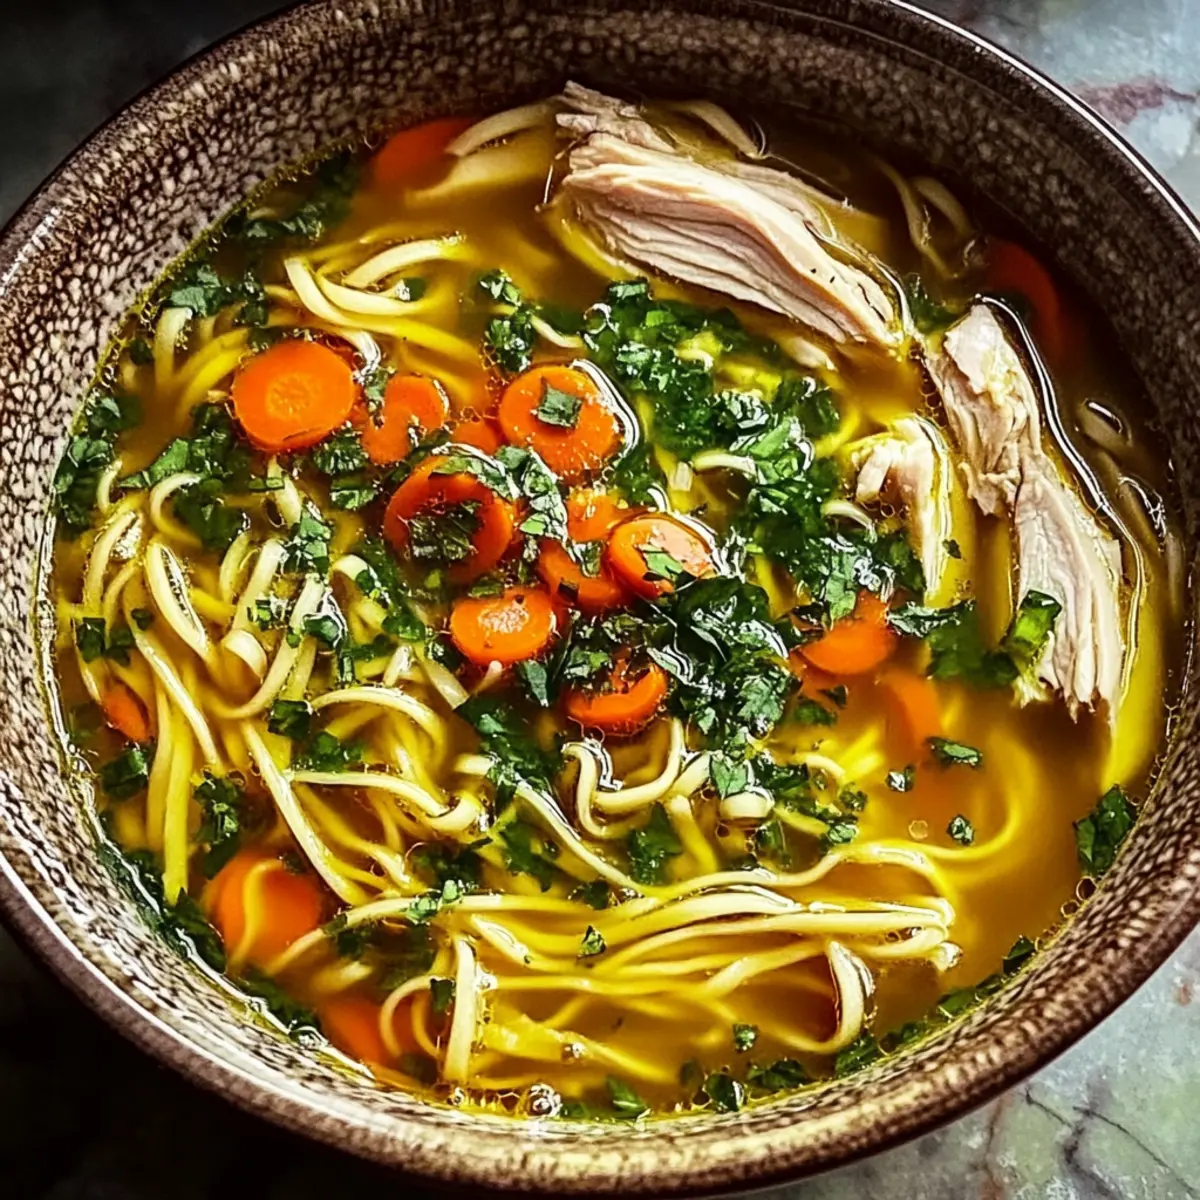
As the chill of winter settles in, I find myself craving something warm and nourishing, and that’s where my Healing Ginger Garlic Chicken Noodle Soup comes in. This dish is more than just a meal; it’s a comforting elixir bursting with the invigorating warmth of ginger and the robust essence of garlic. With a few simple ingredients, I can whip up a quick, immune-boosting soup that warms both the body and the soul. Whether you’re battling a cold or simply looking to cozy up on a frosty evening, this recipe offers both heartiness and flexibility—perfect for gluten-free or vegan adaptations. Curious about how to make this delightful soup an integral part of your winter routine? Let’s dive in!
What makes this soup a must-try?
Comforting Warmth: Each bowl is a soothing hug, perfect for chilly days.
Immune-Boosting Power: Infused with ginger and garlic, this soup fights off colds!
Incredible Versatility: Easily adapt by swapping chicken for tofu or shrimp for a hearty vegan version.
Quick and Easy: With simple steps and minimal prep, it’s a go-to for busy weeknights.
Perfect for Meal Prep: Make a big batch and enjoy it throughout the week—just add noodles fresh!
Experience the warmth and flavor of this soup while exploring more comforting recipes like our delicious Spicy Vegetable Soup that also brings you the convenience of easy prep!
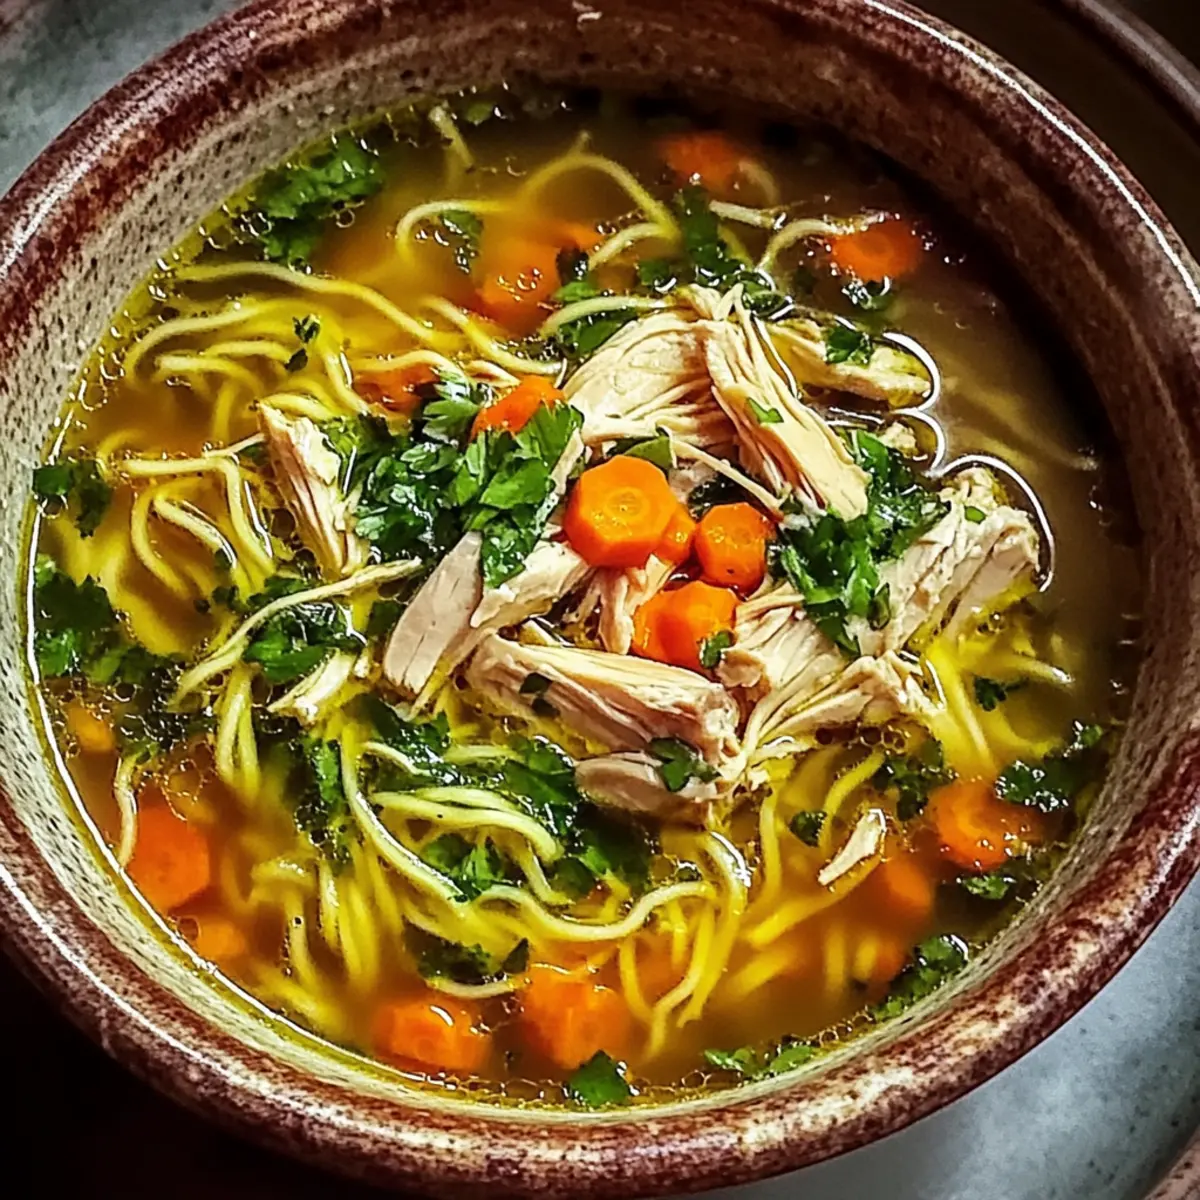
Healing Ginger Garlic Chicken Noodle Soup Ingredients
Comfort in every spoonful!
For the Soup Base
- Chicken Broth – The flavorful backbone of your soup; homemade is best for richness.
- Chicken Breast – Adds heartiness and protein; substitute with shrimp or tofu for a tasty twist.
- Ginger – Provides warmth and unique flavor; crushing it magnifies its benefits.
- Garlic – Infuses robust flavor and medicinal qualities; use minced for a punchier taste.
- Carrots – Sweetens the mix while boosting nutrition; can be swapped with parsnips if desired.
- Celery – Offers a crisp texture and depth of flavor; essential for the classic taste profile.
- Onion – Builds the aromatic base; yellow or white onions work best in this comforting dish.
For the Noodles
- Noodles – Essential for heartiness; opt for gluten-free pasta for a gluten-free version.
Bursting with flavor and nourishment, this Healing Ginger Garlic Chicken Noodle Soup is a delightful, immune-boosting dish that warms the soul!
Step‑by‑Step Instructions for Healing Ginger Garlic Chicken Noodle Soup
Step 1: Prepare the Broth
In a large pot, bring 8 cups of chicken broth to a gentle simmer over medium heat. Allow it to warm for about 5 minutes, watching for small bubbles forming on the surface, indicating it’s ready. Homemade chicken broth enhances the flavor richness, but store-bought will work as well.
Step 2: Add Chicken and Vegetables
Once the broth is simmering, add 1 pound of diced chicken breast, 2 tablespoons of sliced ginger, 4 cloves of minced garlic, 2 chopped carrots, 2 celery stalks, and 1 diced onion. Stir well and continue to simmer for approximately 15 minutes, or until the chicken is fully cooked (internal temperature should reach 165°F) and the vegetables are tender.
Step 3: Cook the Noodles
While the soup is bubbling away, prepare the noodles separately according to the package instructions, which typically takes about 7–10 minutes. If using gluten-free pasta, be sure to follow the specific cooking time for that variety. Drain the noodles and set them aside, allowing excess water to evaporate.
Step 4: Combine Soup and Noodles
Once the chicken and vegetables are cooked through, gently fold the drained noodles into the soup pot. Stir to combine the flavors, letting everything meld together over low heat for another 2–3 minutes. The Healing Ginger Garlic Chicken Noodle Soup should be fragrant and steaming.
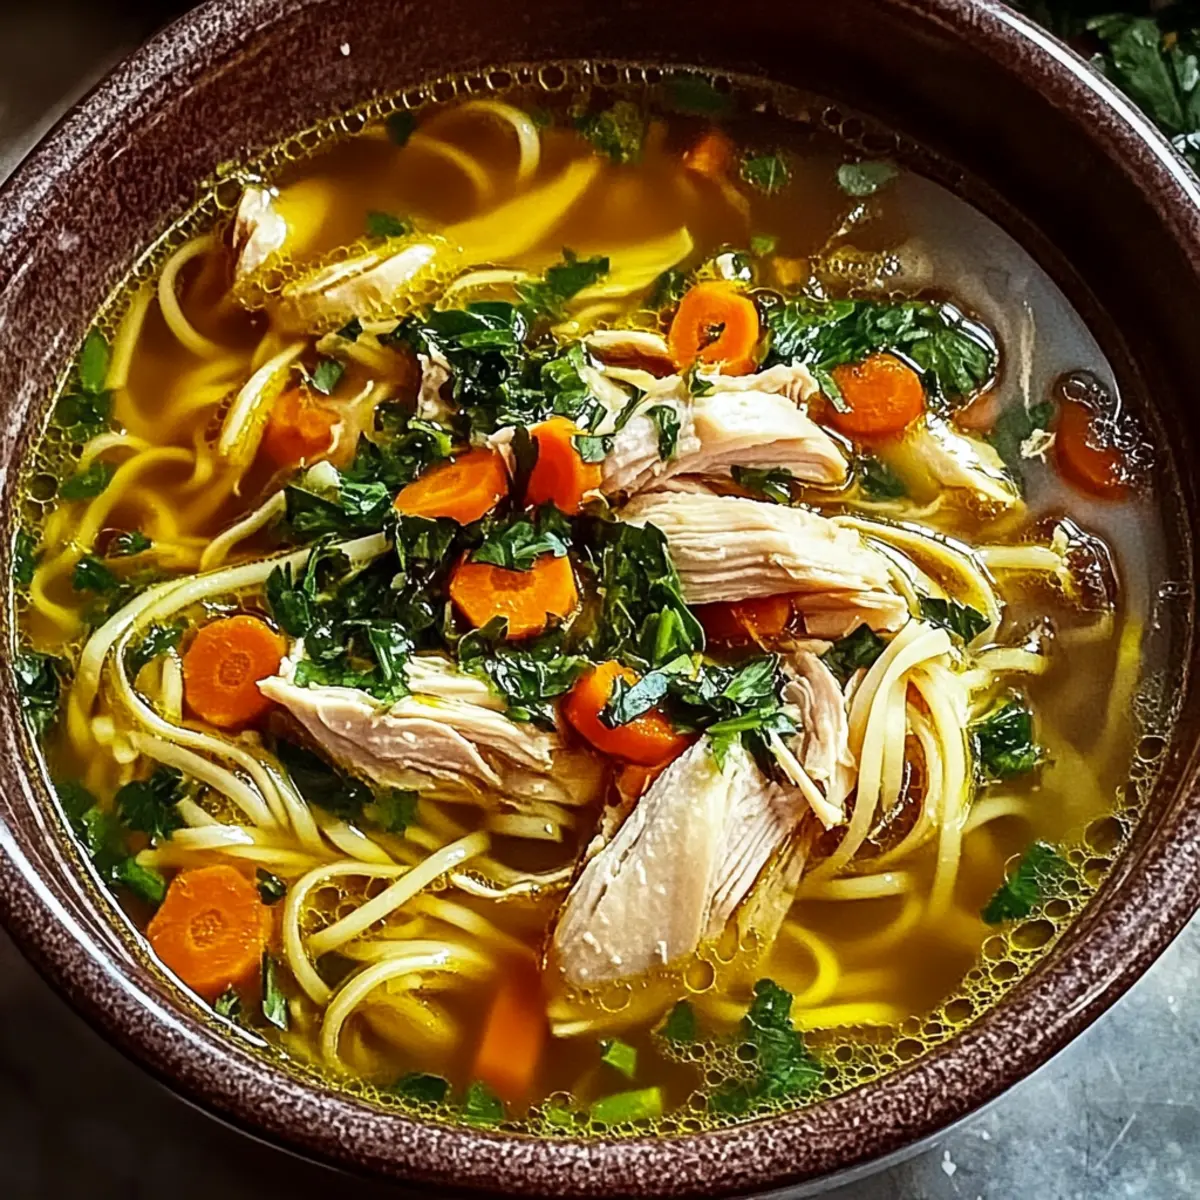
Step 5: Season and Serve
Taste the soup and season with salt and pepper to your liking. For a touch of freshness, consider garnishing with your favorite herbs, like parsley or cilantro. Ladle the comforting soup into bowls, and experience the warmth and healing properties that this nourishing dish offers.
Expert Tips for Healing Ginger Garlic Chicken Noodle Soup
- Crushing Ingredients: Crushing ginger and garlic before adding releases their robust flavors and boosts the soup’s healing properties.
- Broth Selection: Opt for low-sodium chicken broth to control saltiness and enhance the health benefits of your soup.
- Noodle Timing: If making ahead, cook noodles separately to prevent them from becoming mushy in the soup. This keeps your Healing Ginger Garlic Chicken Noodle Soup delicious for days!
- Spice It Up: For a little kick, add red pepper flakes or hot sauce according to your taste.
- Storage Tips: Refrigerate leftovers for up to three days, and freeze without noodles to maintain texture for longer storage. Add fresh noodles when reheating.
Make Ahead Options
These Healing Ginger Garlic Chicken Noodle Soup recipes are perfect for busy weeknights, allowing you to save precious time! You can prep all the ingredients—chicken, ginger, garlic, and vegetables—up to 3 days in advance by chopping and storing them in airtight containers in the refrigerator. When you’re ready to enjoy your comforting elixir, simply simmer the broth with the prepped ingredients, and cook the noodles separately right before serving. This ensures the noodles remain al dente and don’t turn mushy. Just remember to taste and adjust the seasoning before serving to guarantee the soup is just as delicious as it should be!
Healing Ginger Garlic Chicken Noodle Soup Variations
Feel free to unleash your creativity and customize this comforting soup to suit your tastes and dietary needs!
-
Gluten-Free: Swap regular noodles for gluten-free pasta or rice noodles for a delightful twist.
-
Vegan: Replace chicken with cubed tofu, adding a plant-based protein boost while keeping the heartiness intact.
-
Creamy Delight: Stir in a can of coconut milk for a creamy texture that’s simply irresistible; it adds a soothing richness.
-
Spicy Kick: Kick up the heat with red pepper flakes or a splash of hot sauce, perfect for those who crave a little extra zing!
-
Low-Carb Option: Use spiralized zucchini or shirataki noodles for a lighter, low-carb version that still delivers on flavor.
-
Big Flavor Boost: Incorporate turmeric for its anti-inflammatory properties; this adds both color and health benefits.
-
Herbaceous Twist: Add fresh herbs like cilantro or basil for a pop of freshness and an aromatic lift to your soup.
-
Root Veggie Upgrade: Swap out carrots for parsnips or sweet potatoes for a unique take; they add sweetness and complement the ginger beautifully.
Explore these variations to make this soup a comforting staple in your kitchen! And don’t forget, you can also enjoy your soup alongside a nice, crisp Green Salad for a balanced meal that warms the heart.
What to Serve with Healing Ginger Garlic Chicken Noodle Soup
Cozy up your dinner table with vibrant sides and delightful drinks that perfectly complement the warm embrace of this soothing soup.
- Crusty Bread: The ideal vessel for sopping up every last drop of soup, adding a satisfying crunch that contrasts with the soup’s softness.
- Fresh Green Salad: Bright greens tossed in a light vinaigrette bring freshness and a crisp texture, balancing the heartiness of the soup beautifully.
- Steamed Broccoli: Its gentle bitterness complements the soup’s richness, providing a nutritious and colorful addition to your meal.
- Coconut Rice: The subtle sweetness and creamy texture of coconut rice enhance the warming spices in the soup, creating an intriguing fusion of flavors.
- Herbal Tea: A warm cup of chamomile or ginger tea elevates the comforting experience, enhancing the soup’s healing properties with each sip.
- Ginger Cookies: For a sweet finish, the warming spice of ginger cookies echoes the soup’s flavors and adds a delightful crunch to your meal.
Each pairing enriches your dining experience, making your bowl of Healing Ginger Garlic Chicken Noodle Soup even more delightful!
How to Store and Freeze Healing Ginger Garlic Chicken Noodle Soup
Fridge: Store in an airtight container for up to 3 days to keep it fresh. Allow the soup to cool completely before sealing to prevent condensation.
Freezer: You can freeze the soup for up to 3 months without noodles. This enhances the flavors while preserving the warming benefits of the ginger and garlic.
Reheating: When ready to enjoy, thaw in the fridge overnight, then gently reheat on the stove over low heat until warmed through. Add freshly cooked noodles before serving for the best texture.
Noodle Storage: If you plan to freeze the soup, cook the noodles separately and store them in the fridge for up to 3 days, then add them when reheating for optimal freshness.
Healing Ginger Garlic Chicken Noodle Soup Recipe FAQs
How do I select ripe ginger and garlic?
When choosing ginger, look for firm, smooth pieces without any dark spots or wrinkles. Fresh ginger has a spicy aroma and is more flavorful. Garlic should be plump and free from any sprouting or soft spots. If you spot any major blemishes or mushy sections, it’s best to pass on those.
What are the best storage methods for this soup?
To store in the fridge, transfer your Healing Ginger Garlic Chicken Noodle Soup to an airtight container, allowing it to cool completely first. It keeps well for up to 3 days. For the best taste, reheat the soup on the stove over low heat, adding fresh noodles right before serving to maintain texture.
Can I freeze Healing Ginger Garlic Chicken Noodle Soup?
Absolutely! This soup freezes beautifully. I recommend freezing it without the noodles, as they can become mushy. Store in an airtight container or freezer bag for up to 3 months. When you’re ready to enjoy, simply thaw in the fridge overnight and reheat on the stove. Cook fresh noodles separately to mix in before serving for the best texture.
What should I do if my noodles are mushy after heating?
If your noodles have become mushy, next time, try cooking them separately and only combine them with the soup when you serve. Additionally, ensure to drain them well and avoid adding them until the soup is reheated. This helps maintain a pleasant texture and allows you to customize your noodle portions.
Is this soup suitable for anyone with allergies?
This Healing Ginger Garlic Chicken Noodle Soup can be tailored to various dietary needs. For gluten-free options, simply use gluten-free noodles and broth. If you have garlic allergies, consider using a dash of asafoetida as a substitute, but be aware it has a strong flavor. Always check labels for any pre-packaged products to ensure they meet your dietary restrictions.
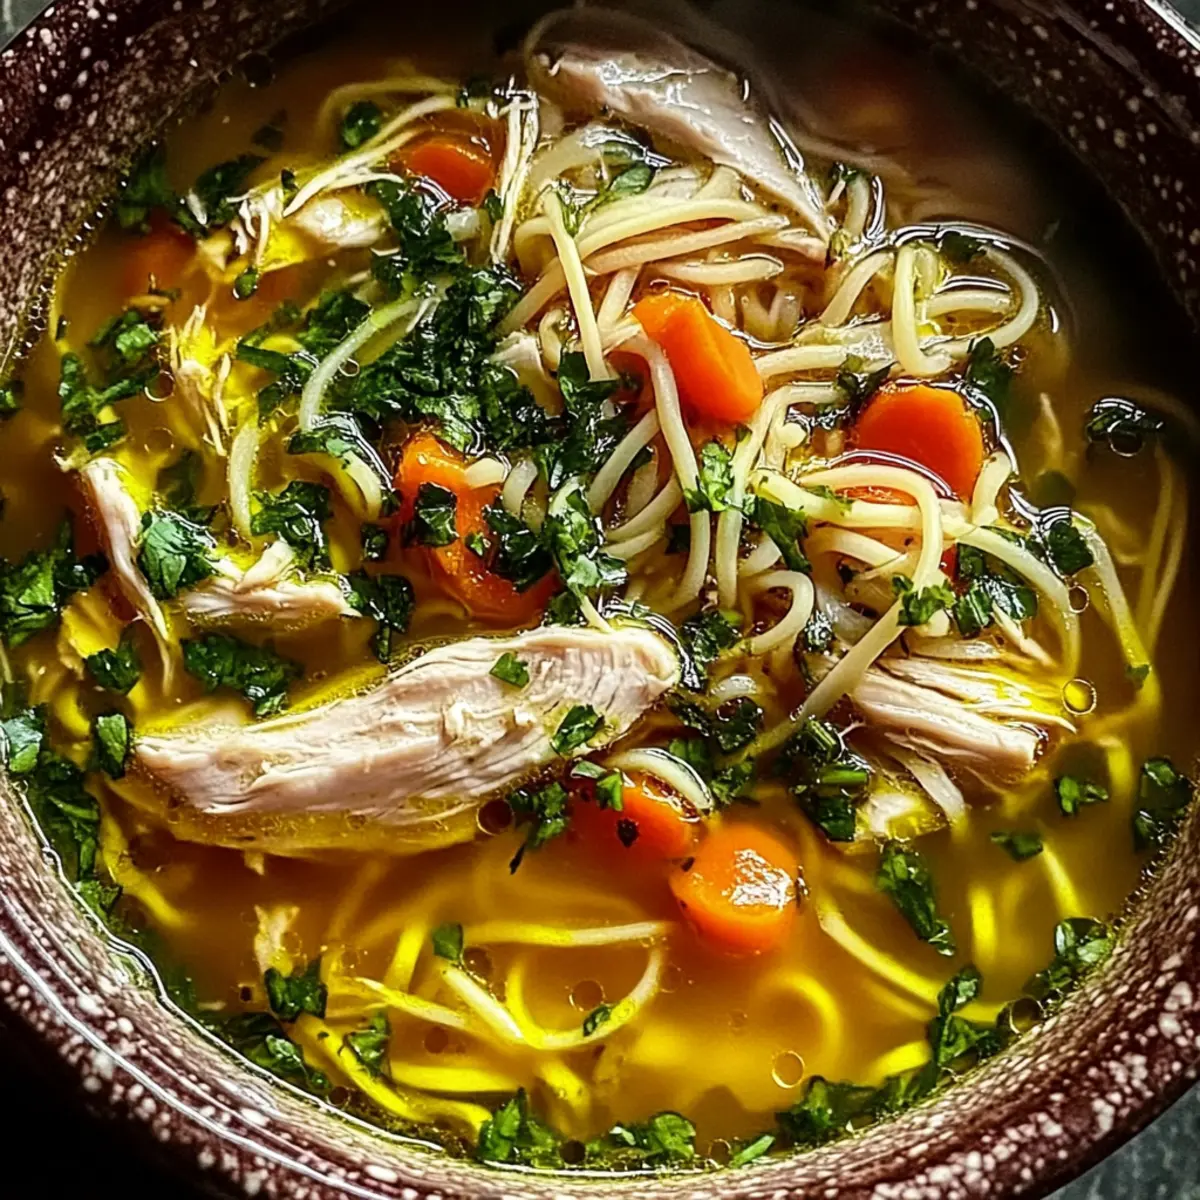
Healing Ginger Garlic Chicken Noodle Soup for Cozy Days
Ingredients
Equipment
Method
- In a large pot, bring 8 cups of chicken broth to a gentle simmer over medium heat. Warm for about 5 minutes.
- Add 1 pound of diced chicken breast, 2 tablespoons of sliced ginger, 4 cloves of minced garlic, 2 chopped carrots, 2 celery stalks, and 1 diced onion. Stir and simmer for about 15 minutes.
- Prepare the noodles according to the package instructions, typically taking about 7–10 minutes. Drain and set aside.
- Once the chicken and vegetables are cooked, gently fold the drained noodles into the soup pot. Stir to combine and heat over low for 2–3 minutes.
- Taste and season with salt and pepper. Garnish with fresh herbs if desired, and serve warm.