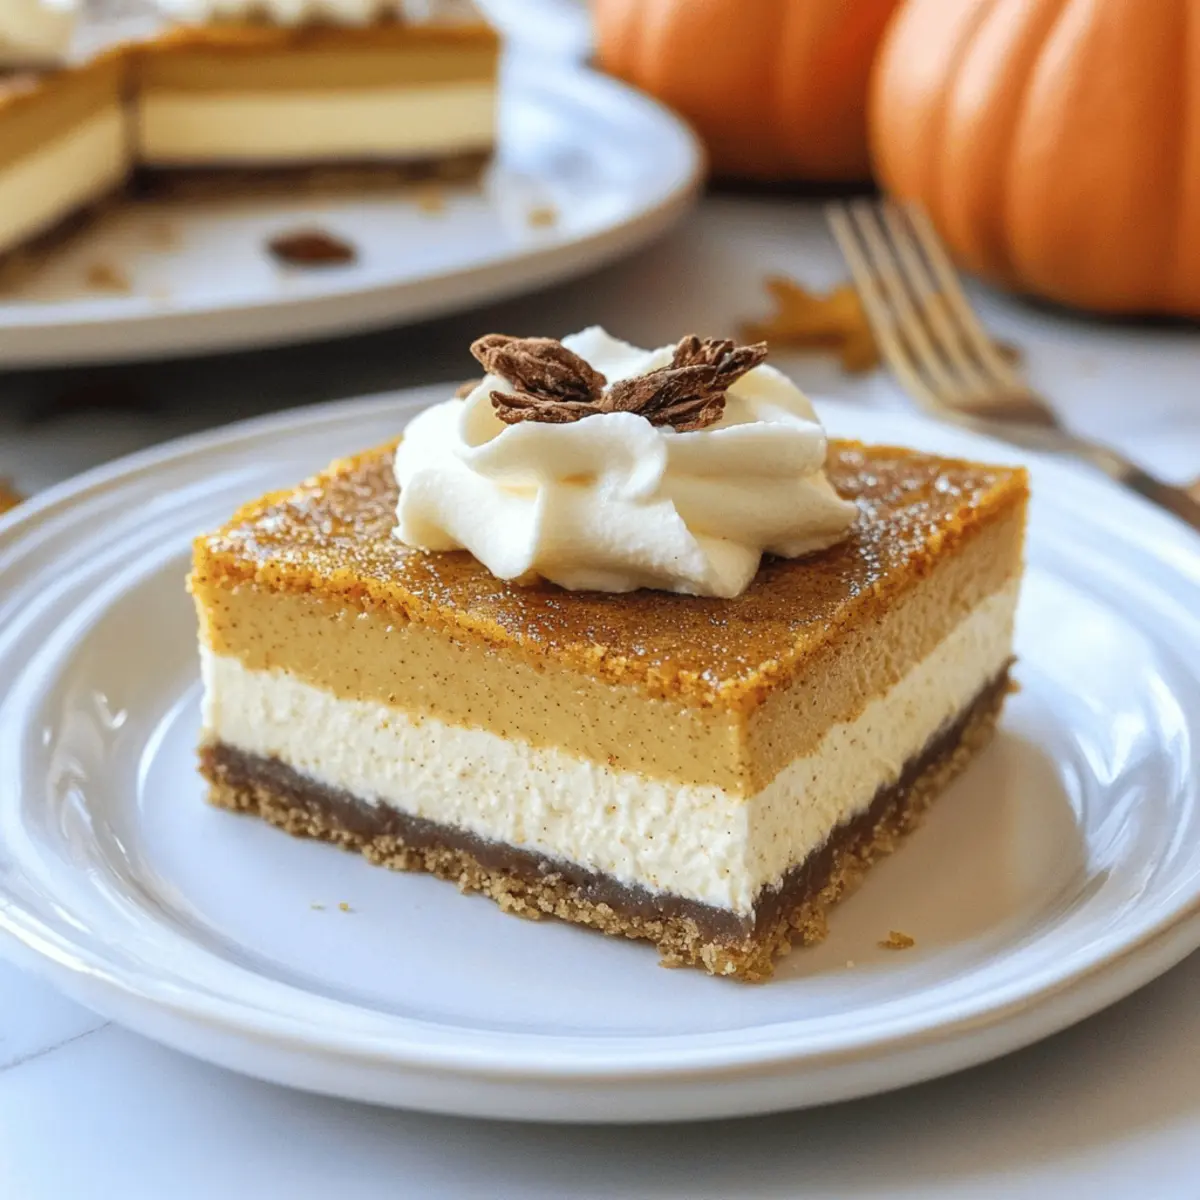
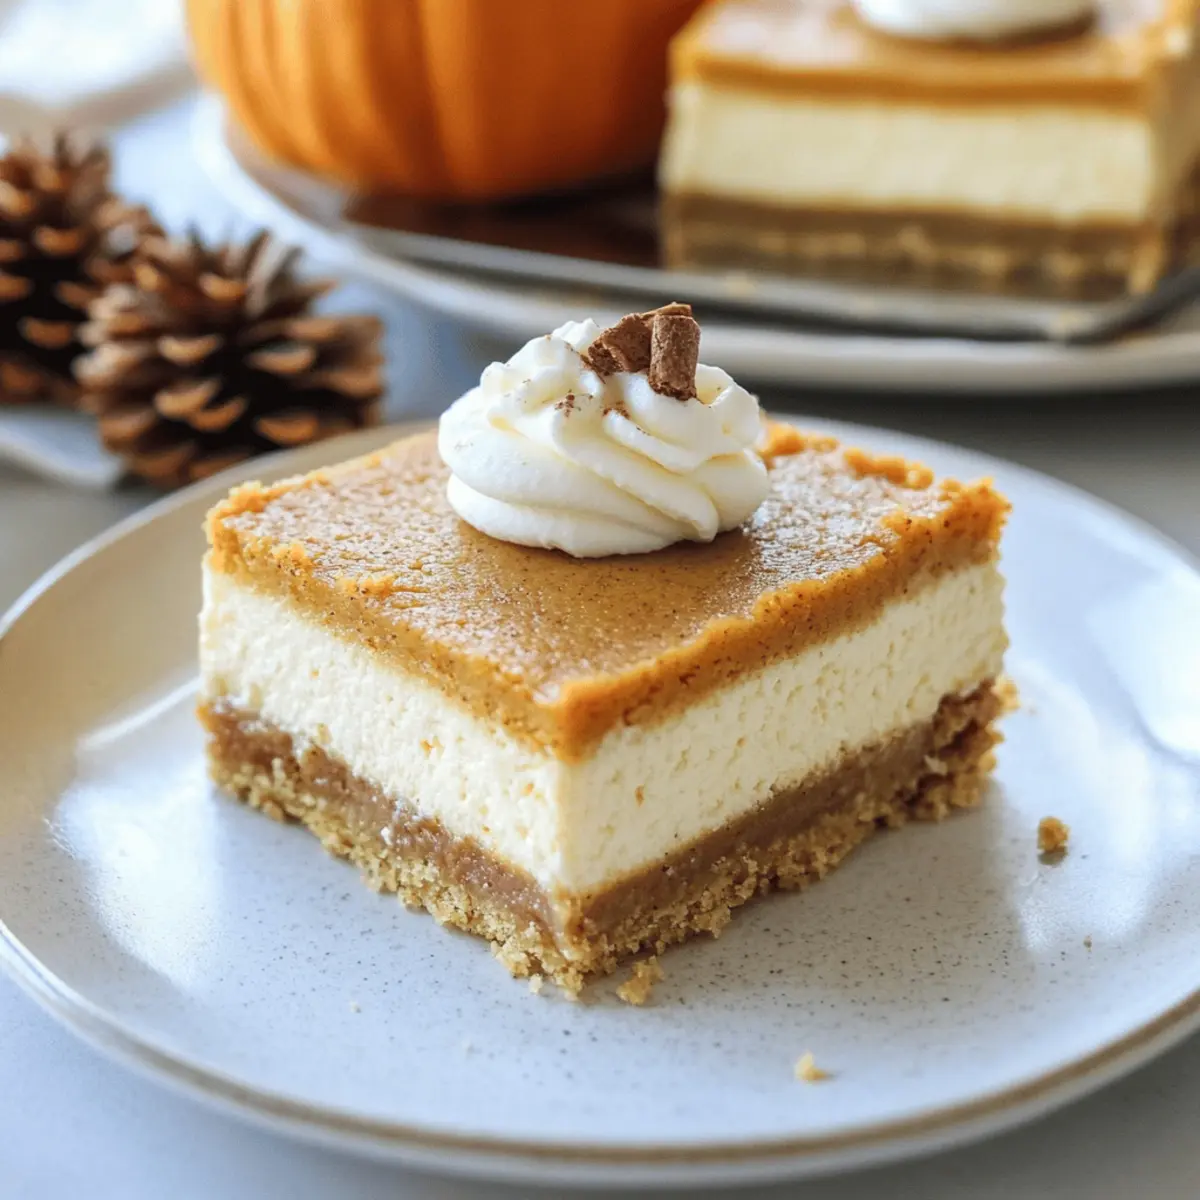
As the crisp autumn air settles in, I find myself craving the comforting taste of pumpkin—the quintessential flavor of the season. That’s why I love this creamy Pumpkin Cheesecake Bars recipe; it’s like a sweet hug on a plate, perfectly layered to capture the warm notes of fall. These bars combine the rich, smooth essence of pumpkin with velvety cream cheese, creating a blissful dessert that won’t just satisfy your sweet tooth but also become the star of your Thanksgiving gathering. With a simple preparation process and the convenience of being freezer-friendly, these bars are destined to be a new favorite. Ready to impress your family and friends with a delectable treat? Let’s dive into this delightful recipe!
Why are Pumpkin Cheesecake Bars a must-try?
Comforting, Cozy Flavors: The combination of creamy pumpkin and rich cream cheese creates a taste sensation that’s pure autumn bliss.
Effortless Preparation: With simple steps and minimal fuss, you can whip up these bars in no time, leaving you free to enjoy time with loved ones.
Perfect for Sharing: Impress your guests at any gathering, especially during Thanksgiving, with a dessert that’s sure to be the talk of the table.
Freezer-Friendly: Make-ahead for the win! These Pumpkin Cheesecake Bars can be frozen, ensuring you always have something delicious on hand for unexpected guests.
Versatile Pairings: Serve them with a dollop of whipped cream or alongside a warm beverage like apple cider to enhance their fall flavors.
Easy Substitutions: Want to customize? Mix in sweet potato or nuts for a unique twist that caters to your audience’s diverse palates!
Pumpkin Cheesecake Bars Ingredients
For the Cheesecake Filling
• Cream Cheese (4, 8 oz packs) – Ensure it’s softened for a smooth and creamy texture.
• Sugar (1 1/2 cups) – Sweetens the filling, balancing the richness of the pumpkin.
• Eggs (4) – Provide structure; beat until pale yellow for the best consistency.
• Canned Pumpkin (1 cup) – Adds moisture and rich flavor; fresh pumpkin can be a delightful substitute.
• Pumpkin Pie Spice (2 tsp) – Infuses warm, autumn flavors into your bars; you can substitute with cinnamon, nutmeg, and ginger if needed.
For the Crust
• Graham Cracker Crumbs (1 1/2 cups) – Forms the crunchy base; use gluten-free crumbs for a gluten-free option.
• Butter (1/4 cup, melted) – Binds the crust together; unsalted butter is recommended for better flavor.
Optional Topping
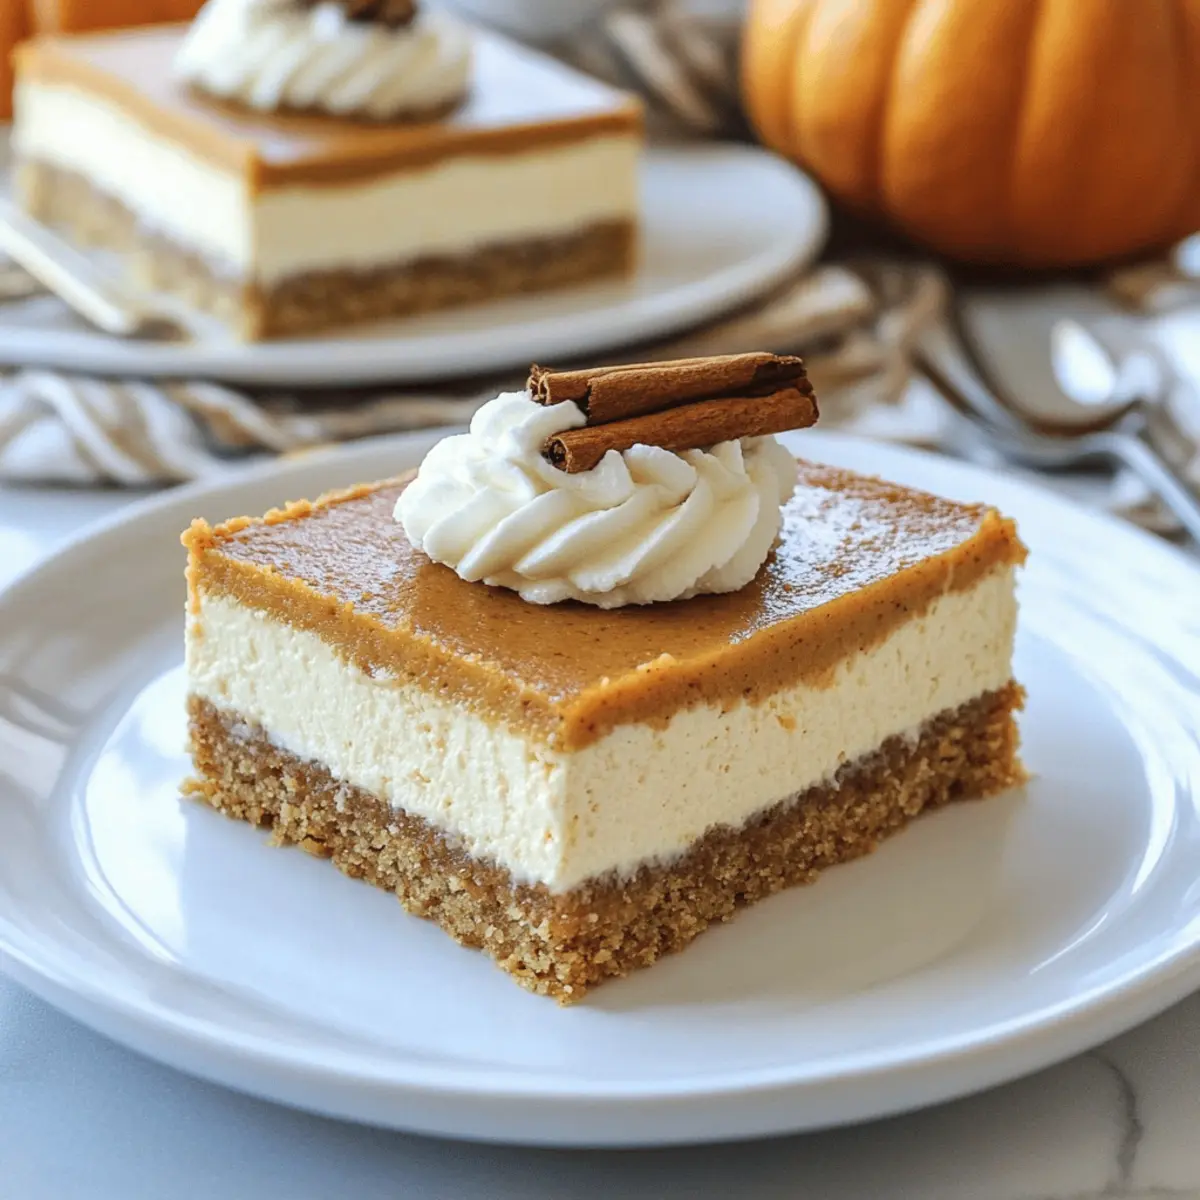
• Whipped Cream – Adds a light and creamy finish, enhancing the richness of the Pumpkin Cheesecake Bars.
Step‑by‑Step Instructions for Pumpkin Cheesecake Bars
Step 1: Preheat the Oven
Begin by preheating your oven to 300°F (150°C). While the oven heats, prepare your 9 x 13-inch baking pan by greasing it generously with non-stick spray. This ensures your delightful Pumpkin Cheesecake Bars will release easily once baked, promising a smooth finish that’s ready to impress.
Step 2: Make the Crust
In a small bowl, combine 1 1/2 cups of graham cracker crumbs with 1/4 cup of melted unsalted butter, stirring until the mixture resembles wet sand. Once well combined, evenly press this crumb mixture into the bottom of the prepared pan. You want a firm foundation that will add a delightful crunch to each bite of your pumpkin bars.
Step 3: Prepare the Cream Cheese Mixture
In a medium mixing bowl, beat 4 packages of softened cream cheese with 1 1/2 cups of sugar until the mixture is smooth and creamy, free from lumps. This process takes about 2-3 minutes. Once smooth, incorporate 4 large eggs one at a time, ensuring each egg is well blended before adding the next for optimal texture in your Pumpkin Cheesecake Bars.
Step 4: Add Pumpkin Flavor
Divide the cream cheese mixture in half. Pour one half over the crust you just prepared, spreading it evenly. In the bowl with the remaining cheese mixture, stir in 1 cup of canned pumpkin and 2 teaspoons of pumpkin pie spice. Mix until fully blended, creating a luscious pumpkin filling that captures the essence of autumn.
Step 5: Layer the Pumpkin Mixture
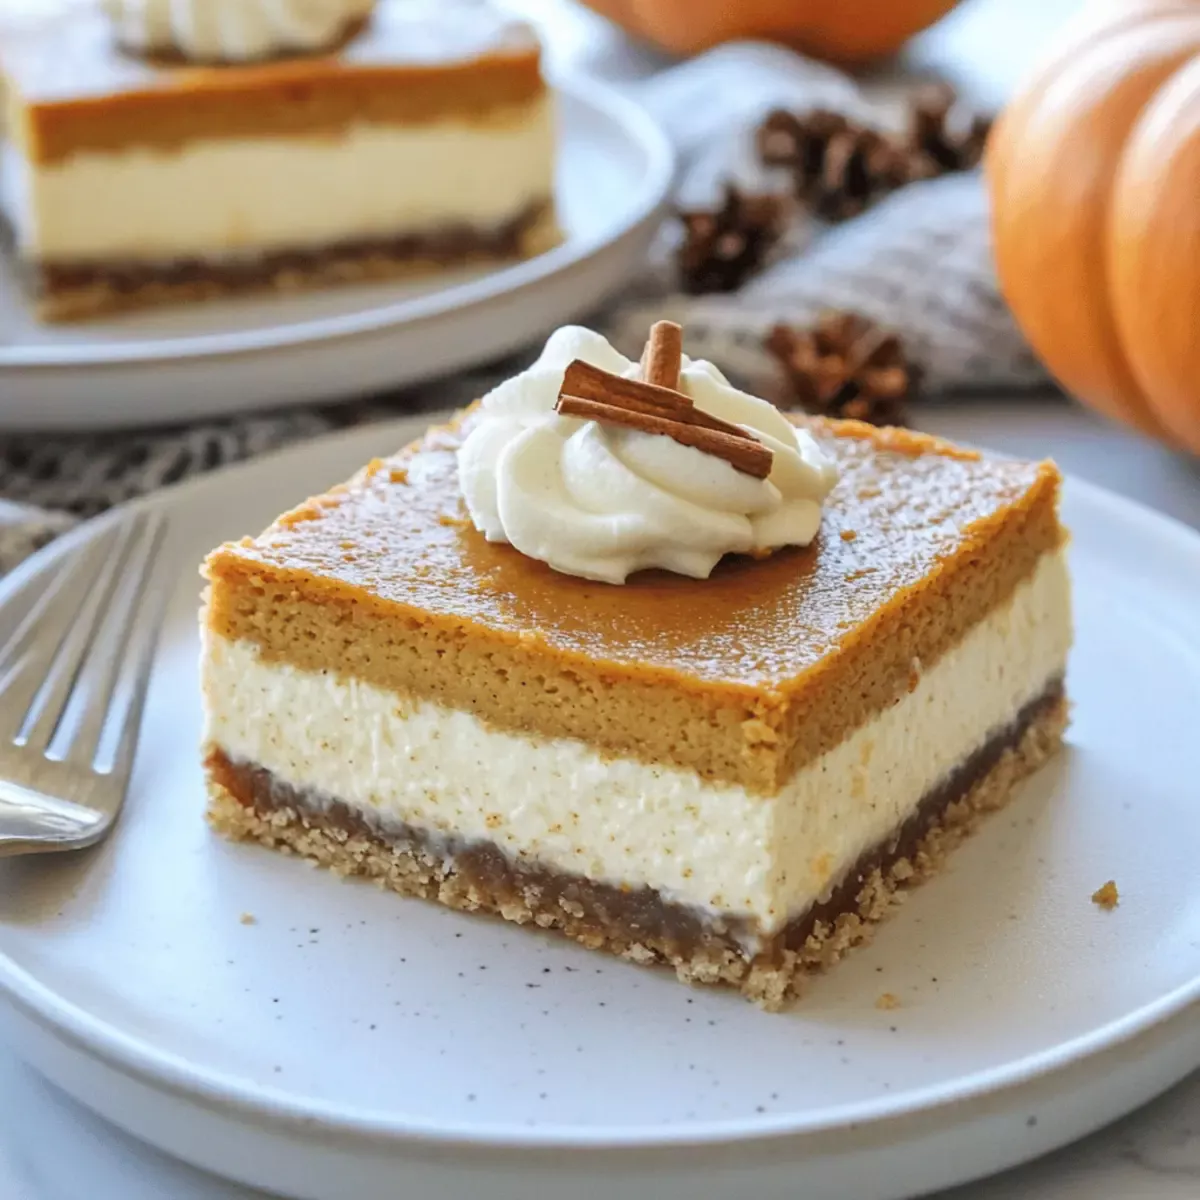
Gently pour the pumpkin mixture over the layer of cream cheese that’s already in your baking pan. Use a spatula to carefully spread it out, ensuring an even layer. This step is crucial for showcasing those gorgeous layers in your Pumpkin Cheesecake Bars once they’re sliced.
Step 6: Bake to Perfection
Place the pan in your preheated oven and bake for approximately 50 minutes. You’ll know the bars are ready when the edges appear set and the center has a slight jiggle—this ensures a creamy texture. Avoid overbaking, as that could lead to cracks in your beautiful cheesecake surface.
Step 7: Gradual Cooling
After baking, turn off the oven and leave the door ajar to allow the Pumpkin Cheesecake Bars to cool gradually for about one hour. This gradual cooling helps prevent cracking and maintains that velvety texture. Take a moment to breathe in the delightful aromas filling your kitchen!
Step 8: Refrigerate and Serve
Refrigerate the cooled bars for at least four hours or until they are firm enough to cut. Once chilled, slice into squares and serve. You may add a dollop of whipped cream on top if desired, enhancing the creamy goodness of these Pumpkin Cheesecake Bars.
Expert Tips for Pumpkin Cheesecake Bars
- Cream Cheese Temperature: Ensure the cream cheese is completely softened before mixing to avoid lumps in your filling and achieve a smooth consistency.
- Gentle Egg Incorporation: Add the eggs one at a time and mix gently; over-beating can introduce too much air, leading to cracks on the surface of your Pumpkin Cheesecake Bars.
- Cool Gradually: Allow the bars to cool slowly in the oven with the door ajar to prevent cracking and maintain a luxurious texture.
- Use Fresh Pumpkin: For a deeper flavor, consider using fresh pumpkin puree instead of canned; just make sure to drain excess moisture.
- Mind the Baking Time: Keep an eye on your bars while baking; they’re perfect when the edges are set but the center has a slight jiggle to maintain creaminess.
- Store Properly: Place any leftovers in an airtight container in the refrigerator for up to 5 days to keep them fresh and delicious!
Pumpkin Cheesecake Bars Variations
Feel free to get creative with your Pumpkin Cheesecake Bars and make them uniquely yours!
-
Sweet Potato Swap: Replace pumpkin with sweet potato puree for a subtly sweeter flavor that’s equally delightful.
This twist may surprise your guests with a different, yet familiar taste that embraces the autumn spirit. -
Nutty Crust: Incorporate chopped pecans or walnuts into the graham cracker crust for an extra crunch and flavor.
The added texture enhances the dessert experience, providing a lovely contrast to the creamy filling. -
Vegan Option: Use silken tofu blended with a splash of coconut milk instead of cream cheese for a dairy-free alternative.
This adaptation not only caters to dietary preferences but also brings a lightness to the bars. -
Chocolate Drizzle: Melt dark chocolate and drizzle it over the top before serving for a decadent touch.
The combination of rich chocolate and pumpkin creates an indulgent taste that’s hard to resist! -
Spice It Up: Add a pinch of cayenne pepper or ground ginger for a spicy kick that elevates the flavor profile.
This surprise heat can excite your taste buds, making each bite an adventure in flavor. -
Maple Sweetener: Substitute sugar with maple syrup for a touch of natural sweetness and a hint of maple flavor.
This organic swap brings a lovely taste of fall that complements the pumpkin beautifully. -
Caramel Swirl: Drizzle caramel sauce through the batter before baking to create a gooey, indulgent treat.
Each slice will offer a delightful surprise, perfectly balancing the creamy and sweet flavor notes. -
Enhanced Flavor: Add a splash of vanilla extract or almond extract in the cream cheese mixture for deeper flavor.
This simple addition can elevate the entire dessert, making your Pumpkin Cheesecake Bars even more inviting.
As you explore these variations, consider enjoying your bars with a cup of spiced hot chocolate or alongside a serving of Strawberry Cheesecake for a delightful dessert table. Remember, the beauty of cooking is personalizing it to your taste, so let your creativity shine!
How to Store and Freeze Pumpkin Cheesecake Bars
Fridge: Store any leftovers in an airtight container in the fridge for up to 5 days. This keeps your Pumpkin Cheesecake Bars fresh and ready to enjoy!
Freezer: For longer storage, freeze sliced bars in a single layer on a baking sheet until solid, then transfer to an airtight container or freezer bag. They can be frozen for up to 2 months.
Thawing: To thaw, simply transfer the desired number of bars to the fridge overnight. This gentle thawing method maintains their creamy texture.
Reheating: If you prefer them warm, reheat individual slices in the microwave for about 15-20 seconds, being careful not to overheat, which can change that delightful consistency!
Make Ahead Options
These Pumpkin Cheesecake Bars are perfect for meal prep enthusiasts looking to save time. You can prepare the crust and filling up to 24 hours in advance. Simply make the graham cracker crust and layer it in your pan, then cover it tightly with plastic wrap and store it in the refrigerator. For the filling, mix the cream cheese, sugar, and eggs, and refrigerate it separately. When you’re ready to bake, just pour the chilled filling over the crust and follow the baking instructions. This method ensures your bars remain just as delicious while allowing you to enjoy more time with family and friends!
What to Serve with Pumpkin Cheesecake Bars
As the aromas of fall fill your kitchen, it’s time to craft a complete meal that celebrates the season’s warmth and flavors.
- Spiced Apple Cider: This warm, aromatic drink enhances the cozy fall vibes, perfectly complementing the creaminess of the cheesecake bars.
- Gingerbread Cookies: Their spiced crunch offers a festive bite, making for a delicious contrast with the smooth, velvety bars.
- Cranberry Sauce: The tartness cuts through the rich cheesecake, providing a bright note that balances the dessert’s sweetness.
- Pecans or Walnuts: A handful of crunchy nuts sprinkled on top adds texture and nutty flavor, elevating your dessert experience to another level.
- Vanilla Ice Cream: Serve alongside for a classic pairing; the cold creaminess contrasts beautifully with the warm spices in the bars.
- Chocolate Drizzle: A drizzle of rich chocolate sauce brings an indulgent flair and sophistication to this autumn treat.
- Pumpkin Spice Latte: This seasonal favorite rounds out the indulgent experience, echoing the flavors of the bars while providing warmth on a chilly day.
- Caramel Sauce: A luscious drizzle enhances the pumpkin flavor while adding a sweet richness that makes each bite even more irresistible.
Pumpkin Cheesecake Bars Recipe FAQs
What is the best way to select ripe pumpkins for my bars?
Absolutely! When picking a pumpkin, look for one that is firm, with a smooth surface and no dark spots. The color should be vibrant, and it should feel heavy for its size. Smaller sugar pumpkins are ideal for baking as they are sweeter and have a better texture than larger carving pumpkins!
How should I store leftover Pumpkin Cheesecake Bars?
Very good question! Store any leftover Pumpkin Cheesecake Bars in an airtight container in the refrigerator. They will stay fresh for up to 5 days, keeping their delicious creamy texture intact. Make sure to place a piece of parchment paper between layers to prevent sticking!
Can I freeze Pumpkin Cheesecake Bars, and if so, how?
Yes, you can! To freeze your Pumpkin Cheesecake Bars, first slice them and place the slices on a baking sheet lined with parchment paper. Freeze until solid, about 1-2 hours. Then, transfer the slices into an airtight container or freezer bag. They can be stored in the freezer for up to 2 months—perfect for unexpected guests!
What should I do if the cheesecake cracks while baking?
Don’t worry, it happens! To avoid cracks, ensure you don’t overmix the batter and keep an eye on the baking time. If cracks do occur, you can top your bars with whipped cream or even a drizzle of caramel sauce to conceal them. Remember, they’ll still taste wonderfully decadent!
Are Pumpkin Cheesecake Bars safe for pets or people with allergies?
Great question! These bars contain cream cheese, sugar, and eggs, which are not suitable for pets. If you’re considering dietary restrictions, this recipe is vegetarian, but those with dairy allergies should opt for a dairy-free cream cheese substitute. Always check for any additional allergies with your guests before serving!
How long do Pumpkin Cheesecake Bars last in the freezer?
Freezing your bars is an excellent way to extend their life! They can last up to 2 months in the freezer. Just make sure they are well-protected in an airtight container to prevent freezer burn. When you’re ready to enjoy, thaw them in the refrigerator for the best results.
Creamy Pumpkin Cheesecake Bars for Your Perfect Fall Treat
Ingredients
Equipment
Method
- Preheat your oven to 300°F (150°C) and grease your baking pan with non-stick spray.
- Combine graham cracker crumbs with melted butter, pressing the mixture into the bottom of the prepared pan.
- Beat cream cheese with sugar until smooth, then add eggs one at a time, mixing well.
- Pour half of the cream cheese mixture over the crust, and mix the remaining half with pumpkin and spice.
- Layer the pumpkin mixture over the cream cheese.
- Bake for approximately 50 minutes until edges are set and center has a slight jiggle.
- Turn off the oven, leave the door ajar, and cool the bars for about one hour.
- Refrigerate the cooled bars for at least four hours or until firm.