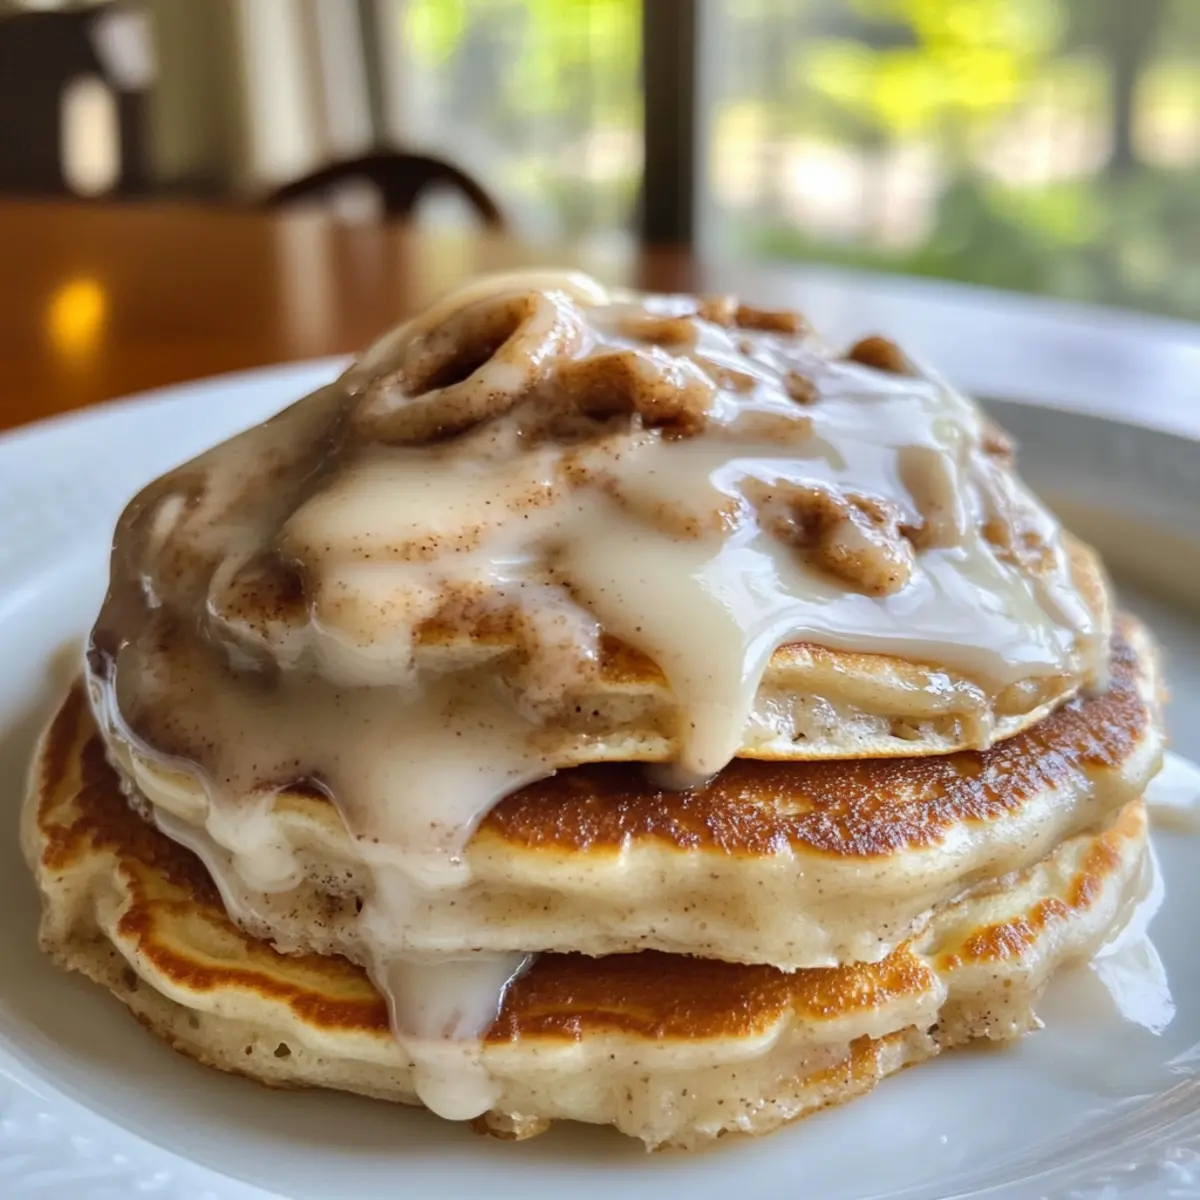
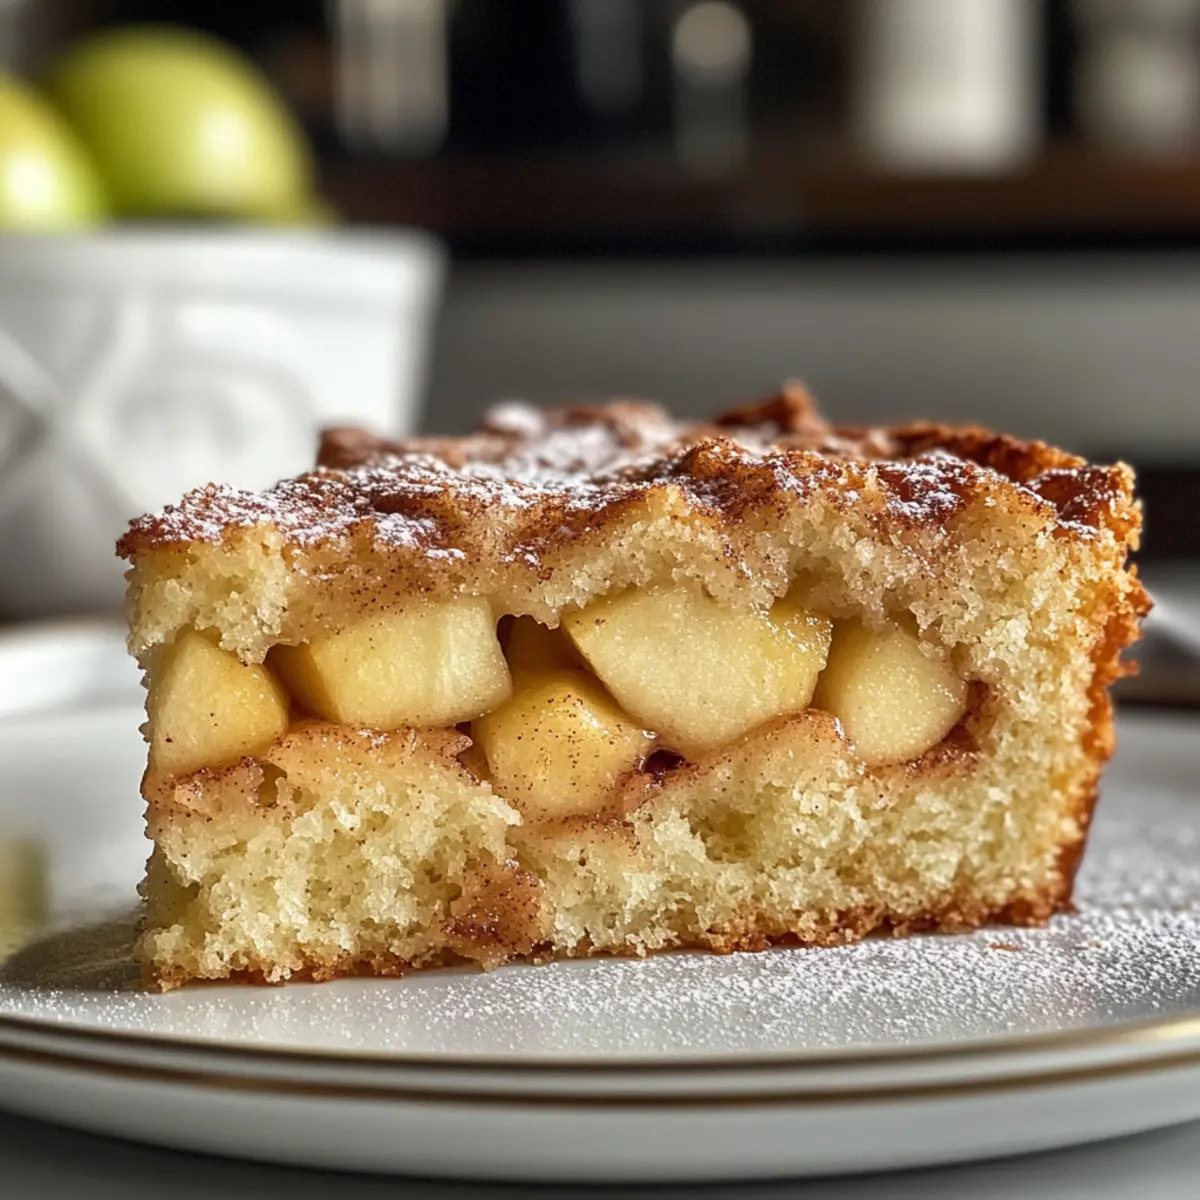
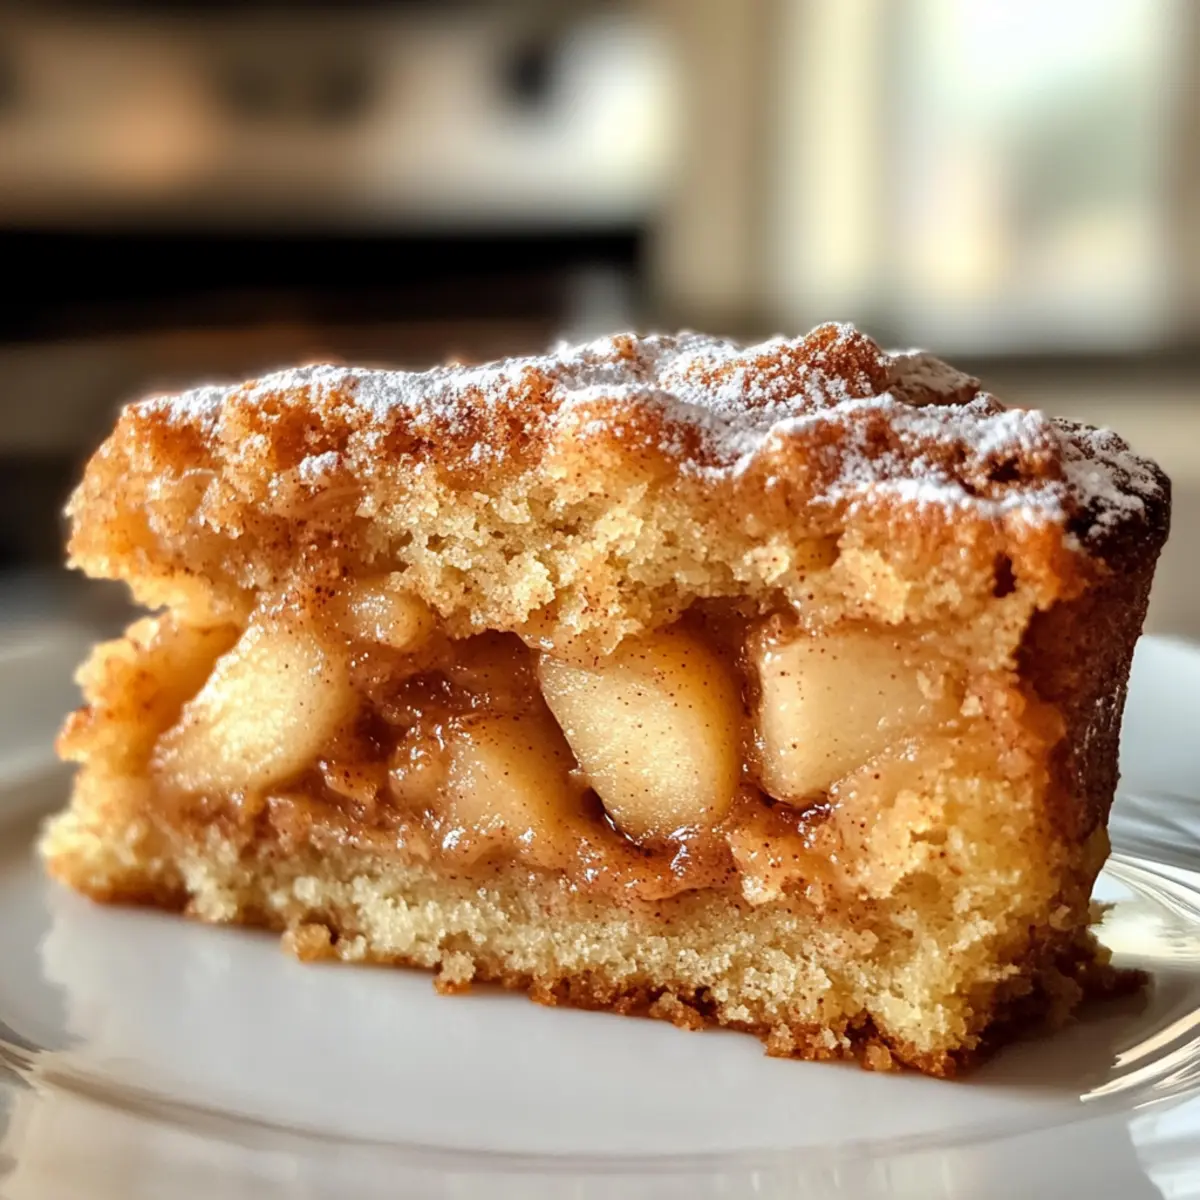
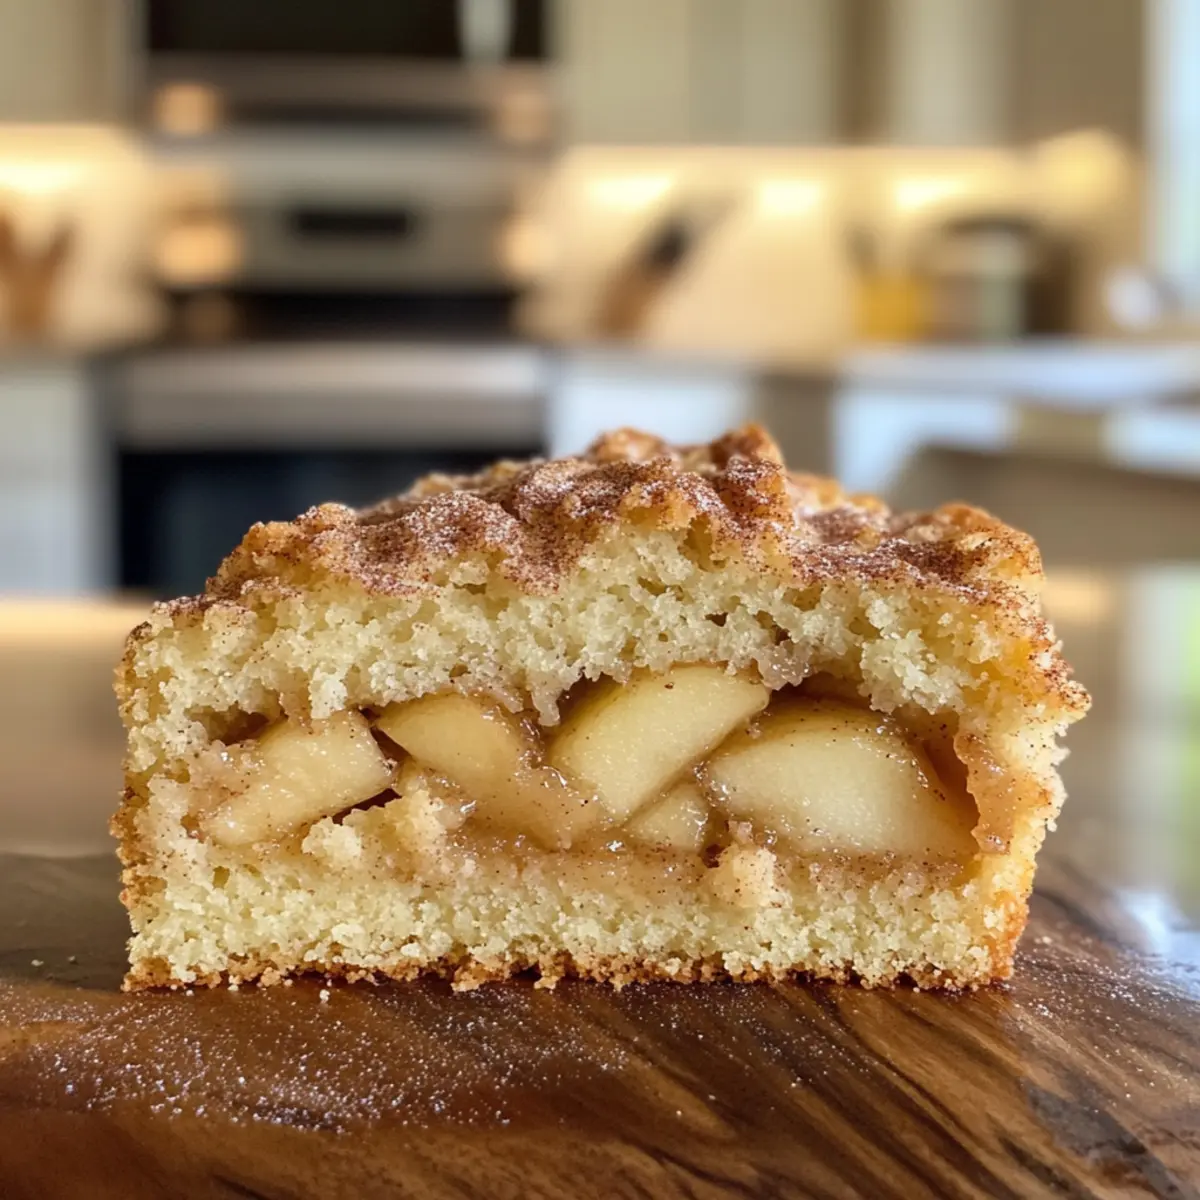
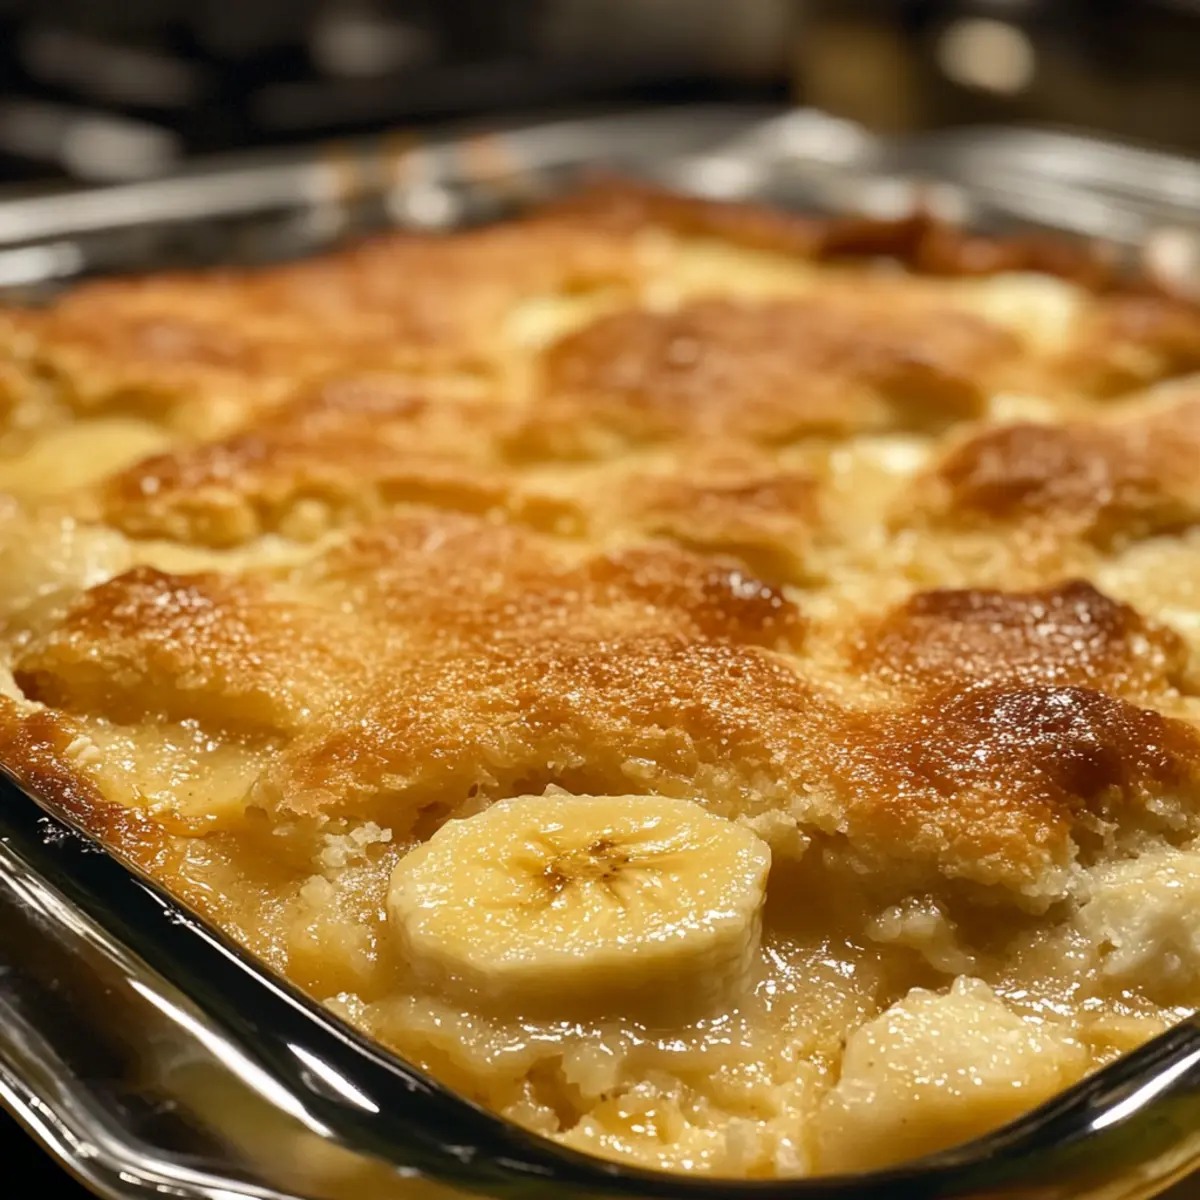
There’s nothing quite like the aroma of warm Southern Banana Cobbler wafting through the kitchen, instantly wrapping you in memories of cozy family dinners. This dessert isn’t just a sweet treat; it’s a nostalgic taste of home, with ripe bananas melding beautifully into a gooey cake-like base that’s simply irresistible. The best part? It’s a delightful comfort food that comes together quickly and easily, making it perfect for both casual weeknight dinners and festive gatherings. Plus, the customizable nature of this recipe means you can adapt it to suit your family’s tastes, whether you want to add a dash of nutmeg or throw in some juicy berries for a fun twist. Curious about how to make this heartwarming Southern classic that feels like a hug on a plate? Let’s dive in!
Why is Southern Banana Cobbler Irresistible?
Comforting, This recipe is the essence of cozy desserts, delivering that warm, nostalgic feel that brings everyone together.
Simplicity, You won’t need advanced culinary skills; just a mixing bowl and an oven will do!
Deliciously Customizable, Feel free to add your favorite fruits or spices to make it your own, transforming it into a new family favorite.
Crowd Pleaser, This Southern staple is an easy way to impress guests at any gathering, combining familiar flavors that everyone loves.
Decadently Gooey, The combination of ripe bananas and cake-like batter bubbling in the oven creates an aroma and taste that your family will be begging for seconds.
Make-Ahead Friendly, Prep this the night before for easy assembly, allowing you more time to enjoy with loved ones during dessert time. Don’t forget to serve it warm with a scoop of ice cream for that extra scrumptious touch!
Southern Banana Cobbler Ingredients
• Discover the key ingredients to create this delicious Southern classic!
For the Cobbler Base
- Ripe Bananas – Use overripe bananas for the best sweetness and creaminess in your Southern Banana Cobbler.
- Granulated Sugar – This adds essential sweetness; consider reducing it based on banana ripeness.
- Unsalted Butter – Melted for rich flavor and moisture, giving your cobbler that perfect texture.
- Vanilla Extract – Enhances the dish’s depth; opt for pure vanilla for the best outcome.
- Ground Cinnamon – Complementary spice that adds warmth to the sweetness of bananas.
- Salt – Balances flavors and is crucial to elevate the sweetness.
- Self-Rising Flour – Provides structure and lift, or use a homemade mix if needed (1 cup AP flour + 1½ tsp baking powder + ¼ tsp salt).
- Whole Milk – Keeps the batter moist; any milk variety can work well as a substitute.
Optional Flavor Enhancers
- Ground Nutmeg – A hint of warmth and spice; use sparingly for an aromatic touch.
Serving Suggestions
- Vanilla Ice Cream or Whipped Cream – Truly enhances your Southern Banana Cobbler experience!
- Caramel Drizzle – Adds a decadent touch that pairs beautifully with the warm cobbler.
- Chopped Pecans or Walnuts – For a delightful crunch that complements the soft cobbler.
Now that you have all the ingredients, you’re just a few simple steps away from making a heartwarming Southern Banana Cobbler that everyone will adore!
Step‑by‑Step Instructions for Irresistible Southern Banana Cobbler
Step 1: Preheat the Oven
Begin by preheating your oven to 350°F (175°C) and grab a 9×13-inch baking dish. Grease it lightly with butter or cooking spray to ensure your Southern Banana Cobbler comes out easily once baked. This is crucial as it helps create that delectable crispy edge that contrasts beautifully with the soft bananas inside.
Step 2: Prepare Banana Mixture
In a large mixing bowl, slice your ripe bananas and combine them with granulated sugar, melted butter, vanilla extract, ground cinnamon, and a pinch of salt. Allow this mixture to sit for about 10 minutes. This will help the sugar dissolve and infuse the bananas with flavor, creating a gooey and sweet layer that’s the heart of your cobbler.
Step 3: Mix Cobbler Batter
In another bowl, whisk together 1 cup of self-rising flour, whole milk, and the remaining sugar until just combined. Make sure to mix gently, leaving a few lumps for a fluffy texture; overmixing could lead to a dense batter. This cobbler batter will provide the perfect base to cradle those lovely bananas as they bake into a delicious Southern Banana Cobbler.
Step 4: Assemble Cobbler
Pour the prepared batter into your greased baking dish, spreading it evenly across the bottom. Next, spoon the banana mixture evenly over the top, but resist the urge to stir! The batter will rise around the bananas as it bakes, enveloping them in a sweet, cake-like embrace. This unique layering is key to achieving that classic cobbler texture.
Step 5: Bake
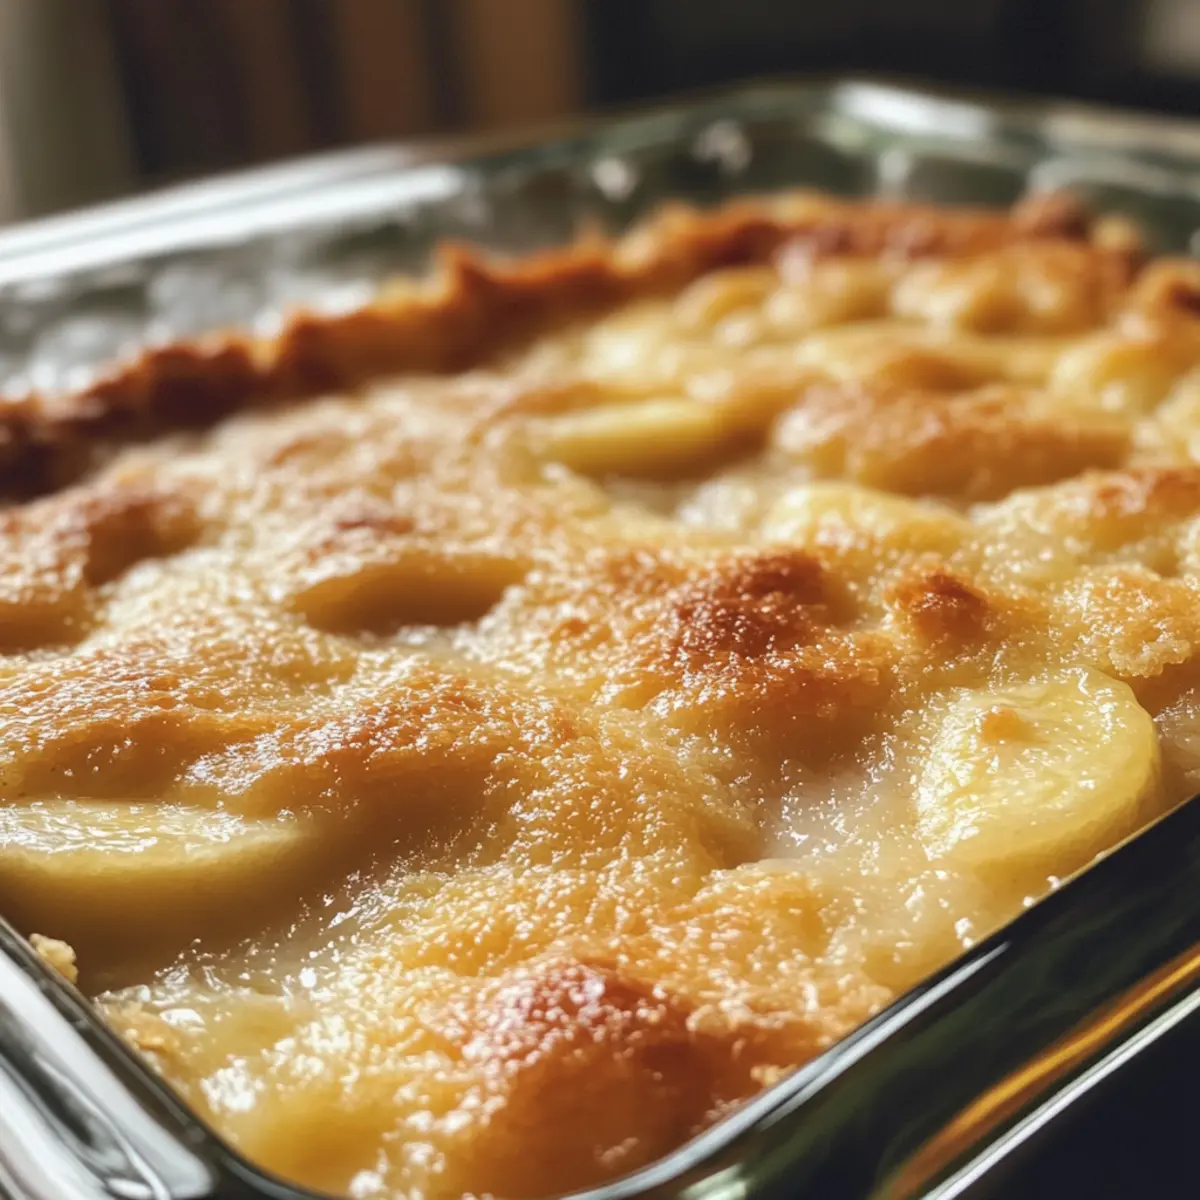
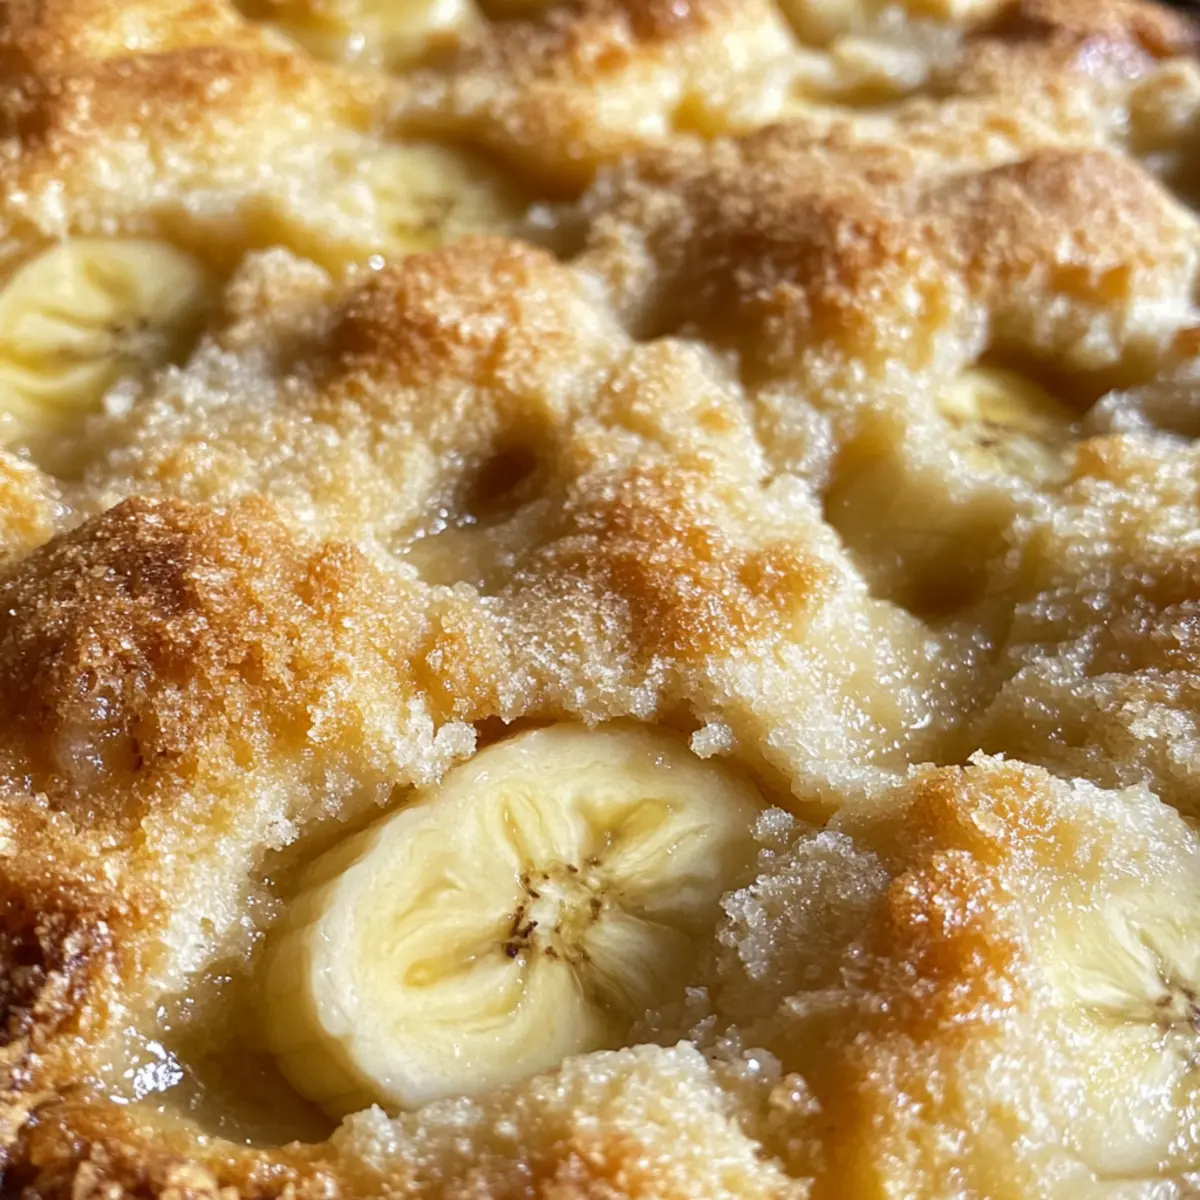
Place your assembled Southern Banana Cobbler in the preheated oven and bake for 45–50 minutes. Watch closely as it bakes; the top should turn a rich golden brown and the edges become bubbly. To check for doneness, lightly touch the center; it should spring back, indicating it’s beautifully set and ready for serving.
Step 6: Cool and Serve
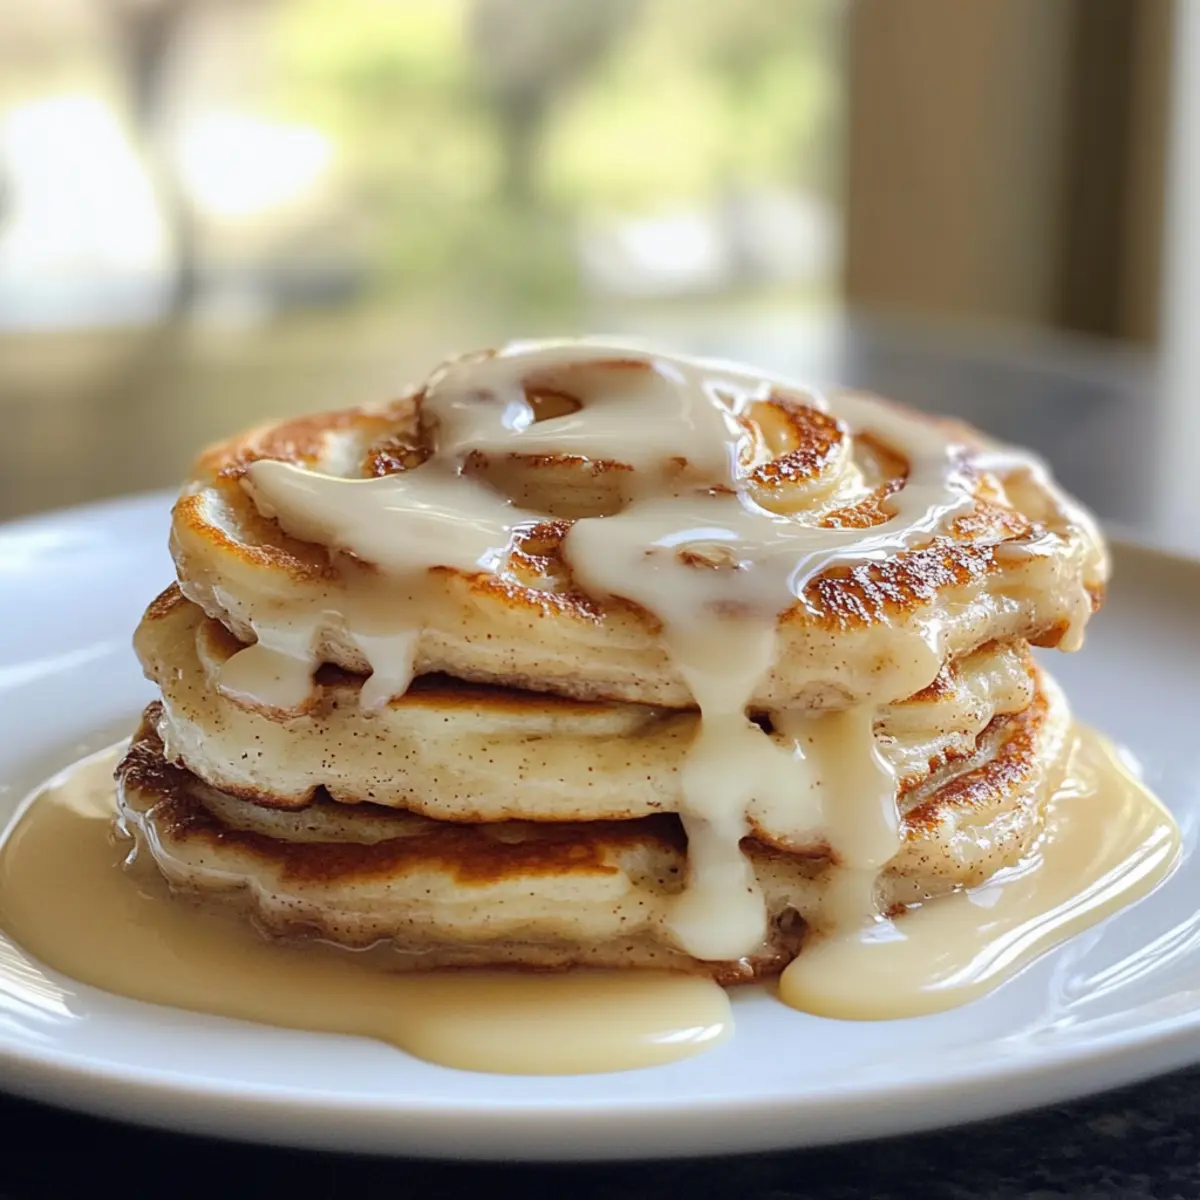
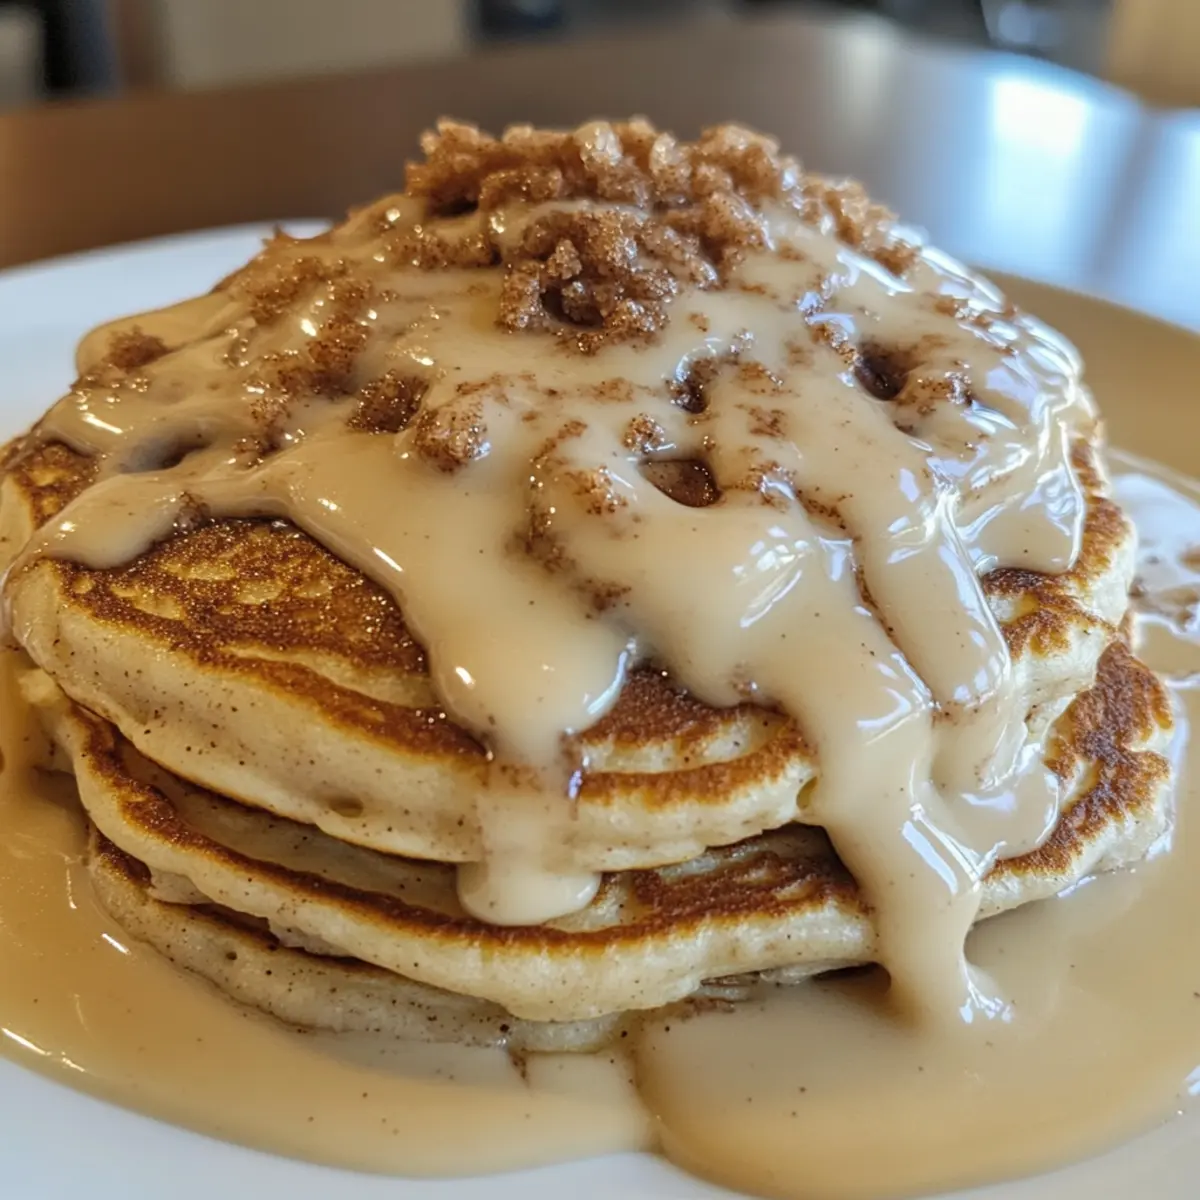
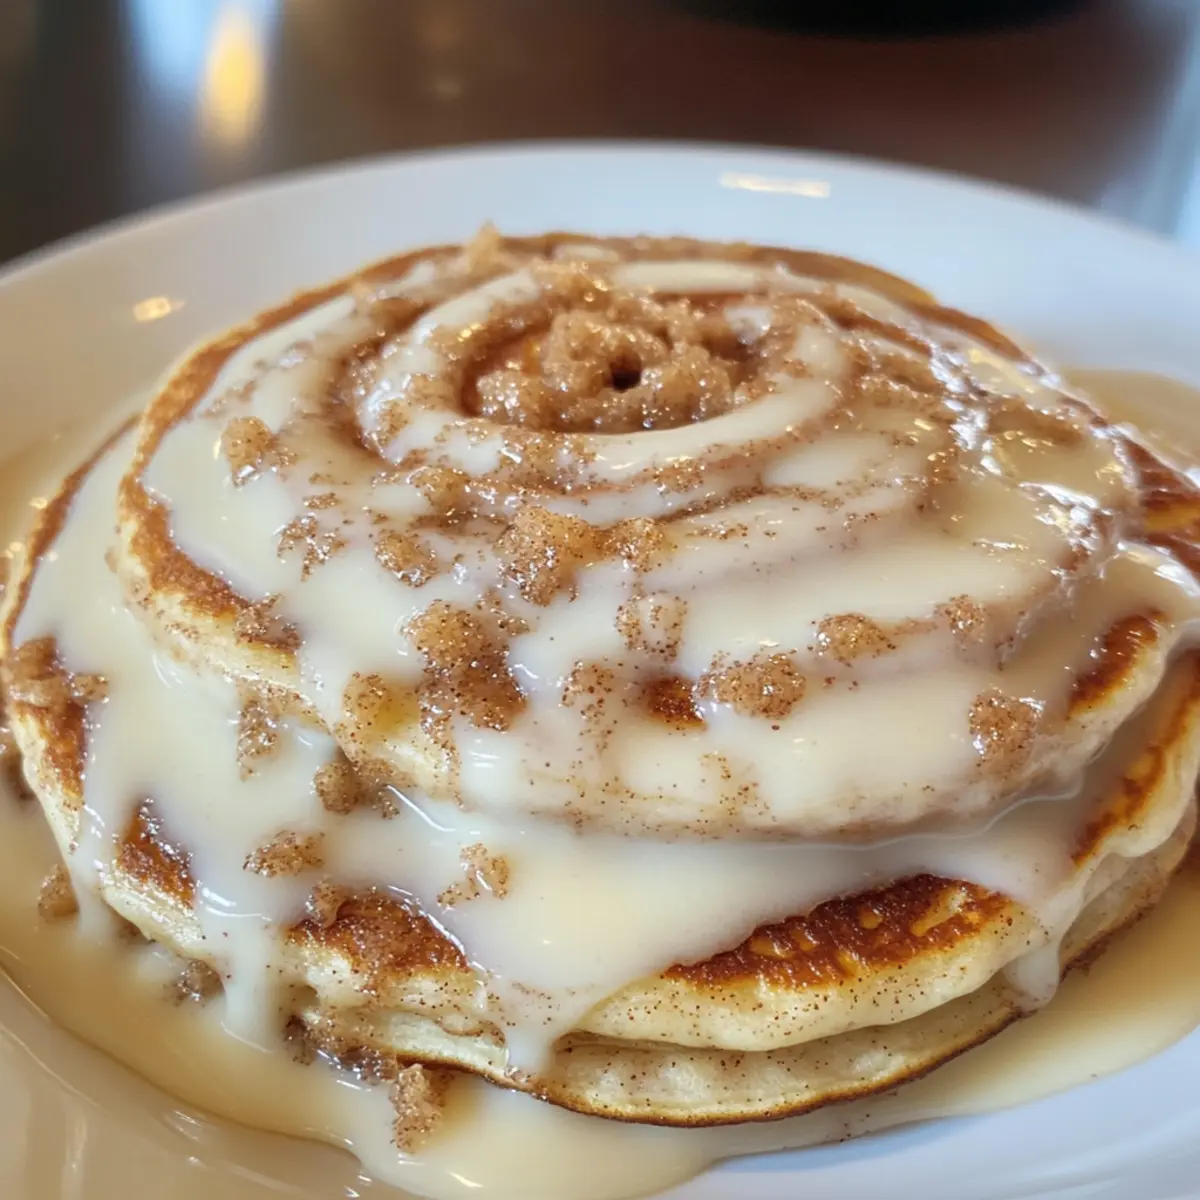
Once baked to perfection, remove the Southern Banana Cobbler from the oven and allow it to cool for about 10 minutes. This resting period will help the filling thicken slightly, making it easier to serve. Scoop generous portions into bowls and, for an indulgent treat, top with a scoop of vanilla ice cream or a drizzle of caramel before digging in!
How to Store and Freeze Southern Banana Cobbler
-
Room Temperature: Allow Southern Banana Cobbler to cool completely, then cover loosely with foil or plastic wrap. It can sit at room temperature for up to 2 days.
-
Fridge: If you have leftovers, refrigerate them in an airtight container for up to 4 days. Reheat individual portions in the oven at 325°F until warm for the best texture.
-
Freezer: For longer storage, cool the cobbler completely, then wrap it tightly in plastic wrap followed by aluminum foil. Freeze for up to 2 months. Thaw in the fridge overnight before reheating.
-
Reheating: To enjoy the cobbler warm, preheat the oven to 325°F and place it in for about 15-20 minutes or until heated through. This helps restore its delicious gooeyness!
What to Serve with Irresistible Southern Banana Cobbler
Indulging in this sweet, gooey dessert opens the door to pairing it with delightful sides that elevate your dining experience.
-
Creamy Vanilla Ice Cream: The rich, cold ice cream balances the warm cobbler, creating a heavenly contrast that melts in your mouth.
-
Whipped Cream: Light and fluffy, a dollop of whipped cream adds a touch of elegance and enhances the cobbler’s sweetness beautifully.
-
Crunchy Pecans: Toasted pecans bring a delightful crunch and nutty flavor that complements the soft, creamy bananas perfectly.
-
Caramel Drizzle: A warm drizzle of caramel sauce transforms your dessert into a luscious treat, enhancing its sweetness while adding depth.
-
Fresh Berries: Strawberries or blueberries add a burst of fresh, tart flavor that cuts through the sweetness, creating a well-balanced dessert experience.
-
Maple Syrup: A drizzle of maple syrup offers an earthy sweetness that pairs wonderfully with the banana and cinnamon notes in the cobbler.
-
Cup of Coffee: Enjoying a hot cup of coffee alongside your cobbler creates a comforting end to any meal, enhancing the overall experience.
-
Mint Leaves: A sprig of fresh mint as a garnish not only adds a pop of color but also brings a refreshing element that brightens the palate.
Southern Banana Cobbler Variations & Substitutions
Feel free to get creative with your Southern Banana Cobbler and tailor it to your taste buds!
- Berry Blast: Add fresh blueberries or raspberries to the banana mixture for a fruity twist that adds a pop of color and tartness.
- Tropical Twist: Mix in chunks of pineapple or mango to bring an exotic flavor that dances on your palate. Imagine the sunny vibes with each bite!
- Nutty Delight: Incorporate chopped pecans or walnuts into the batter for a delightful crunch and nutty flavor that complements the soft bananas beautifully.
- Dairy-Free: Swap the whole milk for almond or coconut milk, and use dairy-free butter if you want to maintain creaminess while accommodating dietary preferences.
- Gluten-Free: Replace self-rising flour with a gluten-free blend to enjoy this cobbler without the wheat, ensuring everyone can partake in this delicious dessert!
- Spice It Up: Experiment with spices like cardamom or allspice for an aromatic depth that introduces warm, complex flavors to each spoonful.
- Chocolate Indulgence: Add chocolate chips to the batter for a sweet surprise that makes this dessert even more decadent; chocolate and bananas are a match made in heaven!
- Maple Sweetness: Instead of granulated sugar, use maple syrup for a rich, earthy sweetness that takes your cobbler to the next level.
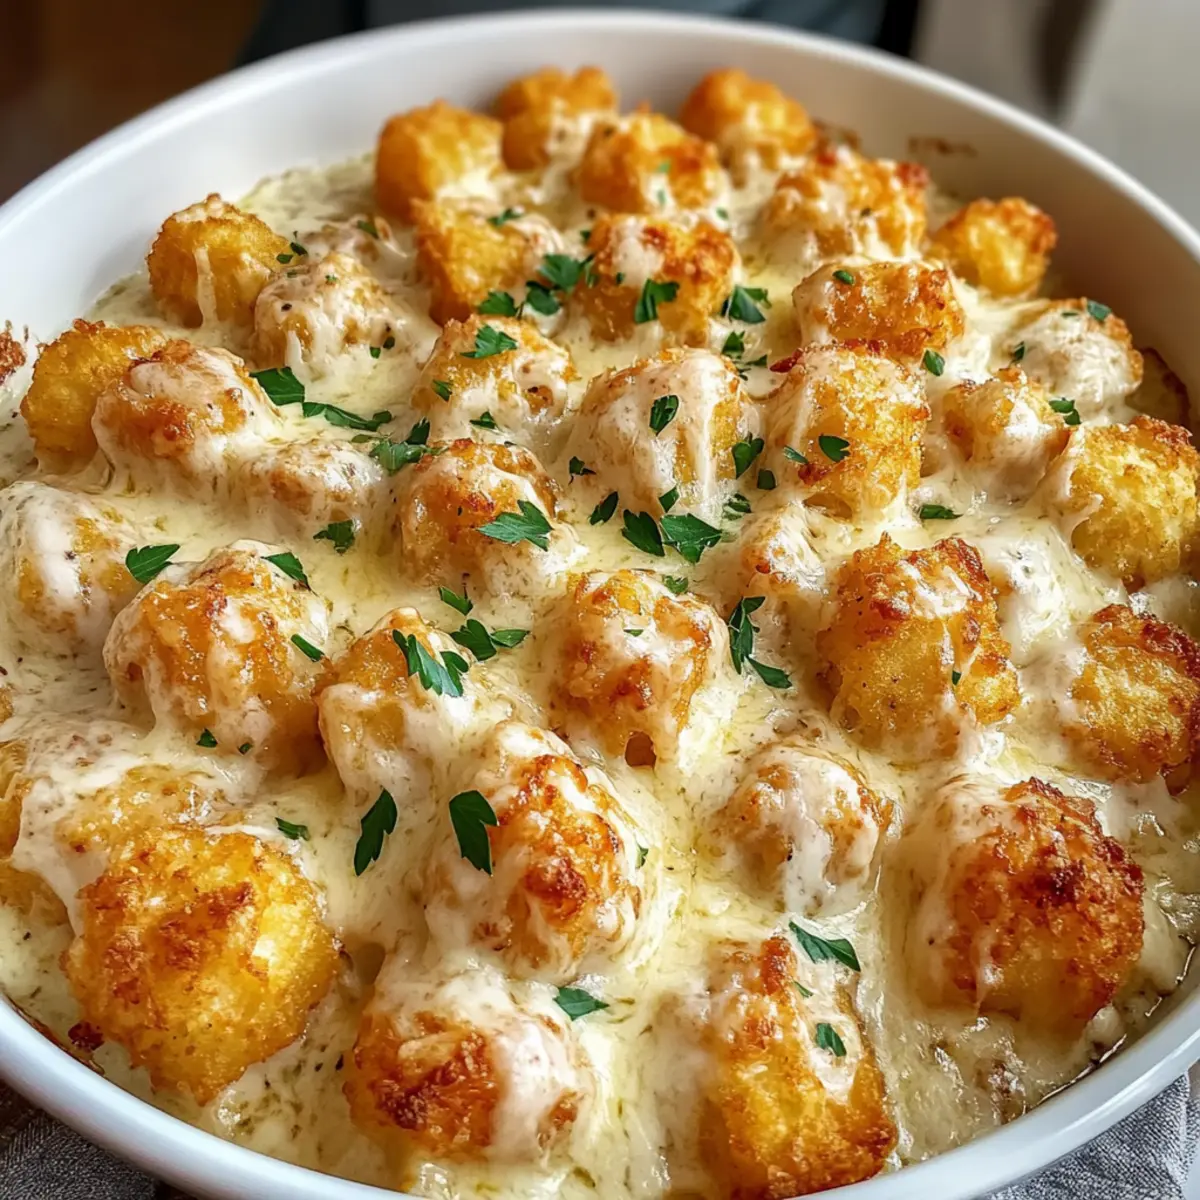
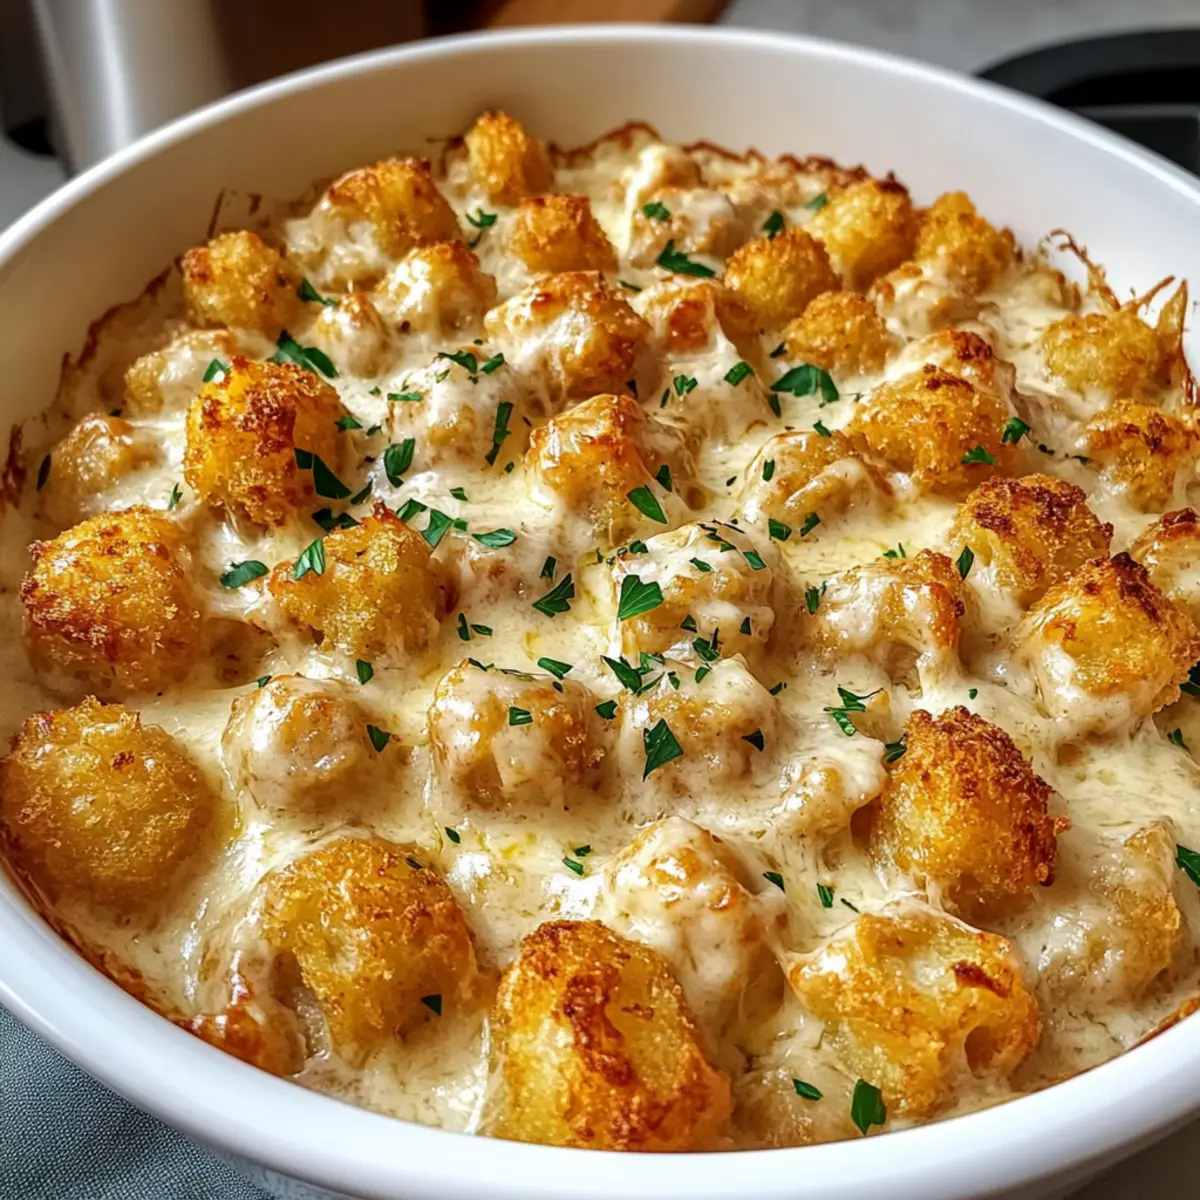
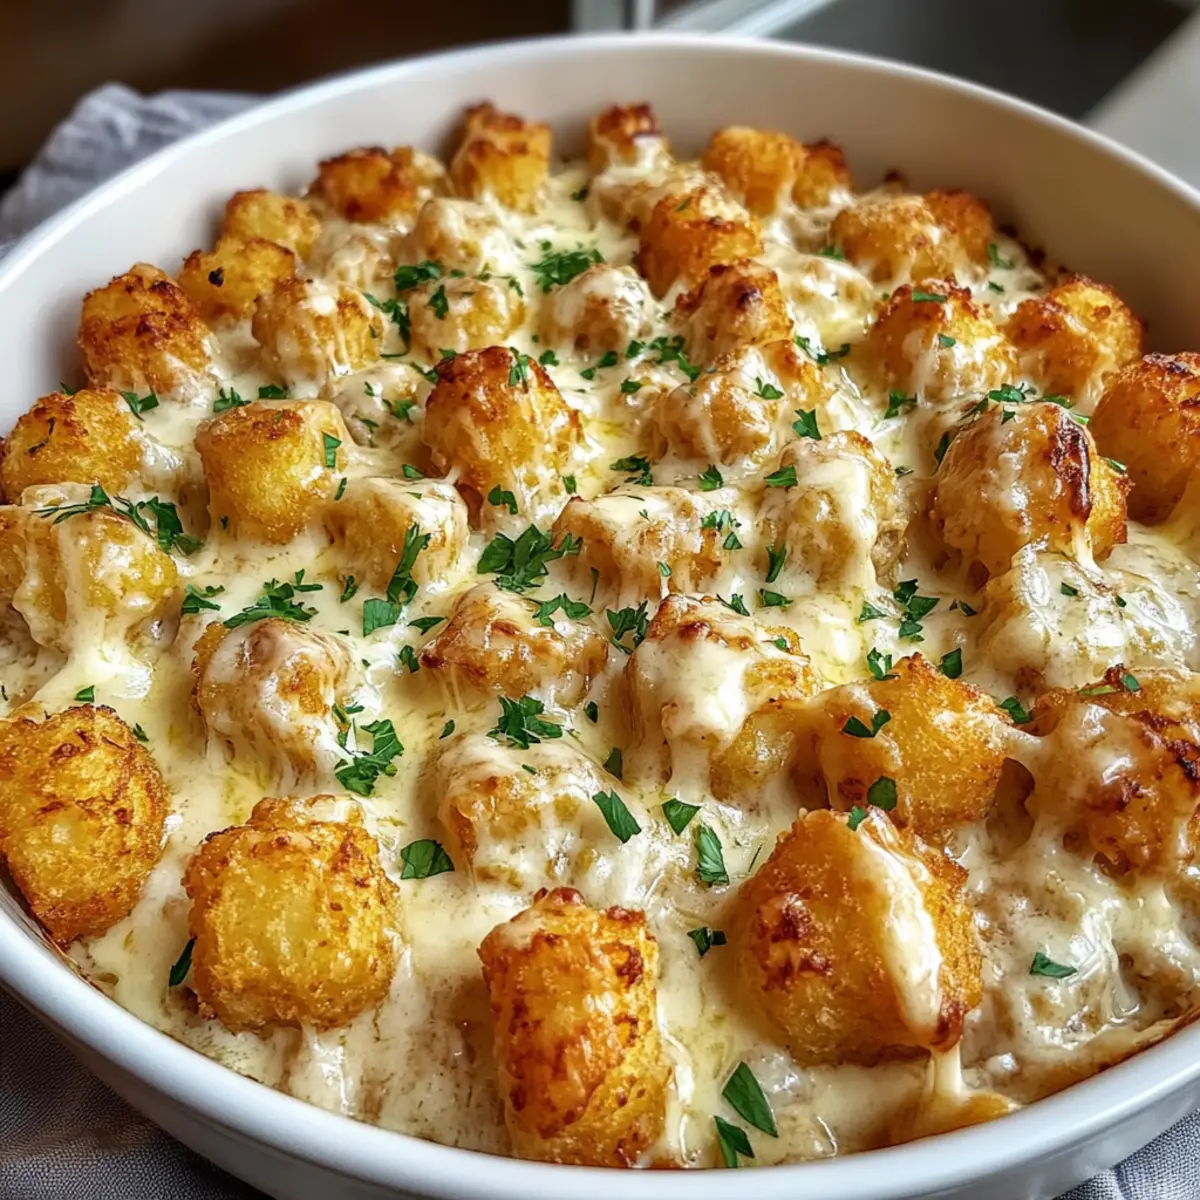
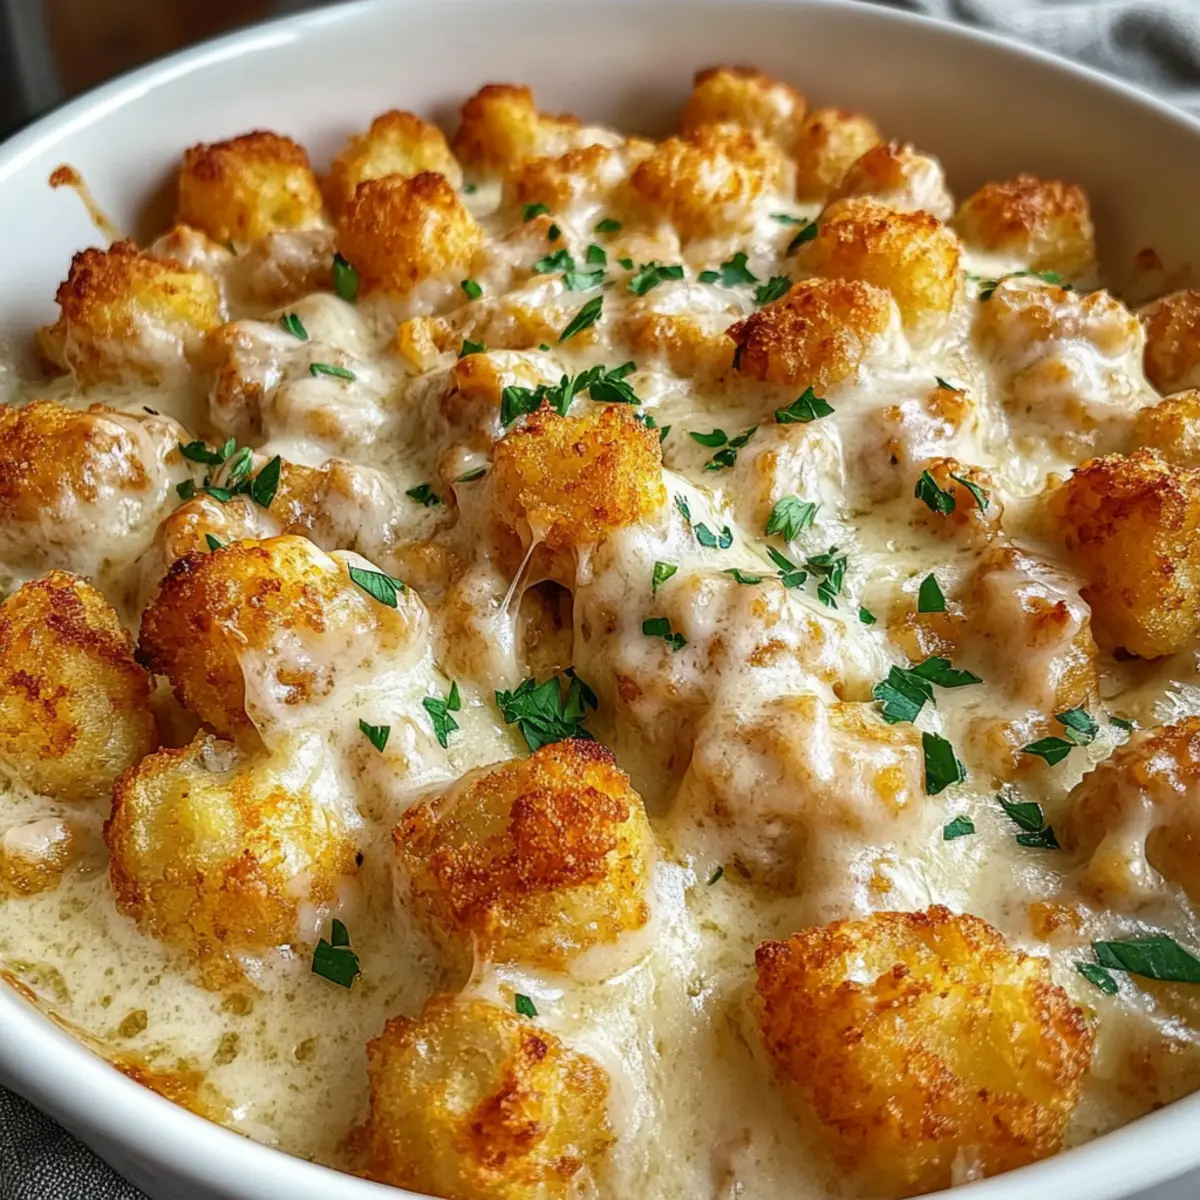
Let your creativity shine in the kitchen! And remember, if you’re intrigued by other flavors or components, check out my delightful Chicken Alfredo Tater Tot Casserole for even more culinary inspirations.
Make Ahead Options
These Irresistible Southern Banana Cobblers are perfect for meal prep, allowing you to enjoy homemade dessert without the last-minute rush! You can prepare the banana mixture (sliced bananas, sugar, melted butter, vanilla, cinnamon, and salt) up to 24 hours in advance; just refrigerate it in an airtight container. The cobbler batter can also be made the day before; however, it’s best to assemble and bake it just prior to serving to maintain its lovely texture. To finish, pour the batter into your greased baking dish, top with the banana mixture, and bake as directed. This way, you’ll have delicious, warm cobbler ready to share with loved ones, just like a cozy hug on a plate!
Expert Tips for Southern Banana Cobbler
-
Choose Ripe Bananas: Use only overripe bananas for the best sweetness and creamy texture. Their natural sugars are key to flavor.
-
No Mixing Allowed: Avoid stirring once you’ve layered the batter and banana mixture; this keeps the cobbler’s texture light and fluffy.
-
Golden Brown Check: Bake until the top is a deep golden brown, and the edges are bubbling to ensure your Southern Banana Cobbler is fully cooked without being underbaked.
-
Avoid Overmixing: When combining your batter, small lumps are fine. Overmixing can lead to a dense cobbler instead of a tender, cake-like texture.
-
Add Fun Flavors: Don’t hesitate to customize! Add a dash of nutmeg or even some chocolate chips for a delightful twist on this classic comfort food.
-
Cool Before Serving: Let the cobbler rest for about 10 minutes post-baking before serving. This helps set the filling for easier slicing and serving.

Southern Banana Cobbler Recipe FAQs
How do I select the best bananas for this recipe?
Absolutely! For the best Southern Banana Cobbler, you should choose overripe bananas. Look for bananas with dark brown spots but that are not rotting—those spots indicate high sugar content, resulting in a sweeter and creamier cobbler. You can use them as soon as they are soft and sweet!
How should I store leftover Southern Banana Cobbler?
Leftover cobbler can be stored in an airtight container in the refrigerator for up to 4 days. Make sure it cools completely before sealing it away. To reheat, simply place individual portions in an oven preheated to 325°F until warm—about 15-20 minutes will do the trick to restore that delightful gooey texture.
Can I freeze Southern Banana Cobbler?
Yes, you can freeze your Southern Banana Cobbler! First, allow it to cool completely once baked. Then, wrap it tightly in plastic wrap, followed by a layer of aluminum foil to prevent freezer burn. It can be frozen for up to 2 months. When you’re ready to enjoy it, thaw it in the fridge overnight and reheat in the oven at 325°F for about 15-20 minutes.
What if my cobbler is too dry or crumbly?
If your Southern Banana Cobbler turns out too dry, there are a couple of reasons this might happen. Ensure that you are using enough ripe bananas since they contribute natural moisture and sweetness. Also, do not overmix the batter to keep it light and fluffy. Finally, you can check for doneness by lightly pressing the center; it should spring back. If it feels dry in the center, it may have been baked too long.
Is this recipe suitable for people with nut allergies?
Very! The Southern Banana Cobbler recipe itself does not contain nuts, making it a suitable option for those with nut allergies. However, if you decide to sprinkle chopped nuts on top as a serving suggestion, be sure to omit that step for your guests needing to avoid nuts. Always double-check your ingredients for cross-contamination as well.
Can I use a different type of flour instead of self-rising flour?
Absolutely! If you don’t have self-rising flour, you can make your own by mixing 1 cup of all-purpose flour with 1½ teaspoons of baking powder and a pinch of salt. This will give your Southern Banana Cobbler just the right lift. Keep in mind, however, that the texture may slightly vary, but it should still be delicious!
Southern Banana Cobbler That Tastes Like Home Comfort
Ingredients
Equipment
Method
- Preheat your oven to 350°F (175°C) and grease a 9x13 inch baking dish.
- In a large mixing bowl, slice the ripe bananas and combine them with granulated sugar, melted butter, vanilla extract, ground cinnamon, and a pinch of salt. Allow to sit for 10 minutes.
- In another bowl, whisk together self-rising flour, whole milk, and remaining sugar until just combined.
- Pour the prepared batter into the greased dish, spreading evenly. Spoon the banana mixture over the top without stirring.
- Bake for 45–50 minutes until the top is golden brown and edges are bubbly.
- Allow to cool for 10 minutes before serving. Top with ice cream or caramel if desired.