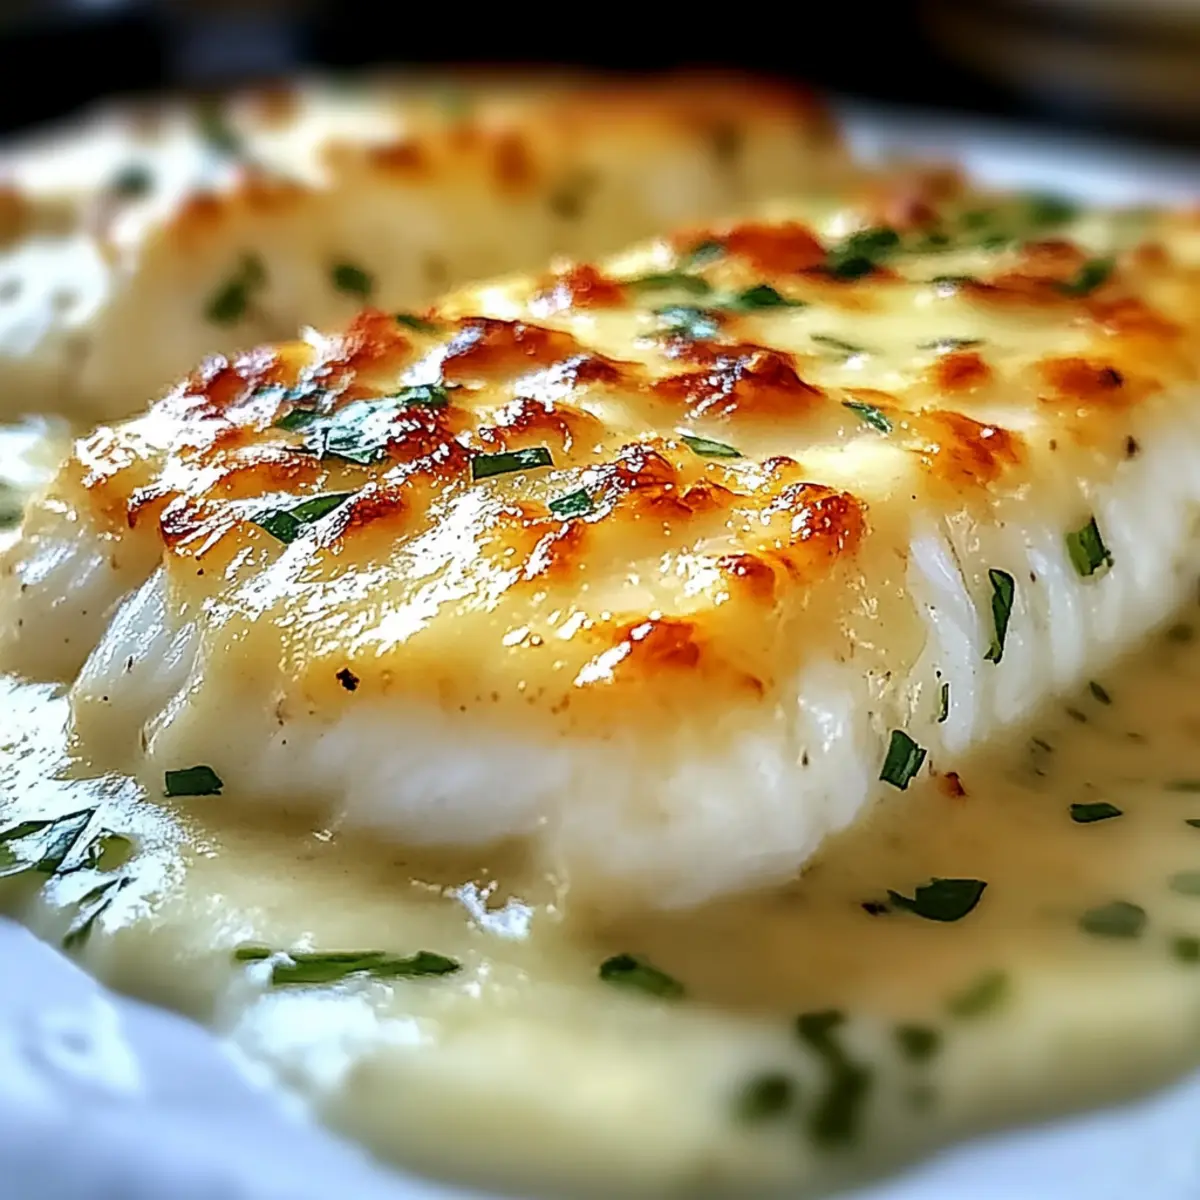
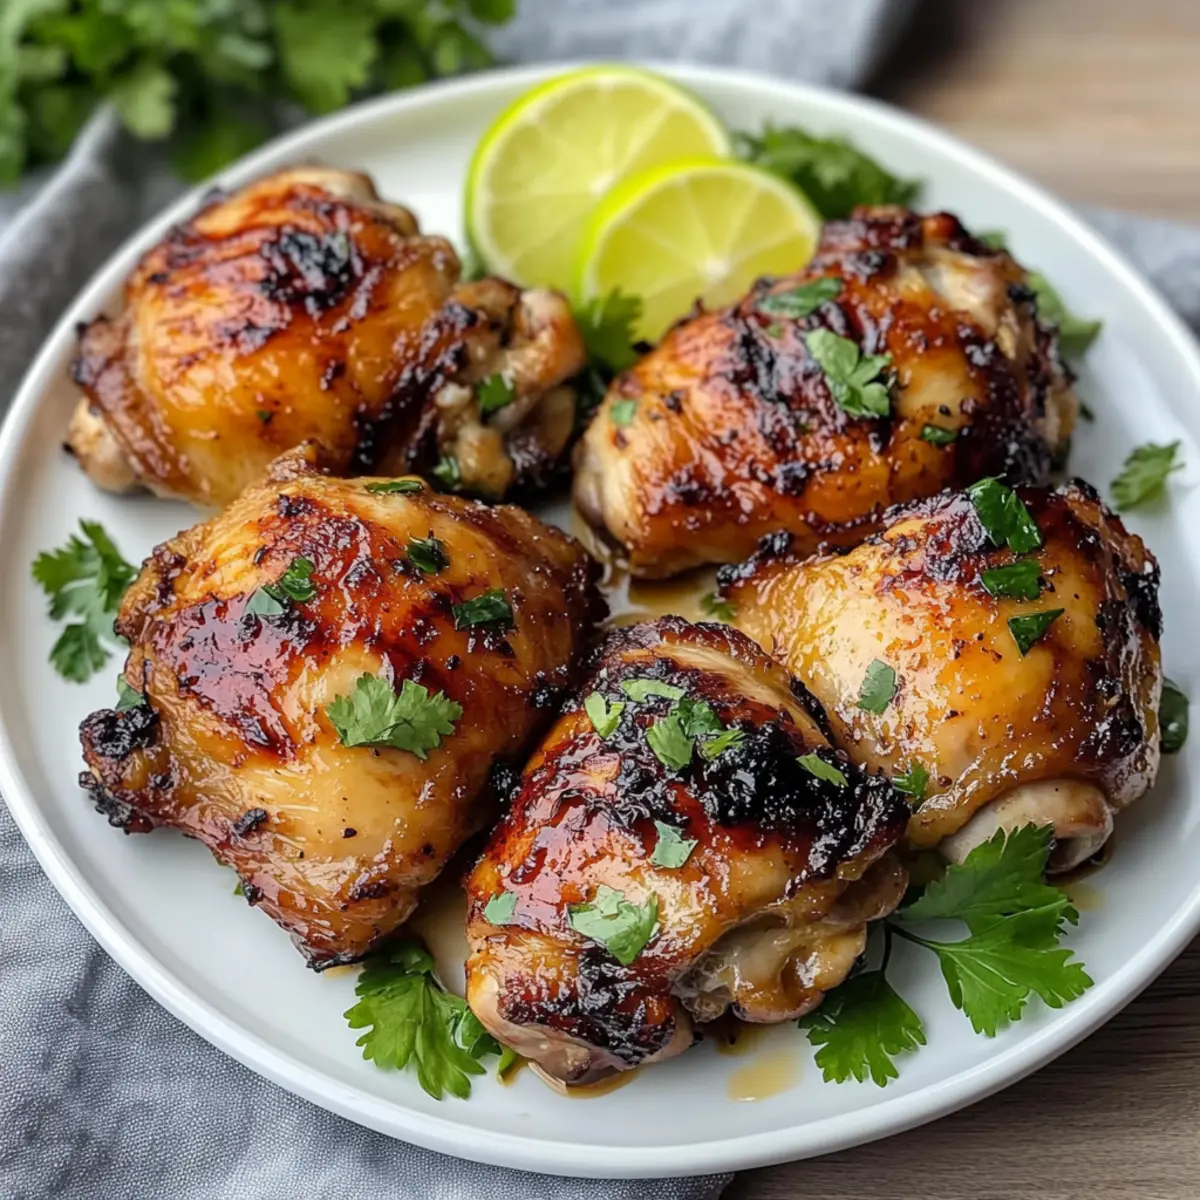
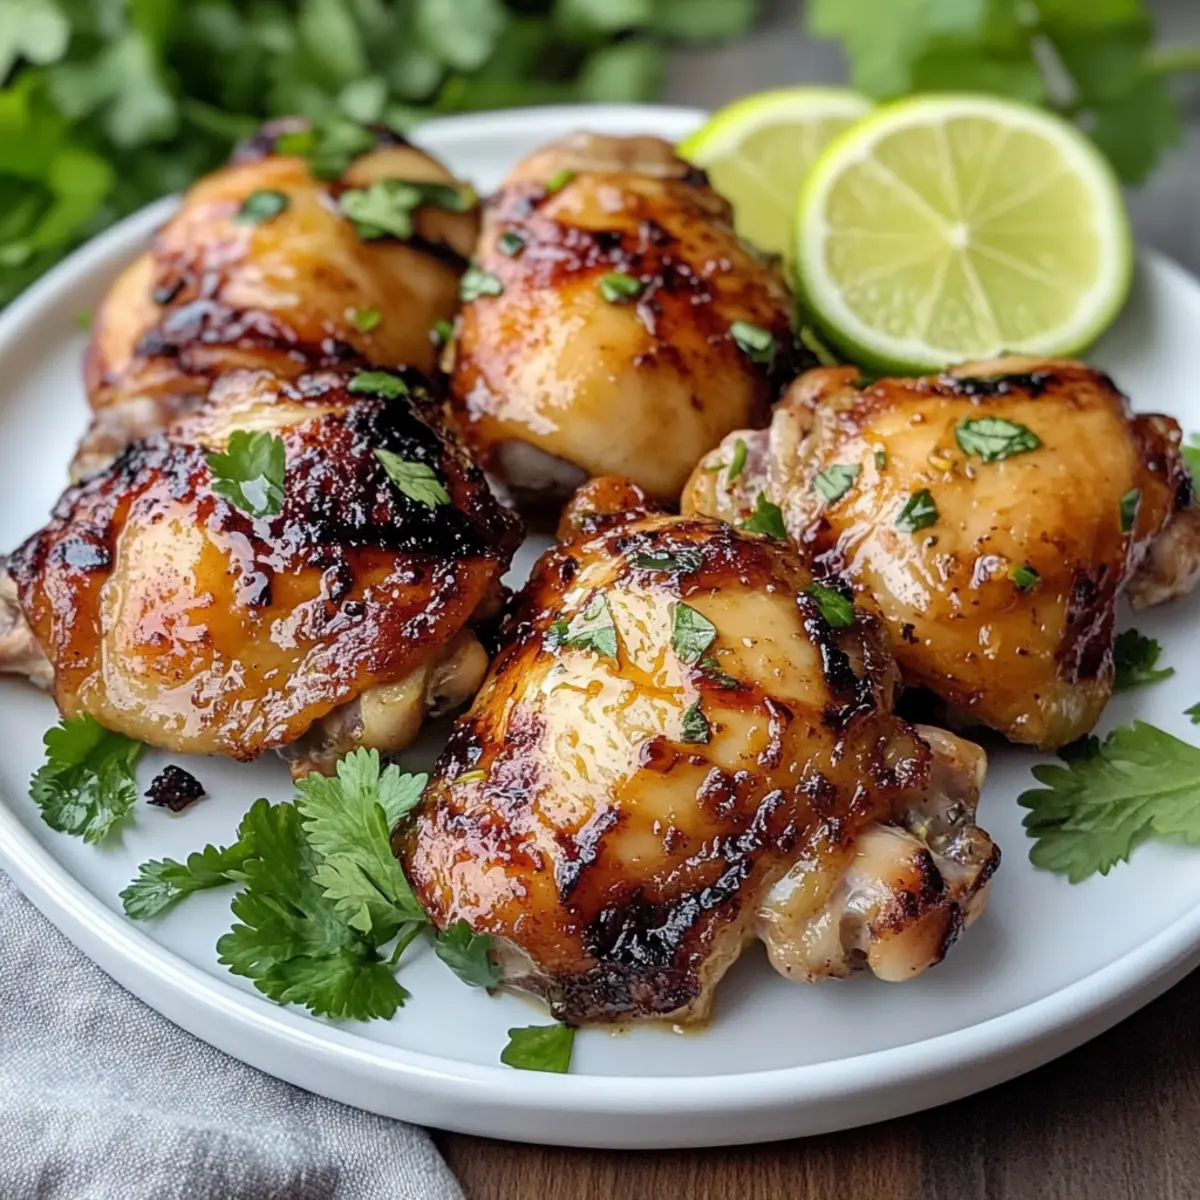
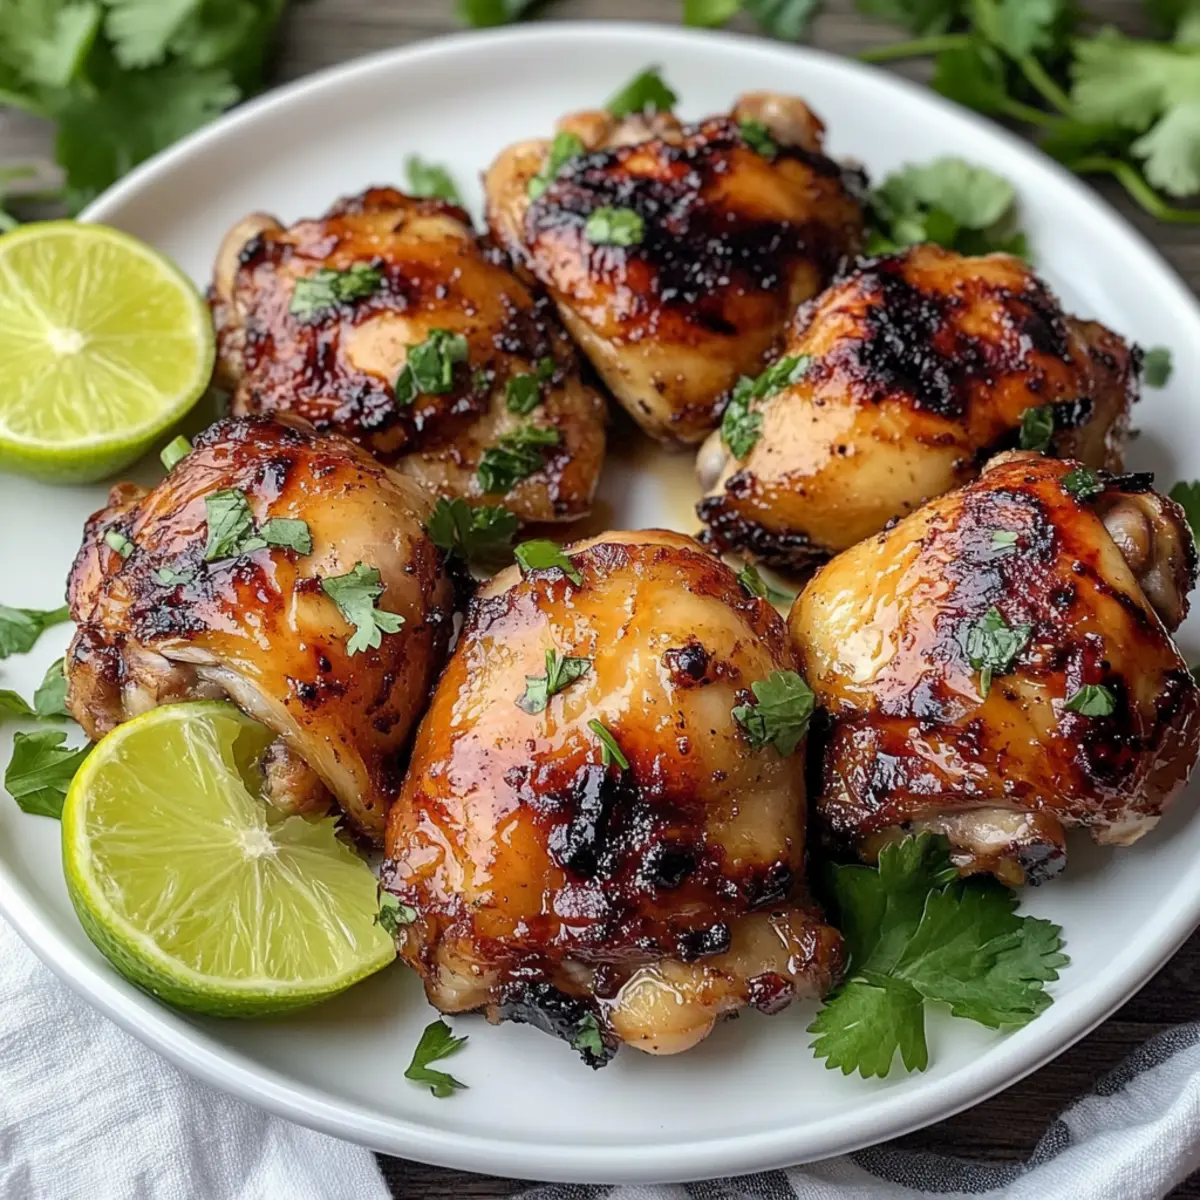
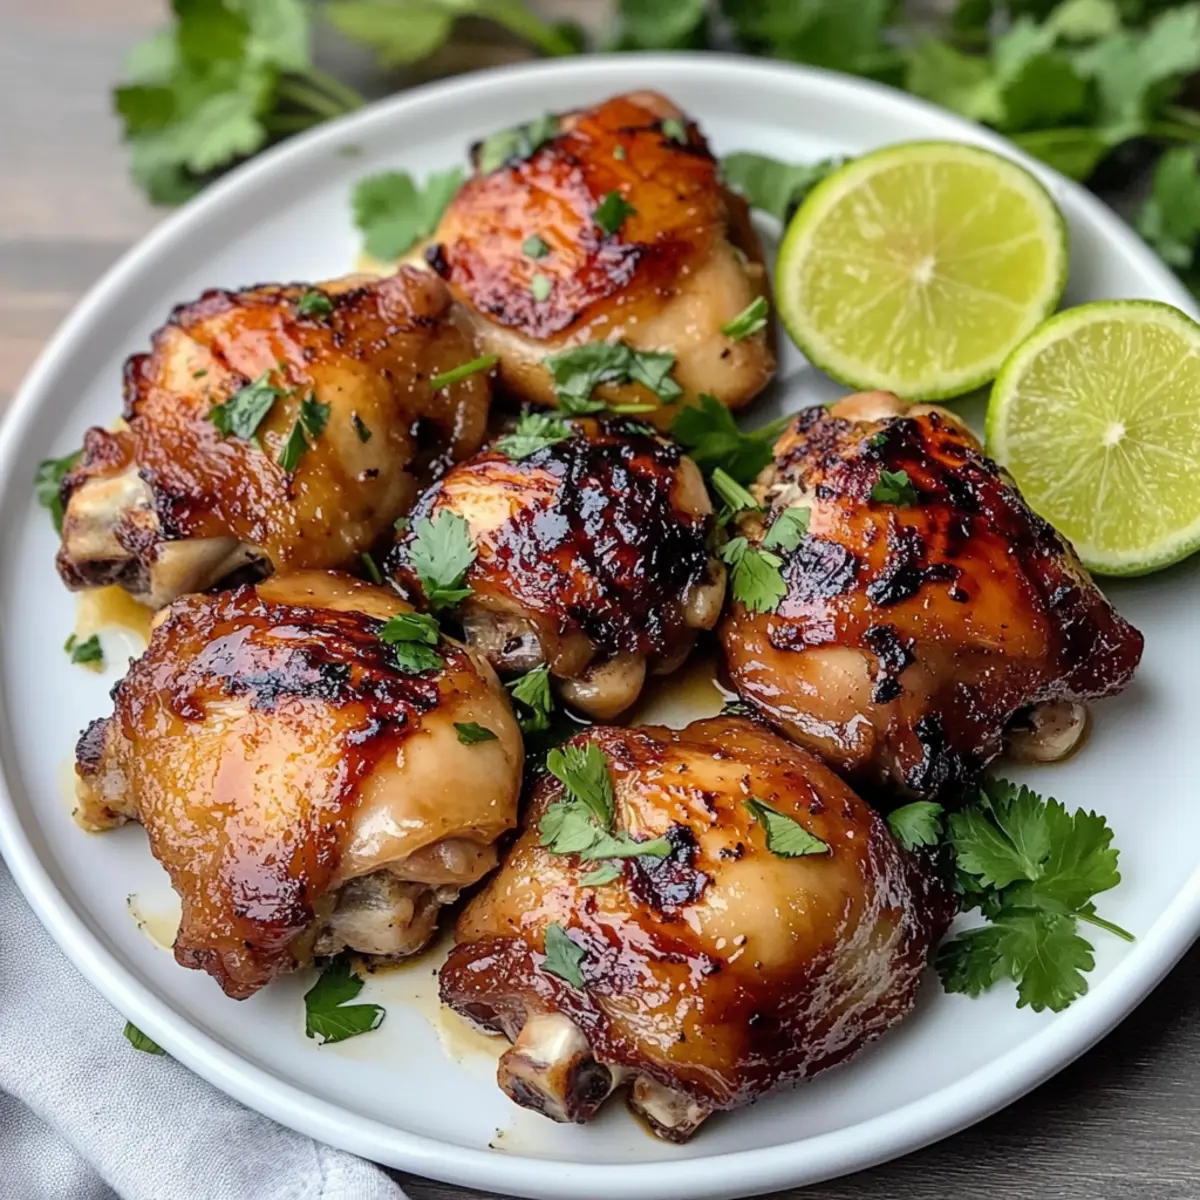
There’s something magical about the vibrant flavors of Cuban cuisine that captivates the senses. As I marinated the chicken thighs in a zesty blend of citrus juice and aromatic herbs, I felt transported to a sun-soaked island, where every bite feels like a warm embrace. This Grilled Cuban Mojo Chicken Thighs recipe not only delivers juicy, tender meat but also boasts a delightful char that makes it perfect for summer gatherings or cozy family dinners. With a prep time that’s surprisingly quick, you can elevate your weeknight meals without the hassle of takeout. And don’t worry—this dish is highly customizable, so feel free to play around with spices or seasonal fruits to make it your own. Ready to dive into this tropical flavor journey? Let’s get cooking!
Why is Cuban Mojo Chicken a Must-Try?
Simplicity at its finest: You’ll only need a few ingredients to whip up this flavorful dish, making it perfect for busy weeknights.
Zesty and aromatic: The medley of citrus juices and garlic fills your kitchen with a tantalizing aroma that invites everyone to the table.
Crowd-pleaser guaranteed: Ideal for summer barbecues, this chicken dish will impress your guests and leave them asking for seconds.
Customizable flair: Whether you prefer sweeter notes or spicier kicks, feel free to adapt the marinade to suit your taste—try adding jalapeños or seasonal fruits to elevate the flavors.
Moisture locked in: Marinating overnight ensures the chicken stays juicy and tender even after grilling, providing the perfect texture.
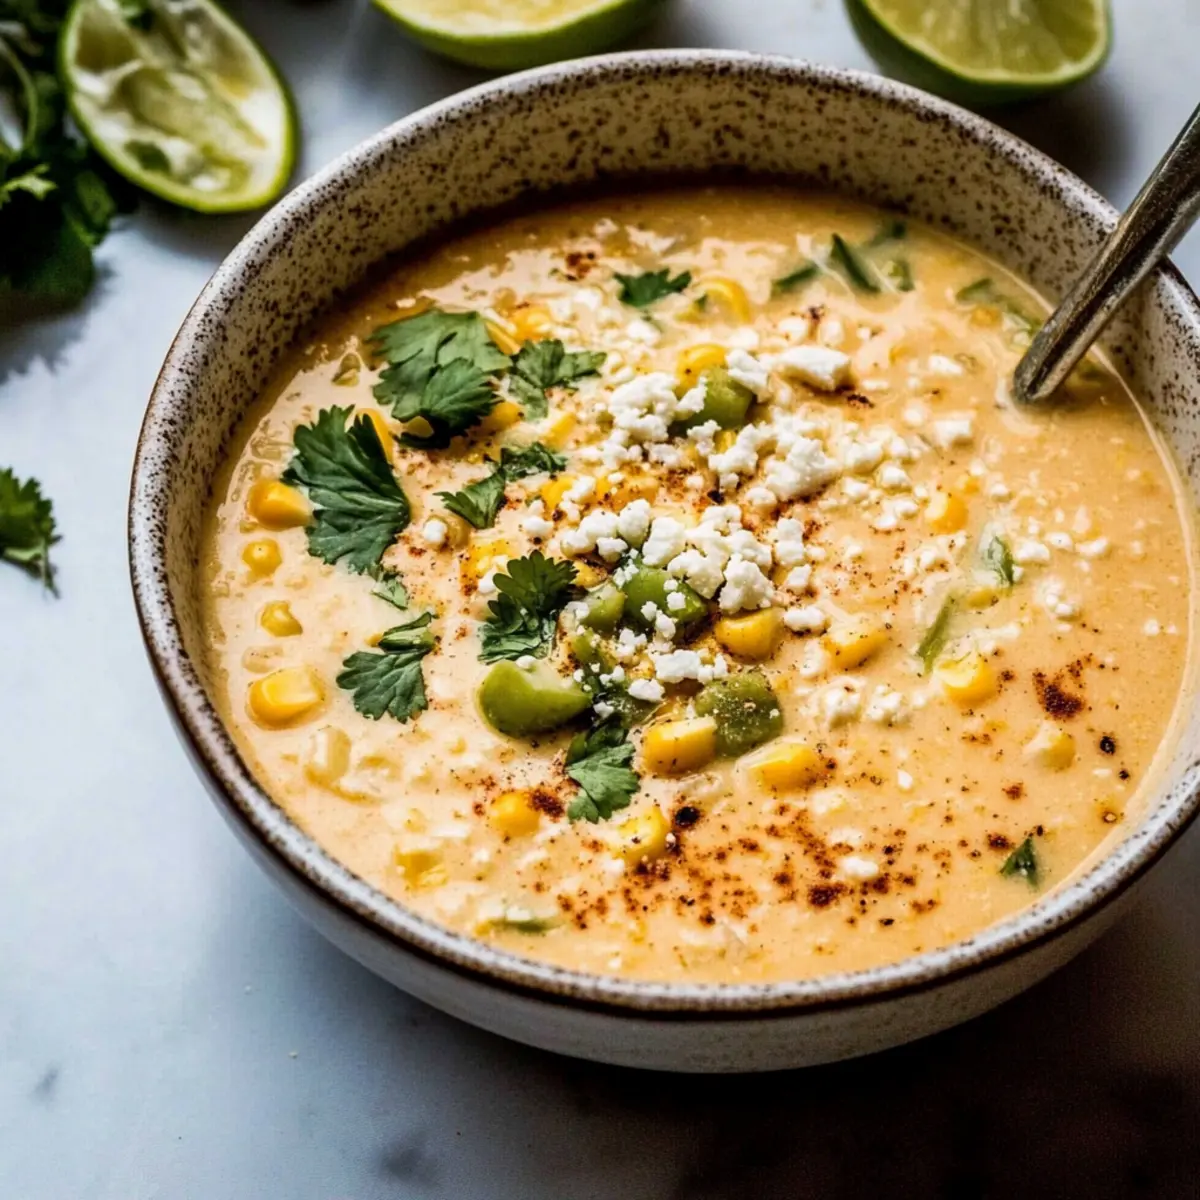
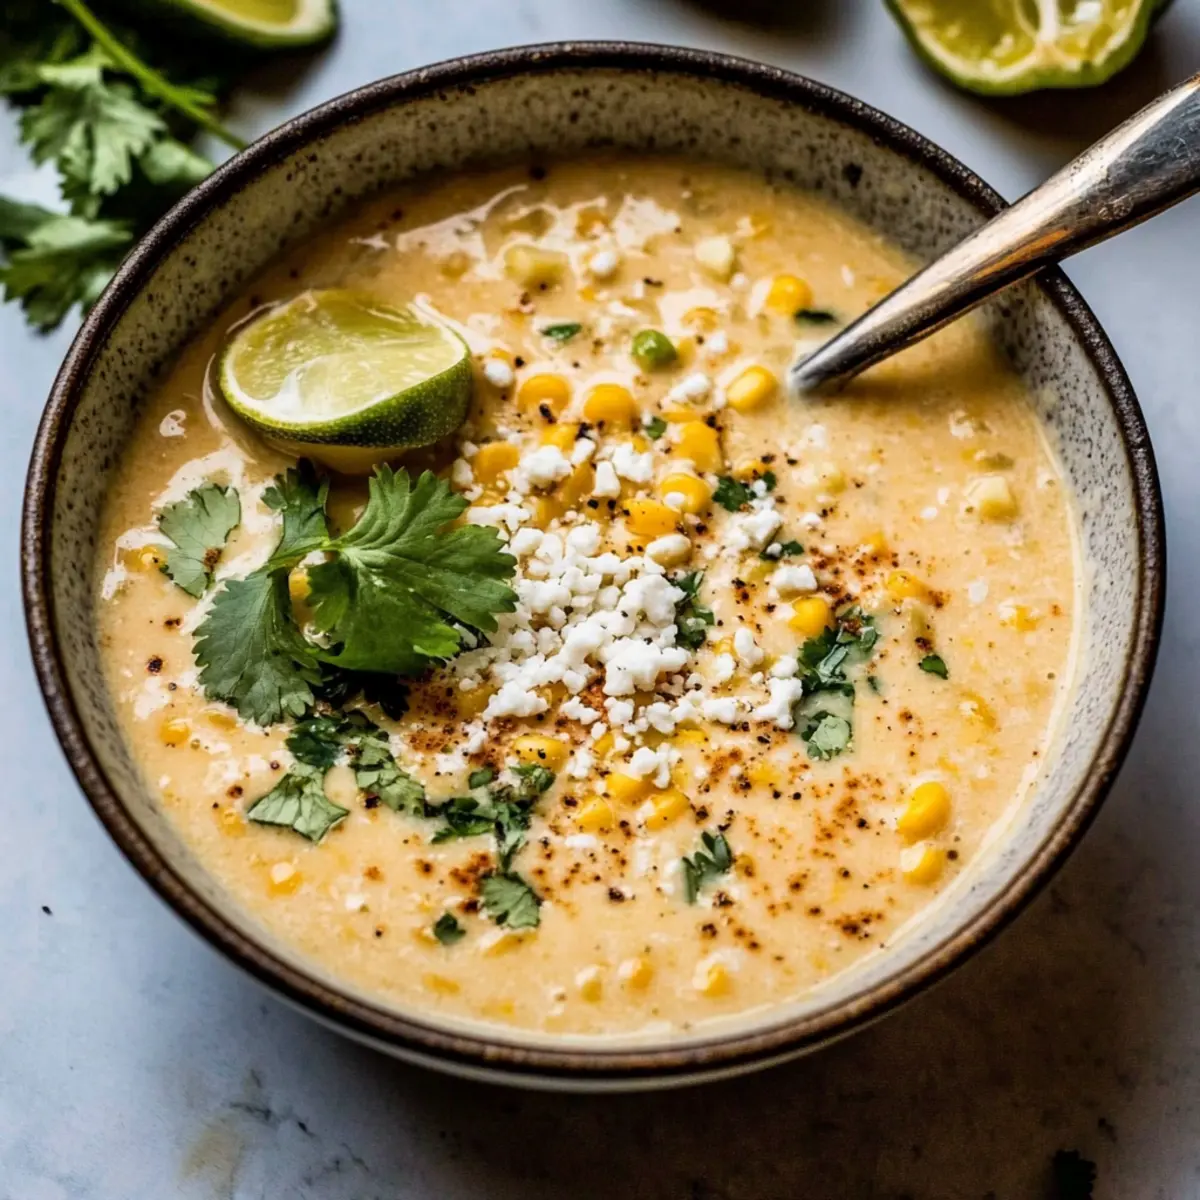
For a complete meal, consider serving with rice or a fresh salad—check out our Serving Suggestions for ideas!
Cuban Mojo Chicken Thighs Ingredients
For the Marinade
- Chicken Thighs – Juicy protein; bone-in and skin-on are recommended for maximum flavor and moisture.
- Fresh Orange Juice – Bright sweetness; you can substitute with extra lime juice if needed.
- Fresh Lime Juice – Essential tanginess for that vibrant citrus flavor profile.
- Garlic, minced – Adds depth of flavor; always prefer fresh garlic for the best taste.
- Olive Oil – Provides moisture and richness; feel free to use avocado oil as an alternative.
- Ground Cumin – Earthy warmth; this key spice beautifully complements the citrus notes.
- Dried Oregano – Offers an herbal touch; fresh oregano is a great substitute if you have it.
- Salt – Enhances flavors; adjust according to your taste preferences.
- Black Pepper – Adds a nice spice; freshly ground is best for an unforgettable flavor.
- Red Pepper Flakes (optional) – Adds heat; adjust according to your spice tolerance.
For Garnish
- Fresh Cilantro – A touch of freshness; parsley can be an excellent alternative if you prefer.
Step‑by‑Step Instructions for Grilled Cuban Mojo Chicken Thighs with Citrus Marinade
Step 1: Make the Marinade
In a medium bowl, whisk together ½ cup of fresh orange juice, ¼ cup of fresh lime juice, and 4 cloves of minced garlic. Add ¼ cup of olive oil, 1 teaspoon of ground cumin, 1 tablespoon of dried oregano, and salt and black pepper to taste. For a spicy kick, include red pepper flakes if desired. Ensure everything is well blended, creating a vibrant marinade that embodies the flavors of the Cuban Mojo Chicken Thighs.
Step 2: Marinate Chicken
Place 4-6 bone-in, skin-on chicken thighs into a baking dish. Pour the freshly made marinade over the chicken, ensuring each piece is generously coated. Cover the dish with plastic wrap and refrigerate for at least 1 hour, though overnight is ideal for deeper flavor absorption. You’ll notice the chicken absorbing those zesty, herbaceous notes, enhancing the overall taste of your grilled chicken.
Step 3: Preheat the Grill
About 15 minutes before grilling, preheat your grill to medium-high heat, aiming for a temperature of around 375°F (190°C). While the grill heats, brush the grates with olive oil to prevent sticking. This preparation ensures that your Cuban Mojo Chicken Thighs will get a beautiful char and cook evenly, enhancing the flavors imparted by the marinade.
Step 4: Cook Chicken
Remove the marinated chicken thighs from the refrigerator and place them skin-side down on the hot grill. Grill for 6-8 minutes, or until the skin is beautifully browned and crispy. Flip the chicken and continue cooking for an additional 6-8 minutes, monitoring the internal temperature closely until it reaches 165°F (75°C). This achieves juicy, tender meat while providing that delightful grilled flavor.
Step 5: Rest and Serve
Once the chicken is grilled to perfection, remove the thighs from the grill and let them rest on a plate for about 5 minutes. This resting period allows the juices to redistribute, ensuring moist chicken after slicing. When ready to serve, garnish with freshly chopped cilantro and lime wedges for a fresh touch, enhancing the experience of the Cuban Mojo Chicken Thighs.
What to Serve with Grilled Cuban Mojo Chicken Thighs
Elevate your dining experience by pairing these flavorful chicken thighs with sides that complement their citrusy zing and aromatic spices.
-
Fluffy White Rice: The perfect base to soak up the juicy marinade and balance the vibrant flavors with its neutral taste.
-
Black Beans: Their creamy texture and earthy flavor enhances the tropical notes while adding a satisfying protein punch.
-
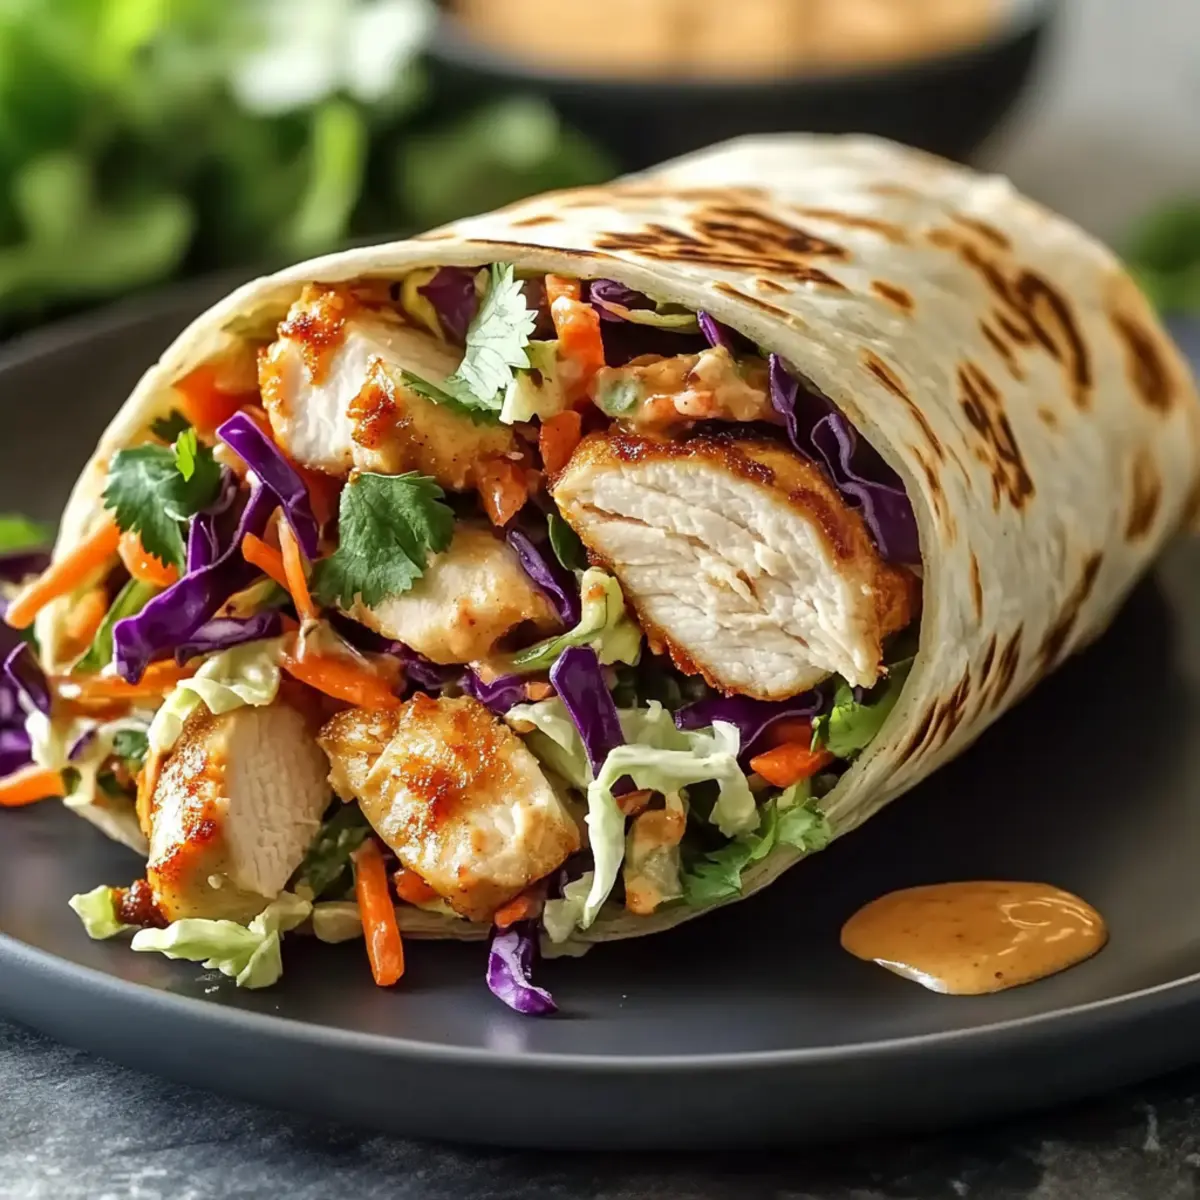
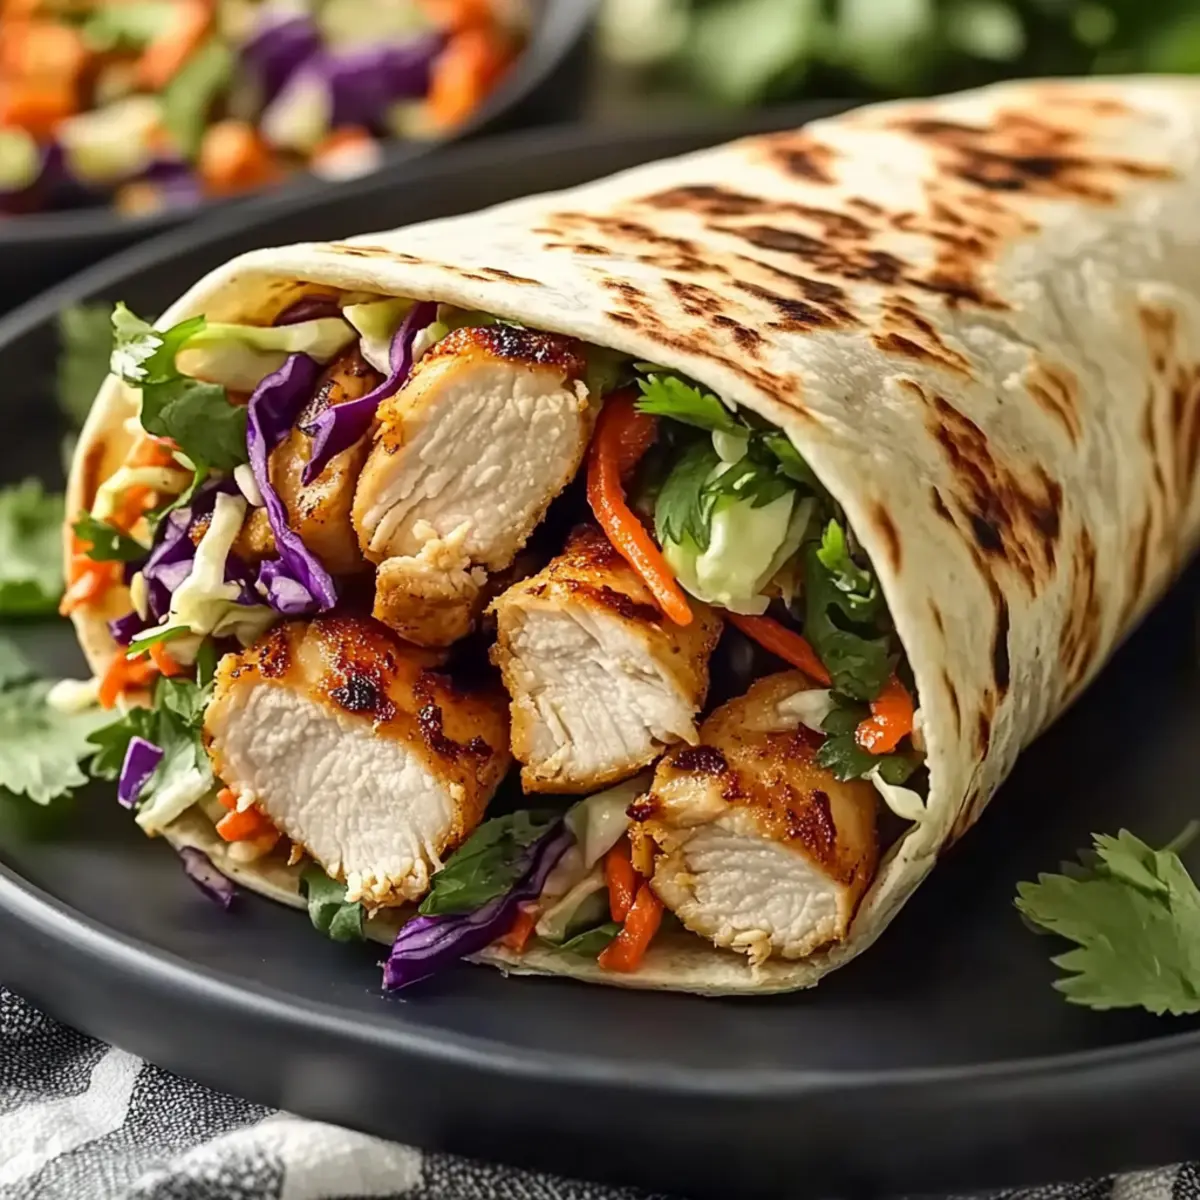
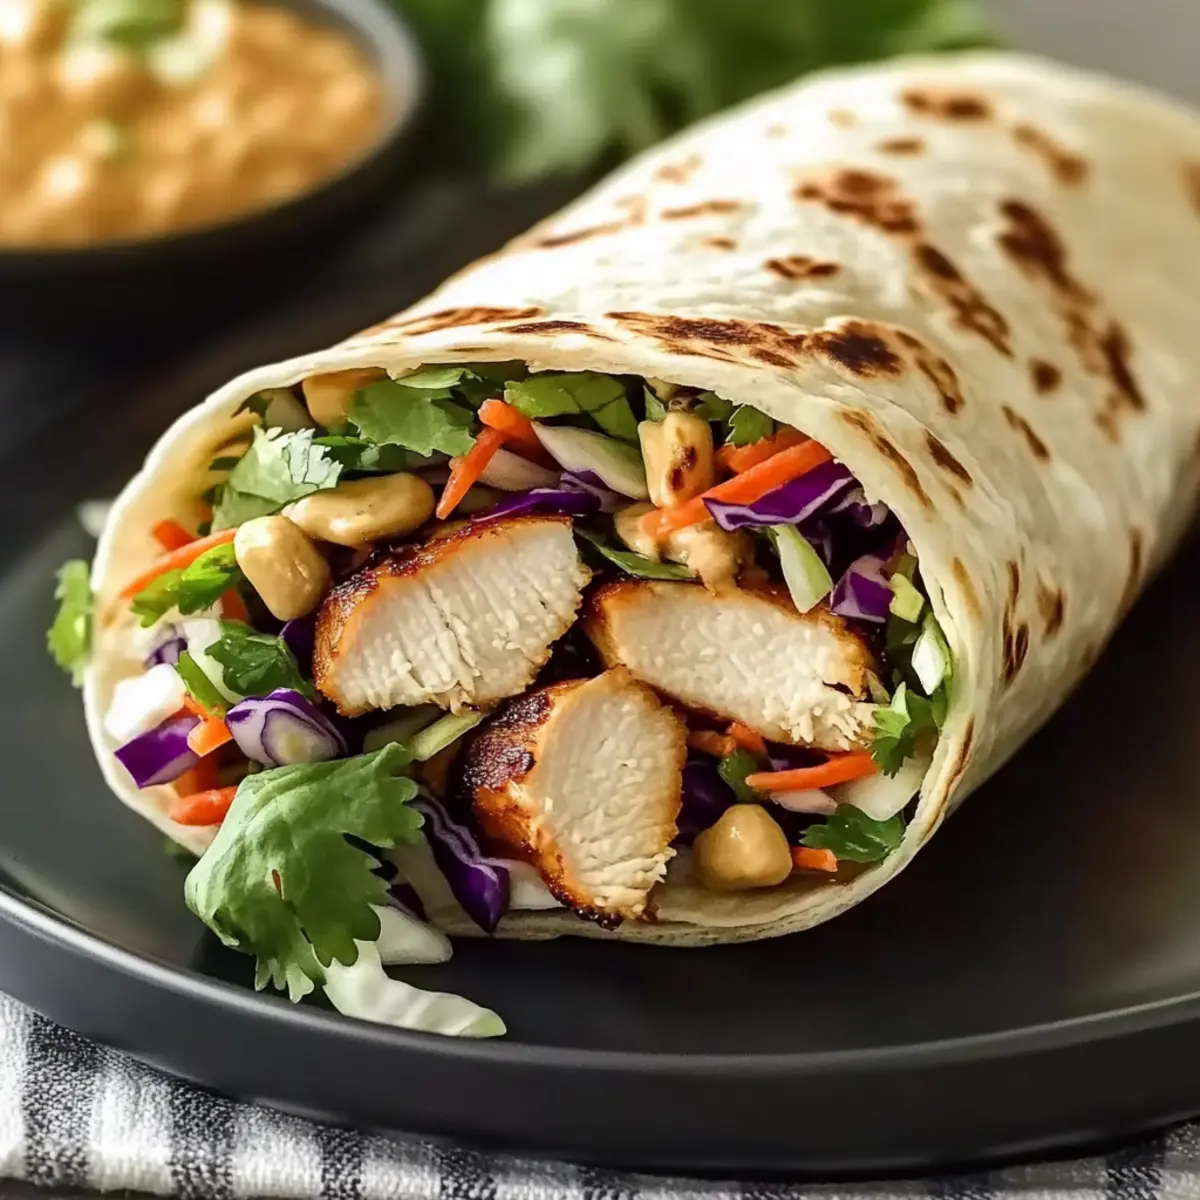
Corn Tortillas: Soft, warm tortillas perfect for wrapping the chicken, creating an enticing handheld meal that’s bursting with flavor.
-
Crisp Garden Salad: A refreshing mix of greens and colorful vegetables adds a delightful crunch and brightens each bite with a splash of vinaigrette.
-
Grilled Vegetables: Seasonal veggies like bell peppers and zucchini complement the smoky grilled chicken while introducing more color and nutrition to your plate.
-
Mango Salsa: A fruity salsa with sweet mango and zesty lime offers a delightful contrast to the savory chicken, enhancing its bright citrus notes.
-
Coconut Rice: Creamy, slightly sweet coconut rice adds a tropical twist that pairs beautifully with Cuban flavors, making every bite feel like a sunny escape.
-
Chilled Sangria: This fruity, wine-based drink is a perfect accompaniment, bringing a refreshing and festive spirit to your meal.
Make Ahead Options
These Cuban Mojo Chicken Thighs are perfect for busy weeknights when you want to save time without sacrificing flavor! You can prepare the marinade and marinate the chicken up to 24 hours in advance, allowing the zesty flavors to penetrate the meat for a delicious result. Simply whisk together the marinade and coat your chicken thighs, then cover and refrigerate. For optimal quality, store any leftover marinade separately to use as a baste while grilling. When you’re ready to cook, preheat your grill and proceed with grilling the marinated chicken. This prep-ahead strategy will have you enjoying succulent, flavorful chicken with less effort and more joy!
Cuban Mojo Chicken Thighs Variations
Embrace the joy of customizing this vibrant dish with your favorite flavors and ingredients!
-
Citrus Swap: Replace lime juice with grapefruit juice for a sweet-tart twist that adds a unique zing.
-
Herb Variance: Experiment with fresh herbs like parsley or basil for a delightful change in flavor, enhancing the dish’s freshness. These aromatic options can completely refresh the profile of your mojo!
-
Fruit Addition: Toss in diced pineapples or mangoes during marination for a tropical flavor boost that perfectly complements the chicken.
-
Heat Factor: Incorporate diced jalapeños into the marinade or add more red pepper flakes for those who love a fiery kick, elevating the heat level to your preference.
-
Smoky Flavor: For added depth, use smoked paprika instead of regular paprika in the marinade. This brings a fantastic smokiness that’s perfect for grilling.
-
Soy Sauce Twist: Add a splash of soy sauce to the marinade for an umami burst that deepens the savory notes of your chicken.
-
Allergen-Friendly: Swap out olive oil for sesame oil to cater to nut allergies while adding a unique flavor profile; it works wonders with grilled chicken!
-
Garnish Alternatives: Fresh mint leaves can be used instead of cilantro for a refreshing finish, giving an unexpected delightful addition to your Cuban Mojo Chicken.
Feel free to explore these variations to create your own signature take on this Cuban classic! If you’re interested in complementary dishes, check out our mouthwatering serving suggestions!
Storage Tips for Cuban Mojo Chicken Thighs
Fridge: Store leftover Cuban Mojo Chicken Thighs in an airtight container for up to 3-4 days. This keeps the chicken fresh and ready for quick meals.
Freezer: For long-term storage, wrap portions tightly in plastic wrap and aluminum foil before placing them in the freezer; they can last up to one month.
Reheating: When ready to enjoy, reheat in a preheated oven at 350°F (175°C) for about 20 minutes or grill on medium heat until warmed through, preserving the delicious flavors.
Thawing: Always thaw frozen chicken thighs in the fridge overnight for safe and even reheating, ensuring the juicy, tender texture stays intact.
Expert Tips for Cuban Mojo Chicken
-
Marinate Longer: Allow the chicken to marinate overnight for maximum flavor; it allows the citrus and herbs to penetrate deeper into the meat.
-
Watch the Heat: Grill at a medium-high temperature to avoid burning the skin while ensuring the chicken is cooked through; use a meat thermometer for accuracy.
-
Avoid Overcrowding: Give space between chicken thighs on the grill to ensure even cooking and that they develop that delectable char.
-
Use Fresh Ingredients: Fresh citrus juices and herbs deliver a far superior flavor compared to bottled products, enhancing your Cuban Mojo Chicken experience.
-
Rest Before Serving: Let the grilled chicken rest for at least 5 minutes before slicing to lock in moisture and maintain tenderness.
-
Customize Your Marinade: Feel free to play with spices or add seasonal fruit like mango for a sweet twist to your grilled Cuban Mojo Chicken!
Cuban Mojo Chicken Thighs Recipe FAQs
What type of chicken thighs should I use for this recipe?
Absolutely! For the best flavor and moisture, I recommend using bone-in, skin-on chicken thighs. The bones enhance the depth of flavor while the skin adds a delightful crispy texture when grilled.
How should I store leftover Cuban Mojo Chicken Thighs?
After enjoying your delicious chicken, store any leftovers in an airtight container in the refrigerator for up to 3-4 days. This helps maintain freshness and makes for convenient meal options throughout the week.
Can I freeze Cuban Mojo Chicken Thighs, and how do I do it?
Very! For long-term storage, wrap the chicken thighs tightly in plastic wrap followed by aluminum foil or place them in a freezer-safe bag. They can be frozen for up to one month. Remember to label your packaging with the date so you can keep track of how long they’ve been stored.
What if my chicken thighs aren’t grilling evenly?
No worries! This can happen if the grill is too crowded, so make sure to leave space between each thigh to allow for even cooking and a good char. Also, watch the heat—grilling at a medium-high temperature is ideal to prevent burning the skin while ensuring the chicken cooks thoroughly.
Are there any dietary concerns I should consider?
Yes! If you’re cooking for individuals with allergies, always ensure that your spice selections are safe for them. For example, red pepper flakes can be omitted for a milder dish. I also recommend checking all spice labels for possible allergens and substituting fresh herbs if any sensitivities exist.
How can I tell if the chicken is cooked properly?
Great question! The best way to ensure your Cuban Mojo Chicken Thighs are cooked to perfection is to use a meat thermometer. Insert it into the thickest part of the thigh and look for an internal temperature of 165°F (75°C). If you don’t have a meat thermometer, make sure the juices run clear, and the meat is no longer pink. Happy grilling!
Cuban Mojo Chicken Thighs: Grilled Citrus Bliss Awaits
Ingredients
Equipment
Method
- In a medium bowl, whisk together ½ cup of fresh orange juice, ¼ cup of fresh lime juice, and 4 cloves of minced garlic. Add ¼ cup of olive oil, 1 teaspoon of ground cumin, 1 tablespoon of dried oregano, and salt and black pepper to taste. For a spicy kick, include red pepper flakes if desired.
- Place 4-6 bone-in, skin-on chicken thighs into a baking dish. Pour the freshly made marinade over the chicken, ensuring each piece is generously coated. Cover the dish with plastic wrap and refrigerate for at least 1 hour, though overnight is ideal.
- Preheat your grill to medium-high heat, aiming for around 375°F (190°C). Brush the grates with olive oil to prevent sticking.
- Remove the marinated chicken thighs from the refrigerator and place them skin-side down on the hot grill. Grill for 6-8 minutes, or until the skin is browned and crispy. Flip the chicken and continue cooking for an additional 6-8 minutes until it reaches 165°F (75°C).
- Once grilled to perfection, remove the thighs from the grill and let them rest for about 5 minutes. Garnish with freshly chopped cilantro and lime wedges before serving.