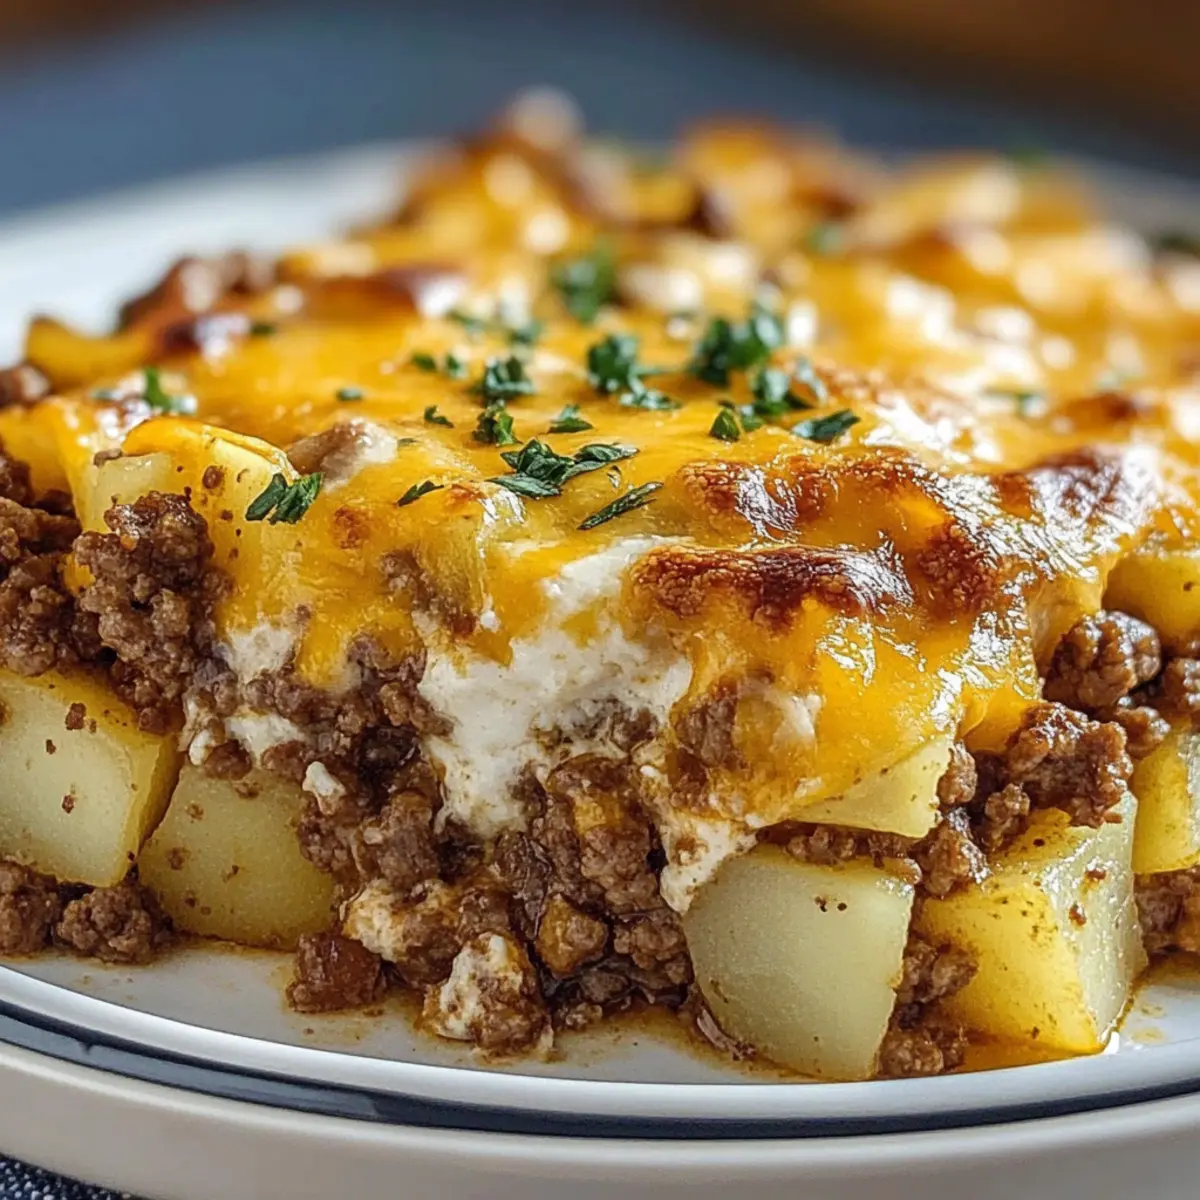
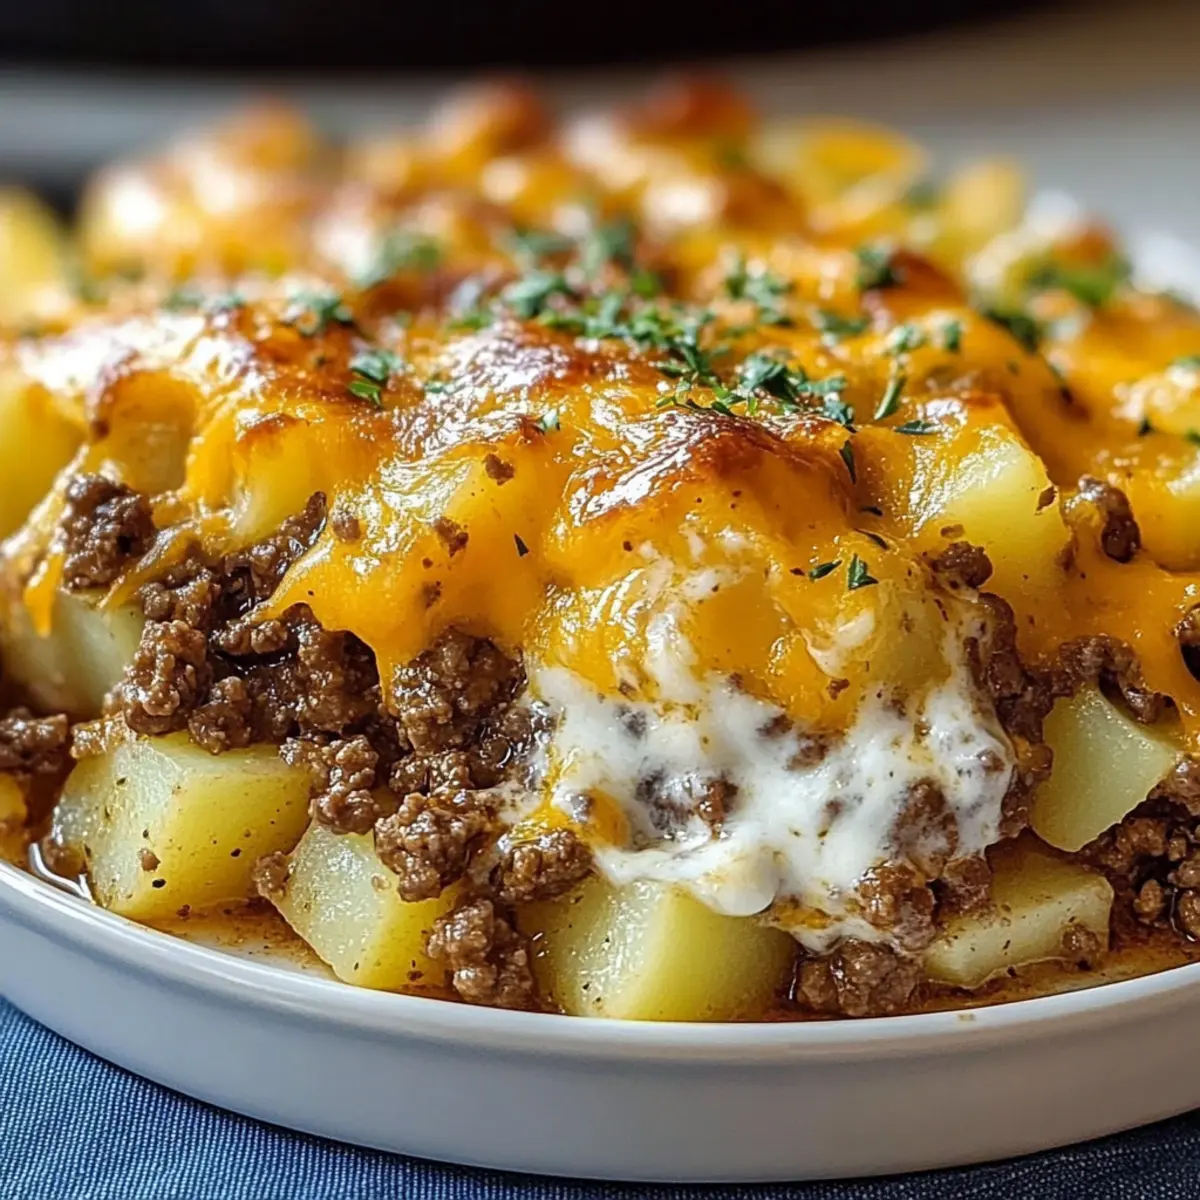
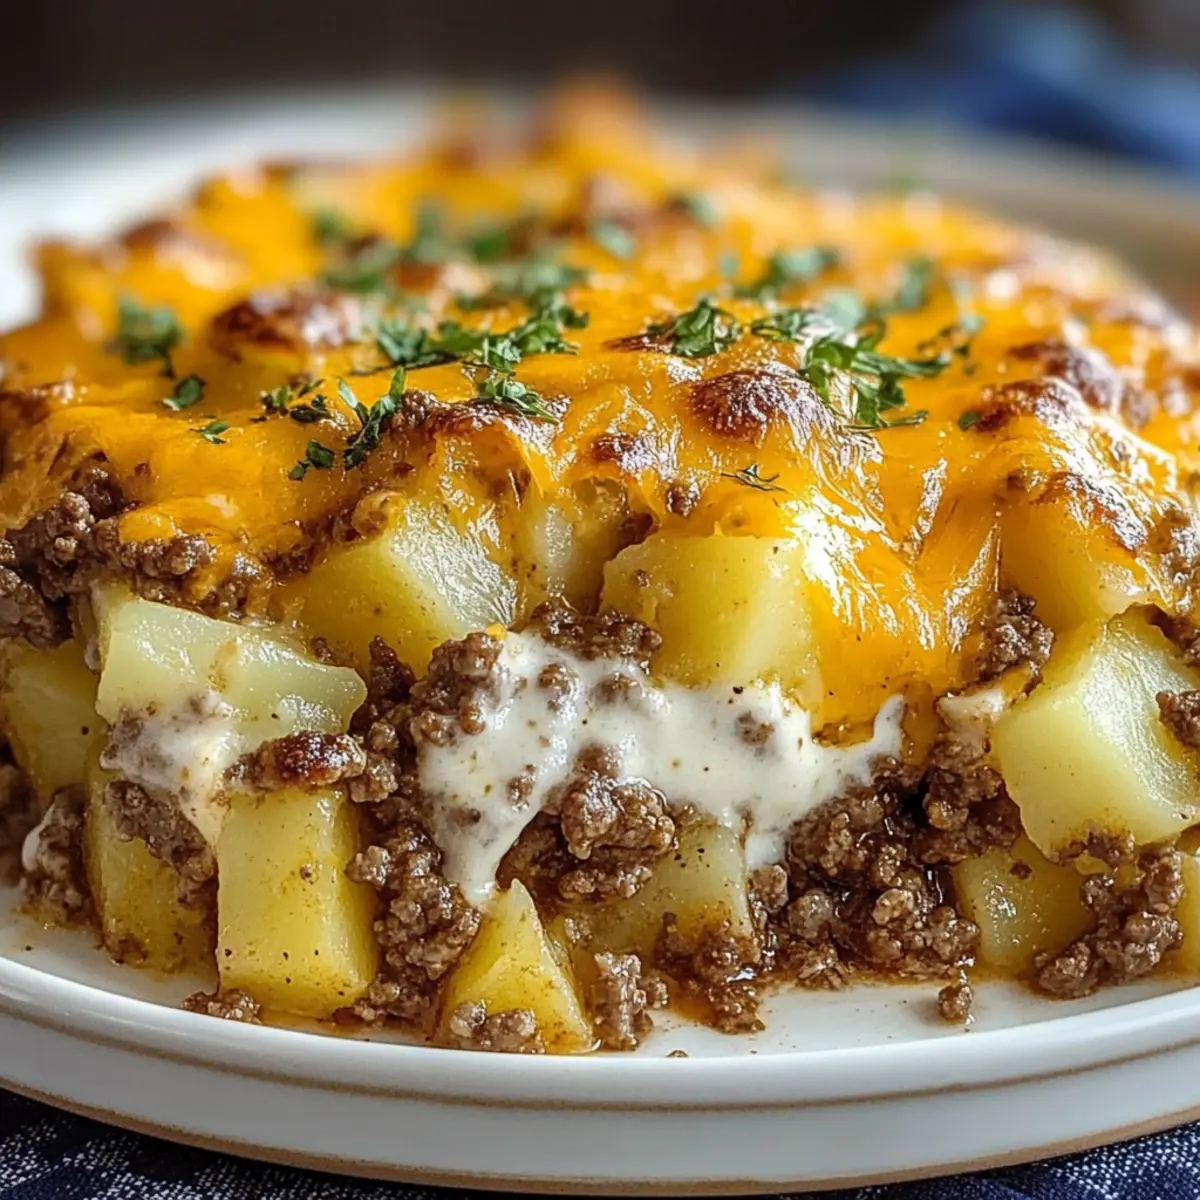
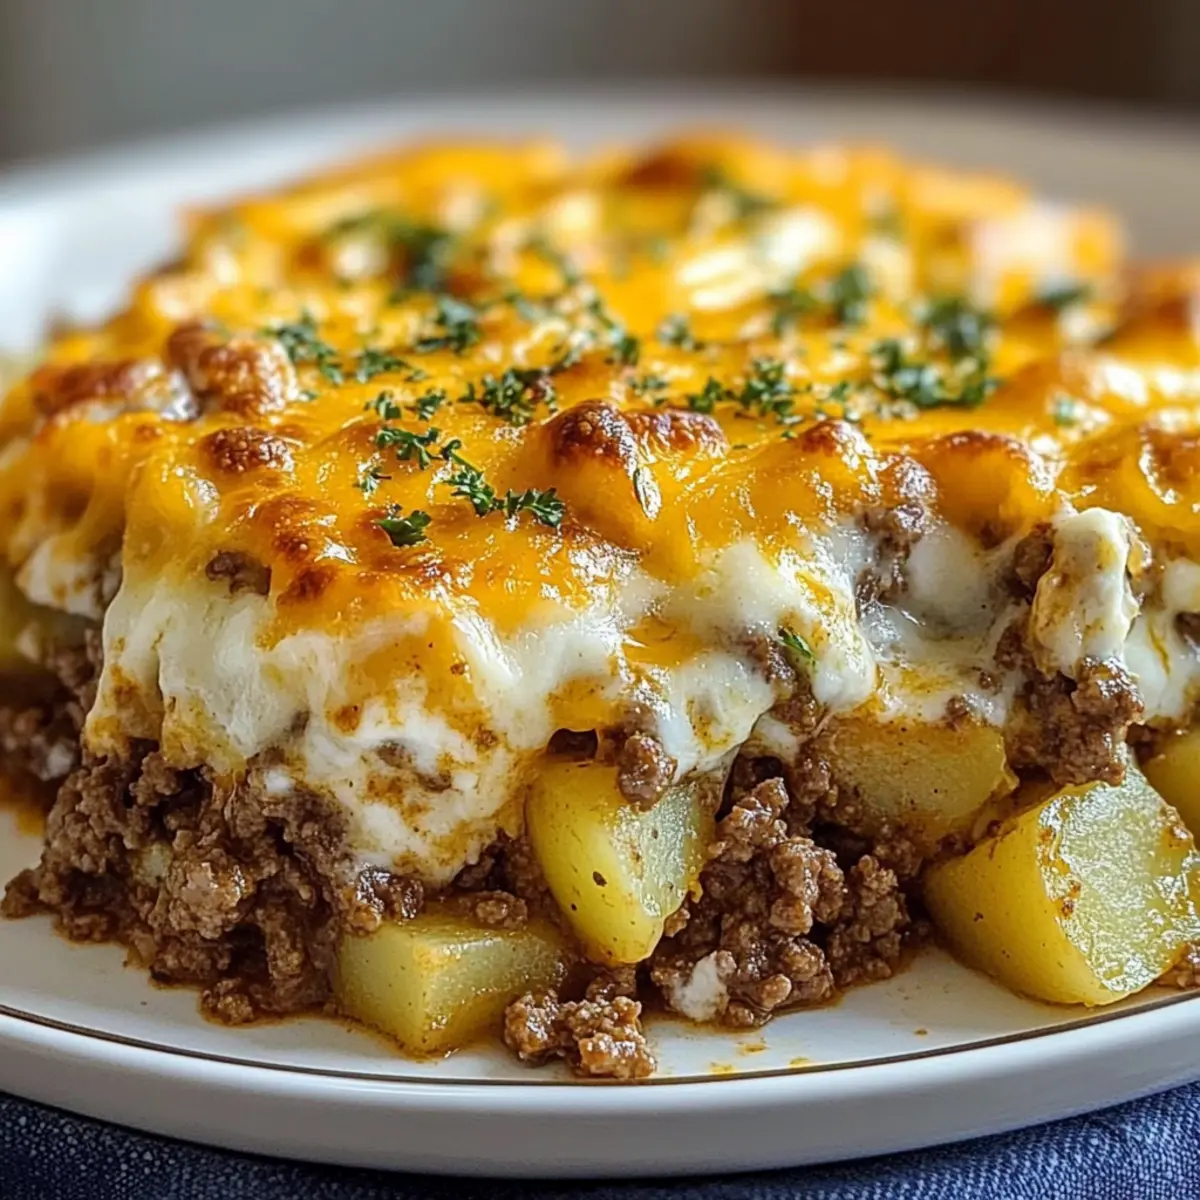
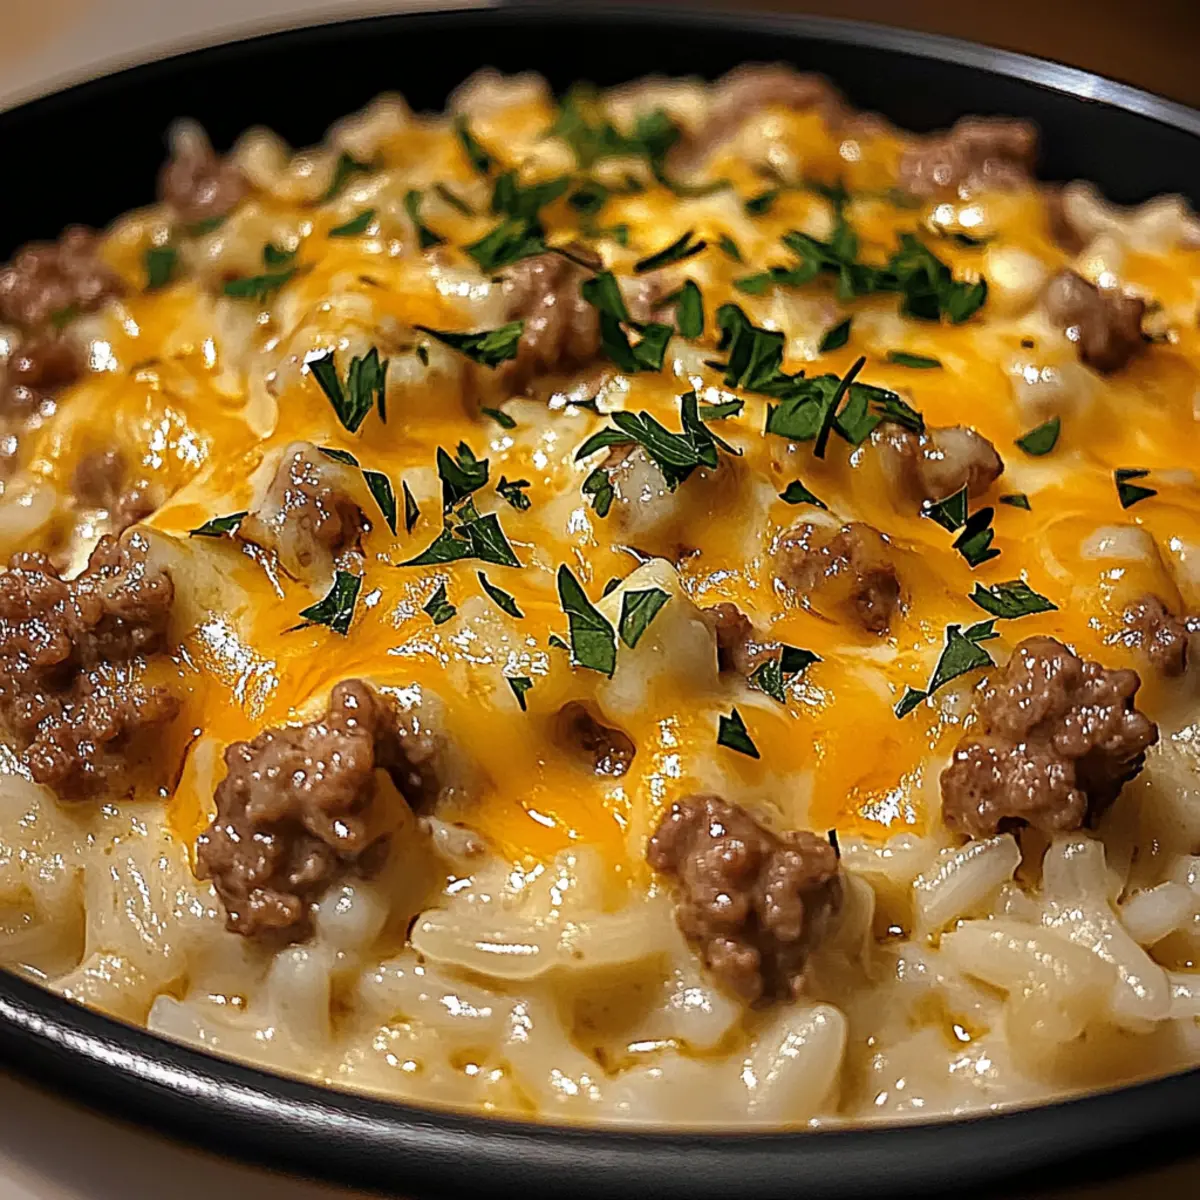
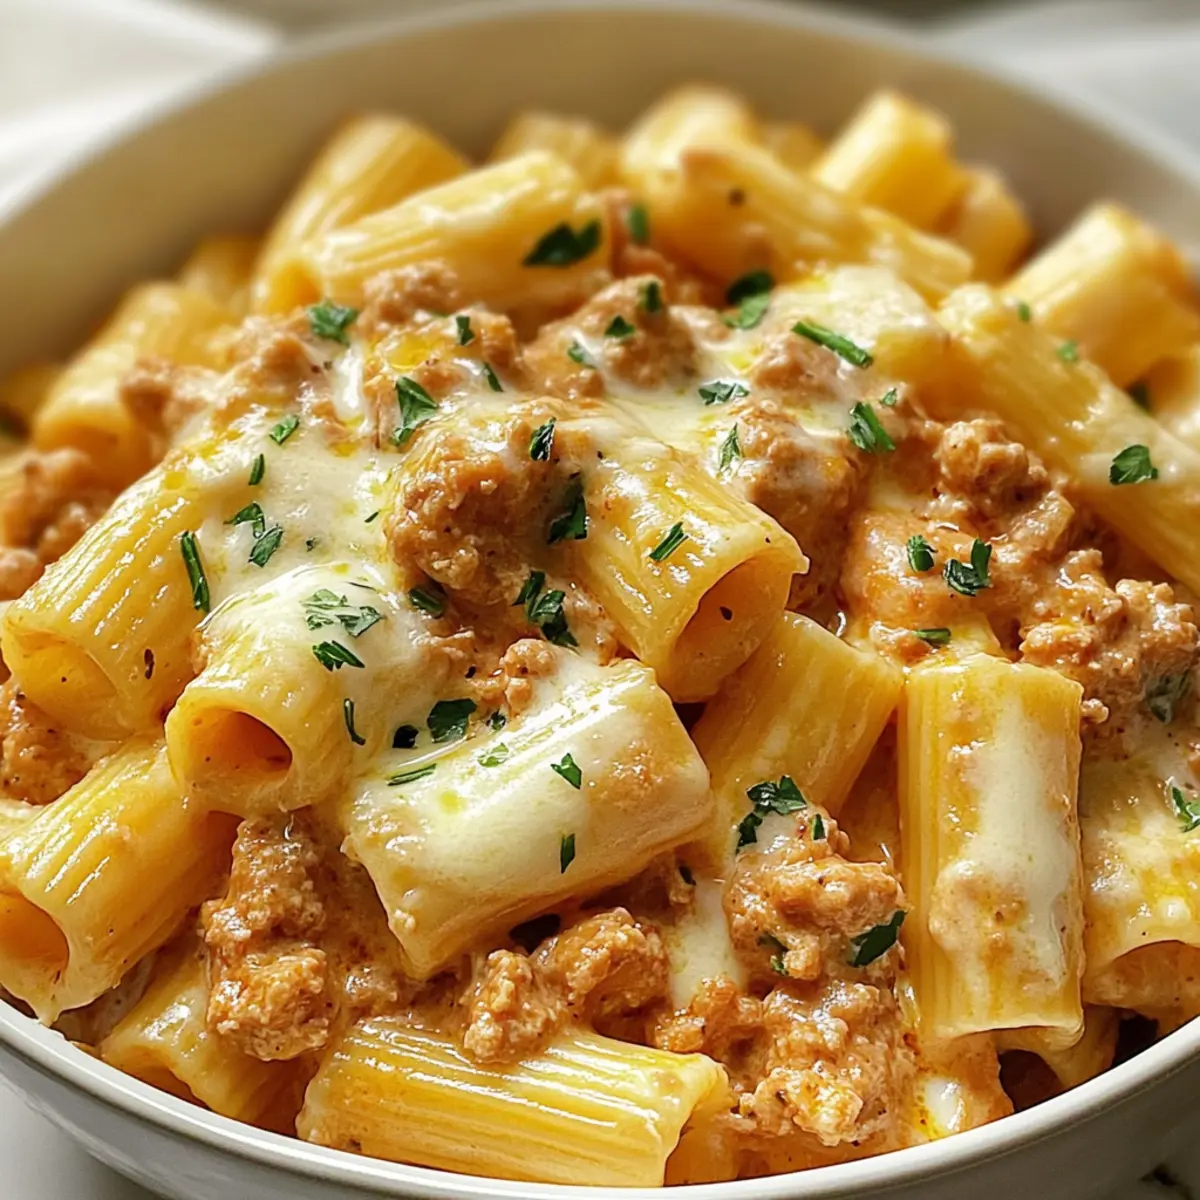
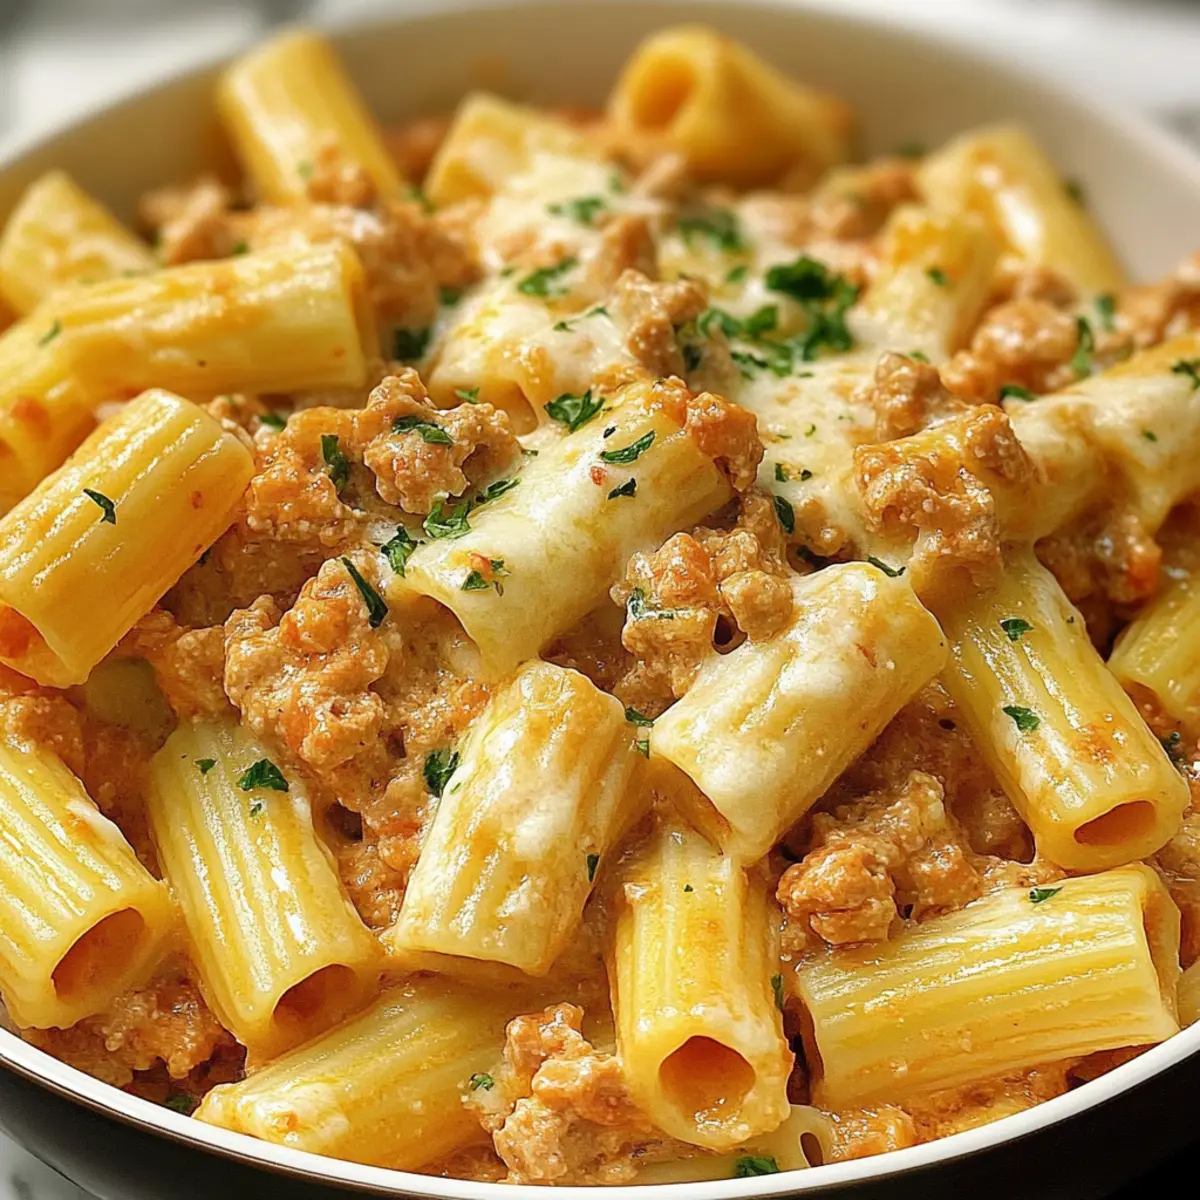
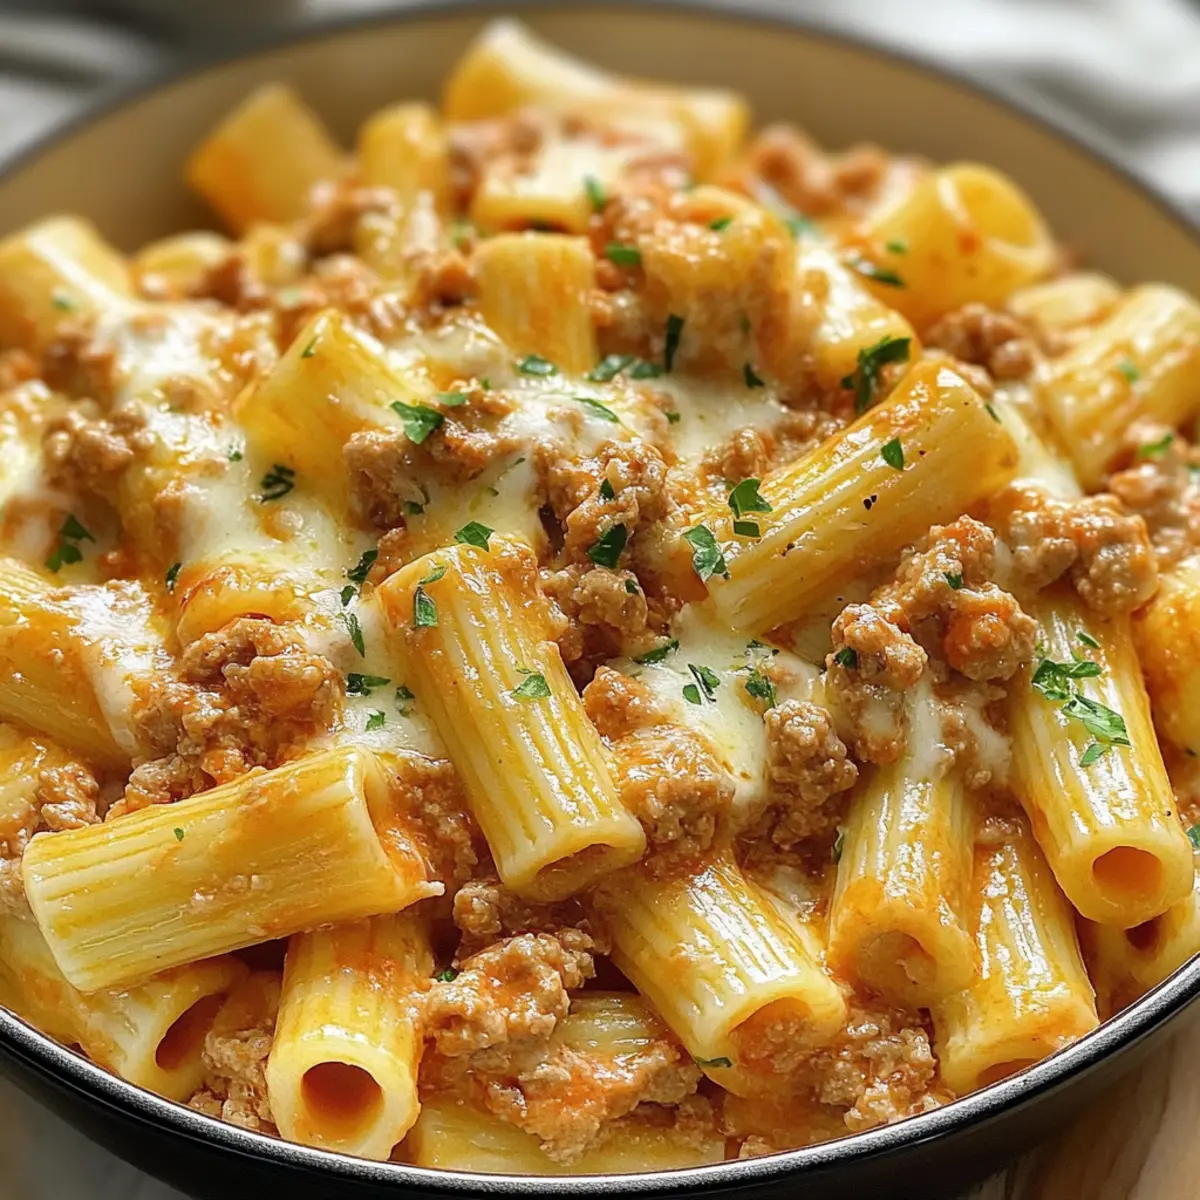
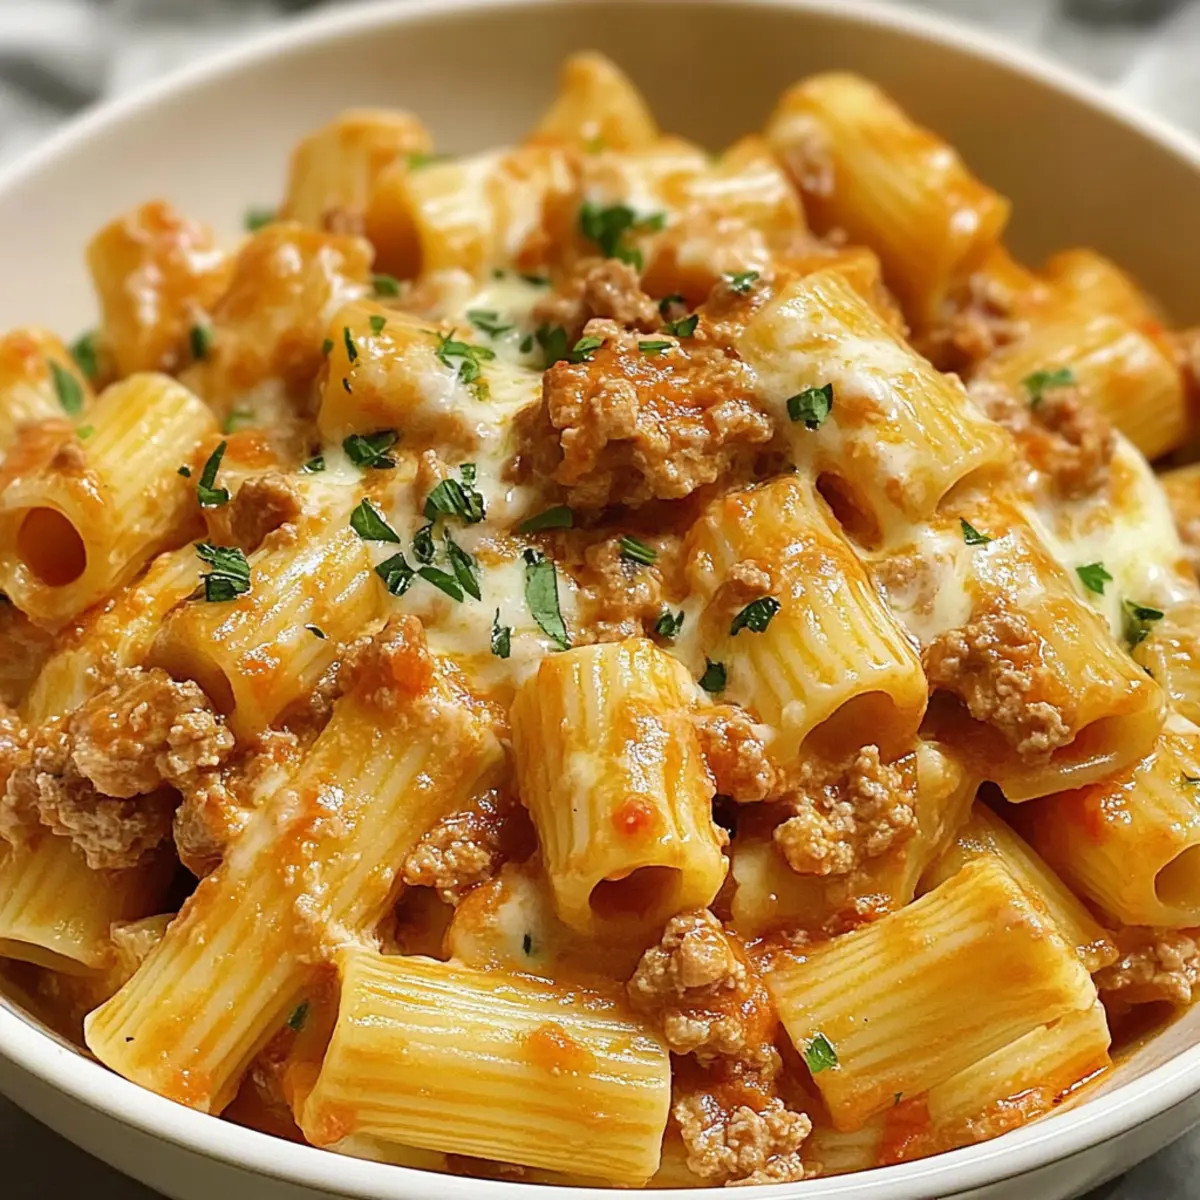
As I stirred the creamy delight in the skillet, a wave of nostalgia hit me—the kind that transports you back to endless summer nights, indulgent burgers, and carefree laughter. This Loaded Cheeseburger Alfredo Pasta takes all those cherished flavors and folds them into a single, heartwarming dish that’s ready in just 30 minutes. Whether you’re seeking a quick dinner option or an indulgent comfort food fix, this cheesy pasta dish marries the beloved cheeseburger experience with velvety, rich sauce and tender pasta. With rich ground beef and crispy bacon making an appearance, it’s a meal the whole family will crave again and again. Are you ready to whip up some nostalgia in the kitchen?
Why is Loaded Cheeseburger Alfredo Pasta a Must-Try?
Indulgent Comfort Food: This dish marries your favorite cheeseburger flavors with creamy, cheesy pasta, making it an irresistible indulgence.
Quick and Easy: Whip this up in just 30 minutes—perfect for busy weeknights or when fatigue hits, and you need an effortless meal.
Crowd-Pleasing Flavor: The combination of rich ground beef, melted cheese, and crispy bacon is sure to impress everyone at the table.
Versatility: Customize it for your taste—add veggies for a nutritious boost or switch up the cheese for a unique twist. It’s like having a delicious cheeseburger in pasta form!
Mouthwatering Experience: Each bite bursts with flavor, creating a creamy texture that feels luxurious yet comforting, just like a diner favorite. Pair it with a side salad or some garlic bread for a complete dinner experience. Whether paired with Cajun Steak Alfredo or Cajun Sausage Pasta, it’s a meal that will become a staple in your kitchen!
Loaded Cheeseburger Alfredo Pasta Ingredients
For the Pasta
• Pasta (penne, rotini, or elbow macaroni) – Acts as the dish’s base, ensuring it holds the creamy sauce well.
For the Meat
• Ground Beef – Provides protein and a meaty flavor base; use half lean and half fatty for extra juiciness.
• Salt – Enhances flavor; adjust to taste based on dietary requirements.
• Black Pepper – Adds a mild heat; freshly ground is preferred for more flavor.
• Garlic Powder – Contributes savory depth; fresh minced garlic can be substituted but may alter texture.
• Onion Powder – Adds sweetness and aroma; fresh worked onions can also be used.
For the Sauce
• Heavy Cream – Provides richness and creaminess; can be substituted with half-and-half for a lighter version.
• Beef Broth – Adds depth and richness; vegetable broth can be used for a lighter flavor.
• Shredded Cheddar Cheese – The primary cheese giving that iconic cheeseburger flavor; other options include mozzarella or gouda.
• Grated Parmesan Cheese – Adds sharpness and enhances creaminess; queso fresco could be an alternative.
• Worcestershire Sauce – Adds umami and depth; soy sauce can be used in its absence.
• Dijon Mustard – Provides tang and brightness; yellow mustard works as a substitute.
• Smoked Paprika – Offers a warm, smoky flavor; paprika can replace it, though without the smokiness.
• Red Pepper Flakes (optional) – Adds heat; omit for a milder dish or add diced jalapeños for more spice.
• Butter – Enhances rich flavor and helps in sauce creation; use olive oil for a different flair.
For Garnish
• Chopped Pickles – Provides crunch and acidity, echoing cheeseburger toppings.
• Crispy Bacon Bits – Adds texture and smoky flavor; cook bacon until crispy for best results.
• Fresh Parsley – Adds color and freshness; replace with fresh chives for a different herbaceous note.
With this Loaded Cheeseburger Alfredo Pasta ingredients list, you’re just moments away from creating a comforting meal that will make your taste buds sing!
Step‑by‑Step Instructions for Loaded Cheeseburger Alfredo Pasta
Step 1: Cook the Pasta
Begin by boiling a large pot of water over high heat. Add a generous pinch of salt before tossing in your pasta of choice—penne, rotini, or elbow macaroni. Cook according to package instructions until al dente, typically about 8-10 minutes. Once done, drain the pasta in a colander and set aside, allowing the steam to escape while you prepare the loaded cheeseburger alfredo sauce.
Step 2: Brown the Ground Beef
In a large skillet over medium heat, add the ground beef. Season generously with salt, black pepper, garlic powder, and onion powder. Use a spatula to break the beef into smaller pieces while it cooks, about 5-7 minutes, until it’s browned and cooked through. Be sure to drain any excess fat before moving to the next step for a lighter sauce.
Step 3: Create the Sauce Base
With the cooked ground beef still in the skillet, lower the heat to medium-low. Add the butter, heavy cream, and beef broth, stirring well to combine. Incorporate Worcestershire sauce, Dijon mustard, smoked paprika, and optional red pepper flakes, creating a rich and flavorful base. Simmer for about 2-3 minutes, allowing the ingredients to meld and the sauce to start thickening slightly.
Step 4: Add the Cheeses
Gradually mix in the shredded cheddar and grated Parmesan cheese, stirring continuously to ensure they melt evenly. This step is crucial for achieving a smooth, creamy texture in your loaded cheeseburger alfredo. Cook on low heat for another 2-3 minutes until the cheeses are fully melted and incorporated, transforming your sauce into a delicious, cheesy delight.
Step 5: Combine Pasta and Sauce
Gently fold the cooked pasta into the cheesy sauce, making sure each piece is well-coated. Allow the mixture to simmer for an additional 2-3 minutes over low heat, so the pasta absorbs some of the flavors while heating through. The result will be a luxurious loaded cheeseburger alfredo pasta that teases your taste buds.
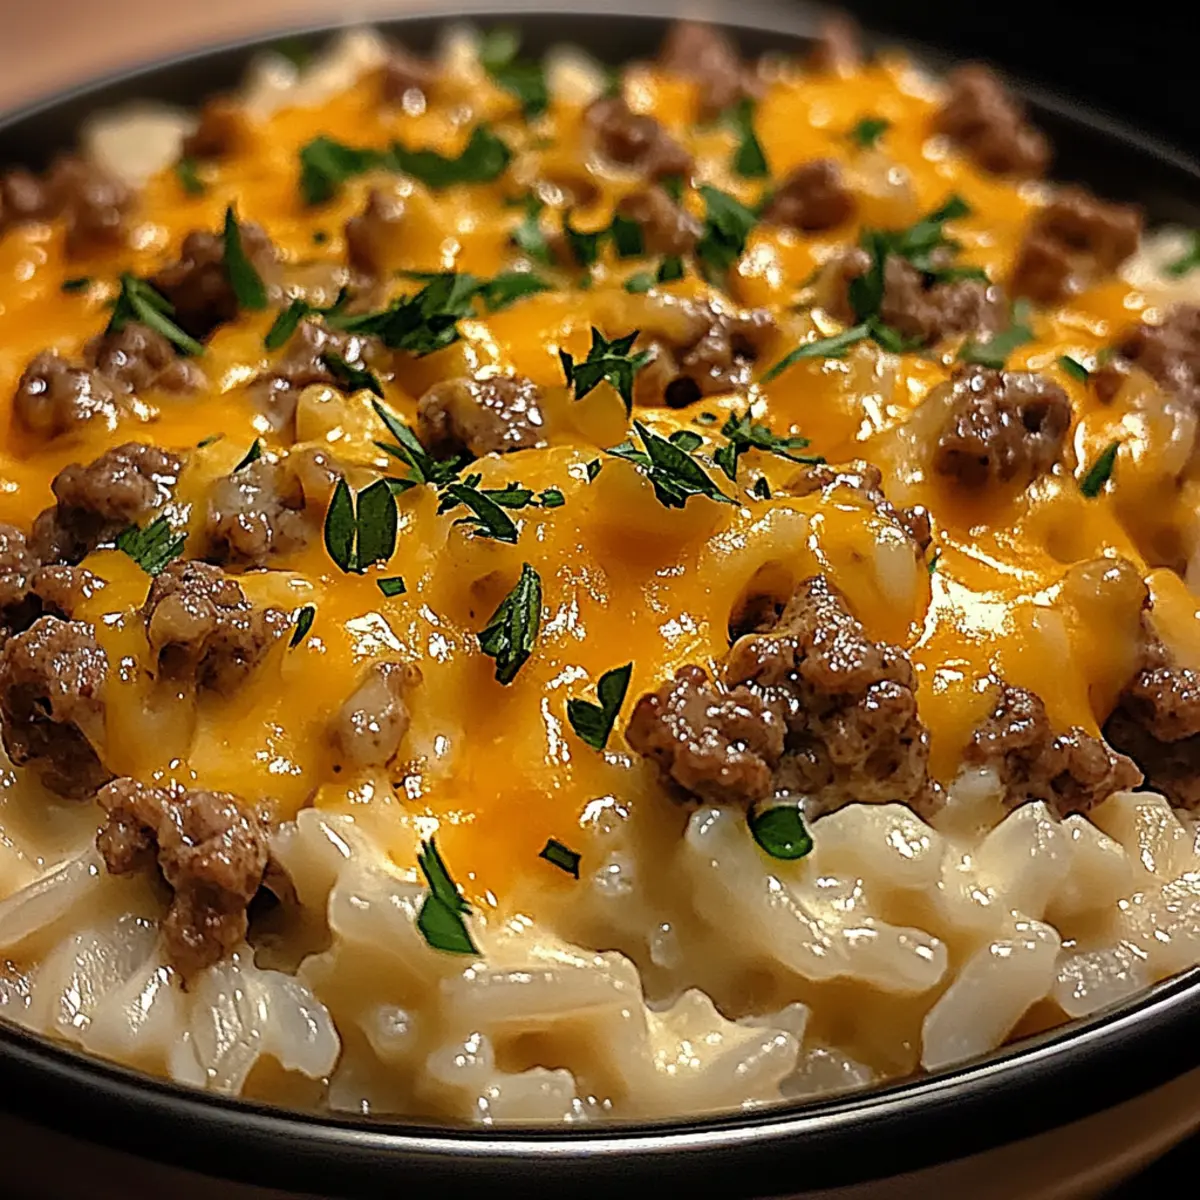
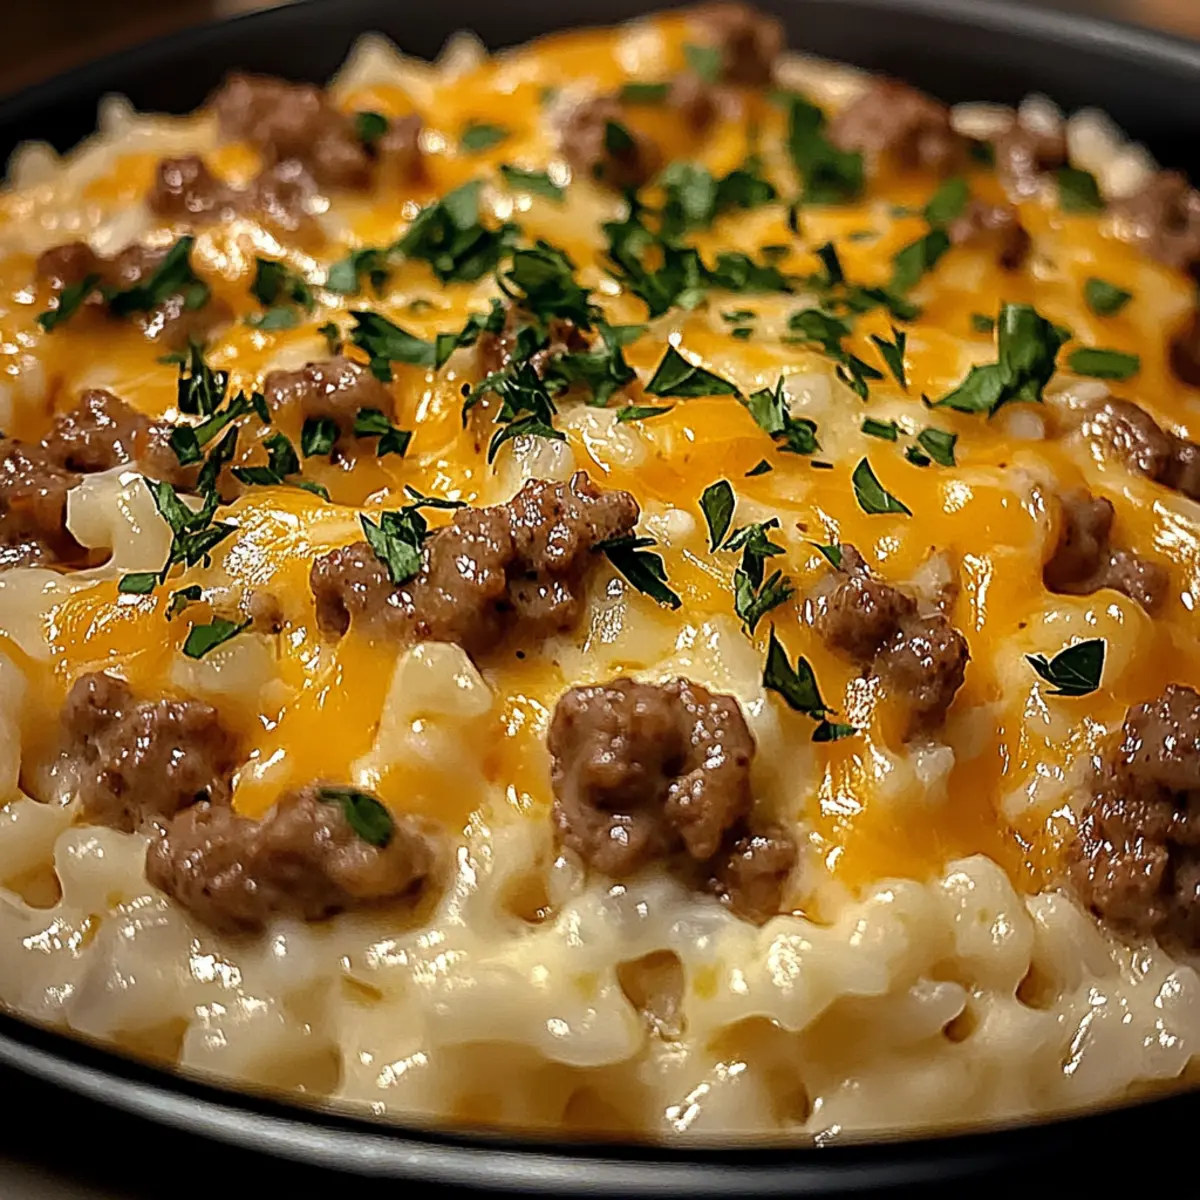
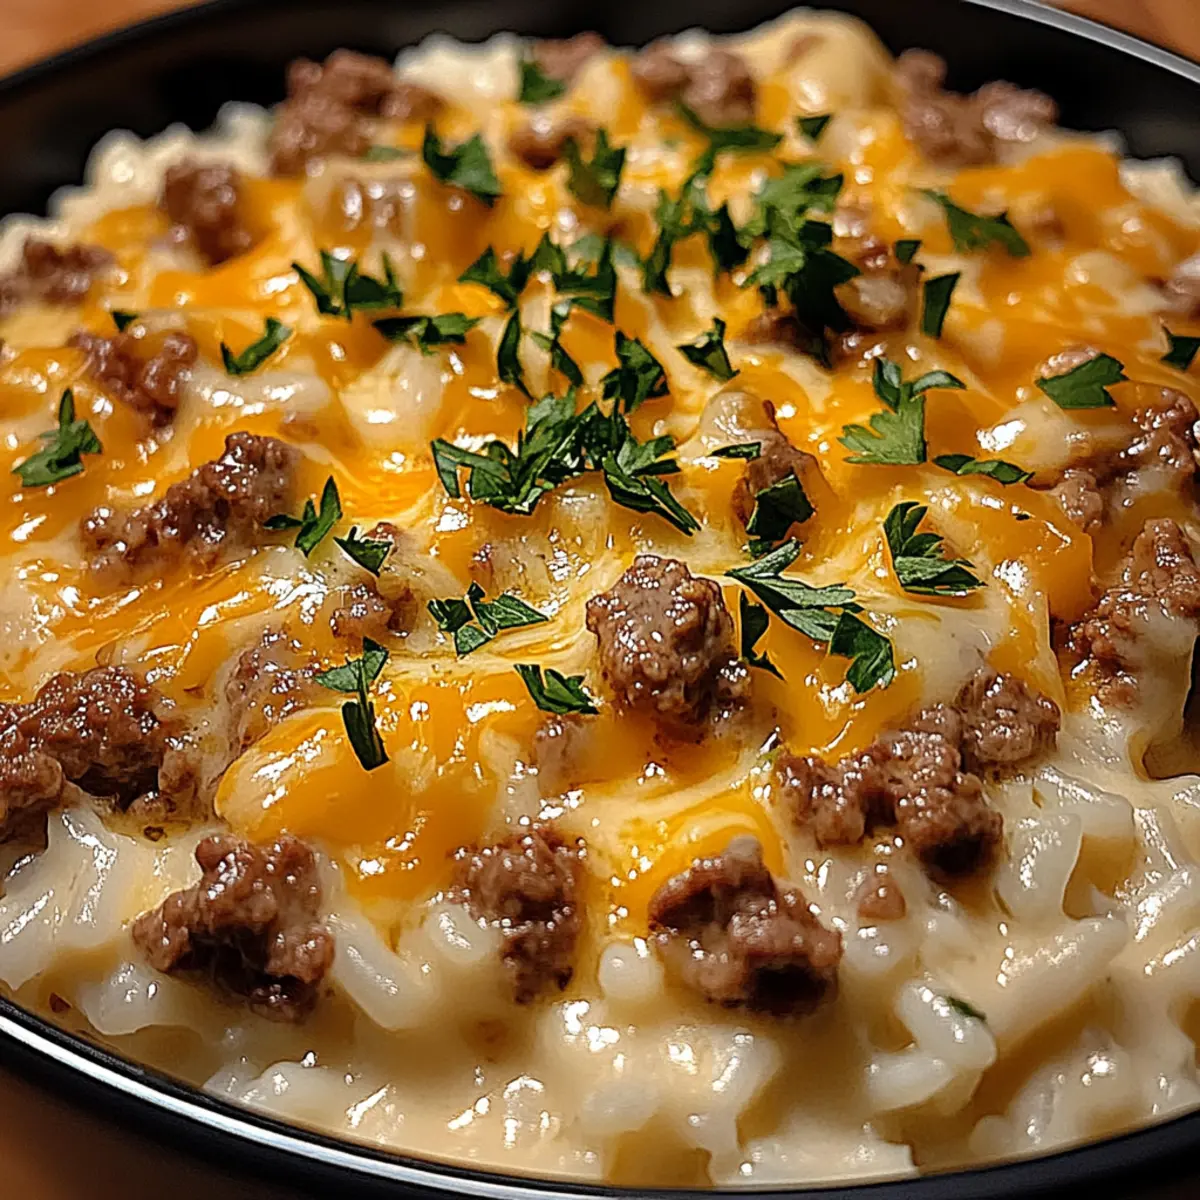
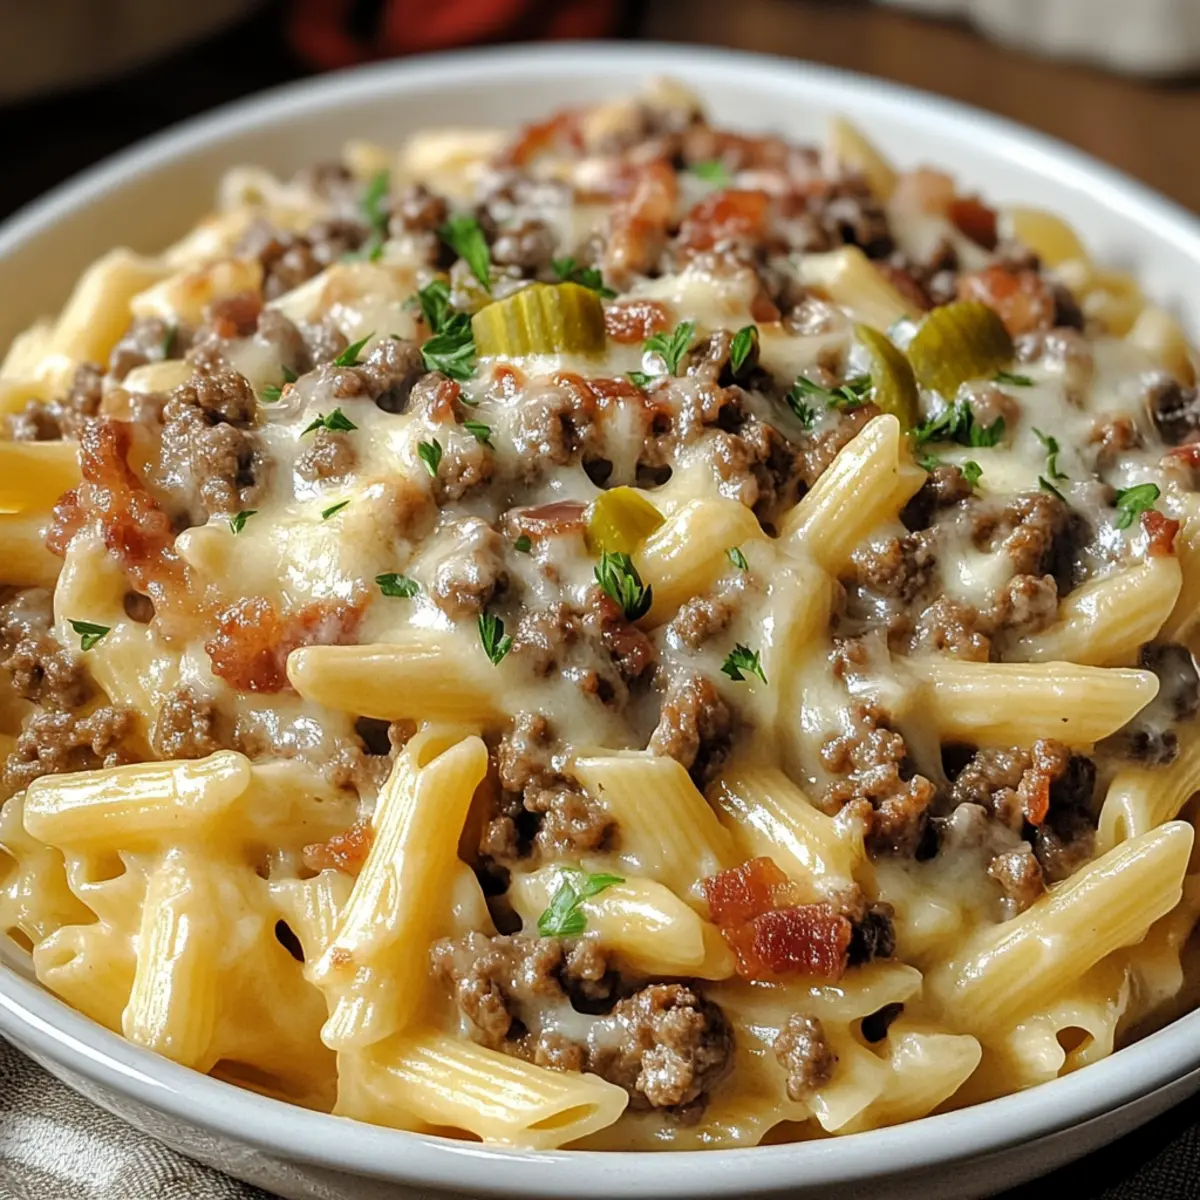
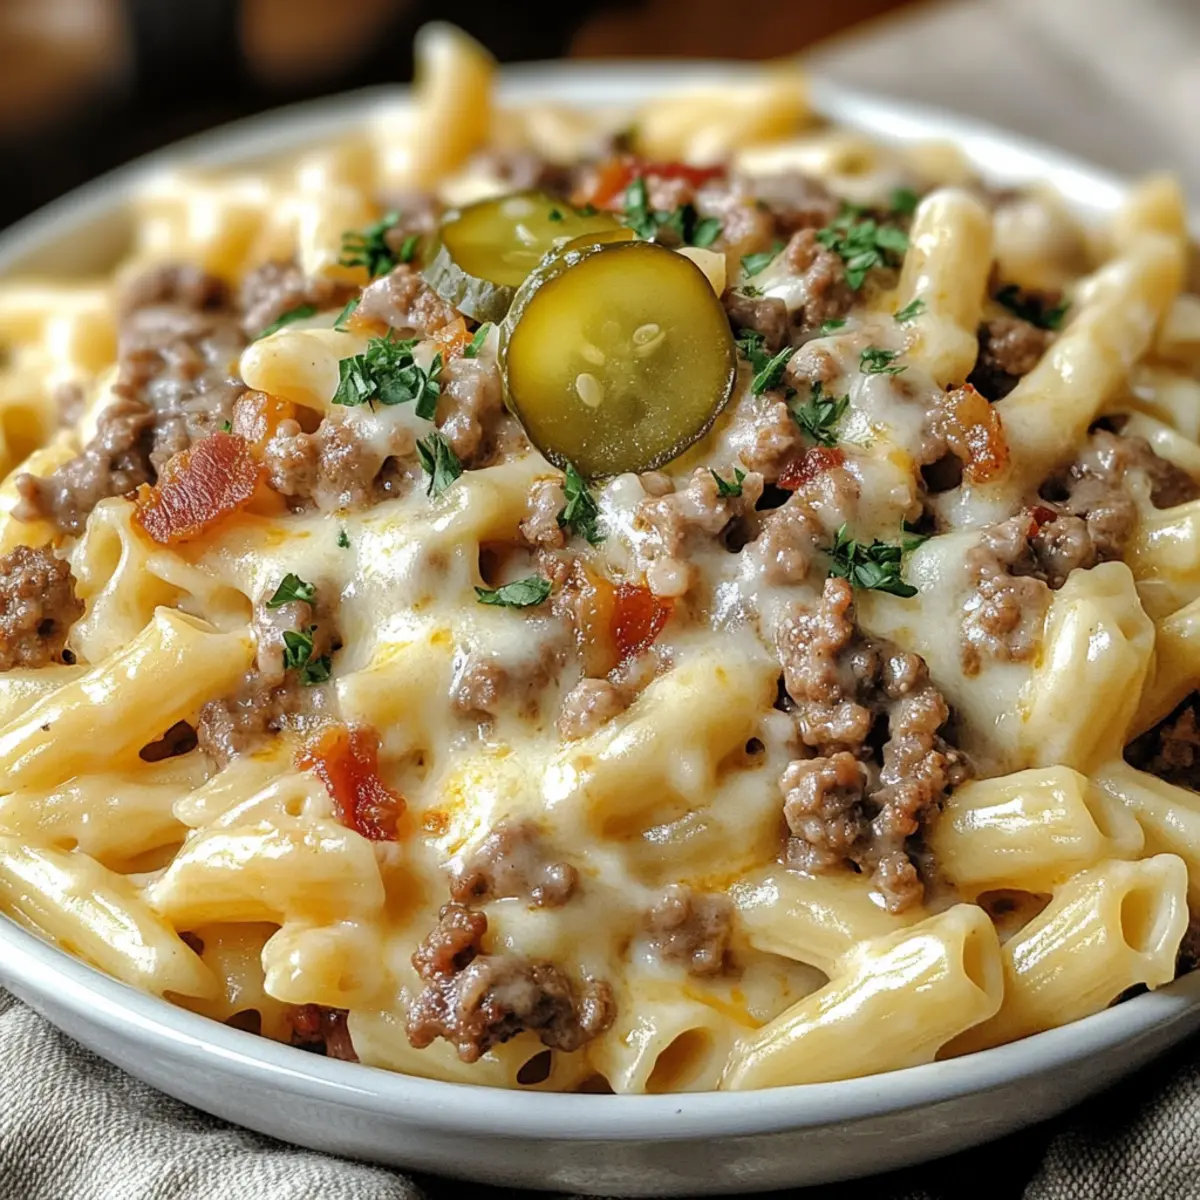
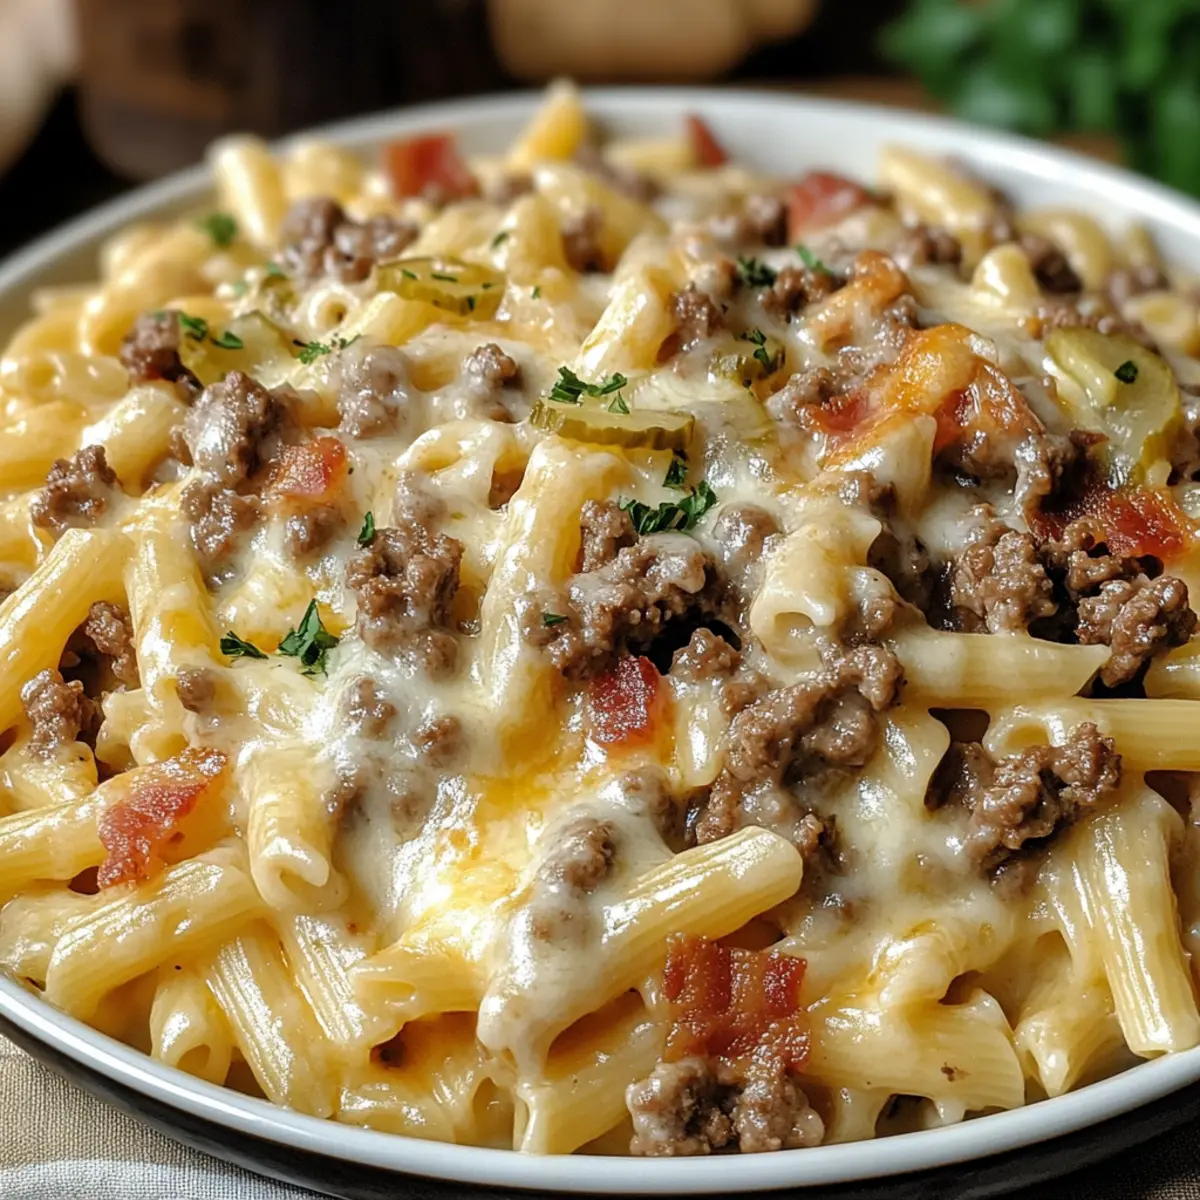
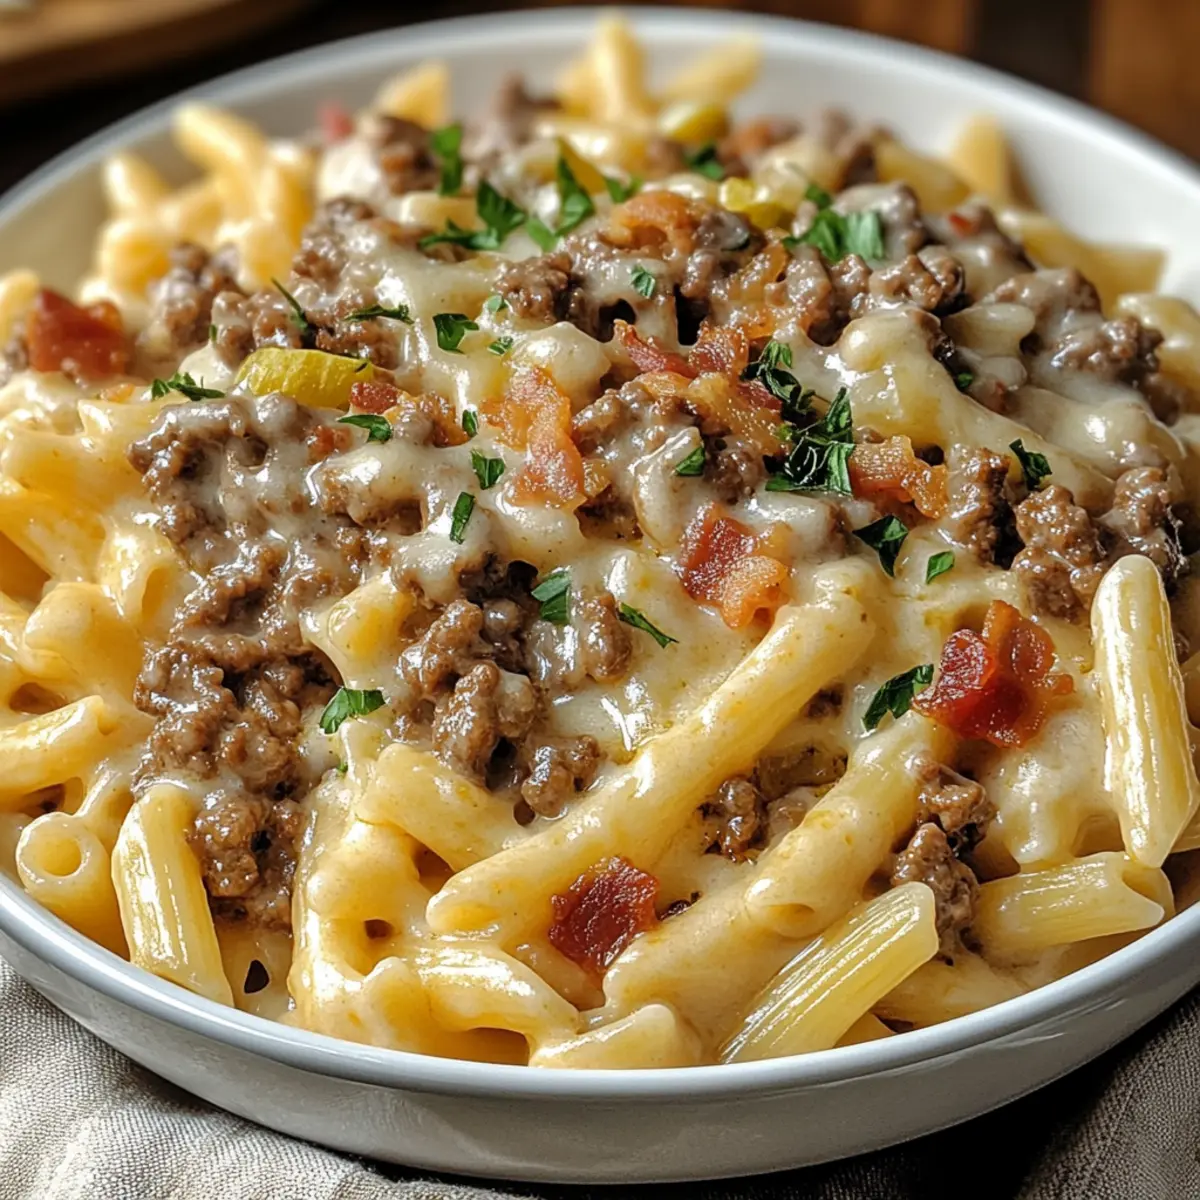
Step 6: Garnish and Serve
Once fully combined, remove the skillet from heat and transfer the loaded cheeseburger alfredo pasta to a serving bowl or individual plates. Top generously with chopped pickles, crispy bacon bits, and a sprinkle of fresh parsley for an added pop of color. Serve hot and dig into this comforting, indulgent meal that’s sure to become a family favorite!
Storage Tips for Loaded Cheeseburger Alfredo Pasta
Fridge: Store leftovers in an airtight container in the refrigerator for up to 3 days. Reheating slowly over low heat will help maintain the creamy texture.
Freezer: For longer storage, freeze the loaded cheeseburger alfredo pasta in a freezer-safe container for up to 2 months. Thaw in the fridge overnight before reheating.
Reheating: When ready to enjoy again, reheat on the stovetop over low heat, adding a splash of milk or cream to restore the saucy consistency.
Wrapping: If portioning for meal prep, consider individual servings wrapped tightly for easy access during busy weeknights!
Expert Tips for Loaded Cheeseburger Alfredo Pasta
- Perfectly Browned Beef: Ensure the ground beef is well-browned for optimal flavor; avoid overcrowding the pan to achieve a nice sear.
- Cheese Addition: Gradually add cheese off the heat to prevent clumping, resulting in a smooth, creamy Loaded Cheeseburger Alfredo Pasta.
- Pasta Cooking Time: Cook the pasta just until al dente; it will continue to cook when mixed into the sauce, preventing mushiness.
- Sauce Consistency: If the sauce thickens too much after cooking, add a splash of beef broth or cream to maintain a creamy texture.
- Garnish Ideas: Experiment with different garnishes like sliced jalapeños or your favorite burger toppings for a personalized touch on your dish.
- Storage Tips: For leftovers, store in an airtight container and heat slowly with a splash of milk or cream to restore creaminess.
Loaded Cheeseburger Alfredo Pasta Variations
Feel free to play with flavors and textures in your Loaded Cheeseburger Alfredo Pasta to make it uniquely yours!
-
Vegetarian: Replace ground beef with plant-based meat alternatives or sautéed mushrooms for a satisfying meatless version. This swap keeps the dish hearty while catering to vegetarian preferences.
-
Spicy: Add an extra kick by increasing the red pepper flakes or incorporating diced jalapeños. If you love heat, this variation will surely excite your taste buds!
-
Different Cheese: Substitute cheddar with mozzarella or gouda for a unique flavor twist. Each cheese offers a different creamy richness that can keep things interesting.
-
Add Veggies: Toss in sautéed bell peppers, spinach, or even zucchini for added nutrition and color. Not only will you enhance the meal’s visual appeal, but you’ll also bring in some healthy goodness!
-
Creamy Mushroom: Mix in sautéed mushrooms for an earthy flavor boost alongside the creamy sauce. It’s a delightful option that elevates the dish without overpowering it.
-
BBQ Twist: Drizzle some BBQ sauce into the sauce mixture for a tangy and sweet depth. It’s a fun way to combine the classic cheeseburger taste with a smoky BBQ element!
-
Gluten-Free: Use gluten-free pasta options to accommodate dietary restrictions without sacrificing taste or texture. You can enjoy this dish even if you’re avoiding gluten!
-
Cheeseburger Toppings: Top with diced tomatoes, shredded lettuce, or even avocado for a fresh burger-inspired finish that adds a crunchy texture profile, bringing a taste of authenticity to your pasta!
Whichever variation you choose, you can’t go wrong with this comforting dish that feels like a warm hug on a plate. For more comforting ideas, consider trying the delightful Cheeseburger Soup or a creamy twist with Marry Me Shrimp Pasta.
Make Ahead Options
These Loaded Cheeseburger Alfredo Pasta are a fantastic choice for meal prep, allowing you to enjoy a comforting dish on busy nights without the hassle of last-minute cooking! You can prepare the sauce up to 3 days in advance—just cook and combine all sauce ingredients, cool, and refrigerate in an airtight container. The pasta can also be cooked ahead and kept in the fridge for up to 24 hours. When you’re ready to serve, simply reheat the sauce gently on the stove, adding a splash of cream or broth for creaminess, and toss in the cooked pasta until warmed through. This way, you’ll have a delicious meal ready to enjoy with minimal effort!
What to Serve with Loaded Cheeseburger Alfredo Pasta
Elevate your cozy dinner experience with delightful sides and drinks that perfectly complement this creamy comfort dish.
- Garlic Bread: The buttery, toasted slices bring a crunchy exterior and soft, warm center, perfect for soaking up that rich Alfredo sauce.
- Caesar Salad: Crisp romaine and tangy dressing add freshness to balance the creaminess, while the crunchy croutons add delightful texture.
- Steamed Broccoli: This vibrant vegetable brings a pop of color and nutrition, offering a gentle crunch alongside the indulgent pasta.
- Sweet Potato Fries: Sweet, crispy, and slightly salty, these offer a comforting complement that echoes the flavors of a classic cheeseburger!
- Coleslaw: Creamy, tangy slaw provides a refreshing contrast that cuts through the richness of the Alfredo, making each bite a pleasure.
For drinks, consider a chilled lemonade or an ice-cold beer to wash it all down, making your meal feel like a casual weekend gathering at a beloved diner. Enjoy!
Loaded Cheeseburger Alfredo Pasta Recipe FAQs
What type of ground beef should I use for Loaded Cheeseburger Alfredo Pasta?
Absolutely! For the best flavor and juiciness, I recommend using a mixture of half lean and half fatty ground beef. This combination provides the perfect balance, ensuring your dish is rich and satisfying while still being easy to cook.
How should I store leftovers of Loaded Cheeseburger Alfredo Pasta?
For optimal freshness, store your leftovers in an airtight container in the refrigerator for up to 3 days. It’s best to reheat slowly over low heat to maintain the creamy texture. Simply add a splash of milk or cream as you warm it up to restore that luscious sauce.
Can I freeze Loaded Cheeseburger Alfredo Pasta?
Absolutely! You can freeze the Loaded Cheeseburger Alfredo Pasta in a freezer-safe container for up to 2 months. Make sure to let it cool completely before sealing. When you’re ready to enjoy it again, thaw it in the fridge overnight and then reheat it on the stovetop, adding a little milk or cream to bring back that creamy goodness!
What if my sauce is too thick when making Loaded Cheeseburger Alfredo Pasta?
If you find your sauce has become too thick while cooking, don’t worry! Simply add a splash of beef broth or cream to loosen it up, stirring gently until you achieve your desired consistency. This should help you get that smooth, velvety sauce that perfectly coats the pasta.
Are there any dietary considerations for Loaded Cheeseburger Alfredo Pasta?
Yes, certainly! If you have dietary restrictions, consider using plant-based alternatives for ground beef, such as mushrooms or a meat substitute. Additionally, those with dairy allergies can opt for lactose-free cream and cheese alternatives. Always check labels to ensure you’re accommodating any specific dietary needs or allergies!
Loaded Cheeseburger Alfredo Pasta
Ingredients
Equipment
Method
- Begin by boiling a large pot of water over high heat. Add a pinch of salt and then add the pasta. Cook until al dente, about 8-10 minutes. Drain and set aside.
- In a large skillet over medium heat, add the ground beef. Season with salt, black pepper, garlic powder, and onion powder. Break the beef into smaller pieces while cooking, about 5-7 minutes.
- Lower the heat and add butter, heavy cream, and beef broth to the skillet. Stir and incorporate Worcestershire sauce, Dijon mustard, smoked paprika, and red pepper flakes. Simmer for 2-3 minutes.
- Gradually mix in shredded cheddar and grated Parmesan cheese, stirring continuously until they melt evenly, about 2-3 minutes.
- Gently fold the cooked pasta into the sauce, allowing it to simmer for an additional 2-3 minutes to absorb the flavors.
- Remove from heat and serve topped with chopped pickles, crispy bacon bits, and fresh parsley.