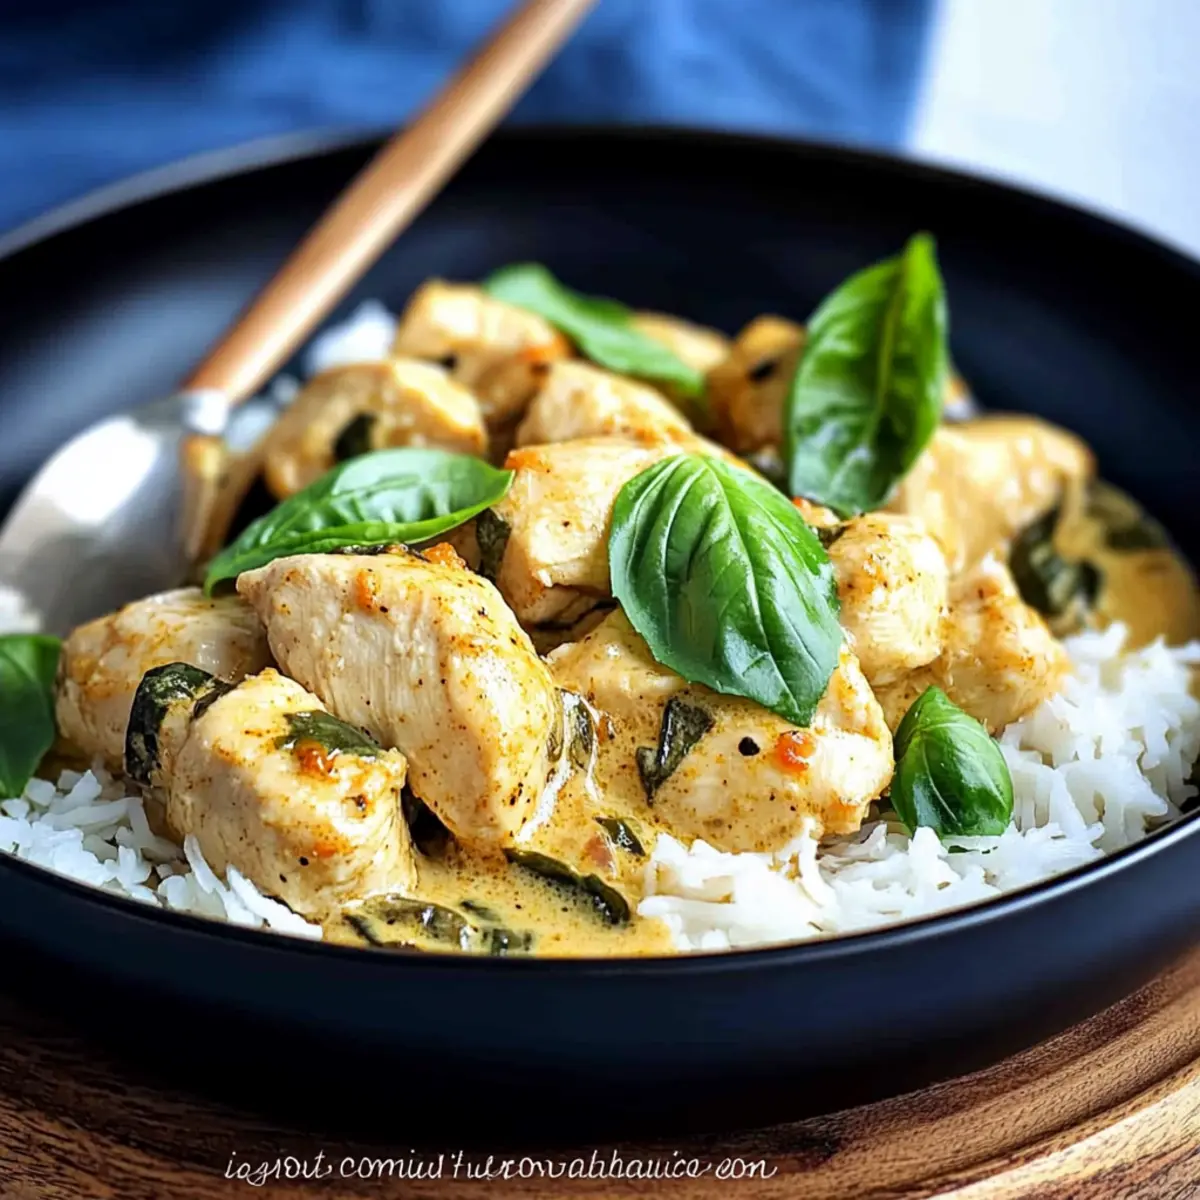
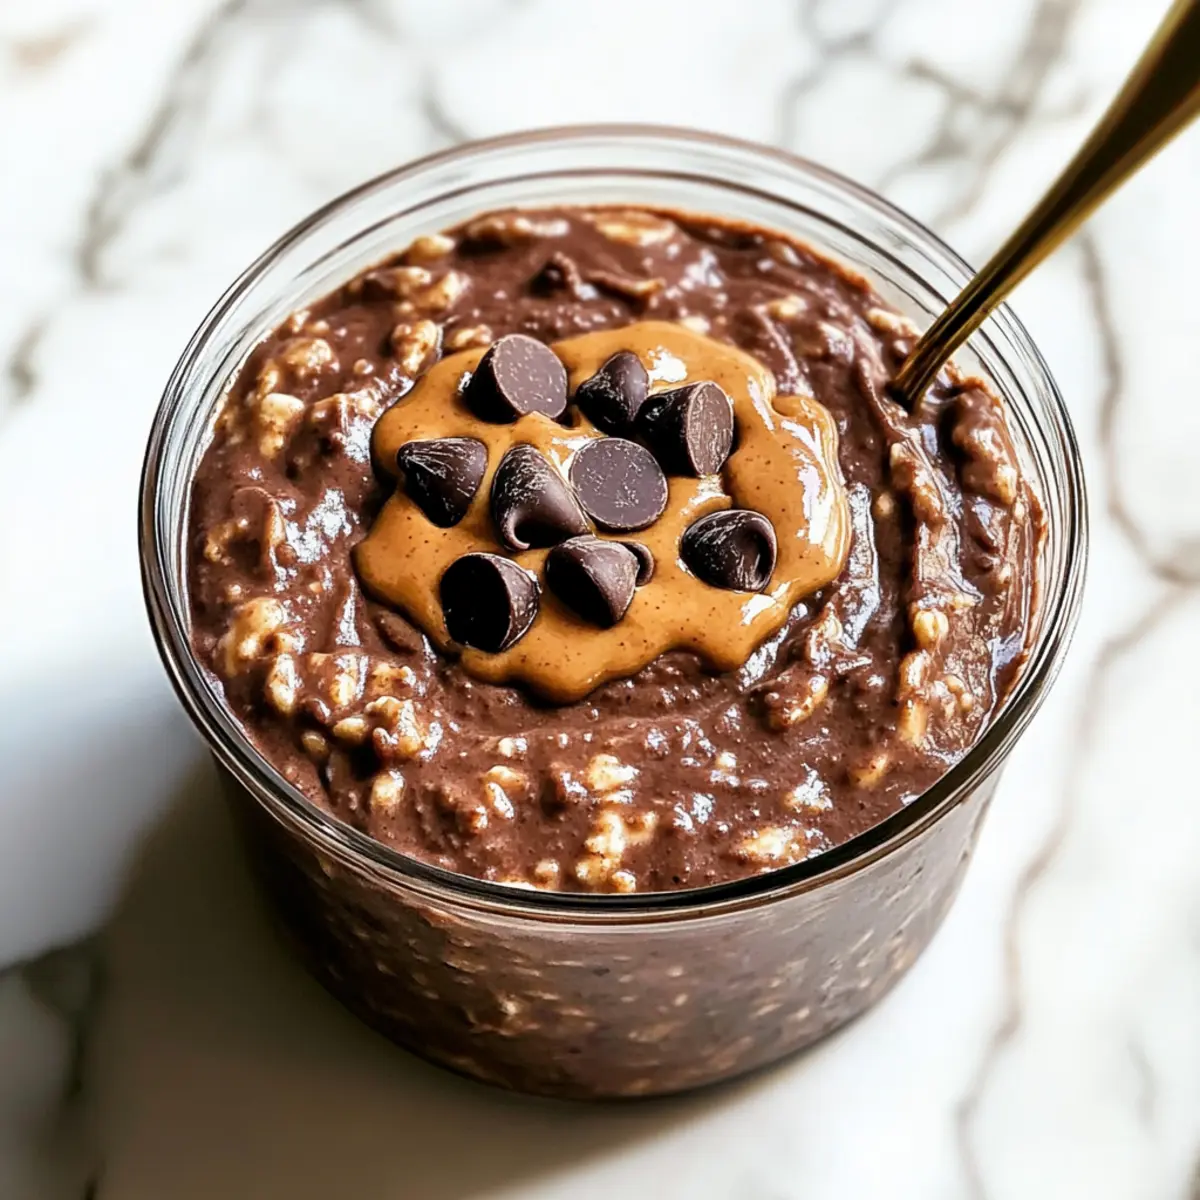
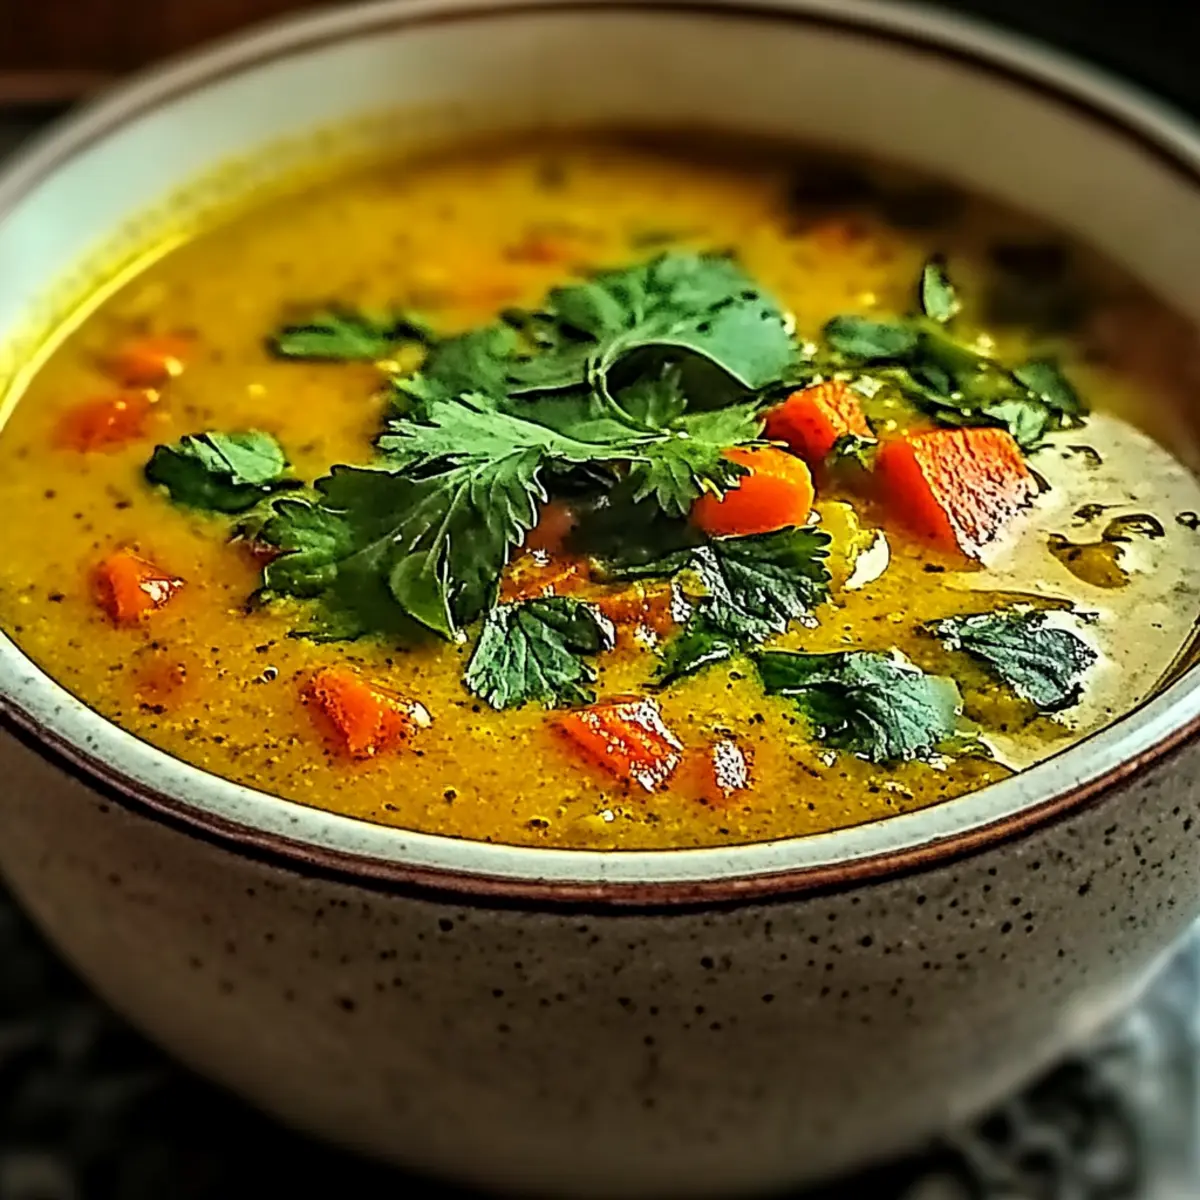
As the rain patters against the window, I find myself craving something warm and soul-soothing. Enter my Spicy Indian Mulligatawny Soup, a delightful bowl that whisks you away to a cozy corner of India with every spoonful. In just 30 minutes, this vegetarian dish combines hearty lentils and vibrant spices that not only tantalize your taste buds but also fuel your body with wholesome nutrients. It’s the perfect antidote to hectic weekdays, offering a comforting embrace while remaining quick to prepare. Whether you’re warming up after a chilly day or simply seeking a new staple, this soup can easily adapt to your pantry, allowing you to switch out vegetables and spice levels. Isn’t it nice to know you can create something so satisfying without too much fuss? Let’s explore how to whip up this comforting classic together!
Why is this soup a must-try?
Quick & Easy: Whip up this Spicy Indian Mulligatawny Soup in just 30 minutes, making it ideal for busy weeknights.
Flavor Explosion: The rich blend of lentils, spices, and creamy coconut milk delivers a robust and satisfying taste that warms both body and soul.
Nutrient-Packed: Enjoy a bowl full of goodness, bursting with vitamins and minerals from fresh vegetables like carrots and spinach.
Adaptable: This recipe is flexible—feel free to swap in your favorite veggies or adjust spice levels for a personalized touch. For other variations, check out my detailed variation ideas section for inspiration!
Crowd-Pleaser: Perfect for family dinners or gatherings; it’s a dish that everyone will love and come back for seconds.
Spicy Indian Mulligatawny Soup Ingredients
• Discover the wholesome elements of this delightful recipe.
For the Soup
- Red Lentils – Quick-cooking and creamy, they provide protein and fiber. Substitution: Yellow lentils can be used but may alter the texture.
- Carrots – Adds a touch of natural sweetness. Substitution: Sweet potatoes can provide extra richness.
- Celery – Offers a crunchy bite and fresh flavor base. Substitution: Bell peppers can be used for similar texture with a different flavor.
- Onion – Essential for depth of flavor. Note: Yellow or white onions work best.
- Garlic – Fresh garlic intensifies the flavor. Substitution: Garlic powder can be used in a pinch.
- Curry Powder – The star of the dish; adjust for desired spice levels. Note: Start with less if sensitive to spice.
- Vegetable Broth – Liquid base for the soup, combining well with lentils. Note: Both homemade and store-bought are acceptable.
- Coconut Milk – Adds creaminess and a hint of sweetness. Substitution: Light coconut milk for a lighter version.
- Spinach – Boosts nutrients and color. Substitution: Kale or any leafy green can also be used.
- Salt & Pepper – Essential for flavor enhancement. Note: Sea salt can enhance overall taste.
Step-by-Step Instructions for Spicy Indian Mulligatawny Soup
Step 1: Prep Vegetables
Begin by washing and chopping your veggies—1 onion, 2 carrots, and 2 celery stalks—into small, even pieces for quick cooking. Mince 3 cloves of garlic, and set everything aside. Having your ingredients ready to go will ensure a smooth and efficient cooking process as you prepare your Spicy Indian Mulligatawny Soup.
Step 2: Sauté Aromatics
In a large pot, heat 2 tablespoons of olive oil over medium heat. Add the chopped onion, carrots, and celery, stirring occasionally, and cook for 5-7 minutes until the vegetables are softened and the onion is translucent. This will create a flavorful base that enhances the comforting depth of your soup.
Step 3: Add Garlic & Spices
Stir in the minced garlic and 2 tablespoons of curry powder, cooking for an additional 1-2 minutes. As the spices bloom, the kitchen will fill with a delightful aroma, signaling that it’s time to embrace the robust flavors that will define your Spicy Indian Mulligatawny Soup.
Step 4: Combine Ingredients
Once the spices are fragrant, add 1 cup of rinsed red lentils, 4 cups of vegetable broth, and 1 can of coconut milk to the pot. Increase the heat and bring the mixture to a gentle boil while stirring occasionally. This step will allow the lentils to absorb the flavors as they begin to cook.
Step 5: Simmer
After the soup reaches a boil, reduce the heat to low, cover the pot, and let it simmer for 20-25 minutes. Stir occasionally, and keep an eye on the texture—you’re aiming for the lentils to be tender yet slightly firm, which creates the delightful consistency of your Spicy Indian Mulligatawny Soup.
Step 6: Add Spinach
When the lentils are just the right texture, stir in 2 cups of fresh spinach and wilt for another 2-3 minutes. The vibrant green will add color and extra nutrients to your soup. This final touch ensures each bowl is a nourishing delight, packed with healthful goodness.
Step 7: Serve
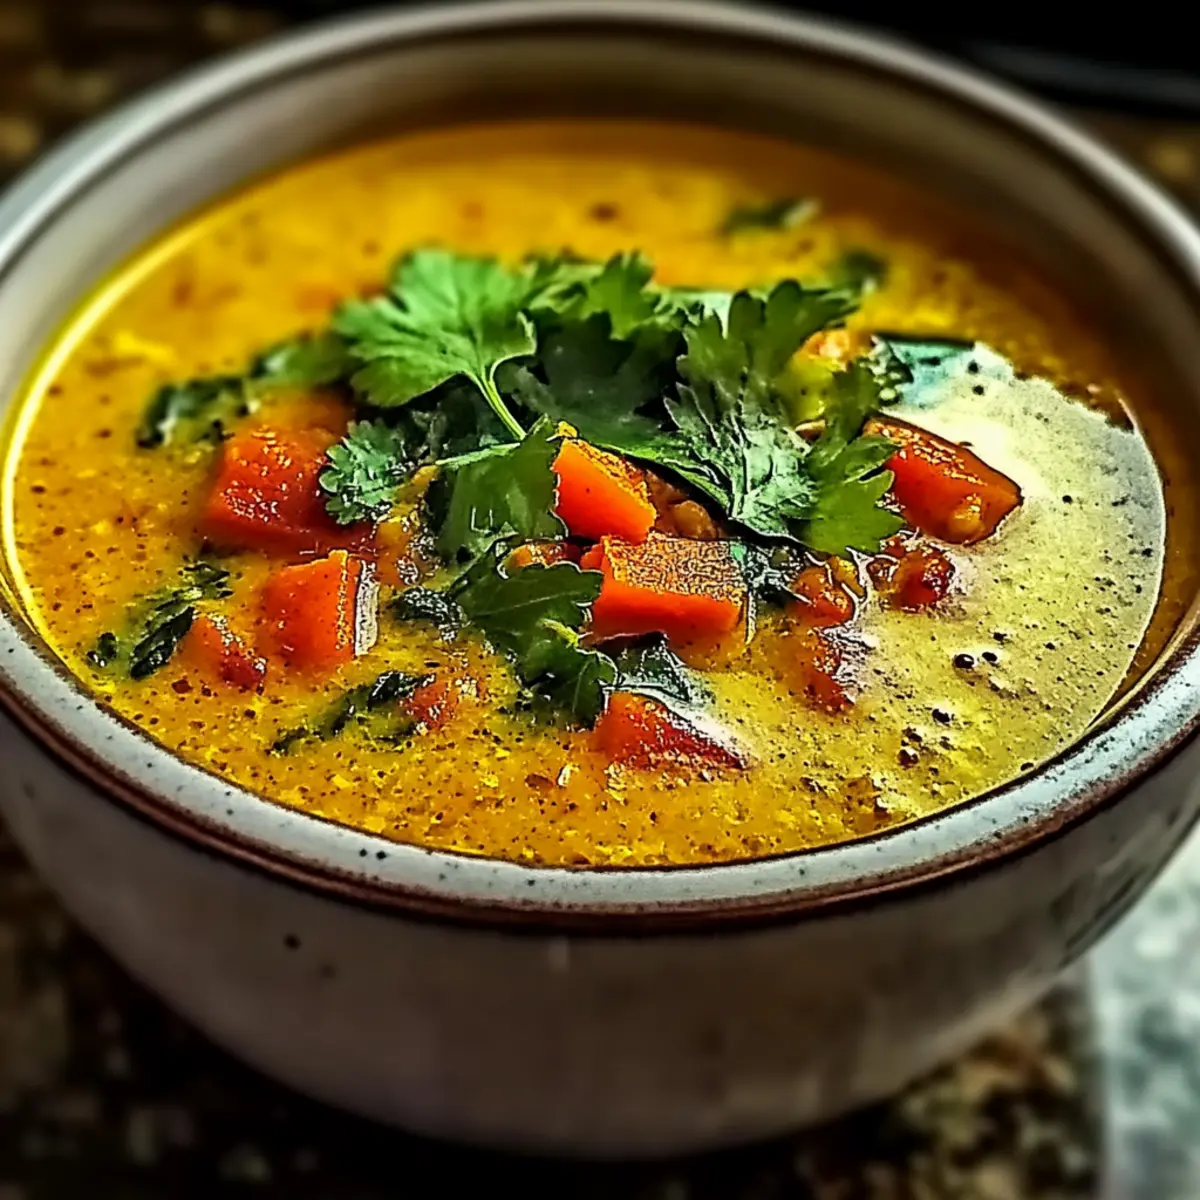
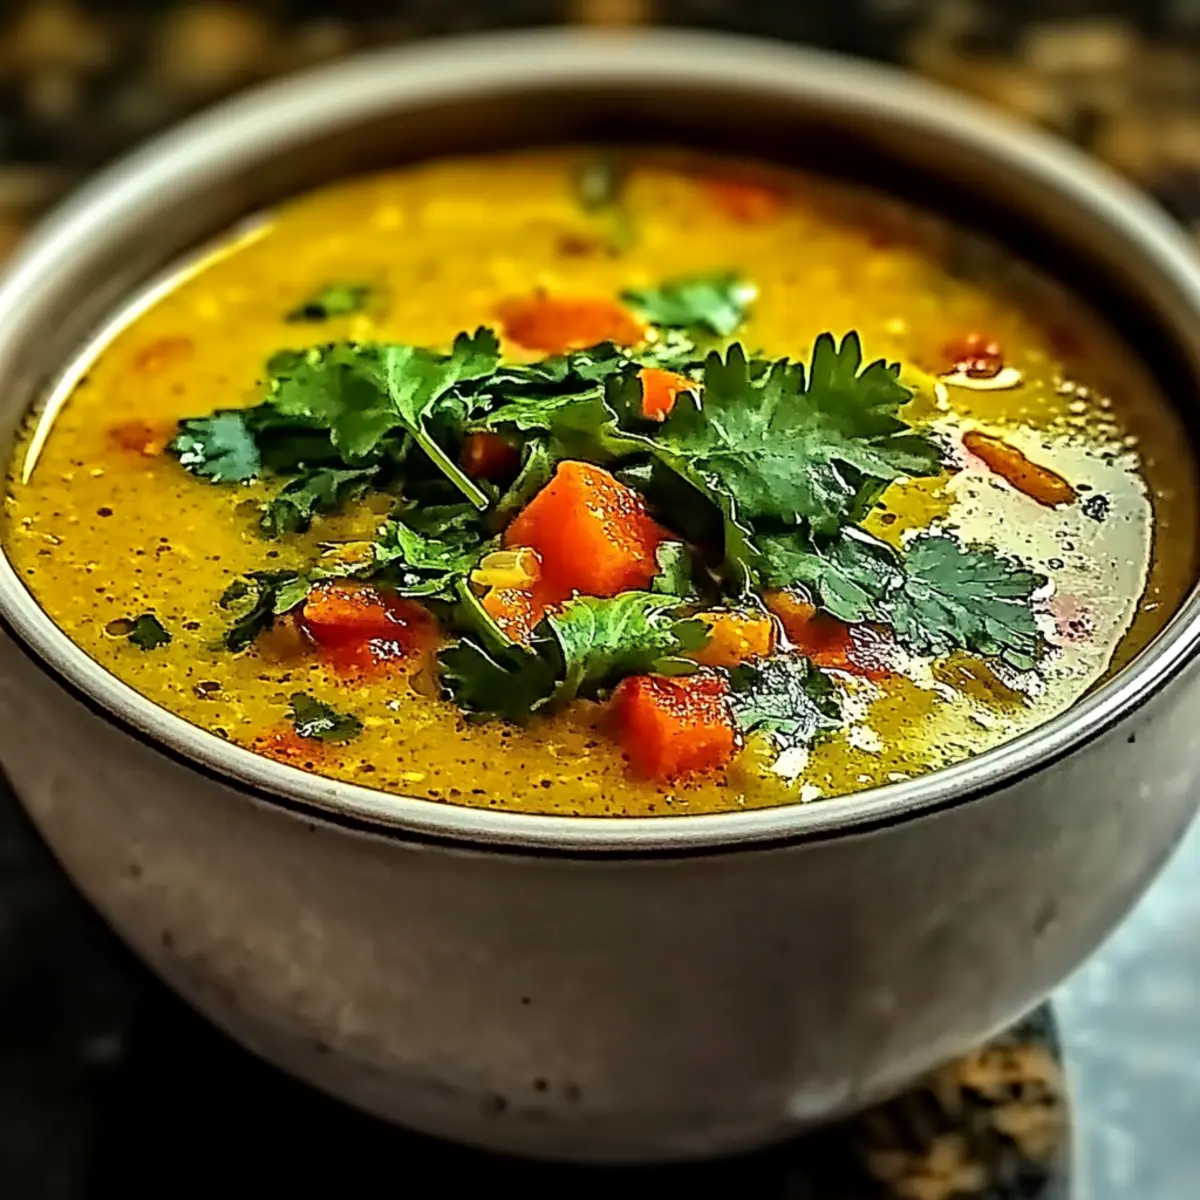
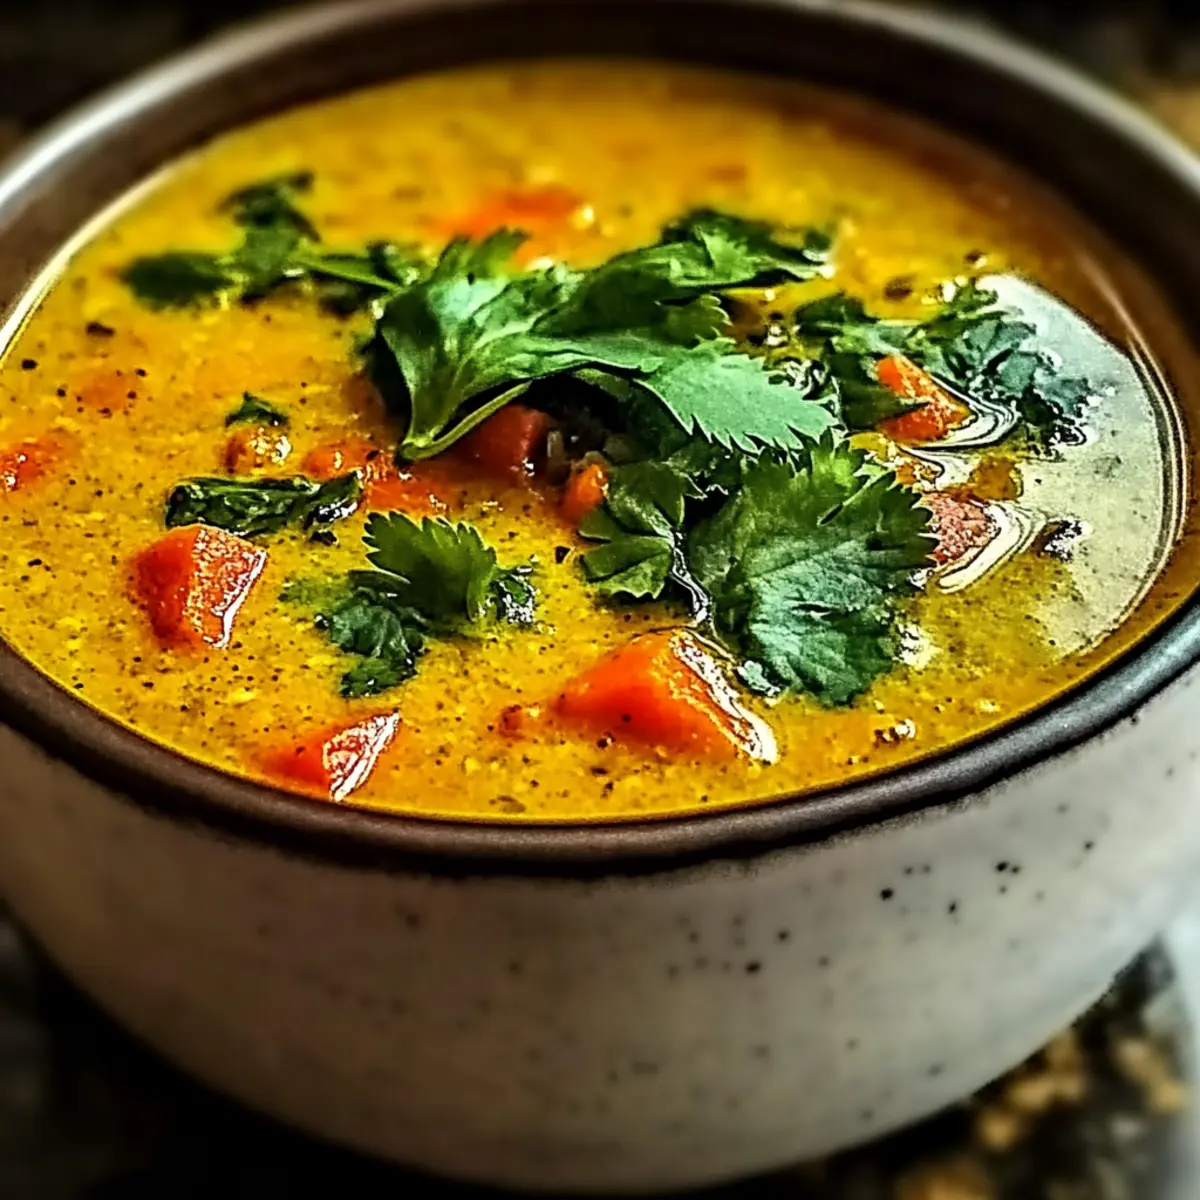
Carefully ladle the Spicy Indian Mulligatawny Soup into bowls, seasoning with salt and pepper to taste. For an extra touch, consider garnishing with a swirl of coconut milk or fresh cilantro. Enjoy your hearty and warming soup, embracing each comforting spoonful!
Expert Tips for Spicy Indian Mulligatawny Soup
-
Rinse Lentils: Make sure to rinse your red lentils before cooking. This removes any debris and enhances the soup’s clean flavor.
-
Prevent Mushiness: Keep an eye on the lentils while they cook; aim for a tender yet slightly firm texture. Overcooking can lead to a mushy soup.
-
Blend for Creaminess: For an extra creamy texture, consider partially blending the soup with an immersion blender. This will make your Spicy Indian Mulligatawny Soup even more indulgent.
-
Adjust Spice Levels: Personalize the spice in your soup by adjusting the curry powder. Start with less if you prefer a milder flavor, and build up as desired.
-
Extra Veggies: Feel free to experiment with additional vegetables like zucchini or bell peppers for a flavor boost. This adds nutrition and variety to your soup.
Make Ahead Options
These Spicy Indian Mulligatawny Soup options are perfect for busy weeknights! You can chop your vegetables (onions, carrots, and celery) up to 24 hours in advance and store them in an airtight container in the refrigerator. Additionally, rinse your red lentils ahead of time and keep them covered at room temperature. When you’re ready to serve, simply sauté the prepped vegetables and follow the remaining cooking instructions starting from adding the spices. This meal prep technique allows you to save valuable time while ensuring your soup remains just as delicious and nourishing. With these steps, enjoy a wholesome and comforting bowl of soup with minimal effort!
How to Store and Freeze Spicy Indian Mulligatawny Soup
Fridge: Store your Spicy Indian Mulligatawny Soup in an airtight container for up to 5 days to keep it fresh and delicious.
Freezer: For longer storage, freeze the soup in freezer-safe containers for up to 3 months. Leave some space at the top for expansion during freezing.
Reheating: Thaw overnight in the refrigerator, then reheat in a pot over low heat, stirring occasionally. Add a splash of vegetable broth or water if it’s too thick.
Make-Ahead Tips: Chop vegetables up to 24 hours in advance and rinse lentils beforehand for quicker preparation when you’re ready to cook.
What to Serve with Spicy Indian Mulligatawny Soup
There’s nothing quite like enhancing the cozy warmth of your soup with delightful accompaniments.
-
Warm Naan: Perfect for dipping, its soft texture and slight char bring an authentic Indian flair to your meal. The buttery bread pairs beautifully with the soup’s rich flavors.
-
Crispy Papadums: These crunchy lentil crisps add a satisfying crunch and a touch of spice, elevating your dining experience while balancing the soup’s creaminess.
-
Herbed Rice: Fluffy rice infused with herbs provides a light and fragrant base, soaking up the soup’s vibrant sauce for a complete meal.
-
Cucumber and Tomato Salad: A refreshing salad with a zesty lime dressing adds a bright contrast to the soup, cutting through the richness with each refreshing bite.
-
Mango Chutney: This sweet and spicy condiment invites a burst of flavor, complementing the complex spices in the soup while offering a delightful tang.
-
Coconut Lassi: This creamy yogurt drink balances the heat of the soup with its cooling effect, making every spoonful even more enjoyable.
-
Spiced Roasted Cauliflower: The roasted cauliflower brings a hearty, caramelized note that complements the soup’s flavors while adding texture to your meal.
-
Apple Crisp: For dessert, a warm apple crisp brings a sweet and cozy close to your hearty meal, contrasting beautifully with the soup’s savory notes.
Spicy Indian Mulligatawny Soup Variations
Feel free to infuse your personal touch to this delightful dish, allowing your creativity to dance alongside its already vibrant flavors!
- Dairy-Free: Replace coconut milk with almond or cashew milk for a lighter but similarly creamy soup.
- Protein Boost: Add cooked chickpeas or diced tofu for extra protein and heartiness, making the soup more substantial.
- Kicks of Heat: Toss in a diced jalapeño or sprinkle red pepper flakes to turn up the heat and awaken your taste buds!
- Herb Upgrade: Enhance the flavor profile with fresh herbs like cilantro or parsley; they add brightness and freshness to every bowl.
- Flavorful Broth: Swap vegetable broth for homemade chicken broth for a richer, deeper flavor that elevates the whole dish.
- Mushroom Addition: Incorporate mushrooms for umami richness; they add texture and a hearty depth to your soup.
- Citrus Zing: A squeeze of lime or lemon juice right before serving brightens the soup, balancing the spices with zest.
- Texture Variation: For a crunch factor, top servings with crispy fried onions or croutons for a delightful contrast against the smooth soup.
Spicy Indian Mulligatawny Soup Recipe FAQs
How do I select ripe ingredients for this soup?
Absolutely! When selecting your ingredients, look for vibrant colors and firm textures. Choose carrots that are bright orange, free from blemishes, and crisp to the touch. The celery should be fresh with bright green leaves. Onions should feel heavy for their size and have dry, papery skins. If you’re using spinach, opt for bright, deep green leaves without dark spots, as these are indicators of freshness.
What is the best way to store leftover soup?
Very simple! After it has cooled, transfer your Spicy Indian Mulligatawny Soup to an airtight container. It will stay fresh in the fridge for up to 5 days. When storing, make sure to seal it tightly to prevent any unwanted odors from infiltrating your delicious soup. For best flavor, enjoy it within this timeframe!
Can I freeze this soup for later use?
Definitely! To freeze your Spicy Indian Mulligatawny Soup, allow it to cool completely first. Then, pour it into freezer-safe containers, leaving about an inch of space at the top for expansion. It can be kept frozen for up to 3 months. When you’re ready to enjoy it, simply thaw it overnight in the fridge and reheat on the stove with a splash of water or broth if needed to bring back the desired consistency.
What are some common troubleshooting tips for this soup?
If your soup turns out too thick, don’t worry! Just add a little extra vegetable broth or water and stir well. For a lighter version, you might want to use light coconut milk instead of full-fat. If it’s too spicy for your liking, try adding more coconut milk or even a bit of honey to balance the heat. Always taste and adjust seasonings as you go; this is your creation!
Are there any dietary considerations I should keep in mind?
Great question! This Spicy Indian Mulligatawny Soup is not only vegetarian but also gluten-free when you use gluten-free broth. However, if you or someone you’re serving has specific allergies—like nut allergies—you need to ensure your vegetable broth and coconut milk are free from cross-contamination. Always double-check labels to be safe! If you have sensitive palates concerning spices, feel free to adjust the amount of curry powder to your comfort level.
Spicy Indian Mulligatawny Soup: A Nourishing Comfort Bowl
Ingredients
Equipment
Method
- Begin by washing and chopping your veggies—1 onion, 2 carrots, and 2 celery stalks—into small, even pieces for quick cooking. Mince 3 cloves of garlic, and set everything aside.
- In a large pot, heat 2 tablespoons of olive oil over medium heat. Add the chopped onion, carrots, and celery, stirring occasionally, and cook for 5-7 minutes until the vegetables are softened and the onion is translucent.
- Stir in the minced garlic and 2 tablespoons of curry powder, cooking for an additional 1-2 minutes.
- Once the spices are fragrant, add 1 cup of rinsed red lentils, 4 cups of vegetable broth, and 1 can of coconut milk to the pot. Increase the heat and bring the mixture to a gentle boil while stirring occasionally.
- After the soup reaches a boil, reduce the heat to low, cover the pot, and let it simmer for 20-25 minutes.
- When the lentils are just the right texture, stir in 2 cups of fresh spinach and wilt for another 2-3 minutes.
- Carefully ladle the soup into bowls, seasoning with salt and pepper to taste. Consider garnishing with a swirl of coconut milk or fresh cilantro. Enjoy!