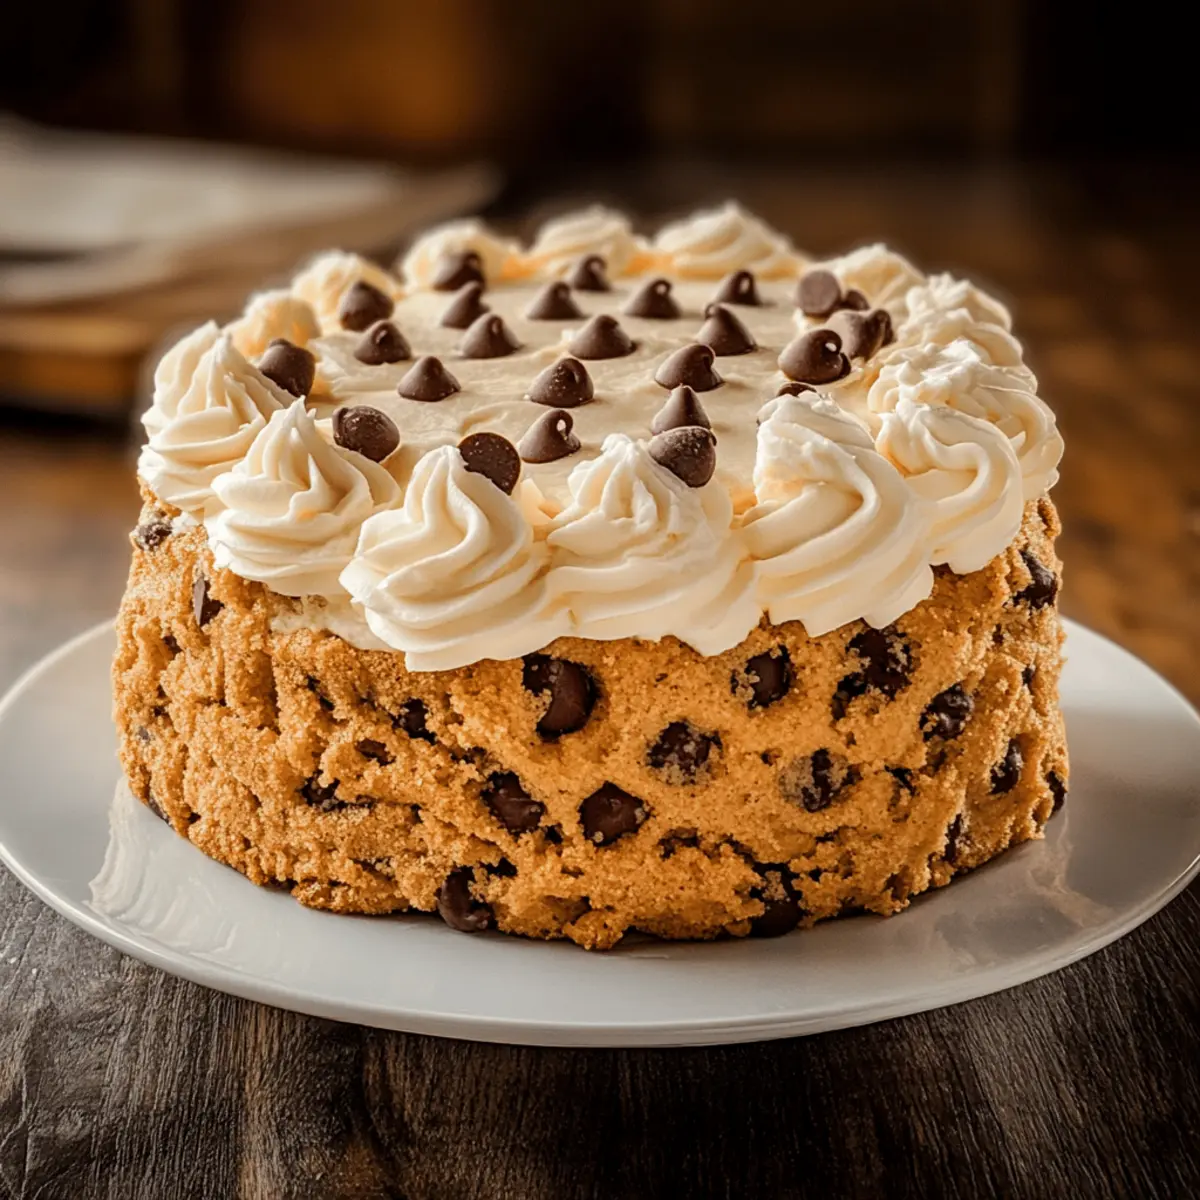
The aroma of freshly baked treats wafted through the air, reminding me of cozy afternoons in my grandmother’s kitchen. Today, I’m thrilled to share a recipe that perfectly captures that nostalgia—Chocolate Chip Cookie Cake with Decadent Buttercream Frosting. This delightful dessert combines the soft, chewy texture of beloved chocolate chip cookies with the celebratory essence of a cake, making it a must-try for any home chef. Not only is this recipe simple enough to whip up in under an hour, but it’s also a crowd-pleaser for gatherings or just a cozy night in. So, whether you’re celebrating a special occasion or treating yourself (because you totally deserve it!), this cookie cake is sure to become your new favorite. Ready to dive into a slice of sugary bliss? Let’s get baking!
Why is this cookie cake so special?
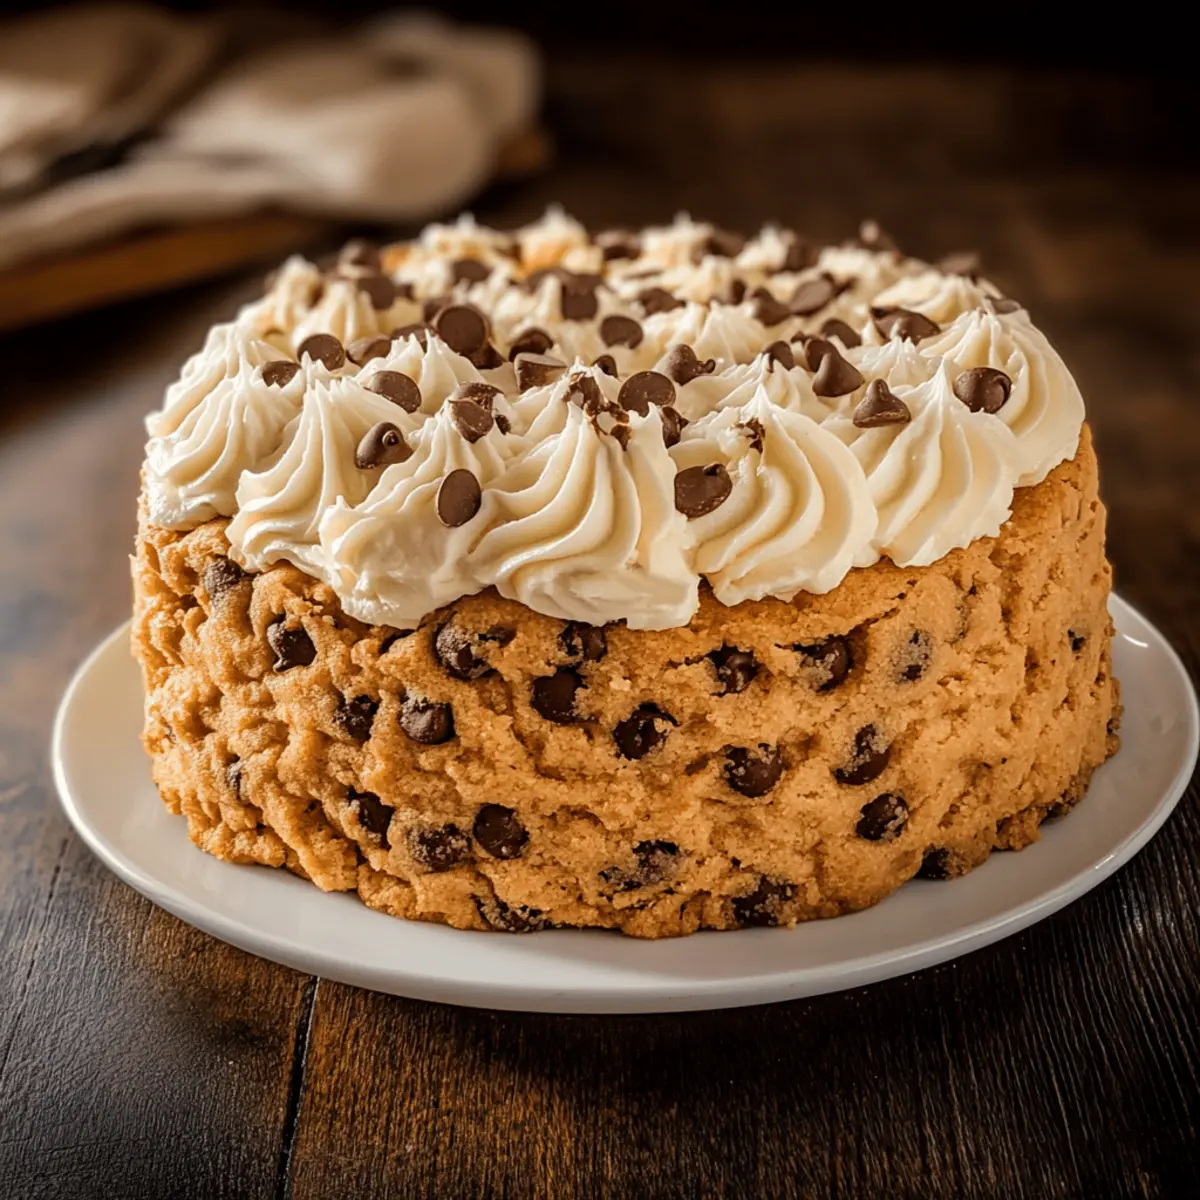
Indulgent Flavor: The blend of semi-sweet chocolate chips and rich buttercream frosting elevates this dessert to a whole new level of deliciousness.
Crowd-Pleaser: Perfect for birthdays or potlucks, this Chocolate Chip Cookie Cake caters to everyone’s sweet tooth.
Easy to Make: If you’ve got under an hour, you’re all set! The simple steps ensure even beginner bakers can impress with this treat.
Customizable Delight: Get creative! Add nuts for crunch or drizzle some caramel for a luxurious touch. You could even serve it warm with a scoop of ice cream, like in my Chocolate Chip Pancakes recipe!
Nostalgic Appeal: This cake will remind you of cozy family gatherings, making it more than just a dessert; it’s a sweet slice of memory.
Perfect Texture: Soft and chewy, it strikes that delightful balance between cake and cookie, making each bite truly irresistible!
Chocolate Chip Cookie Cake Ingredients
• The following ingredients will guide you to create a delicious Chocolate Chip Cookie Cake.
For the Cake
- All-Purpose Flour – Provides structure and stability to the cake; substitute with gluten-free flour for a gluten-free version.
- Baking Soda – Acts as a leavening agent, helping the cake rise perfectly.
- Salt – Enhances the flavor of the cake, balancing the sweetness.
- Unsalted Butter (melted and softened) – Adds richness and moisture; vegan butter can be used for a dairy-free option.
- Brown Sugar – Contributes sweetness and a hint of molasses flavor; coconut sugar works as a lower glycemic alternative.
- Granulated Sugar – Sweetens the cake; consider reducing it for a less sweet dessert.
- Eggs – Bind the ingredients together and add moisture; for a vegan option, use flax eggs or a commercial egg replacement.
- Vanilla Extract – Adds a delightful depth of flavor; almond extract can be a fun twist to try.
- Semi-Sweet Chocolate Chips – Infuses localized chocolate bursts throughout the cake; dark chocolate chips can provide a richer flavor.
For the Frosting
- Powdered Sugar – Used to create a sweet, smooth frosting texture.
- Heavy Cream or Whole Milk – Helps achieve the right consistency for the frosting; non-dairy milk is great for a dairy-free option.
This blend of ingredients promises a delightful take on a classic dessert, making your Chocolate Chip Cookie Cake the star of any occasion!
Step‑by‑Step Instructions for Chocolate Chip Cookie Cake
Step 1: Preheat & Grease
Preheat your oven to 350°F (175°C) and prepare a 9-inch round cake pan by lightly greasing it with butter or non-stick spray. This step is crucial to ensure your Chocolate Chip Cookie Cake bakes evenly and easily releases from the pan once done.
Step 2: Mix Dry Ingredients
In a medium bowl, whisk together 2 1/4 cups of all-purpose flour, 1 teaspoon of baking soda, and 1/2 teaspoon of salt until well combined. This blend of dry ingredients is essential for the cake to rise properly and develop that perfect texture. Set the bowl aside while you work on the wet ingredients.
Step 3: Combine Wet Ingredients
In a large mixing bowl, combine 1 cup of melted unsalted butter with 3/4 cup of brown sugar and 3/4 cup of granulated sugar. Mix vigorously until smooth and creamy—this typically takes about 2 minutes. Once combined, add in 2 large eggs and 1 teaspoon of vanilla extract, whisking until everything is well incorporated.
Step 4: Mix Together
Gradually add the dry ingredient mixture to the wet ingredients, stirring gently with a spatula or wooden spoon until just combined. Be careful not to overmix; the batter should be slightly thick and sticky. Finally, fold in 1 cup of semi-sweet chocolate chips, ensuring they are evenly distributed throughout the batter for that delicious gooey texture.
Step 5: Bake the Cake
Spread the cookie dough evenly into the greased cake pan, smoothing the top with a spatula. Place it in the preheated oven and bake for 20-25 minutes. Keep an eye on it; the edges should turn golden brown, while the center remains soft and slightly set. A toothpick inserted into the center should come out with a few moist crumbs.
Step 6: Cool & Prepare Frosting
Once your Chocolate Chip Cookie Cake is done baking, remove it from the oven and let it cool in the pan for about 15 minutes. During this time, prepare your buttercream frosting by beating 1/2 cup of softened unsalted butter until creamy. Gradually add 3 cups of powdered sugar, mixing in 2-4 tablespoons of heavy cream until the frosting reaches a light and fluffy consistency.
Step 7: Frost & Serve
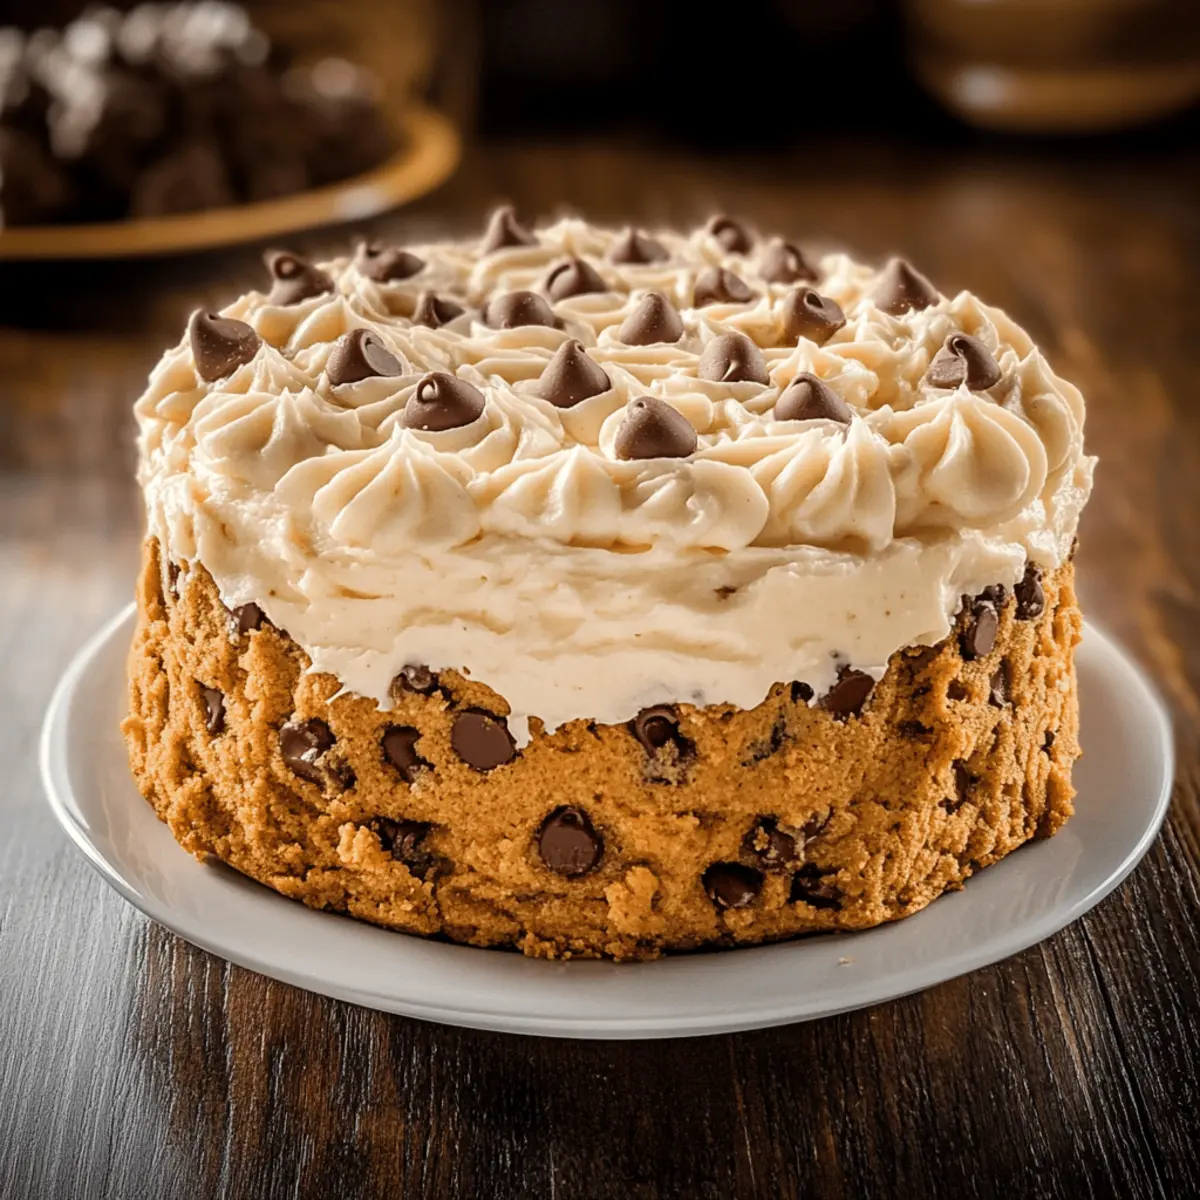
After the cake has cooled completely, gently remove it from the pan and place it on a serving platter. Generously frost the top with your luscious buttercream frosting. Cut the cake into 8-10 slices, and it’s ready to be enjoyed—perfect for sharing at a gathering or savoring on a cozy night in!
Expert Tips for Chocolate Chip Cookie Cake
- Cooling Butter: Allow melted butter to cool before mixing with sugars to prevent cooking the eggs, ensuring a light texture.
- Avoid Overmixing: Stir ingredients until just combined; overmixing can lead to a tough Cookie Cake.
- Check for Doneness: Insert a toothpick into the center; it should come out clean with a few crumbs, indicating it’s perfectly baked.
- Slicing Tips: For clean slices, use a serrated knife and wait until the cake is completely cool to avoid squishing it.
- Customization Ideas: Feel free to add chopped nuts or a drizzle of caramel to elevate your Chocolate Chip Cookie Cake to new heights!
What to Serve with Chocolate Chip Cookie Cake
The perfect way to elevate your Chocolate Chip Cookie Cake is by pairing it with delightful sides that enhance its rich flavors.
-
Vanilla Ice Cream: A classic pairing, the cold creaminess contrasts beautifully with the warm, chewy cake for a heavenly combination.
-
Fresh Berries: Strawberries or raspberries bring a tart note that cuts through the sweetness, adding a refreshing touch to each bite.
-
Chocolate Milkshake: For a deliciously decadent experience, serve a chocolate milkshake alongside it for that ultimate chocolate lover’s dream.
-
Caramel Sauce: Drizzle warm caramel over a slice for an indulgent twist that amplifies the sweetness while adding a luscious, gooey texture.
-
Whipped Cream: Lightly sweetened whipped cream provides a fluffy, airy element that complements the dense cake, making each mouthful feel special.
-
Coffee: A hot cup of coffee pairs perfectly, as its bitter notes balance out the sugar, enhancing the overall flavor experience.
-
Nutty Granola: Serve a handful of crunchy granola on the side for texture contrasts with the soft, chewy cake and add a nutty flavor.
-
Milk: A tall glass of cold milk is always a simple and beloved choice to mellow the sweetness while evoking nostalgic childhood memories.
Storage Tips for Chocolate Chip Cookie Cake
Room Temperature: Store the unfrosted Chocolate Chip Cookie Cake at room temperature in an airtight container for up to 2-3 days to maintain its deliciously soft texture.
Fridge: If you’ve frosted the cake, refrigerate it in an airtight container for up to 5-7 days. This will help the buttercream stay firm and fresh.
Freezer: For longer storage, slice the cake and wrap each piece securely in plastic wrap, then store in freezer bags for up to 2-3 months. Thaw in the fridge overnight before enjoying again.
Reheating: To enjoy a warm slice, heat it in the microwave for about 15-20 seconds. This method restores that irresistible melt-in-your-mouth quality!
Chocolate Chip Cookie Cake Variations
Feel free to get creative with your Chocolate Chip Cookie Cake; there are endless ways to customize this delightful dessert!
- Nutty Crunch: Add 1 cup of chopped walnuts or pecans for a satisfying crunch that pairs perfectly with the chewy cake.
- White Chocolate Swirl: Substitute half the semi-sweet chocolate chips with white chocolate chips to create a sweet, creamy contrast.
- Caramel Drizzle: Drizzle warm caramel sauce on top for added richness, or mix it into your frosting for a luscious twist.
- Spicy Kick: Add a pinch of cinnamon or a dash of cayenne pepper to the batter for a surprising flavor boost that tingles the taste buds.
- Fruity Delight: Incorporate 1 cup of fresh or dried fruits like cherries or raspberries into the batter for a deliciously tangy contrast.
- Mochaccino Flavor: Swap out vanilla extract for coffee extract and add a spoonful of instant coffee to the batter for a mocha-inspired treat.
- Dairy-Free Option: Use coconut or almond milk in the frosting and vegan butter for the cake to make a delightful dairy-free version.
- Chocolate Lovers: Go all out and replace semi-sweet chocolate chips with dark chocolate chips for an intense, rich flavor that satisfies every craving.
Each of these variations brings its unique twist, much like my beloved Chocolate Fudge Cupcakes that are always a hit!
Make Ahead Options
These Chocolate Chip Cookie Cakes are fantastic for meal prep, allowing you to save time while still enjoying a delicious treat! You can prepare the cookie cake batter up to 24 hours in advance—simply mix all the ingredients, cover, and refrigerate until ready to bake. The buttercream frosting can also be made up to 3 days ahead; just store it in an airtight container in the refrigerator to keep it fresh. When you’re ready to bake, allow the batter to come to room temperature before spreading it into the pan and baking as directed. This way, you’ll have a delightful dessert ready with minimal effort when the moment strikes!
Chocolate Chip Cookie Cake Recipe FAQs
What type of chocolate chips should I use?
I recommend using semi-sweet chocolate chips, as they strike the perfect balance of sweetness and rich chocolate flavor! If you’re feeling adventurous, dark chocolate chips can elevate the cake’s chocolate intensity.
How should I store my Chocolate Chip Cookie Cake?
If your cake is unfrosted, keep it in an airtight container at room temperature for up to 2-3 days. For a frosted version, store it in the fridge for up to 5-7 days, ensuring it stays fresh and delicious while maintaining the firmness of the buttercream.
Can I freeze my Chocolate Chip Cookie Cake?
Absolutely! I often freeze sliced portions for later cravings. Wrap each slice tightly in plastic wrap, then place them in freezer bags. Your cookie cake will stay fresh for up to 2-3 months. When you’re ready to indulge, let it thaw in the fridge overnight, or microwave for about 15-20 seconds for a warm treat!
How do I know when the cake is done baking?
Check for doneness by inserting a toothpick into the center of the cake; it should come out clean or with a few moist crumbs. Ideally, the edges should be golden brown while the center remains soft but set to achieve that perfect chewy texture.
Can I substitute ingredients for dietary needs?
Certainly! For a dairy-free option, use vegan butter and non-dairy milk in both the cake and frosting. If you need an egg substitute, try flax eggs: mix 1 tablespoon of ground flaxseed with 2.5 tablespoons of water and let it sit for 5 minutes until it thickens—this acts like one egg!
What if my frosting is too thick?
If you find your buttercream frosting too thick, simply add a little more heavy cream or non-dairy milk, one tablespoon at a time. Mix vigorously until you achieve that soft, fluffy texture that’s perfect for spreading over your heavenly Chocolate Chip Cookie Cake!
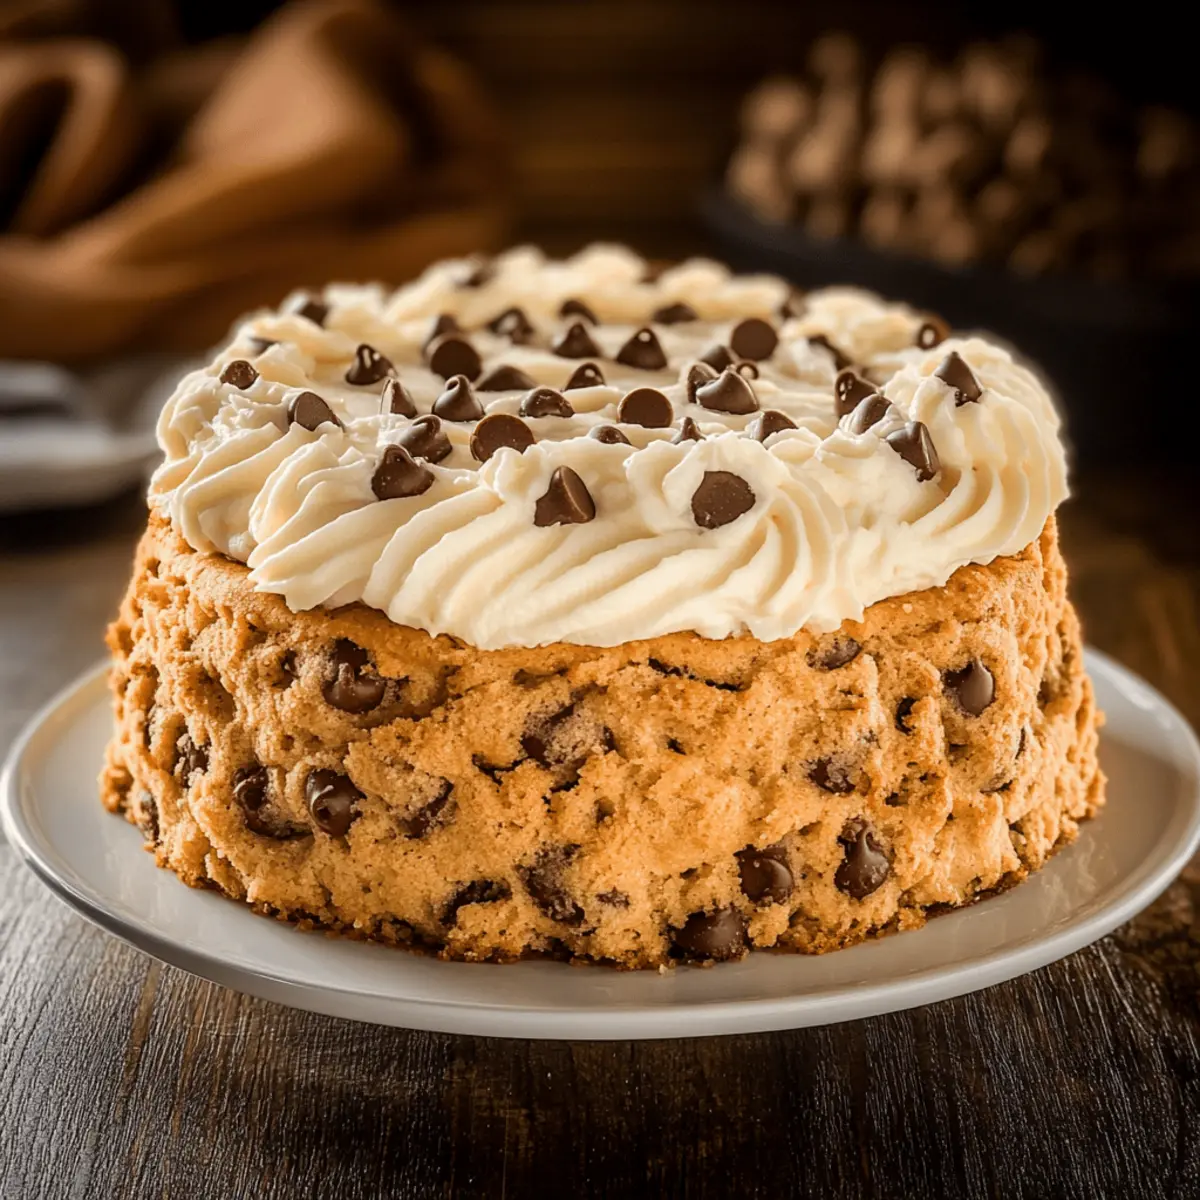
Chocolate Chip Cookie Cake: A Soft & Chewy Delight
Ingredients
Equipment
Method
- Preheat your oven to 350°F (175°C) and prepare a 9-inch round cake pan by lightly greasing it with butter or non-stick spray.
- In a medium bowl, whisk together 2 1/4 cups of all-purpose flour, 1 teaspoon of baking soda, and 1/2 teaspoon of salt until well combined.
- In a large mixing bowl, combine 1 cup of melted unsalted butter with 3/4 cup of brown sugar and 3/4 cup of granulated sugar. Mix vigorously until smooth and creamy.
- Once combined, add in 2 large eggs and 1 teaspoon of vanilla extract, whisking until everything is well incorporated.
- Gradually add the dry ingredient mixture to the wet ingredients, stirring gently until just combined. Fold in 1 cup of semi-sweet chocolate chips.
- Spread the cookie dough evenly into the greased cake pan and bake for 20-25 minutes.
- Once baked, let it cool in the pan for about 15 minutes. Prepare the frosting by beating 1/2 cup of softened unsalted butter until creamy.
- Gradually add 3 cups of powdered sugar, mixing in 2-4 tablespoons of heavy cream until the frosting reaches a light and fluffy consistency.
- After the cake has cooled, remove it from the pan and frost the top with your buttercream frosting.
- Cut the cake into 8-10 slices and enjoy!