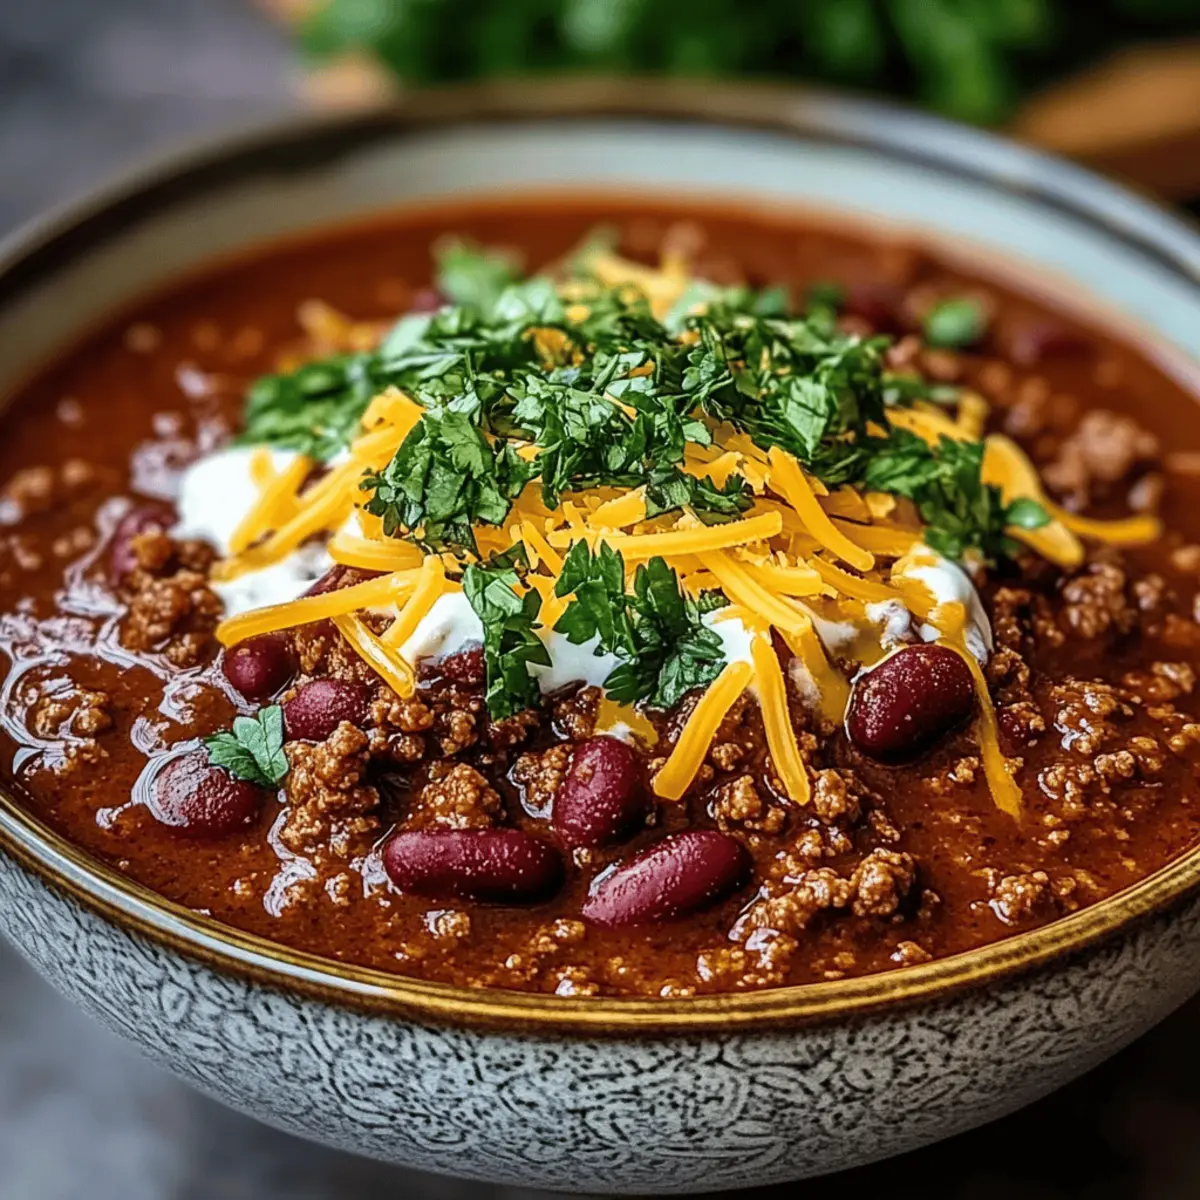
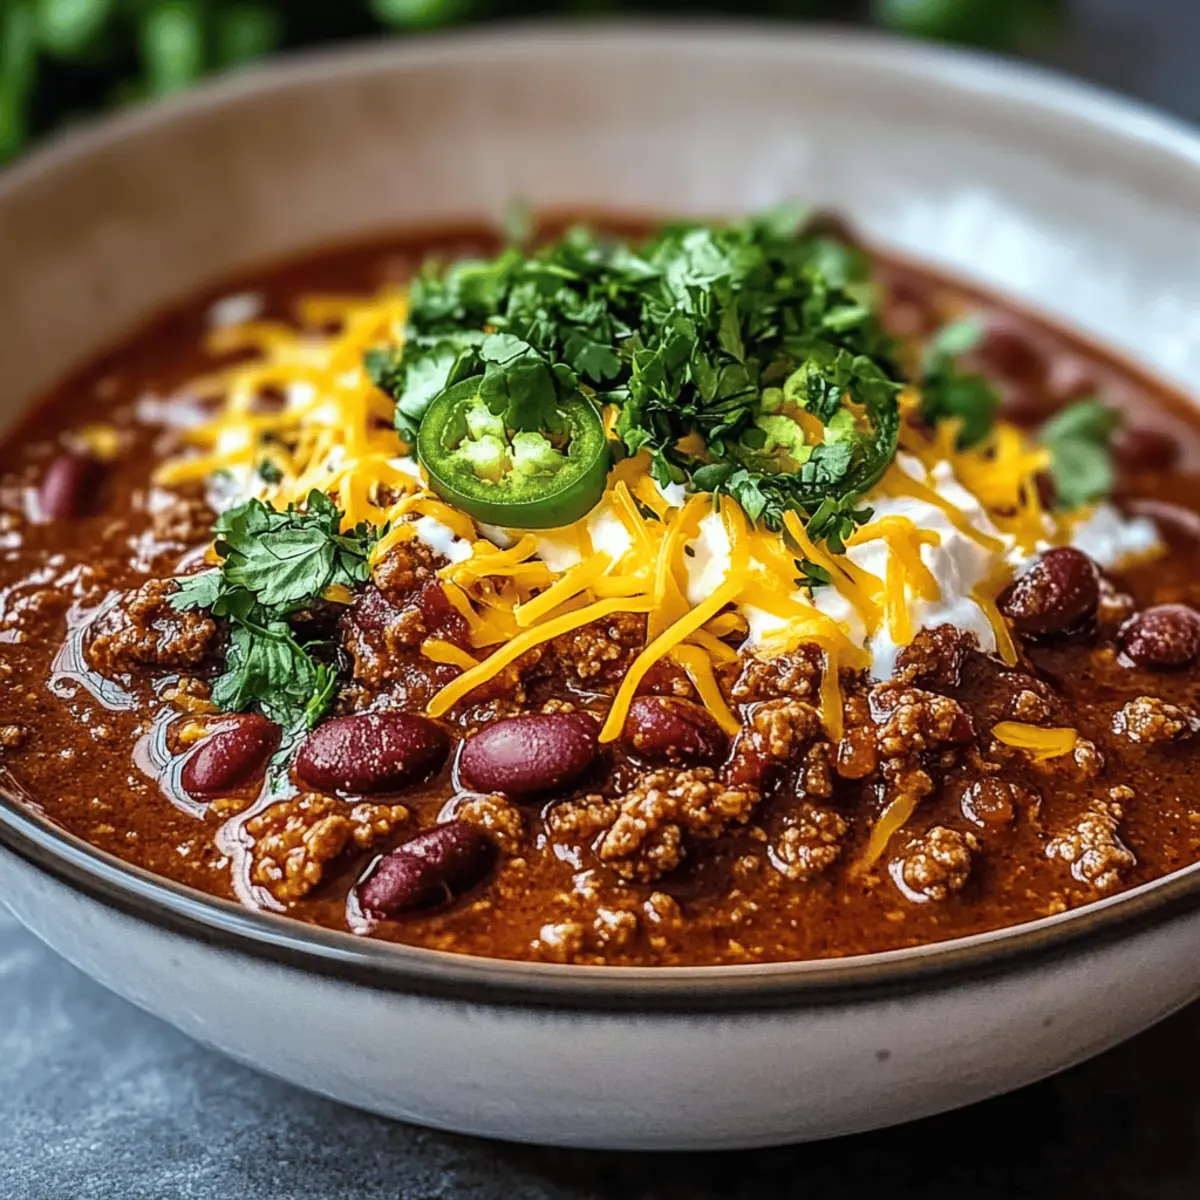
As the chill of autumn sets in and leaves dance to the ground, I find myself craving a bubbling pot of something warm and hearty. Enter my Best Ever Beef Chili Recipe, a cozy symphony of flavors that warms the soul. With every spoonful, you’ll savor tender beef, hearty beans, and a rich tomato base that feels like a deeply familiar hug. This chili isn’t just comfort food—it’s a quick, fuss-free meal that transforms any weeknight dinner into a flavorful feast. Plus, it’s perfect for meal prep, leaving you with satisfying leftovers that only get better with time. Ready to cozy up with a bowl of joy and spice?
Why Is This Chili Recipe Unforgettable?
Hearty, each bowl is a warm embrace filled with tender beef and robust flavors that make every bite delightful. Easy to make, this recipe requires minimal hands-on time, allowing you to relax while it simmers. Versatile options let you customize your chili to suit any palate—try adding jalapeños for heat or swapping in ground turkey for a leaner twist. Perfect for meal prep, this dish tastes even better the next day, making it an ideal choice for busy families. Crowd-pleasing, it’s a guaranteed hit at game day gatherings or cozy dinners at home, just like my Sticky Beef Noodles or Sweet Chili Chicken. You’ll love making this your go-to recipe!
Best Ever Beef Chili Ingredients
• Here’s everything you need to create the Best Ever Beef Chili Recipe that will warm your heart and home!
For the Base
- Olive Oil – Perfect for sautéing; substitute any vegetable oil if preferred.
- Onion – Adds sweetness and depth; shallots work well for a milder flavor.
- Garlic – Enhances the aroma and flavor; fresh minced or pre-chopped garlic is a great option.
- Ground Beef – The main protein source providing richness; try ground turkey for a leaner alternative.
For the Beans
- Kidney Beans – Contributes heartiness and fiber; any canned beans, like pinto, can be used instead.
- Black Beans – Adds protein and texture; can be swapped for additional kidney beans if desired.
For the Sauce
- Crushed Tomatoes – Forms the chili’s saucy consistency; fire-roasted tomatoes will add depth of flavor.
- Tomato Paste – Intensifies the tomato flavor; you can substitute with more crushed tomatoes for a slightly different consistency.
- Beef Broth – Enhances flavor and moisture; vegetable broth is perfect for a vegetarian variant.
For the Spices
- Chili Powder – The core flavor component; adjust to taste or substitute with chipotle powder for a smoky kick.
- Cumin – Adds earthiness and warmth to your chili.
- Smoked Paprika – Brings a touch of smokiness; regular paprika can be used for less heat.
- Oregano – Provides subtle herbal notes.
- Salt and Pepper – Essential for seasoning; adjust according to personal taste.
Optional Toppings
- Shredded Cheese – A melty finish that adds richness.
- Sour Cream – Creamy contrast that balances spice.
- Green Onions – Freshness and crunch to elevate flavors.
- Jalapeños – For an extra kick; customize based on your heat preference.
Step‑by‑Step Instructions for Best Ever Beef Chili Recipe
Step 1: Sauté the Aromatics
Heat 2 tablespoons of olive oil in a large pot or Dutch oven over medium heat. Once shimmering, add 1 diced onion and sauté for about 4–5 minutes until softened and translucent. Stir occasionally to avoid browning. This step lays a sweet and aromatic foundation for your Best Ever Beef Chili.
Step 2: Add Garlic
Next, incorporate 3 minced garlic cloves into the pot, cooking for just about 1 minute. Stir until fragrant, ensuring not to let it burn. The aroma will deepen the flavor profile, turning your base ingredients into a flavorful starting point for our chili.
Step 3: Brown the Beef
Add 1 pound of ground beef to the pot, using a wooden spoon to break it apart. Cook for approximately 6–8 minutes, or until the beef is fully browned with no pink remaining. Drain excess fat if necessary, then mix well with the aromatics to create a hearty base for the chili.
Step 4: Bloom the Spices
Stir in 2 tablespoons of chili powder, 1 teaspoon of cumin, 1 teaspoon of smoked paprika, 1 teaspoon of dried oregano, and salt and pepper to taste. Cook for 1–2 minutes, allowing the spices to bloom and fill your kitchen with warmth and rich aromas. This step enhances the depth of flavor in your Best Ever Beef Chili.
Step 5: Add the Saucy Ingredients
Mix in 2 tablespoons of tomato paste, one 28-ounce can of crushed tomatoes, and 1 can each of kidney and black beans, rinsed and drained. Pour in 1 cup of beef broth and stir everything well. Allow the mixture to come to a rolling simmer, melding all those wonderful flavors together.
Step 6: Simmer to Perfection
Reduce the heat to low, leaving the chili uncovered. Simmer for about 30–40 minutes, stirring occasionally. You’ll know it’s ready when the chili thickens slightly and the flavors deepen, creating a rich, comforting dish that truly lives up to the Best Ever Beef Chili title.
Step 7: Serve and Garnish
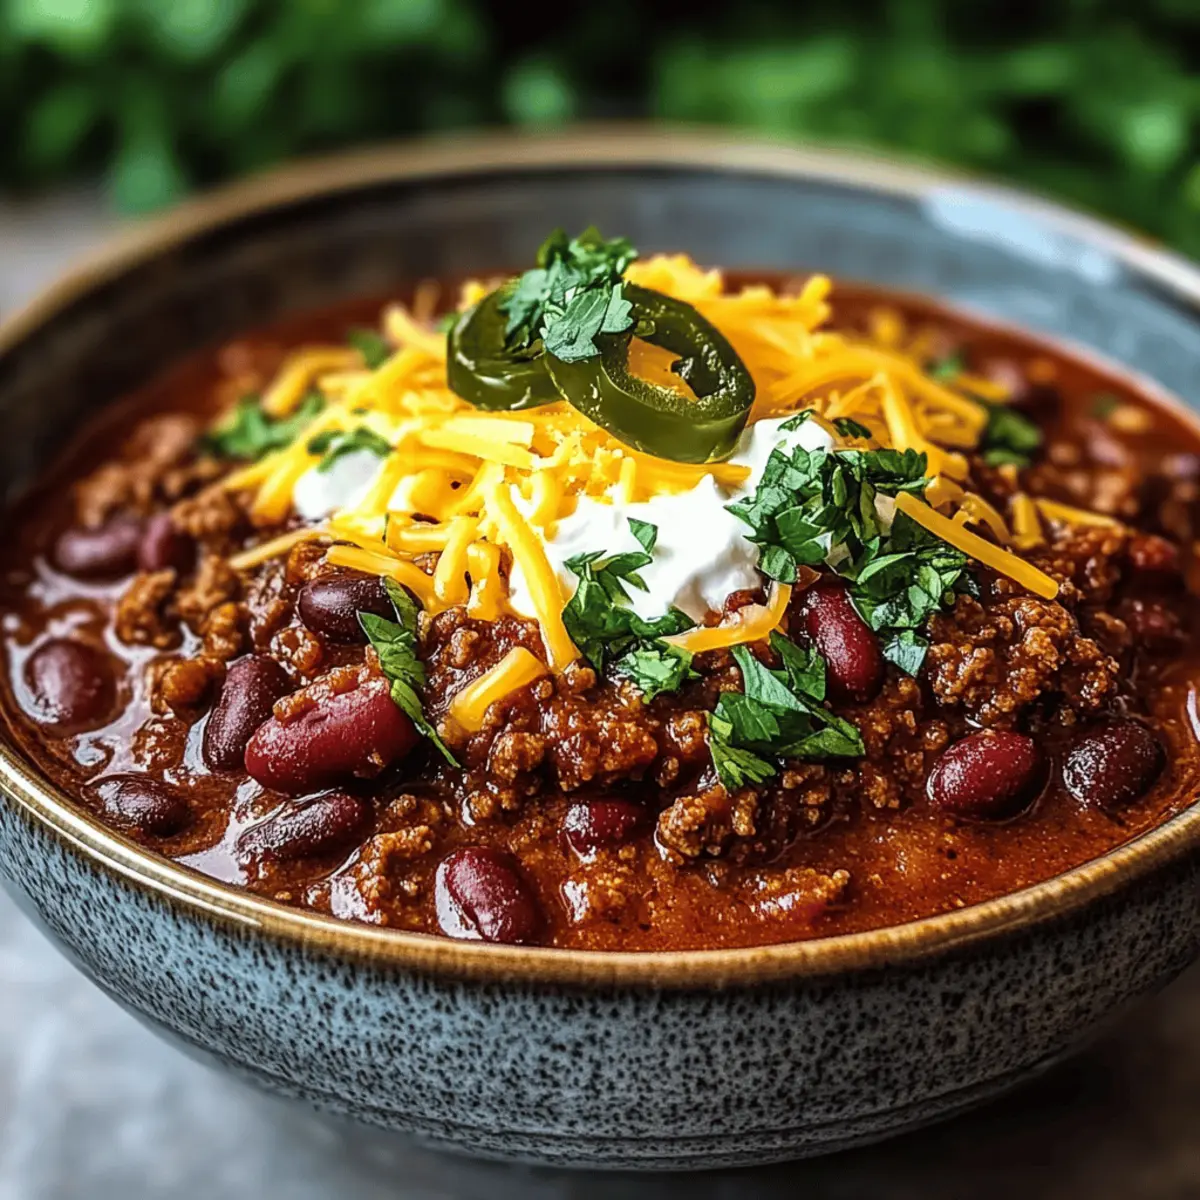
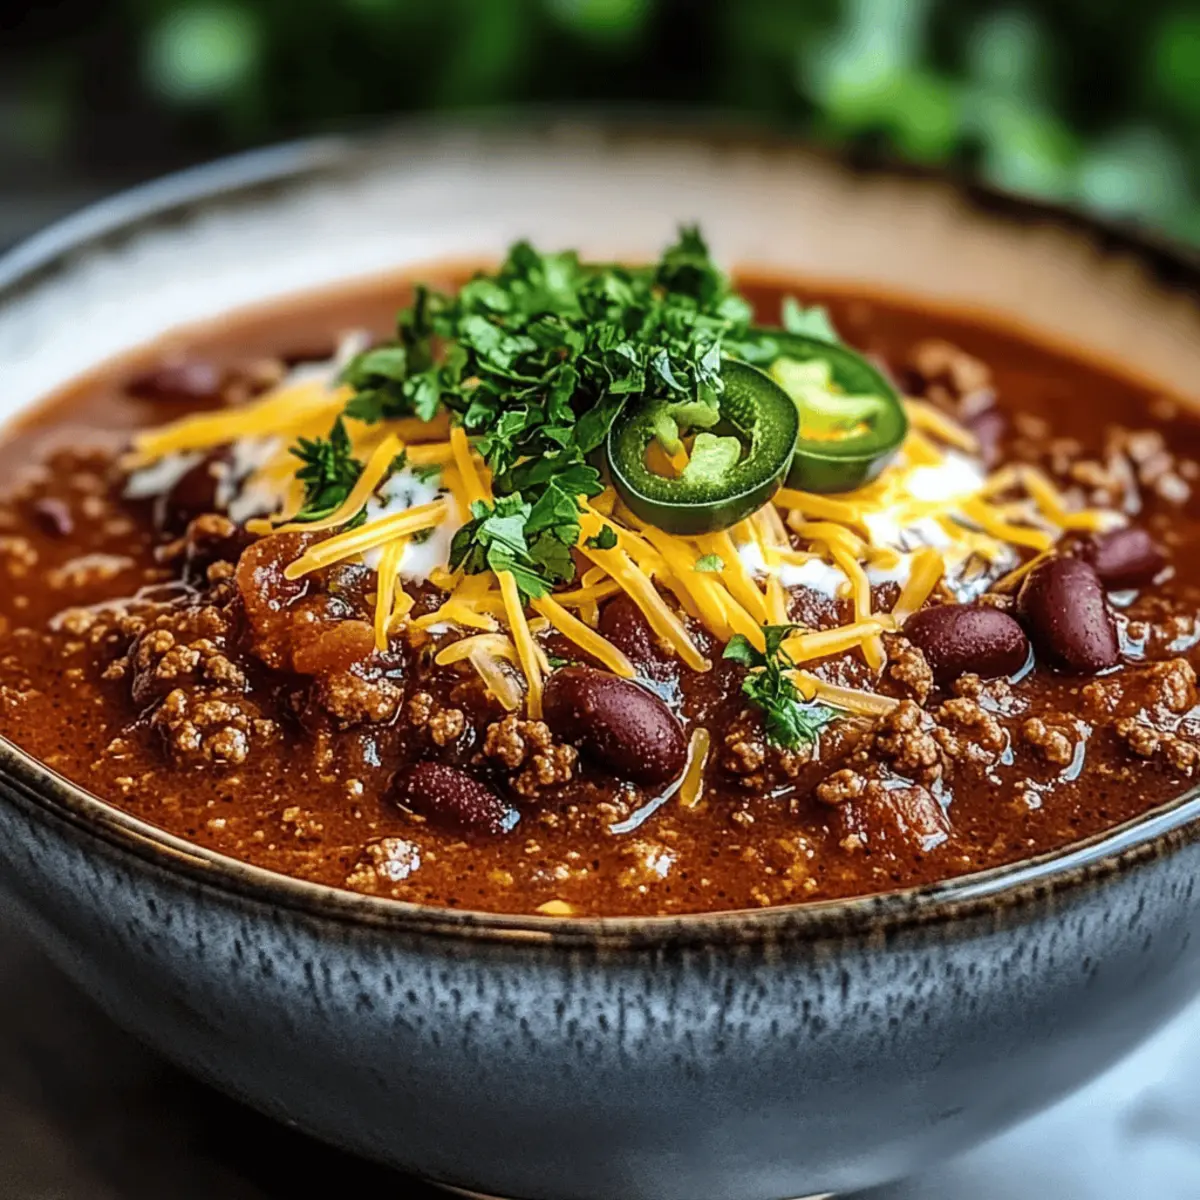
Once thickened, ladle the chili into bowls and serve hot. Feel free to garnish with shredded cheese, a dollop of sour cream, green onions, or jalapeños, depending on your taste. This final touch transforms your chili into a deliciously customizable experience, ready for cozy nights in.
Make Ahead Options
These Best Ever Beef Chili components are ideal for meal prep, allowing you to save time on busy weeknights! You can chop the onion and mince the garlic up to 24 hours in advance, refrigerating them in an airtight container to maintain freshness. Additionally, you can brown the ground beef and let it cool before refrigerating it for up to 3 days. When you’re ready to finish the recipe, simply sauté the aromatics, add the prepped beef, and continue with the remaining steps. This not only streamlines your cooking process but ensures you still enjoy a hearty, delicious chili just as satisfying as if you made it from scratch that day!
What to Serve with Best Ever Beef Chili Recipe
Cozy up with a delectable side dish that beautifully complements the warm, hearty flavors of this classic chili.
-
Cornbread: This slightly sweet and buttery bread contrasts wonderfully with the spicy chili, making each bite a delightful experience. Serve it warm, slathered in butter for the ultimate comfort food duo.
-
Tortilla Chips: The crunch of tortilla chips provides a satisfying texture against the soft chili. Perfect for dipping or sprinkling on top, they add a fun element to your meal.
-
Baked Potatoes: Creamy baked potatoes offer a wholesome base to scoop up delicious chili. The mild, earthy flavor beautifully balances the spicier notes of the dish.
-
Green Salad: A fresh salad with crisp greens can lighten the meal while offering a refreshing burst of flavor. Toss in some cherry tomatoes and a zesty dressing for an invigorating contrast.
-
Sour Cream: As a classic topping, sour cream adds a rich, creamy texture to each bowl. It cools down the heat and brings an inviting creaminess that mingles beautifully with the spices.
-
Guacamole: Creamy, rich guacamole enhances the entire experience. The fresh, cool flavors provide a perfect foil to the warmth of the chili and add an exciting twist to your meal.
With these pairing options, your Best Ever Beef Chili will be a comforting feast that warms both body and soul.
Best Ever Beef Chili Recipe Variations
Feel free to get creative and put your own spin on this delightful chili!
-
Ground Chicken: Swap out ground beef for ground chicken for a lighter version without losing flavor. It’s a great way to mix things up!
-
Vegan Option: Replace the meat with extra beans, lentils, or even textured vegetable protein (TVP) for a hearty vegetarian chili. This makes it rich and satisfying while being totally plant-based.
-
Extra Heat: Want a kick? Add diced jalapeños or a splash of hot sauce. Just keep tasting as you go to find your perfect heat level!
-
Fire-Roasted Tomatoes: For an extra depth of flavor, use fire-roasted crushed tomatoes instead of regular. The slight char adds smoky undertones that really elevate the dish!
-
Kidney Bean Variety: Switch up the beans! Try black beans or cannellini beans for a different texture and flavor. This can create a fun and unexpected twist in each bowl.
-
Chipotle Powder: Use chipotle powder instead of chili powder for a smoky flavor profile. It adds a unique depth and warmth that’s simply irresistible, especially on a chilly night.
-
Herb Infusion: Add fresh herbs like cilantro or parsley just before serving for brightness. They contrast beautifully with the rich flavors of the chili.
-
Bearable for Kids: To make this chili more kid-friendly, reduce the amount of chili powder and omit any additional spicy ingredients. You can still keep it flavorful with the rest of the seasonings!
Why not pair this chili with some delicious cornbread or tortilla chips? And if you’re looking for other tasty options, my Mongolian Ground Beef is another hit! With so many variations, the comforting warmth of this chili is sure to become a family favorite!
Tips for the Best Beef Chili
-
Simmer Longer: Allowing your chili to simmer longer deepens the flavors, resulting in a richer Best Ever Beef Chili.
-
Adjust Acidity: If the chili is too acidic, add a pinch of sugar to balance the flavors without overwhelming the taste.
-
Customize Spice: For extra heat, include diced jalapeños or increase chili powder—ensure to taste as you go!
-
Available Substitutes: If you’re out of an ingredient, don’t hesitate to substitute; for instance, use ground turkey instead of beef for a lighter chili.
-
Thickening Option: For a thicker consistency, mash some of the beans against the pot—this adds body while keeping the flavor intact.
-
Meal Prep Friendliness: Double the recipe to have leftovers for quick meals throughout the week; chili often tastes even better the next day!
Storage Tips for Best Ever Beef Chili
-
Fridge: Store your Best Ever Beef Chili in an airtight container for up to 4 days. Allow the chili to cool completely before sealing it to maintain freshness.
-
Freezer: For longer storage, freeze leftovers for up to 3 months. Make sure to use freezer-safe containers, leaving some space for expansion.
-
Reheating: When ready to enjoy, thaw overnight in the fridge if frozen. Reheat on the stovetop over low heat, stirring occasionally, until warmed through.
-
Serving Suggestions: Feel free to top with cheese or sour cream after reheating for a delicious, comforting meal ready to enjoy!
Best Ever Beef Chili Recipe FAQs
What type of beans should I use for the Best Ever Beef Chili?
You can use kidney beans, black beans, or even pinto beans in your Best Ever Beef Chili. I often recommend using a mix of kidney and black beans for a delightful texture and fiber boost. If you have a favorite canned bean on hand, feel free to swap it in!
How long can I store the chili in the refrigerator?
Your Best Ever Beef Chili can be safely stored in an airtight container in the fridge for up to 4 days. Just make sure it’s completely cooled before sealing to maintain freshness. It’s perfect for meal prep!
Can I freeze my chili leftovers?
Absolutely! You can freeze your Best Ever Beef Chili for up to 3 months. Just use freezer-safe containers and leave a bit of space at the top for expansion. When you’re ready to enjoy it, thaw it overnight in the refrigerator, then reheat gently on the stove until warmed through.
How can I make my chili thicker?
If you’d like a thicker chili, one effective method is to mash some of the beans against the pot with a spoon as it simmers. This adds body to the chili while keeping its delicious flavor intact. Adjusting the simmer time can also help concentrate the flavors.
What dietary adjustments can I make for allergies?
If you’re dealing with dietary restrictions like gluten allergies, rest assured that this Best Ever Beef Chili recipe is naturally gluten-free! Just ensure the broth and any canned ingredients are labeled gluten-free. For a lighter option, feel free to substitute ground beef with ground turkey!
Can I use fresh tomatoes instead of canned?
Yes, you can use fresh tomatoes! I recommend using about 4-5 medium-sized tomatoes, diced. You’ll want to simmer them longer to reduce moisture, and I suggest blanching and peeling them first for better skin texture. Enjoy adapting this Best Ever Beef Chili to your preferences!
Best Ever Beef Chili Recipe for Cozy Nights In
Ingredients
Equipment
Method
- Heat 2 tablespoons of olive oil in a large pot or Dutch oven over medium heat. Once shimmering, add 1 diced onion and sauté for about 4–5 minutes until softened and translucent.
- Next, incorporate 3 minced garlic cloves into the pot, cooking for just about 1 minute until fragrant.
- Add 1 pound of ground beef to the pot, using a wooden spoon to break it apart. Cook for approximately 6–8 minutes, or until the beef is fully browned.
- Stir in 2 tablespoons of chili powder, 1 teaspoon of cumin, 1 teaspoon of smoked paprika, 1 teaspoon of dried oregano, and salt and pepper to taste. Cook for 1–2 minutes.
- Mix in 2 tablespoons of tomato paste, one 28-ounce can of crushed tomatoes, and 1 can each of kidney and black beans, rinsed and drained. Pour in 1 cup of beef broth.
- Reduce the heat to low, leaving the chili uncovered. Simmer for about 30–40 minutes, stirring occasionally.
- Once thickened, ladle the chili into bowls and serve hot. Feel free to garnish with shredded cheese, a dollop of sour cream, green onions, or jalapeños.