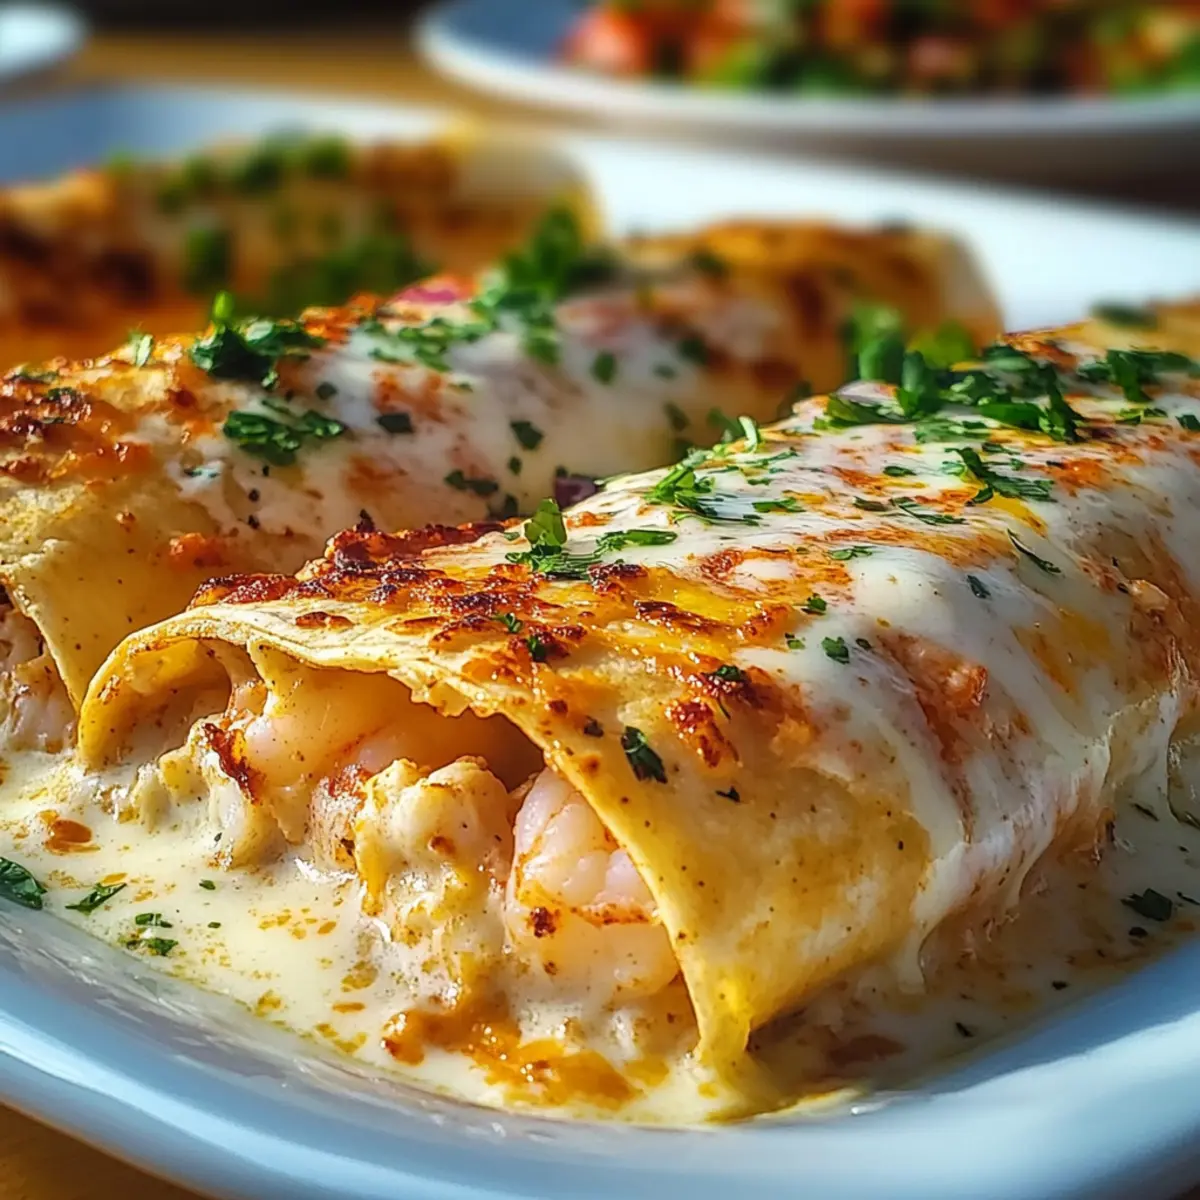
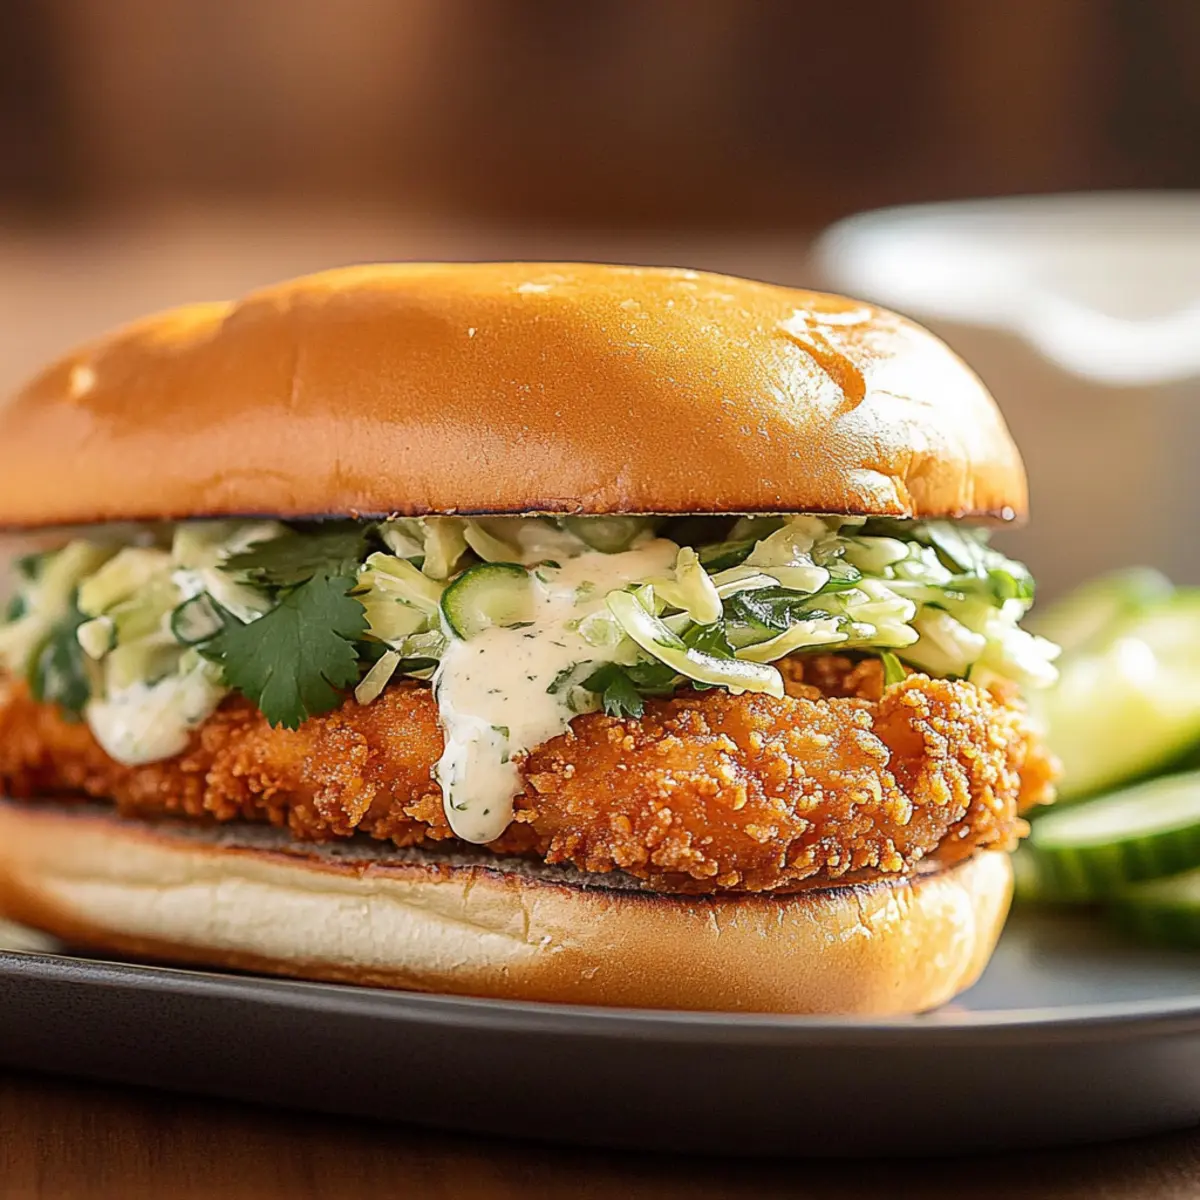
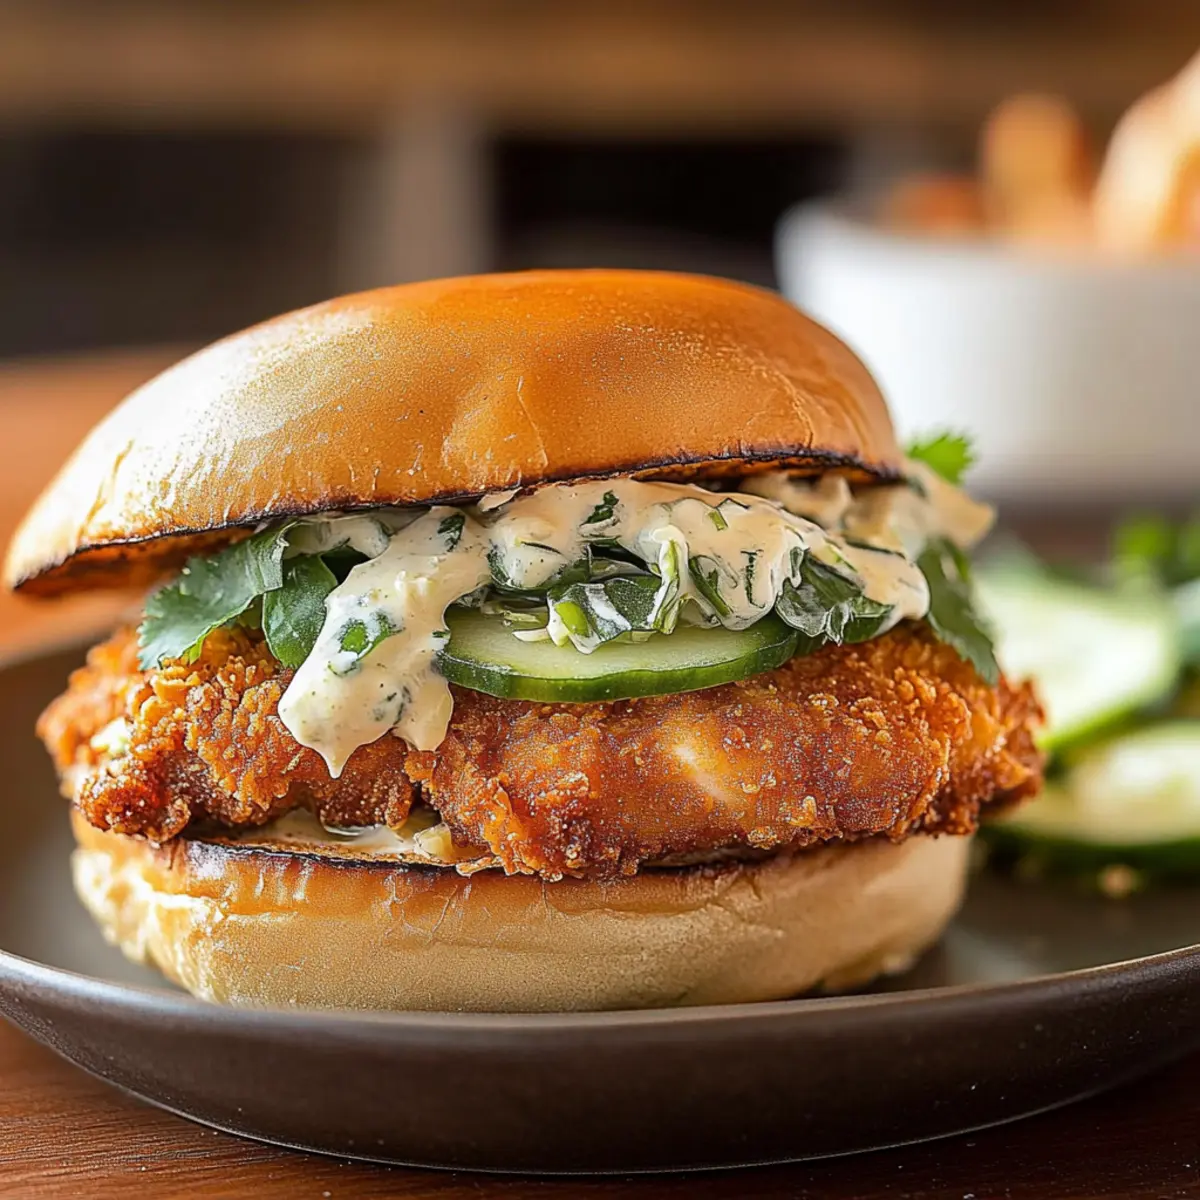
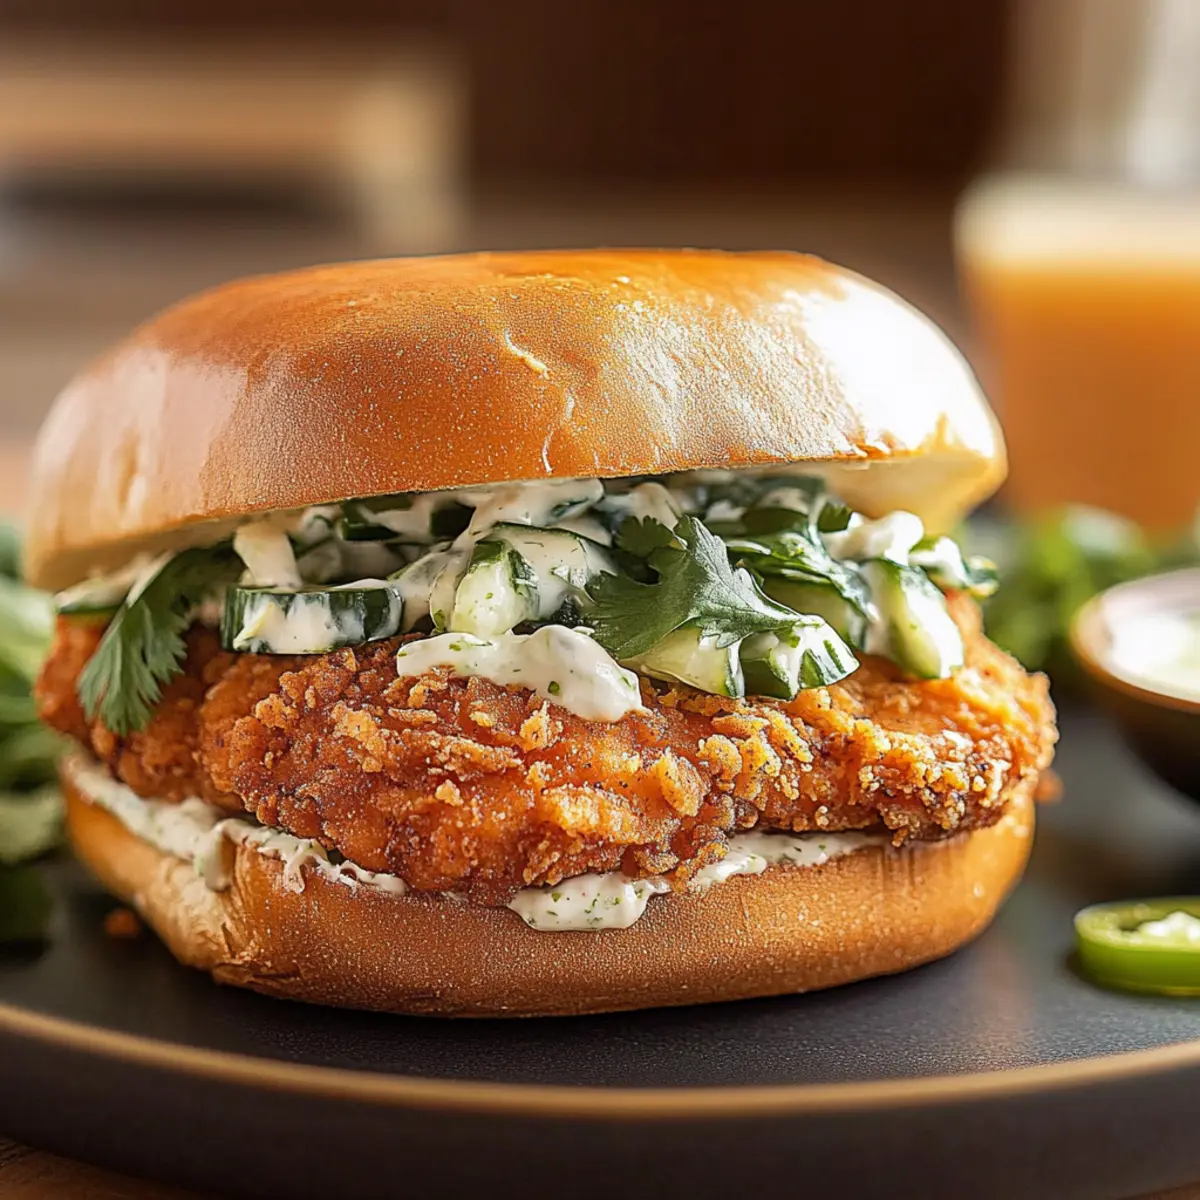
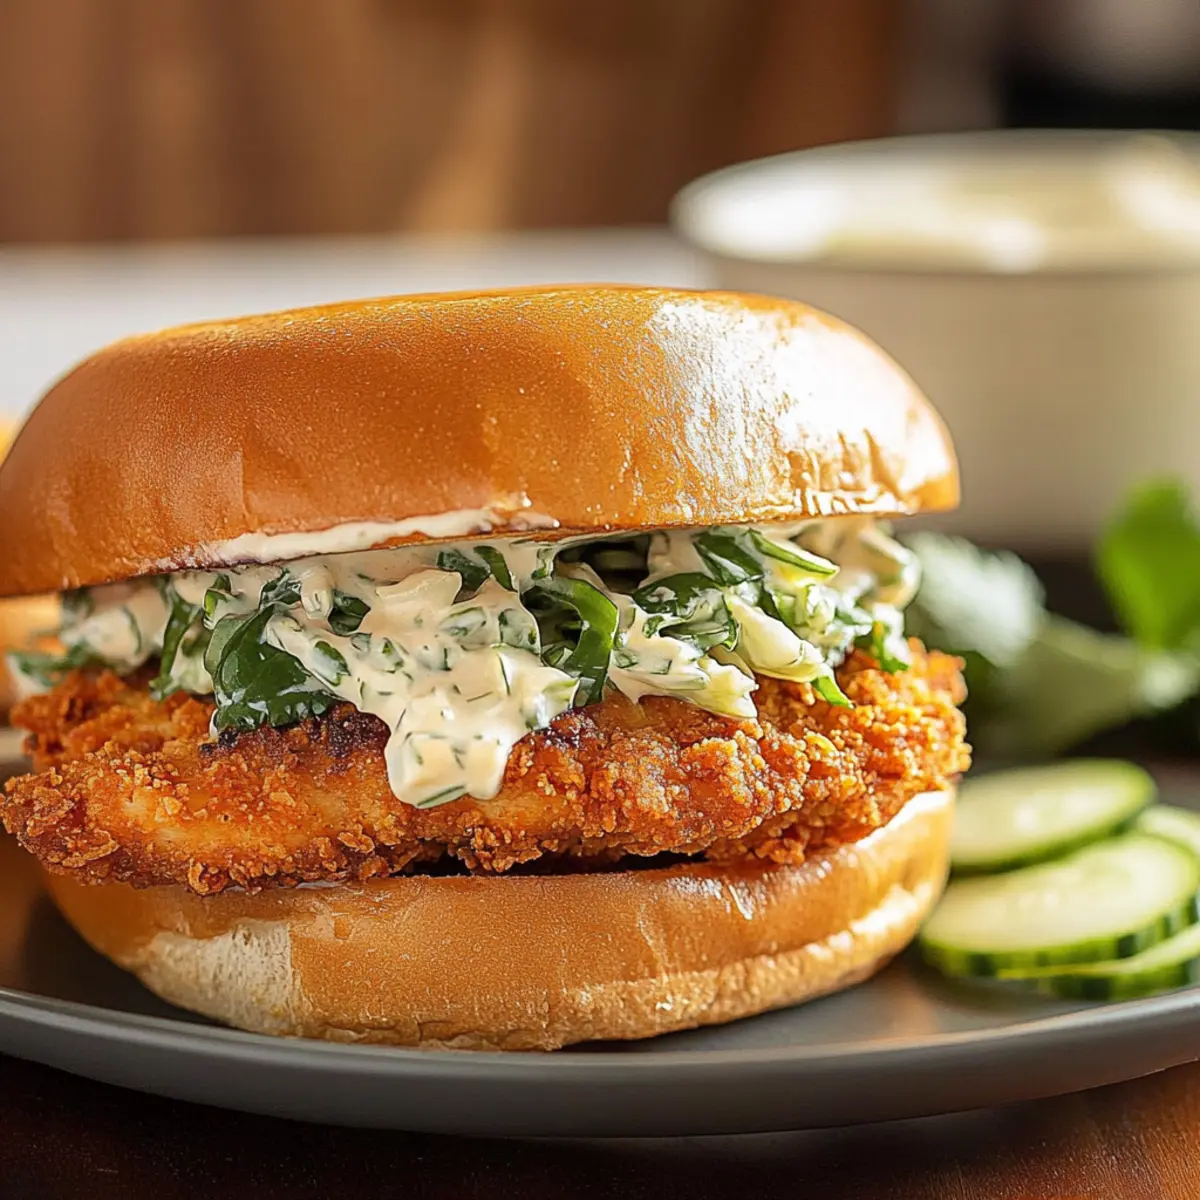
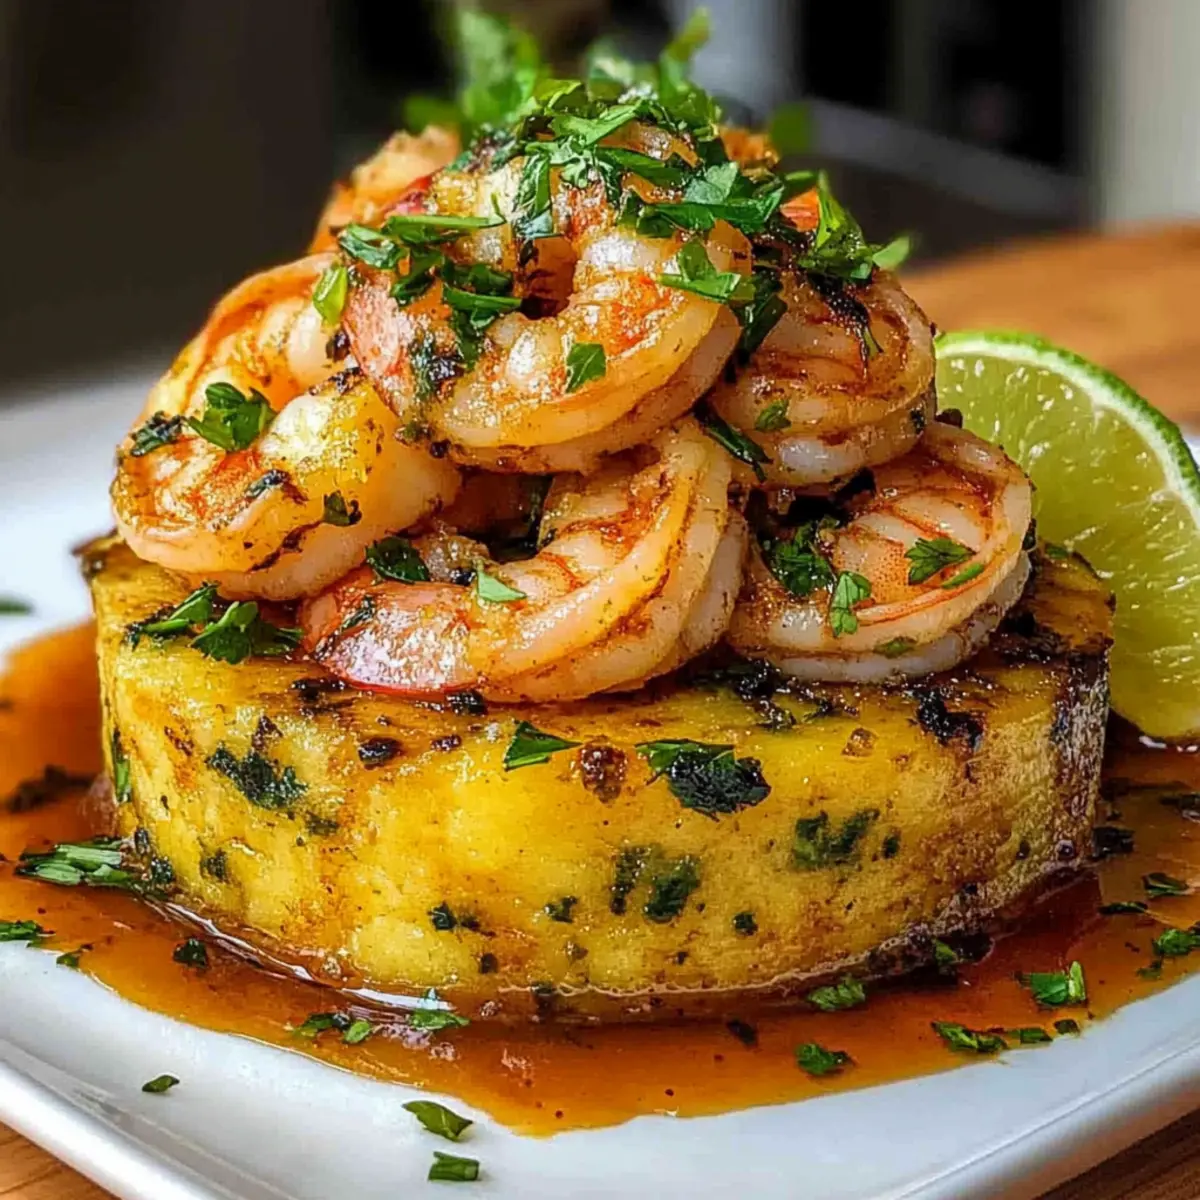
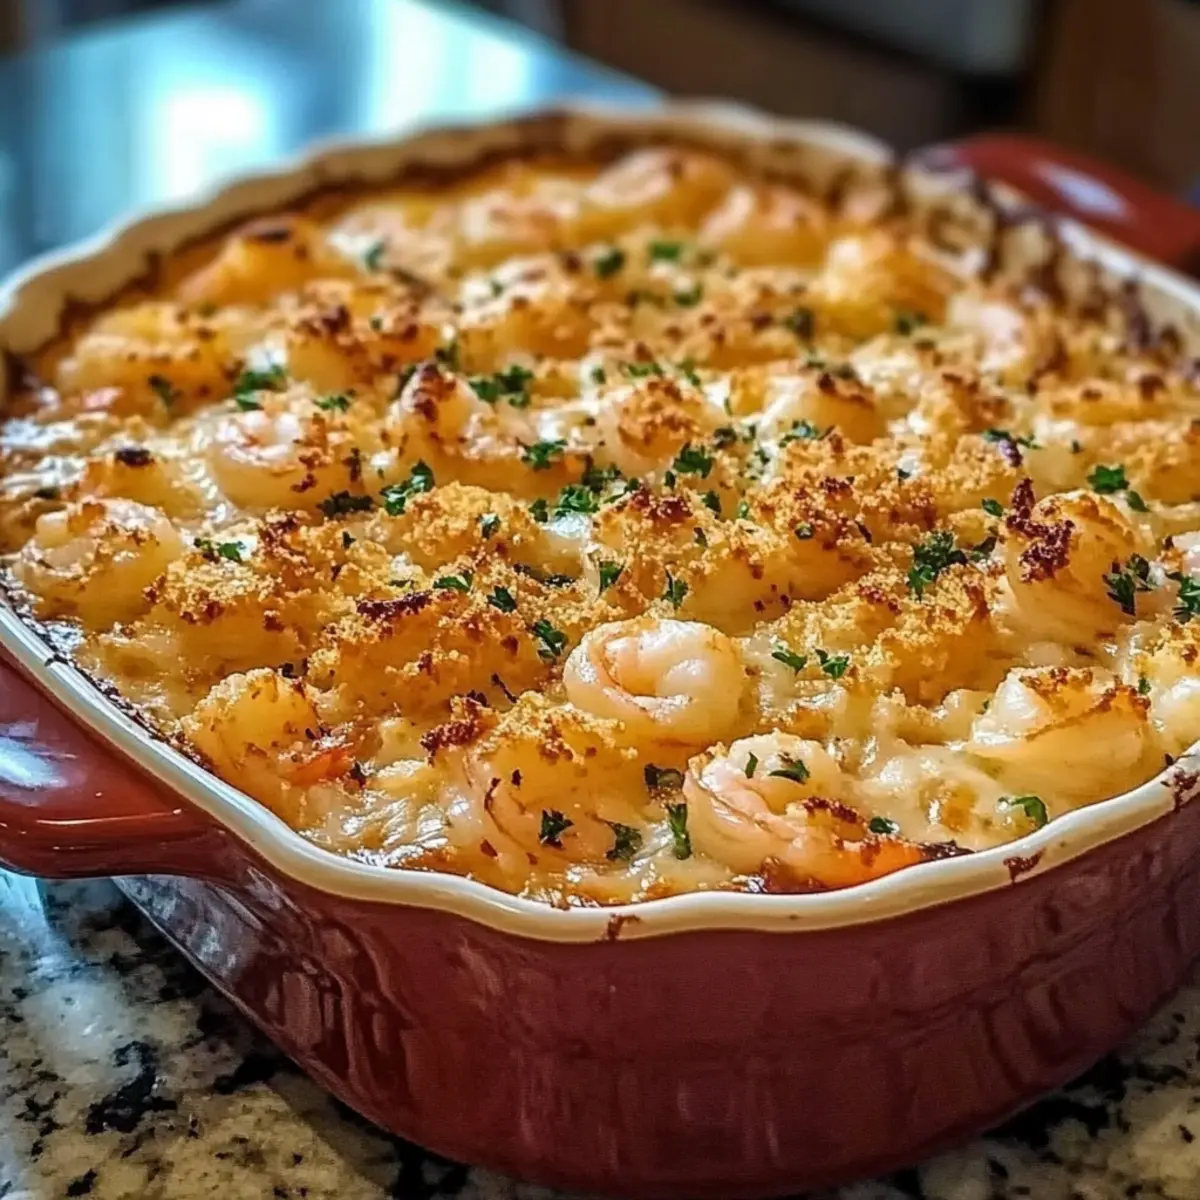
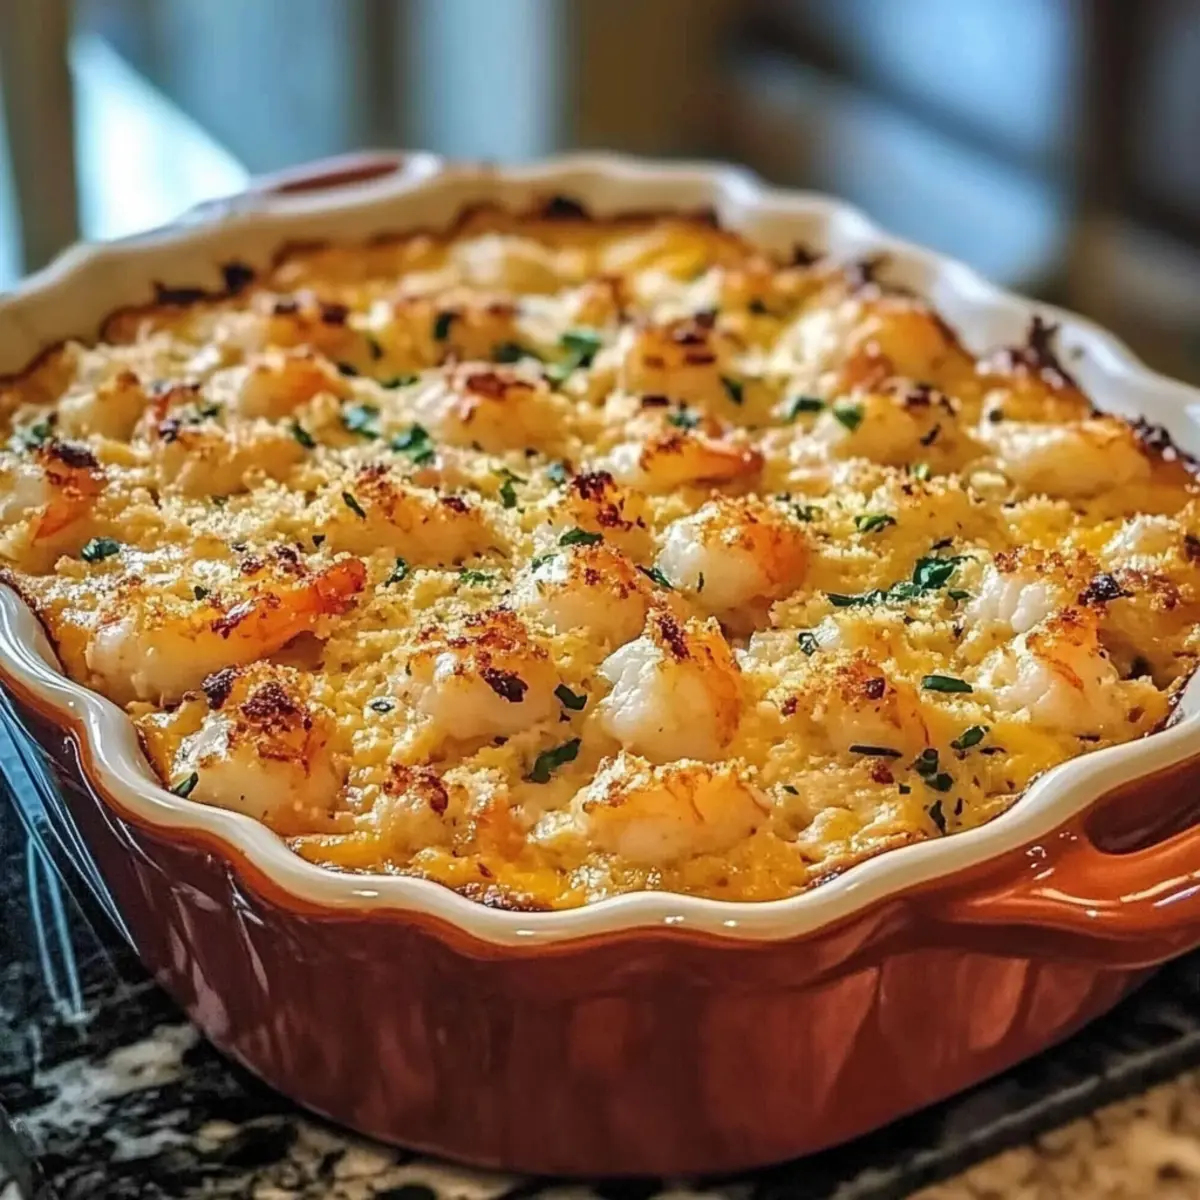
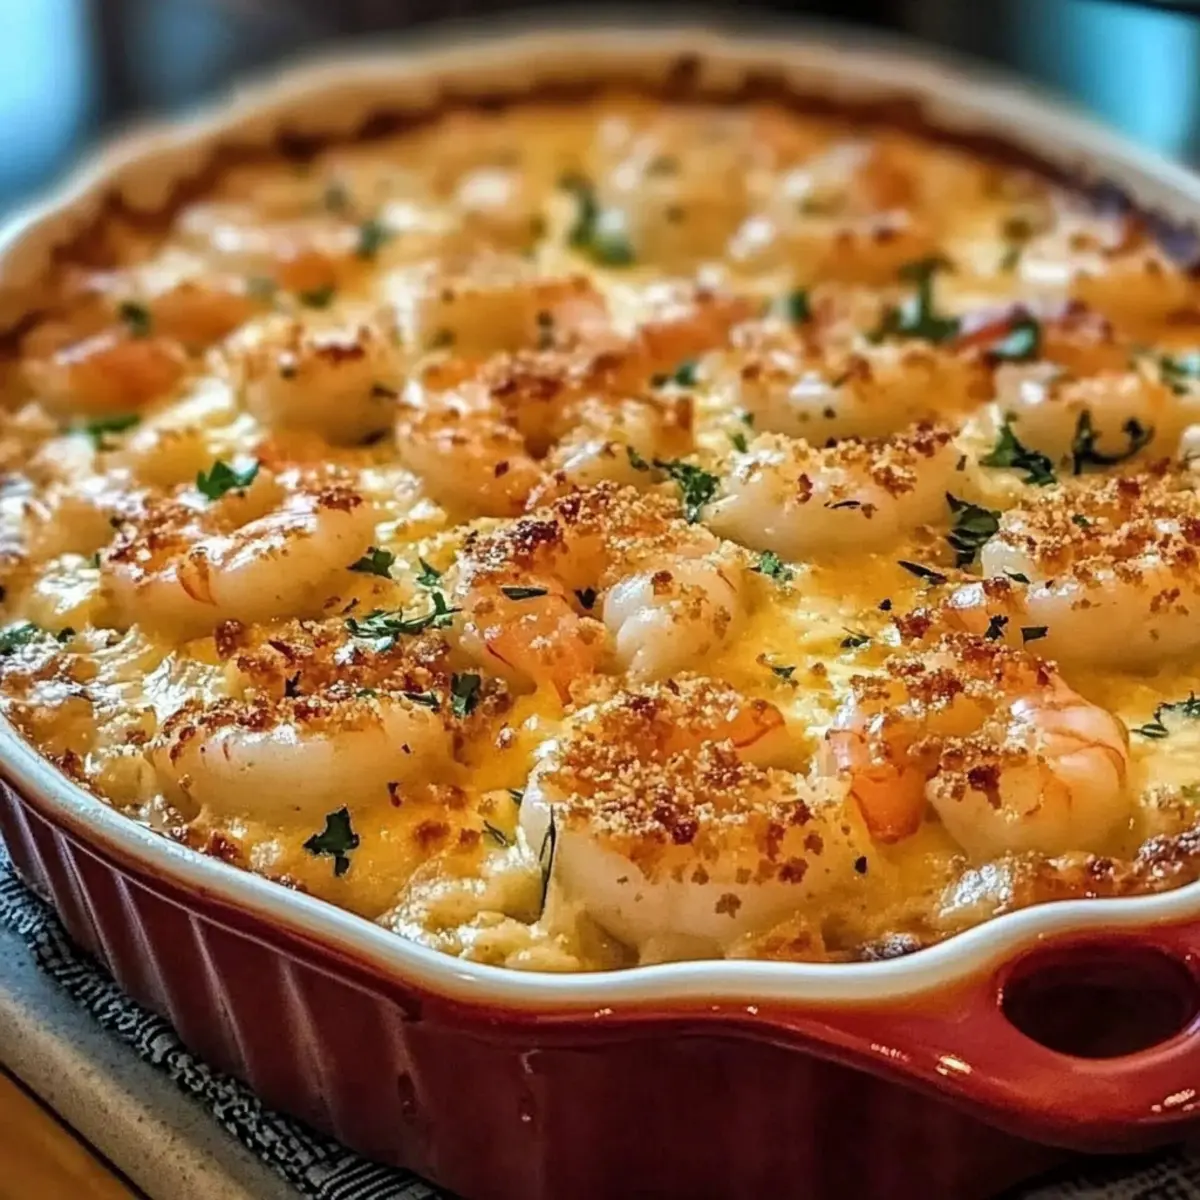
Just the other day, I found myself dreaming of cozy family dinners filled with laughter and delicious food, and that brought me back to this incredible Crab and Shrimp Casserole. Not only does this dish create an inviting aroma of lemon and butter that instantly warms the heart, but it also serves as the perfect comfort food option for seafood lovers. Trust me, it’s a family-friendly recipe that’s quick to prepare and forgiving in the kitchen, making it an absolute winner for both new cooks and seasoned chefs. Picture a creamy filling of tender seafood nestled beneath a crispy, golden topping, ideal for those moments when you want to treat your loved ones to something special without the fuss. Ready to elevate your weeknight dinners or impress at your next gathering? Let’s dive into this delightful dish that’s sure to create cherished memories around the table!
Why is this casserole a must-try?
Comforting, hearty goodness: This Crab and Shrimp Casserole is the epitome of comfort food, delivering warmth and flavor that everyone will love. Quick and easy to prepare: Perfect for busy weeknights, this recipe can be whipped up in no time, even for novice cooks. Seafood lover’s delight: Meticulously balancing rich flavors from crab and shrimp, it creates a seafood experience that’s truly special. Versatile for gatherings: Whether it’s a family dinner or a potluck, it’s a crowd-pleaser that’s sure to spark joy. Plus, leftovers taste even better the next day, making it an excellent make-ahead option!
Crab and Shrimp Casserole Ingredients
• Make your seafood dish shine with these essential components!
For the Casserole
- Lump Crab Meat – Delivers a rich seafood flavor and texture; use fresh or canned for convenience.
- Shrimp (peeled and deveined) – Infuses sweetness and tenderness; pre-cooked shrimp can save time.
- Cooked Rice – Acts as the hearty base; any type of cooked rice works beautifully.
- Shredded Cheddar Cheese – Adds creaminess and sharp flavor; Monterey Jack is a great substitute for a milder profile.
- Mayonnaise – Contributes smooth texture; full-fat mayonnaise is perfect for enhancing richness.
- Sour Cream – Provides a creamy, tangy element; helps keep the casserole wonderfully moist.
- Small Onion (finely chopped) – Elevates flavor with mild sweetness; fresh onion is best for optimum taste.
- Garlic (minced) – Intensifies the aromatic depth; fresh garlic always gives the best results.
- Green Bell Pepper (finely chopped) – Adds a pop of color and slight bitterness for balance.
- Red Bell Pepper (finely chopped) – Introduces sweetness and a vibrant touch to the dish.
- Worcestershire Sauce – Brings umami goodness and depth to your casserole.
- Lemon Juice – Brightens the flavors and complements the seafood beautifully.
- Old Bay Seasoning – Classic seasoning that enhances seafood flavor profiles, a must for crab and shrimp!
- Salt and Pepper – Essential for seasoning and balancing flavors to suit your taste.
For the Topping
- Breadcrumbs – Creates a crispy topping that contrasts delightfully with the creamy filling.
- Butter (melted) – Binds breadcrumbs for a perfect toasty finish; unsalted butter is recommended for better control over saltiness.
- Fresh Parsley (chopped) – Adds freshness and a beautiful garnish for presentation.
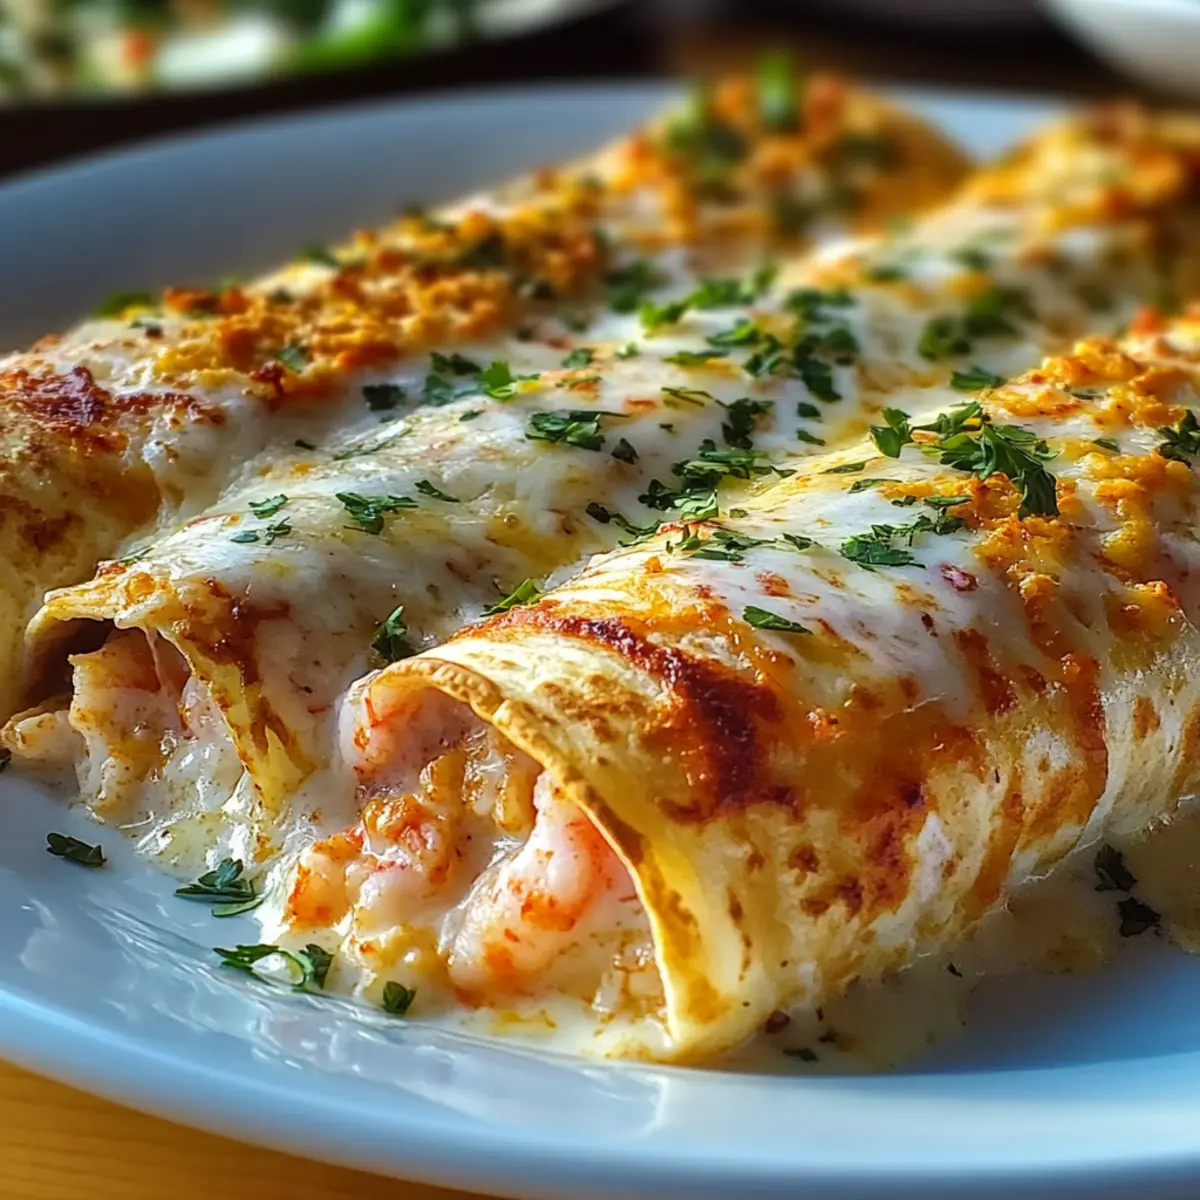
This Crab and Shrimp Casserole is a comforting dish that’s sure to delight!
Step‑by‑Step Instructions for Crab and Shrimp Casserole
Step 1: Preheat Oven
Begin by preheating your oven to 350°F (175°C). While the oven is heating, take a moment to grease a 9×13-inch baking dish with a little butter or non-stick spray. This will ensure that your Crab and Shrimp Casserole bakes beautifully and doesn’t stick when serving.
Step 2: Prepare Seafood Mixture
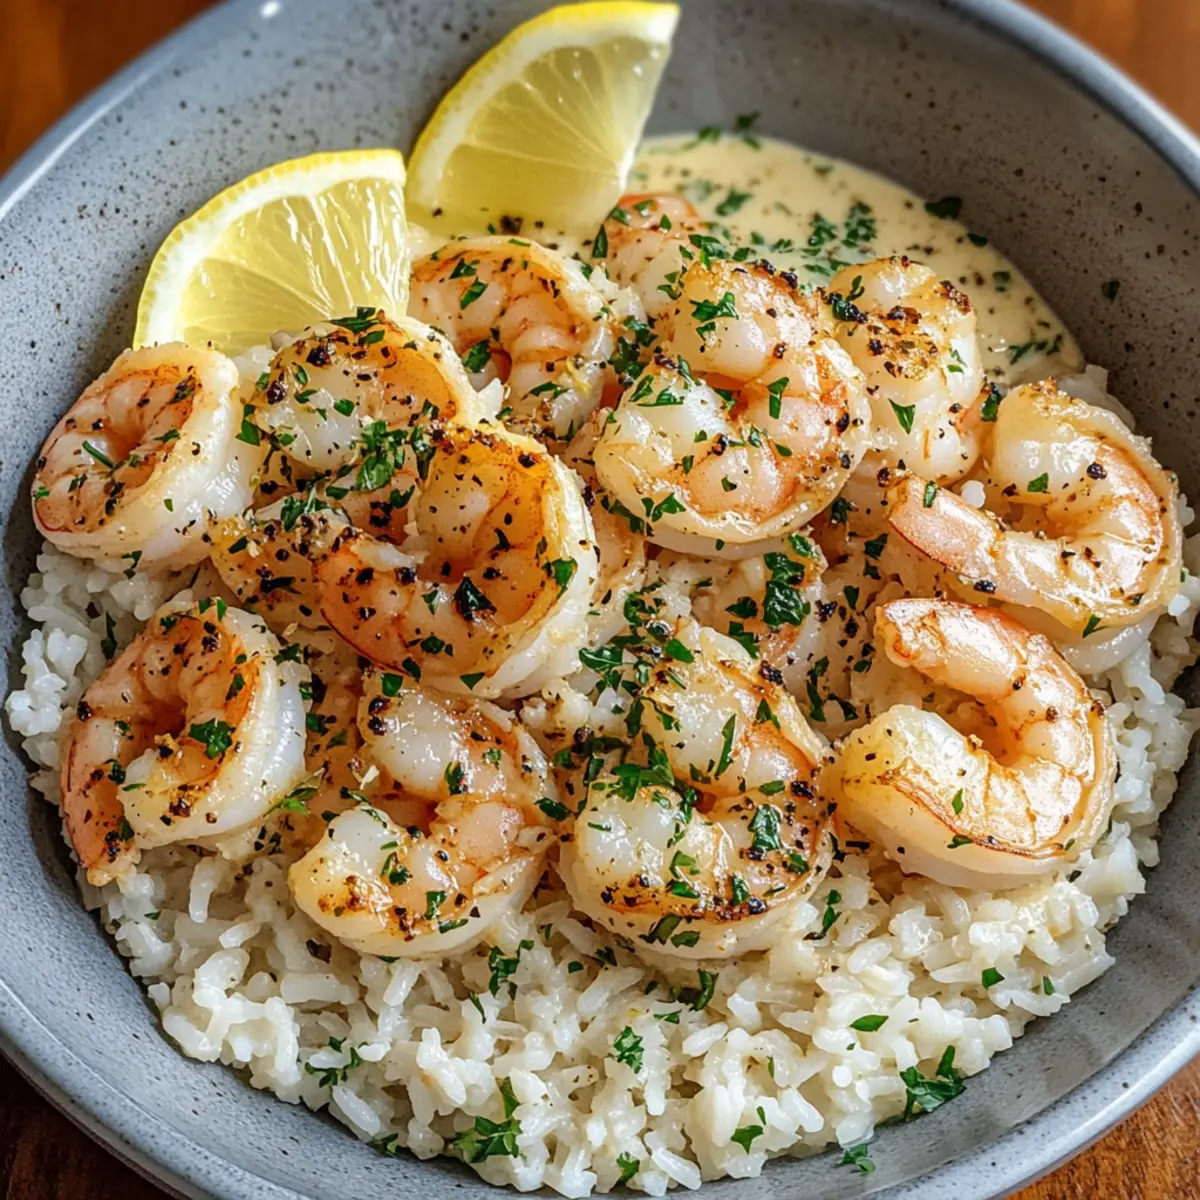
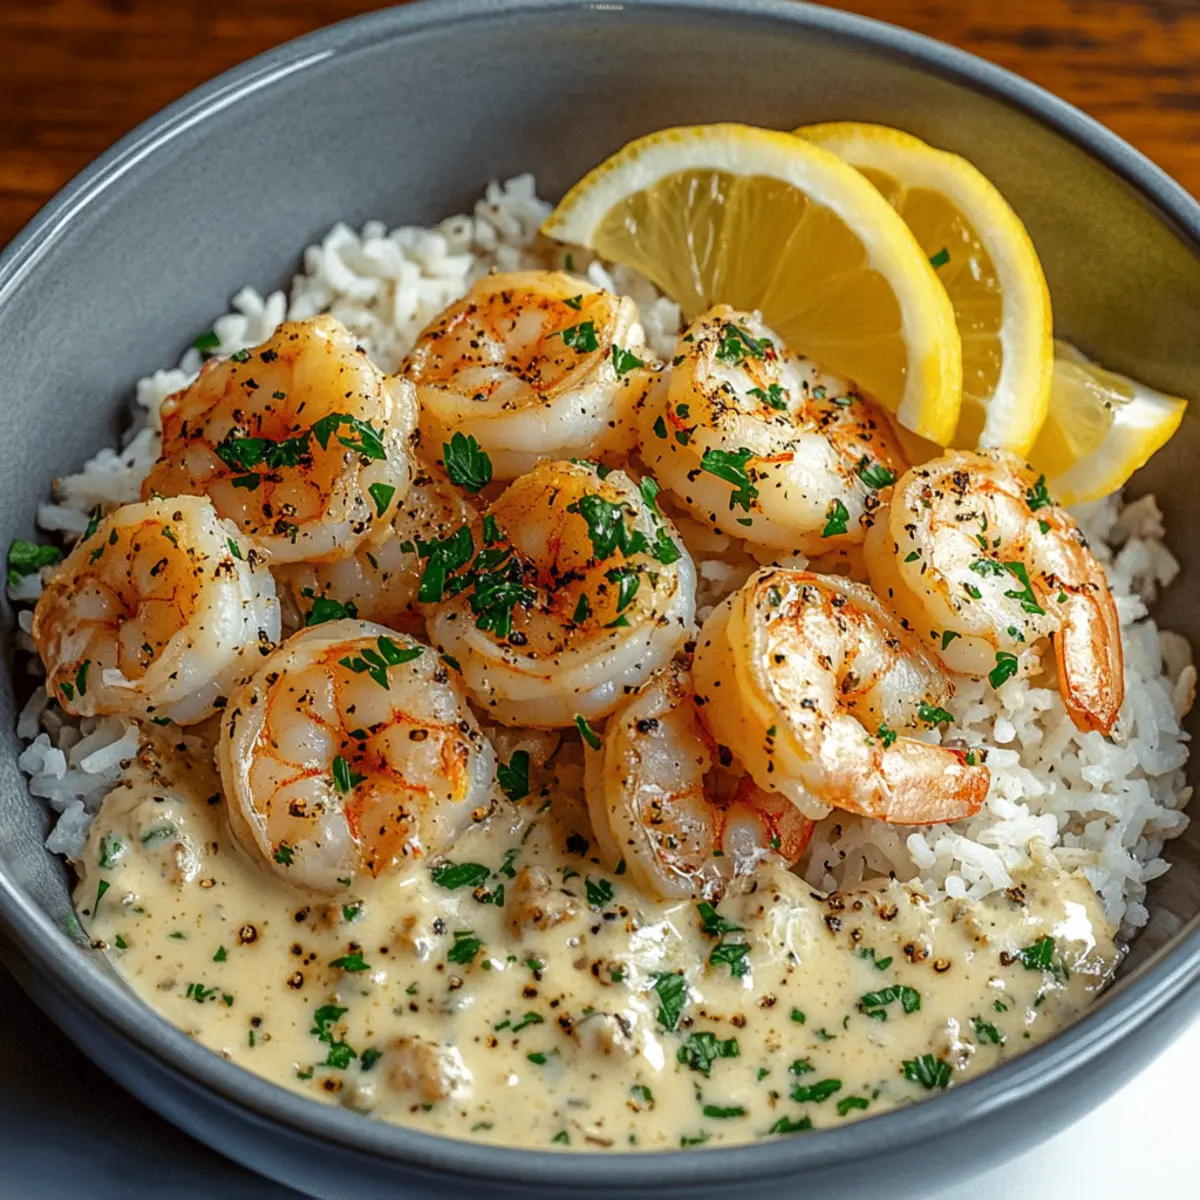
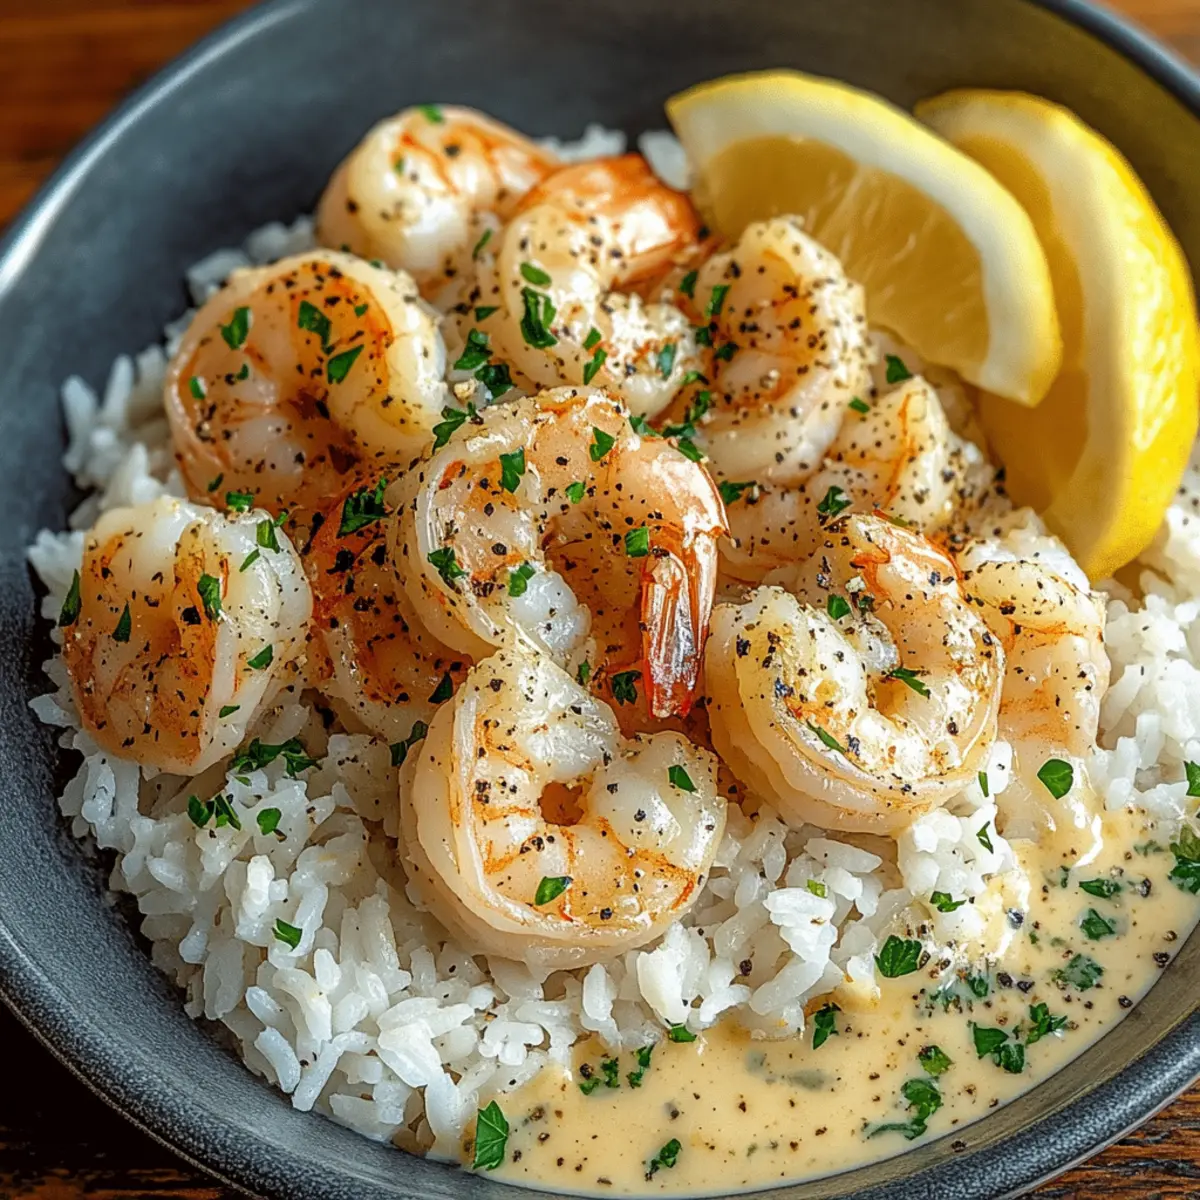
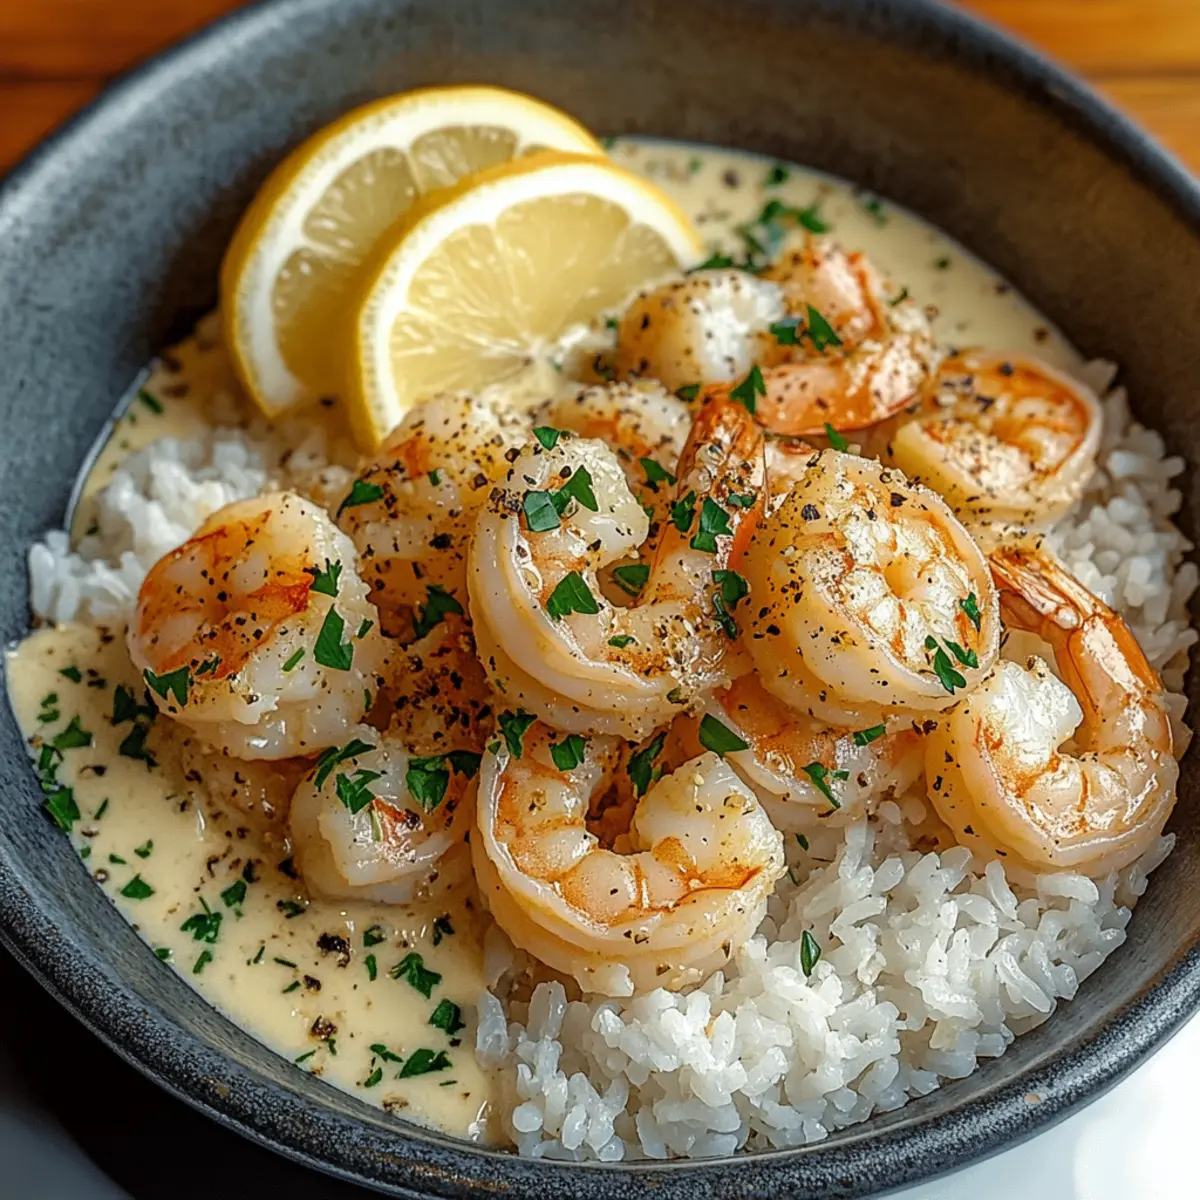
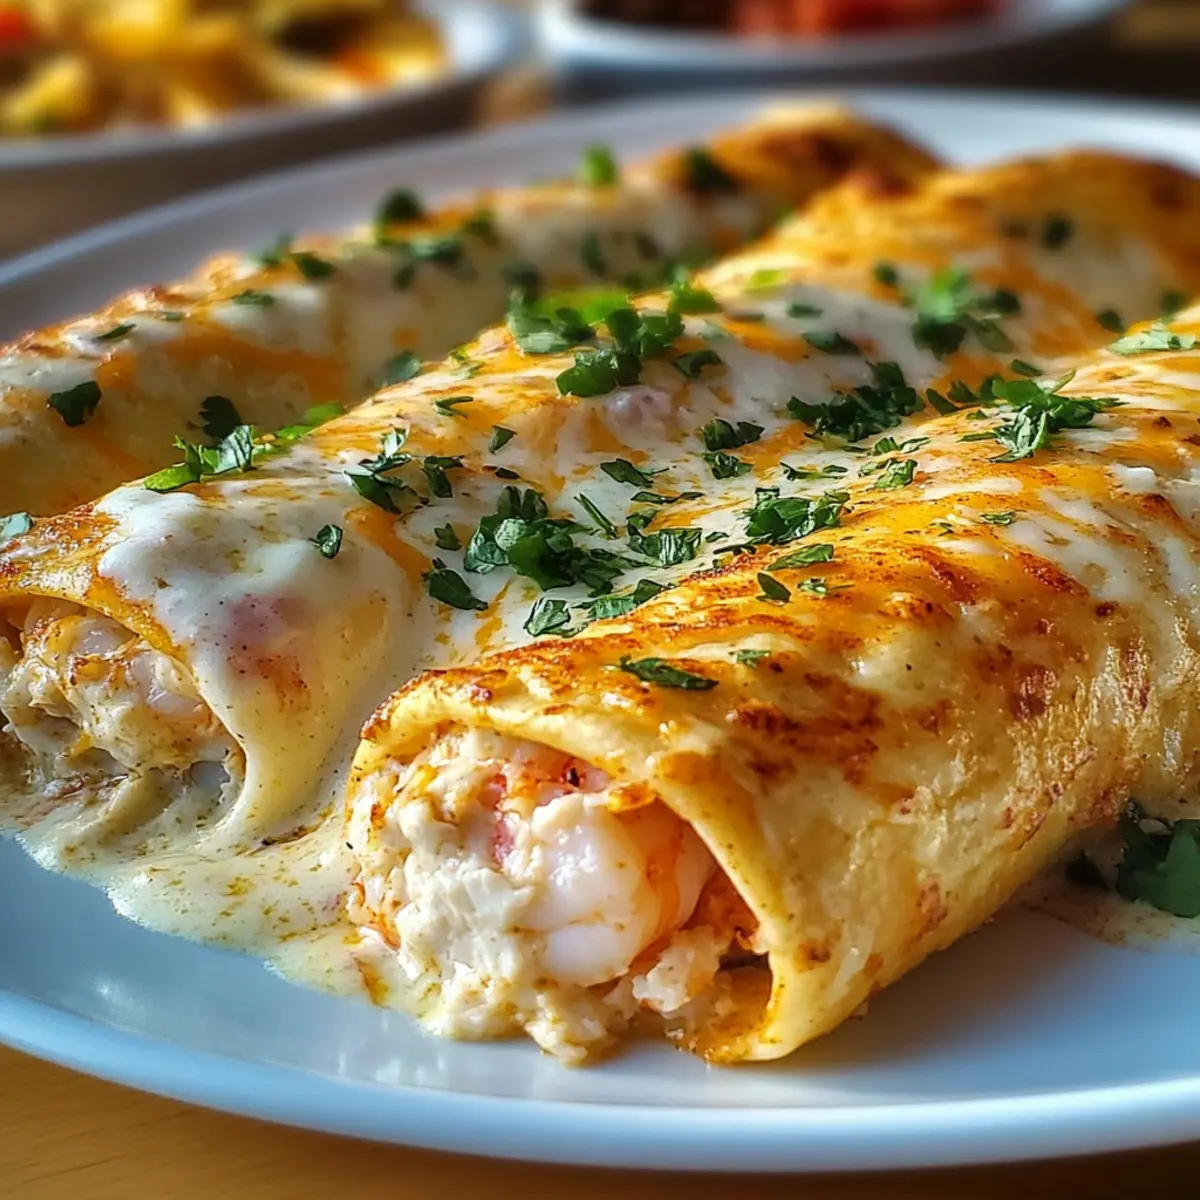
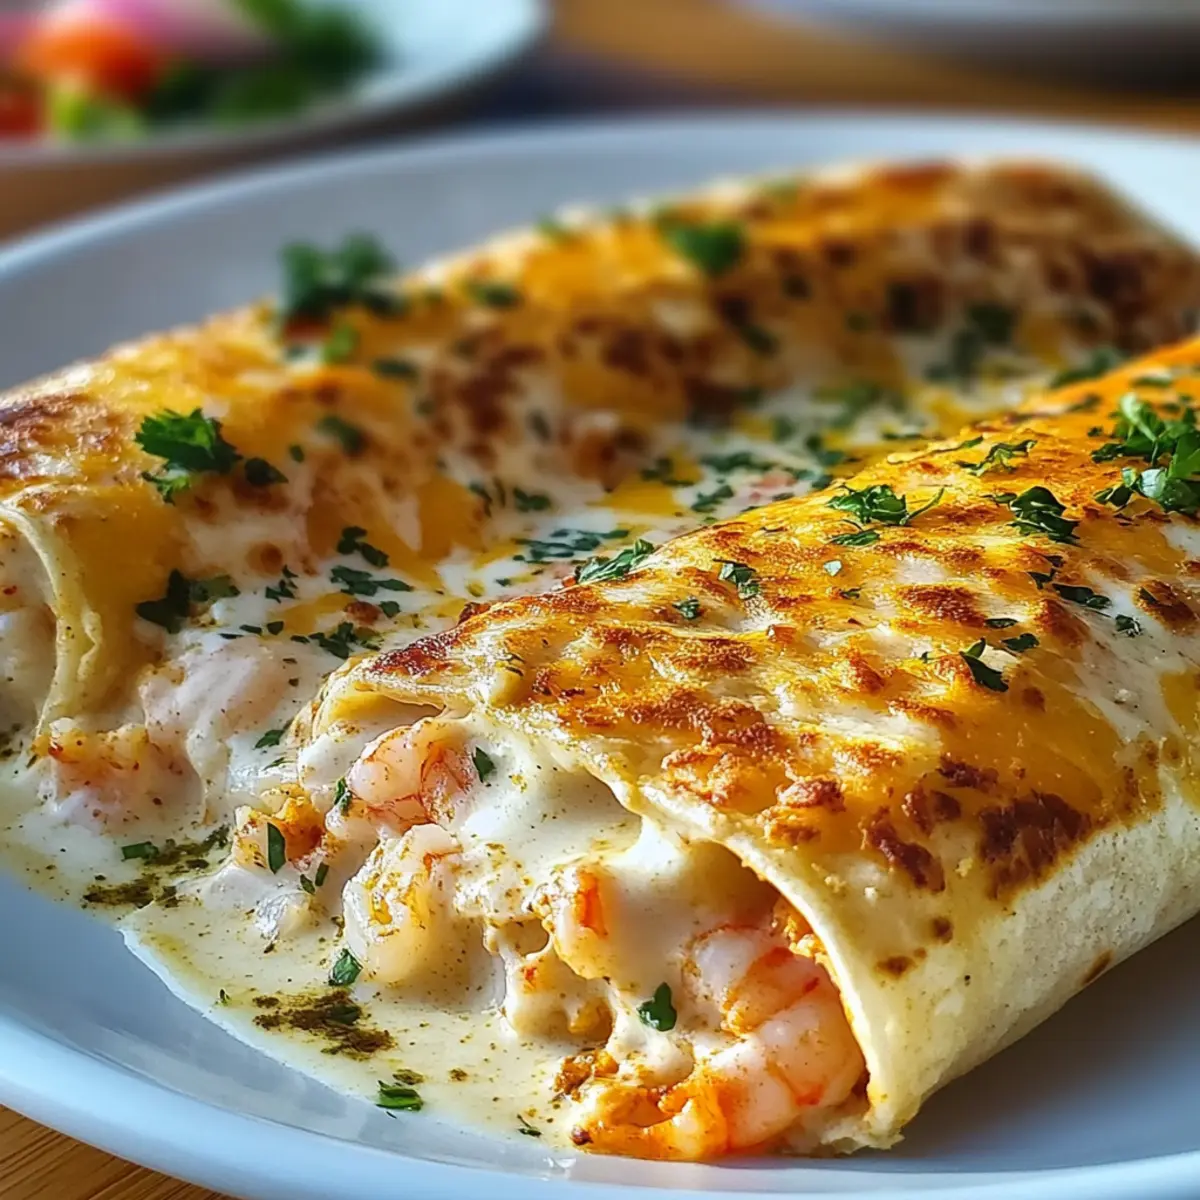
In a large mixing bowl, gently combine the lump crab meat and peeled, deveined shrimp. Fold in cooked rice and shredded cheddar cheese, ensuring the mixture remains slightly chunky for texture. This will create a delightful seafood base that sets the foundation for your casserole, bursting with flavors.
Step 3: Combine Ingredients
Add in the mayonnaise, sour cream, finely chopped onion, minced garlic, and both green and red bell peppers. Pour in Worcestershire sauce, fresh lemon juice, Old Bay seasoning, salt, and pepper. Mix everything gently but thoroughly, being cautious not to break up the crab meat too much, ensuring your Crab and Shrimp Casserole is packed with tender seafood.
Step 4: Transfer Mixture
Once the mixture is well combined, transfer it evenly into the greased baking dish. Use a spatula to spread it smoothly and create a level surface, but avoid packing it tightly. This will help it cook evenly while retaining a lovely, fluffy texture once baked.
Step 5: Prepare Topping
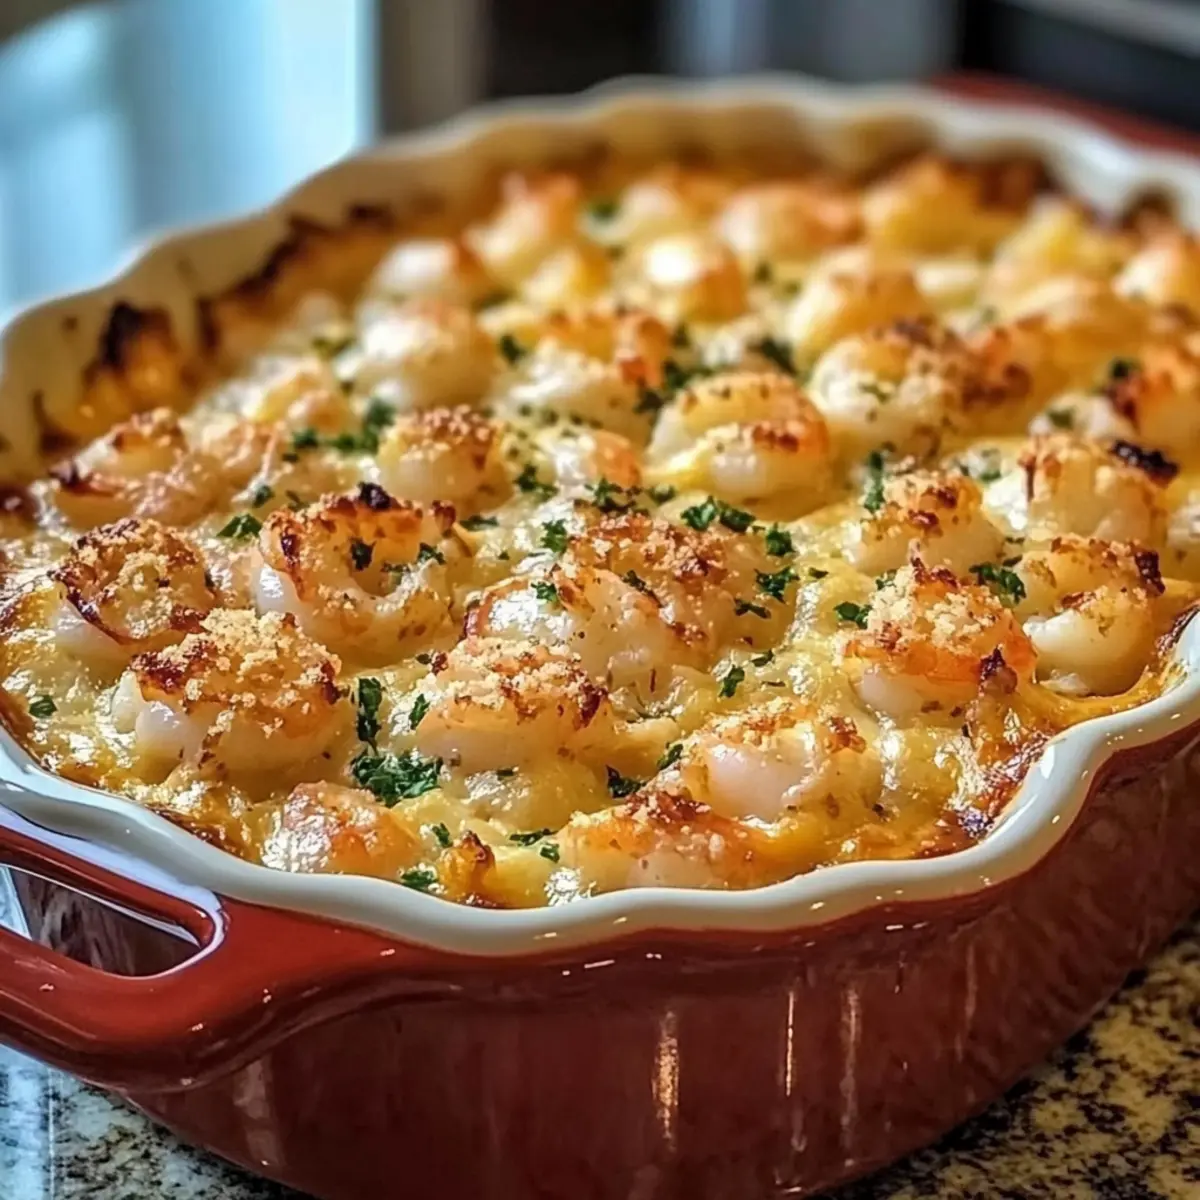
In a small bowl, mix breadcrumbs with the melted butter until every breadcrumb is coated. Sprinkle this buttery breadcrumb mixture generously over the top of your seafood mixture, creating a crispy topping that will contrast delightfully against the creamy filling of the Crab and Shrimp Casserole.
Step 6: Bake
Place the casserole in your preheated oven and bake for 25–30 minutes. Keep an eye on it; you’re looking for the top to turn golden brown and the filling to be bubbling at the edges. This visual cue indicates that your casserole is perfectly cooked and ready to serve.
Step 7: Serve
Once baked, remove the casserole from the oven and allow it to rest for a few minutes. This helps the dish set slightly. Just before serving, sprinkle freshly chopped parsley on top, adding a pop of color and freshness to your warm, inviting Crab and Shrimp Casserole.
Storage Tips for Crab and Shrimp Casserole
Fridge: Store leftover casserole in an airtight container; it’s good for up to 3 days. The flavors deepen, making it even more delightful the next day!
Freezer: If prepared ahead, freeze in a tightly sealed container for up to 3 months. For best results, thaw overnight in the fridge before baking.
Reheating: Reheat individual portions in the microwave until warmed through, or place the entire casserole in the oven at 350°F (175°C) for about 15–20 minutes until hot.
Covering: When storing, ensure the casserole is well-covered or contained to avoid drying out and preserve the creamy texture of your delicious crab and shrimp casserole.
Expert Tips for Crab and Shrimp Casserole
- Prep Ahead: Begin by prepping your seafood and veggies beforehand; this saves time and makes assembly a breeze when you’re ready to cook.
- Prevent a Soggy Bottom: If you find your mixture too wet, add a bit more cooked rice or cheese to absorb extra moisture and keep the casserole hearty.
- Flavor Boost: For a unique twist, add Dijon mustard or smoked paprika to the mix before baking; these ingredients complement the crab and shrimp beautifully.
- Golden Topping: Keep an eye on the casserole while it bakes; you’re aiming for a golden brown topping while the filling bubbles at the edges, ensuring everything is cooked to perfection.
- Make It Your Own: Feel free to substitute the lump crab meat with other seafood like scallops or incorporate different cheeses to personalize your Crab and Shrimp Casserole!
What to Serve with Crab and Shrimp Casserole
Indulging in a warm bowl of seafood casserole is the perfect way to create a heartwarming meal for your loved ones.
- Crisp Green Salad: Light and refreshing, a salad of mixed greens and vinaigrette brightens the meal while offering a crunchy contrast.
- Steamed Asparagus: Tender asparagus drizzled with olive oil adds an elegant touch and complements the rich flavors of the casserole.
- Buttered Rolls: Soft, warm rolls are perfect for scooping up the creamy casserole, making for a delightful combination of textures.
- Garlic Bread: Crunchy and fragrant, garlic bread pairs well with seafood, adding a savory element that complements every bite.
- Roasted Vegetables: A medley of roasted seasonal vegetables brings a burst of color and earthy flavors that balance the richness of the dish.
- Chardonnay: This white wine with its crisp acidity and fruity notes enhances the seafood, making it a charming drink pairing.
- Chocolate Mousse: End your meal on a sweet note with a light chocolate mousse, providing a sumptuous and dreamy dessert to remember.
- Lemon Sorbet: Refreshingly tart, lemon sorbet cuts through the creamy casserole, cleansing the palate between bites.
These delicious pairings not only elevate your Crab and Shrimp Casserole but also create a feast that your family will remember fondly.
Crab and Shrimp Casserole Variations
Feel free to play with this recipe and make it your own with these fun twists!
- Seafood Swap: Replace lump crab meat with lobster or scallops for a luxurious upgrade. Both offer unique flavors that will impress.
- Cheesy Experimentation: Use gruyere for a nutty taste or pepper jack for a spicy kick! Each cheese adds its own personality to the dish.
- Pasta Alternative: Substitute cooked rice with small pasta like orzo or ditalini for extra bite and a different texture.
- Dairy-Free: Swap cheese and sour cream with dairy-free alternatives like cashew cream and vegan cheese for a lighter option.
- Flavor Kick: Add cooked spinach or sautéed mushrooms to amp up the flavor and provide an extra layer of texture.
- Seasoning Twist: Sprinkle in some Cajun seasoning or smoked paprika for a delightful touch of heat and depth.
- Veggie Booster: Toss in some cooked peas or corn for an added sweetness and vibrant color.
- Crunchy Topping: Instead of breadcrumbs, try crushed potato chips or panko for a different, extra crispy finish.
These variations can help keep the recipe fresh and exciting. If you’re looking for more seafood inspiration, why not also check out a delightful shrimp scampi recipe or a creamy seafood chowder?
Make Ahead Options
These Crab and Shrimp Casserole preparations are perfect for busy home cooks looking to save time! You can prepare the entire casserole up to 24 hours in advance by assembling it and tightly covering it with plastic wrap before refrigerating. To maintain quality, ensure that the seafood mixture is chilled properly to prevent any loss of flavor. Just before baking, remove the casserole from the fridge and let it sit at room temperature for about 30 minutes to allow even cooking. Bake as directed until golden brown and bubbly, and you’ll have a comforting dish ready to impress your family with minimal effort!
Crab and Shrimp Casserole Recipe FAQs
How do I choose the best crab meat for the casserole?
Absolutely! For the best flavor and texture, opt for lump crab meat. Look for crab that is firm and has a sweet, clean smell—avoid any that seems overly fishy. Fresh crab is wonderful if you have access to it, but high-quality canned crab meat works well too. Just be sure to drain it properly!
What’s the best way to store leftovers of this casserole?
Very good question! Store your leftover Crab and Shrimp Casserole in an airtight container in the fridge. It will keep well for up to 3 days. Oddly enough, it often tastes even better the next day as the flavors meld together, making it a fantastic make-ahead meal.
Can I freeze the crab and shrimp casserole?
Absolutely! If you want to prepare this dish in advance, you can freeze it in a tightly sealed, freezer-safe container for up to 3 months. To freeze, make sure it’s cooled completely after baking. Thaw it in the fridge overnight before reheating in the oven at 350°F (175°C) for about 15–20 minutes until perfectly warm.
What do I do if my mixture is too wet?
Good catch! If your Crab and Shrimp Casserole mixture seems too wet, you can incorporate a bit more cooked rice or shredded cheese. Start with 1/4 cup at a time until the mixture reaches the desired consistency. This will help absorb some of the excess moisture and ensure a lovely, fluffy casserole without being soggy.
Is this casserole safe for people with shellfish allergies?
Most definitely not! If someone has a shellfish allergy, it’s essential to avoid using crab or shrimp in this recipe entirely. You can substitute with alternative proteins, such as chicken or tofu, but this will change the flavor profile. Always be mindful of possible cross-contamination if you’re serving those with allergies.
How long can I keep the casserole before serving it?
I recommend making the casserole ahead of time! It can be assembled and stored in the fridge for up to 24 hours before baking. This gives the flavors time to blend and enhances the overall taste. Just remember, if it’s stored uncooked, it may take a few extra minutes in the oven once ready to bake.
These handy tips should help you enjoy the wonderful experience of making my Crab and Shrimp Casserole! Happy cooking!
Crab and Shrimp Casserole That Will Warm Your Heart
Ingredients
Equipment
Method
- Preheat your oven to 350°F (175°C) and grease a 9x13-inch baking dish.
- In a large bowl, combine the lump crab meat and shrimp. Fold in rice and cheddar cheese.
- Add mayonnaise, sour cream, onion, garlic, both bell peppers, Worcestershire sauce, lemon juice, Old Bay seasoning, salt, and pepper. Mix gently.
- Transfer the mixture into the greased baking dish, spreading it evenly.
- Mix breadcrumbs with melted butter and sprinkle over the seafood mixture.
- Bake for 25–30 minutes until golden brown and bubbly.
- Remove from the oven, let rest briefly, and sprinkle with parsley before serving.